How-to: Taking a Portrait at Night
Mandy, circa 1993
Zeiss Ikoflex TLR + Kodak TMAX 100
Oriental Seagull paper (badly fixed)
I've spent a fair amount of time teaching myself how to take a creative portrait of someone at night. I'd like to share with you some of my successes (and failures!) so that you may also enjoy making creative portraits during your night photography expeditions.
The above portrait I shot in high school (to the best of my memory...) while exploring how to take portraits in little to no light. I got lucky with this one since we chose to go to the school nearby and stand under a lamp on the wall.
More early history: My first attempts to render a human at night involved what I call "lighting with a hammer" – i.e. me setting my Vivitar 283 speedlite to a thyristor automatic setting and hoping it wasn't either too much or too little. Mind you, I was also shooting film and could not yet afford Polaroid at that time.
This is my first recollection of a successful photograph at night - which also happens to be a portrait:
Bryan, circa 1992
Yashica FX-3, Tamron 24-70mm zoom + fisheye adapter
Vivitar 283 + Velbon Tripod
I remember it being like this, "Bryan - stand here." Open shutter on bulb. Pop flash. Bryan walks out.
"Why did you walk away?"
Bryan replied, "the flash went off and you didn't say to stay."
That was the best piece of non-dorection I ever gave. This print, when it came up in the developer, gave me shivers and possibilities exploded in my head. TIME + LIGHT = FUN.
I've been chasing time dilation methods ever since.
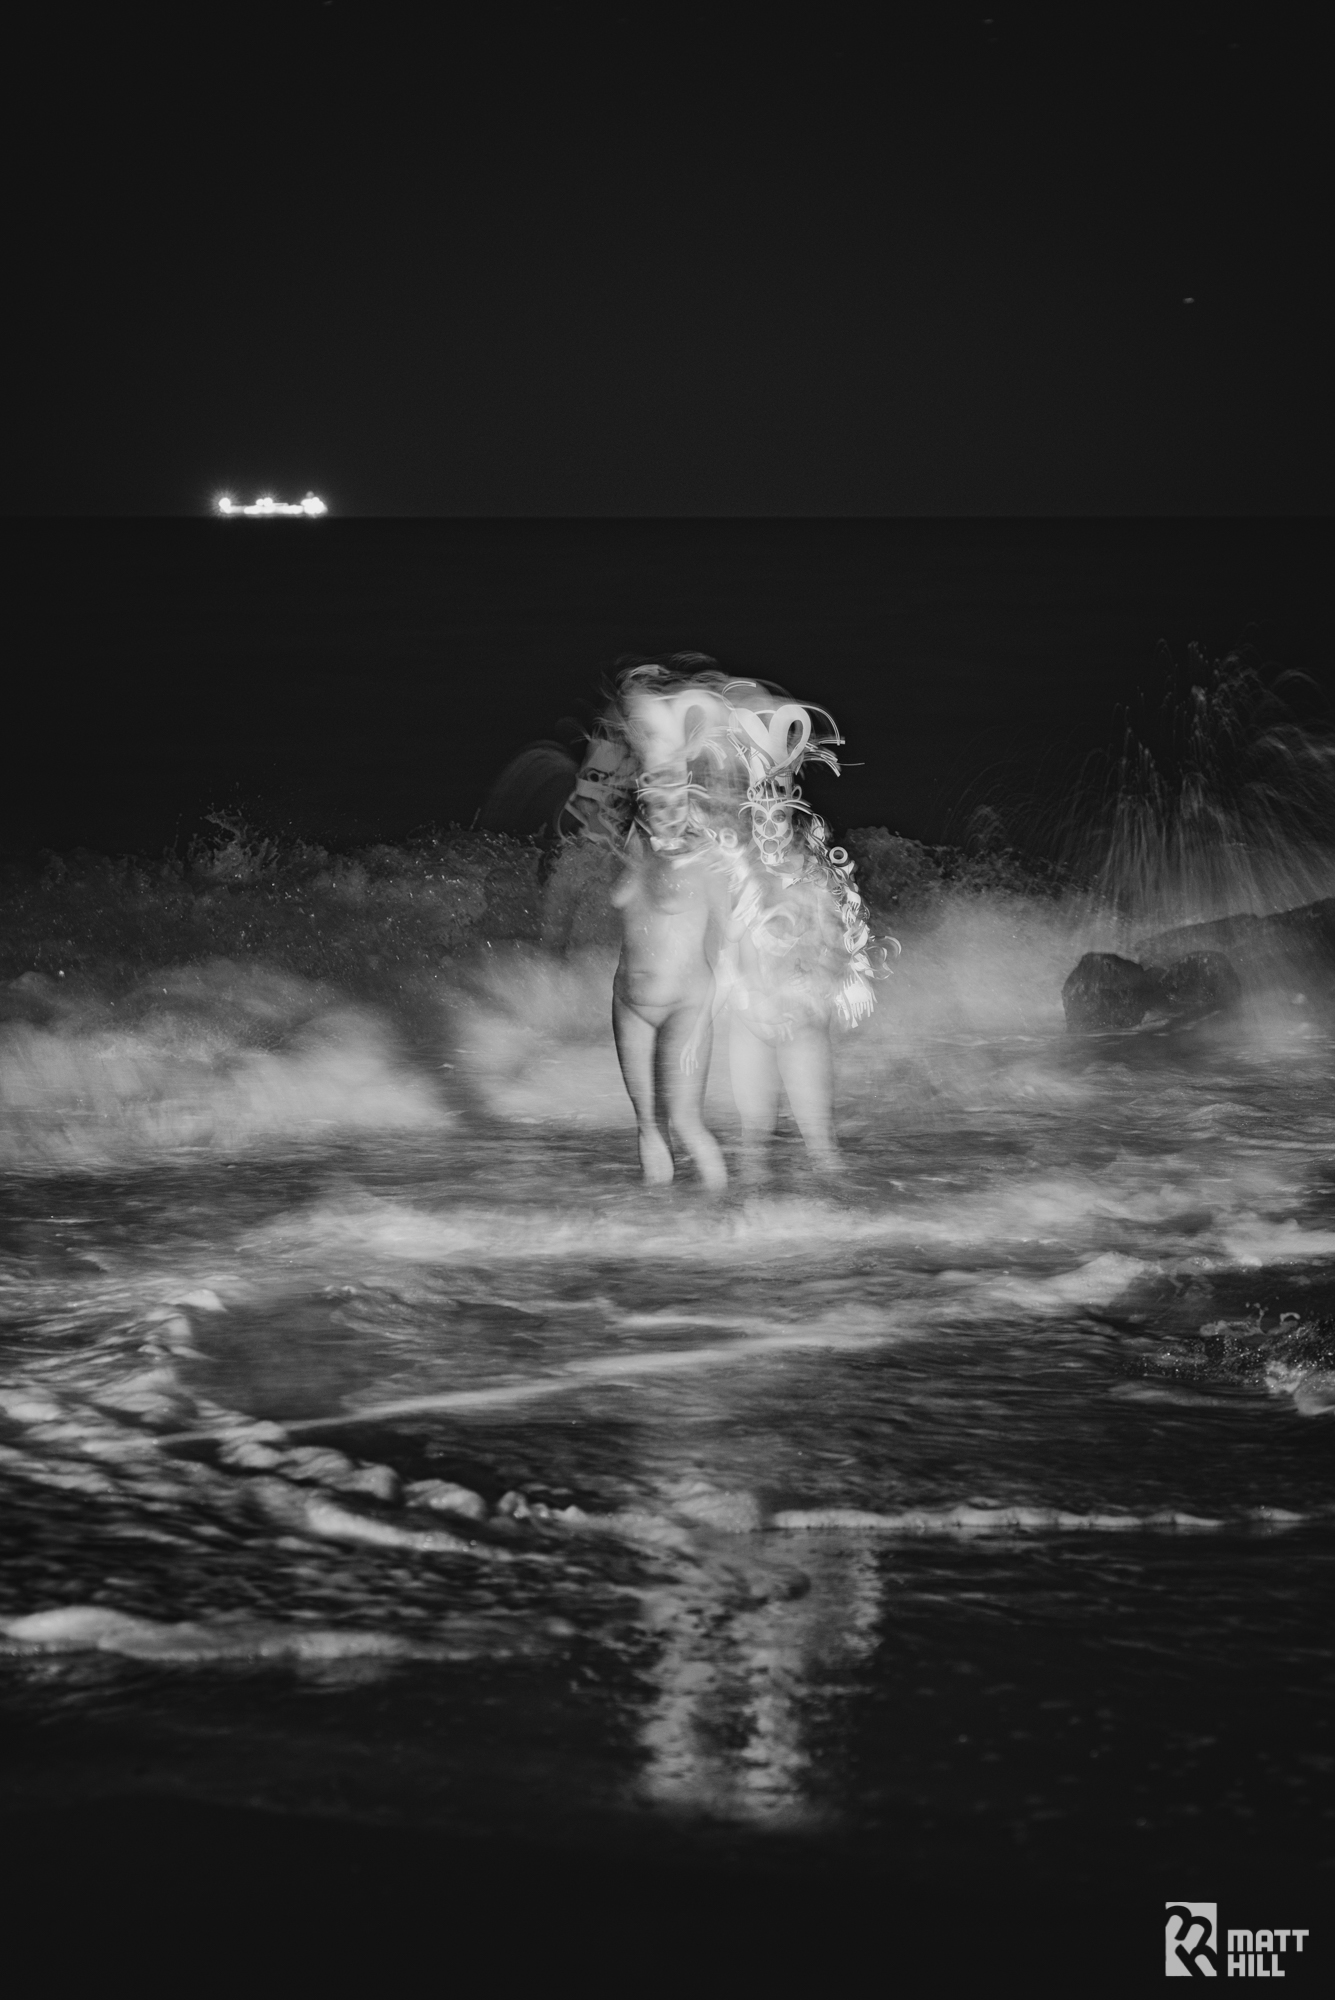
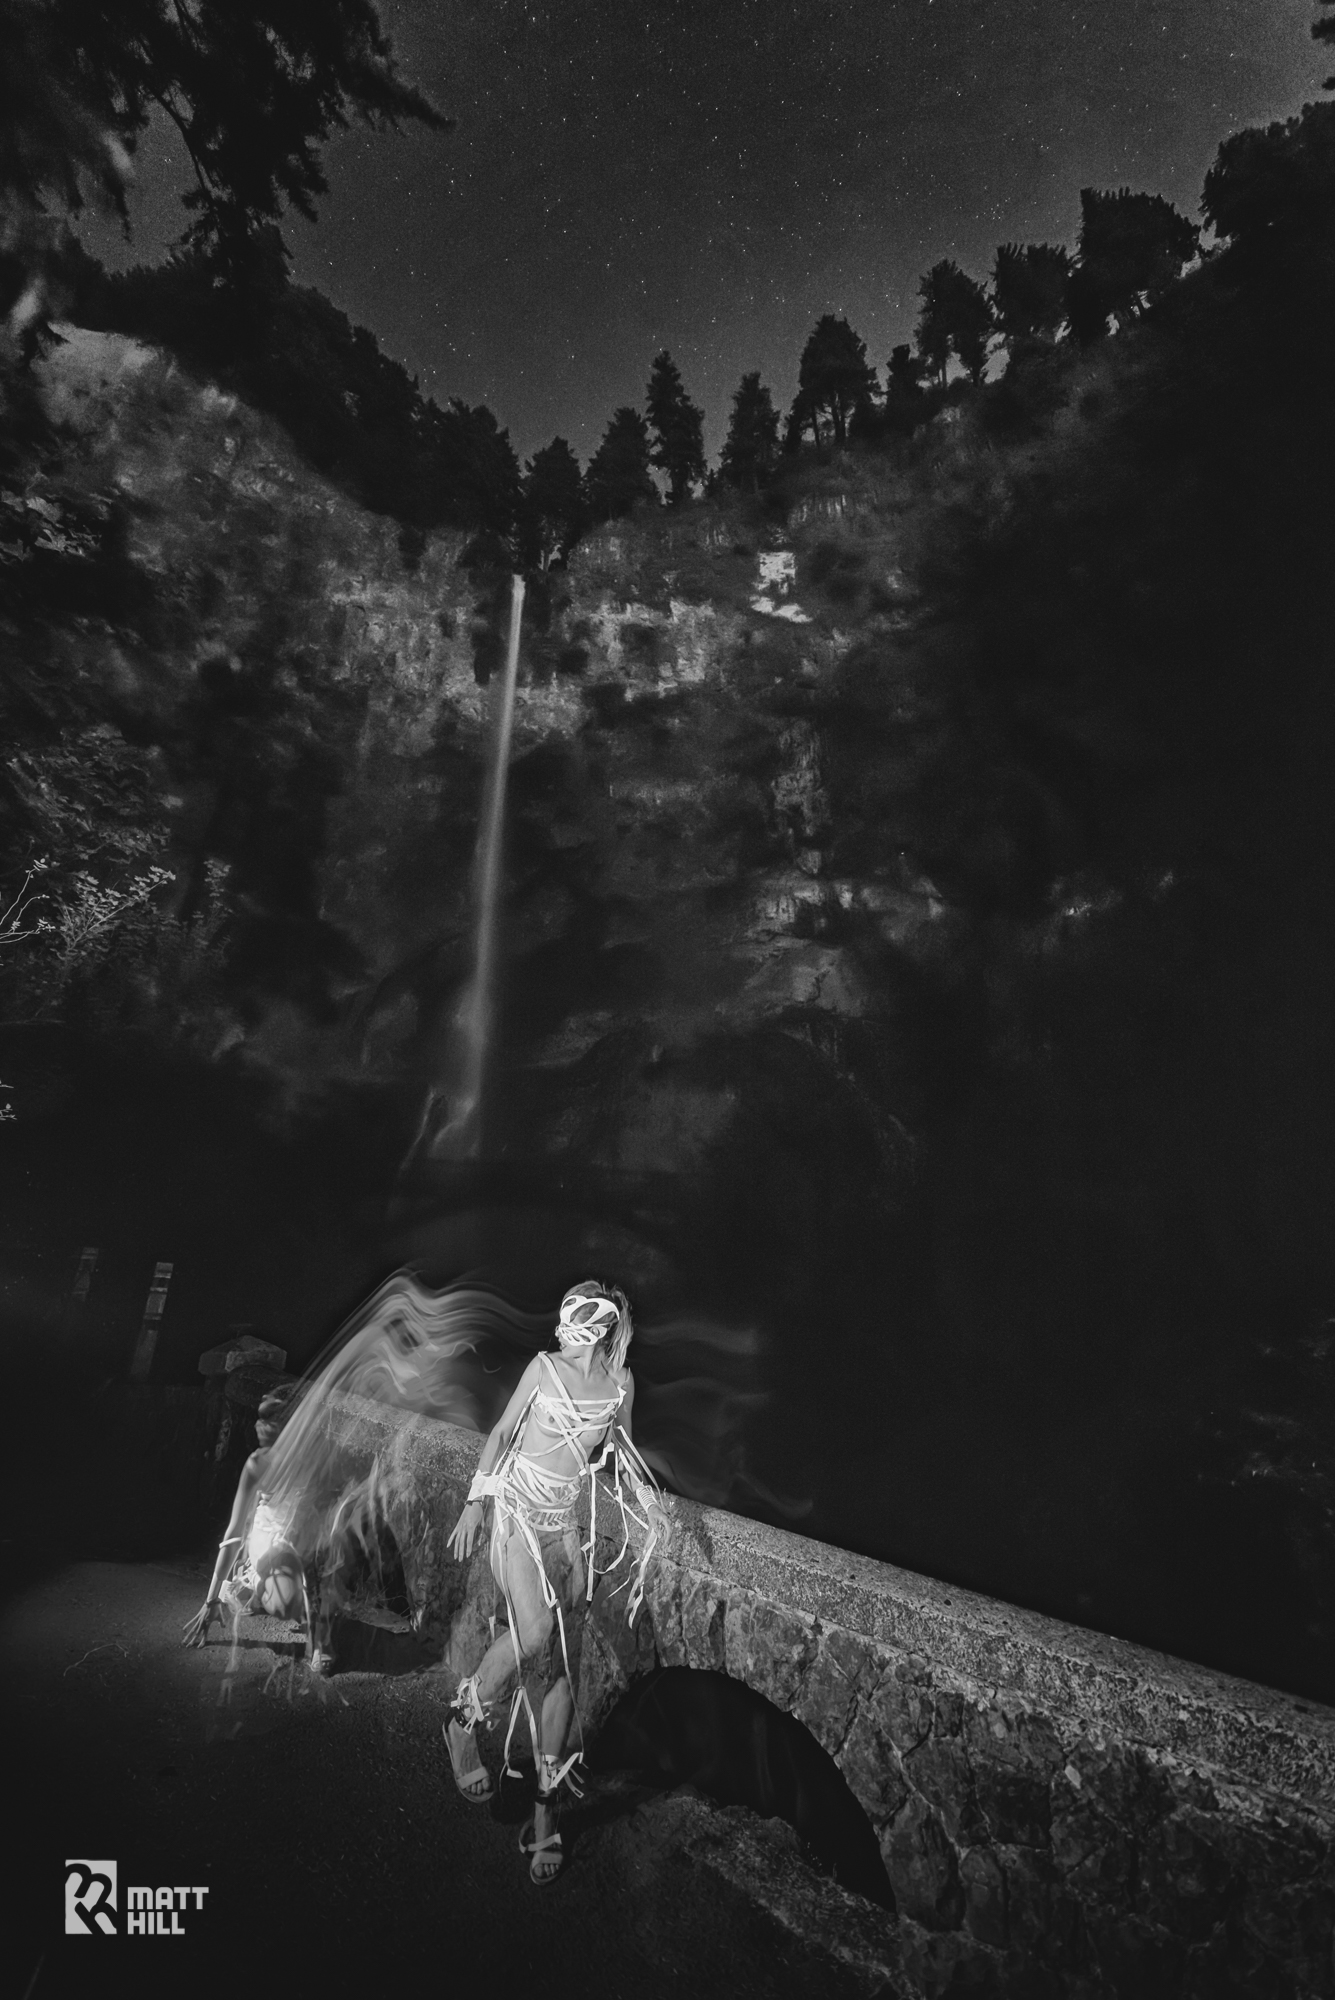
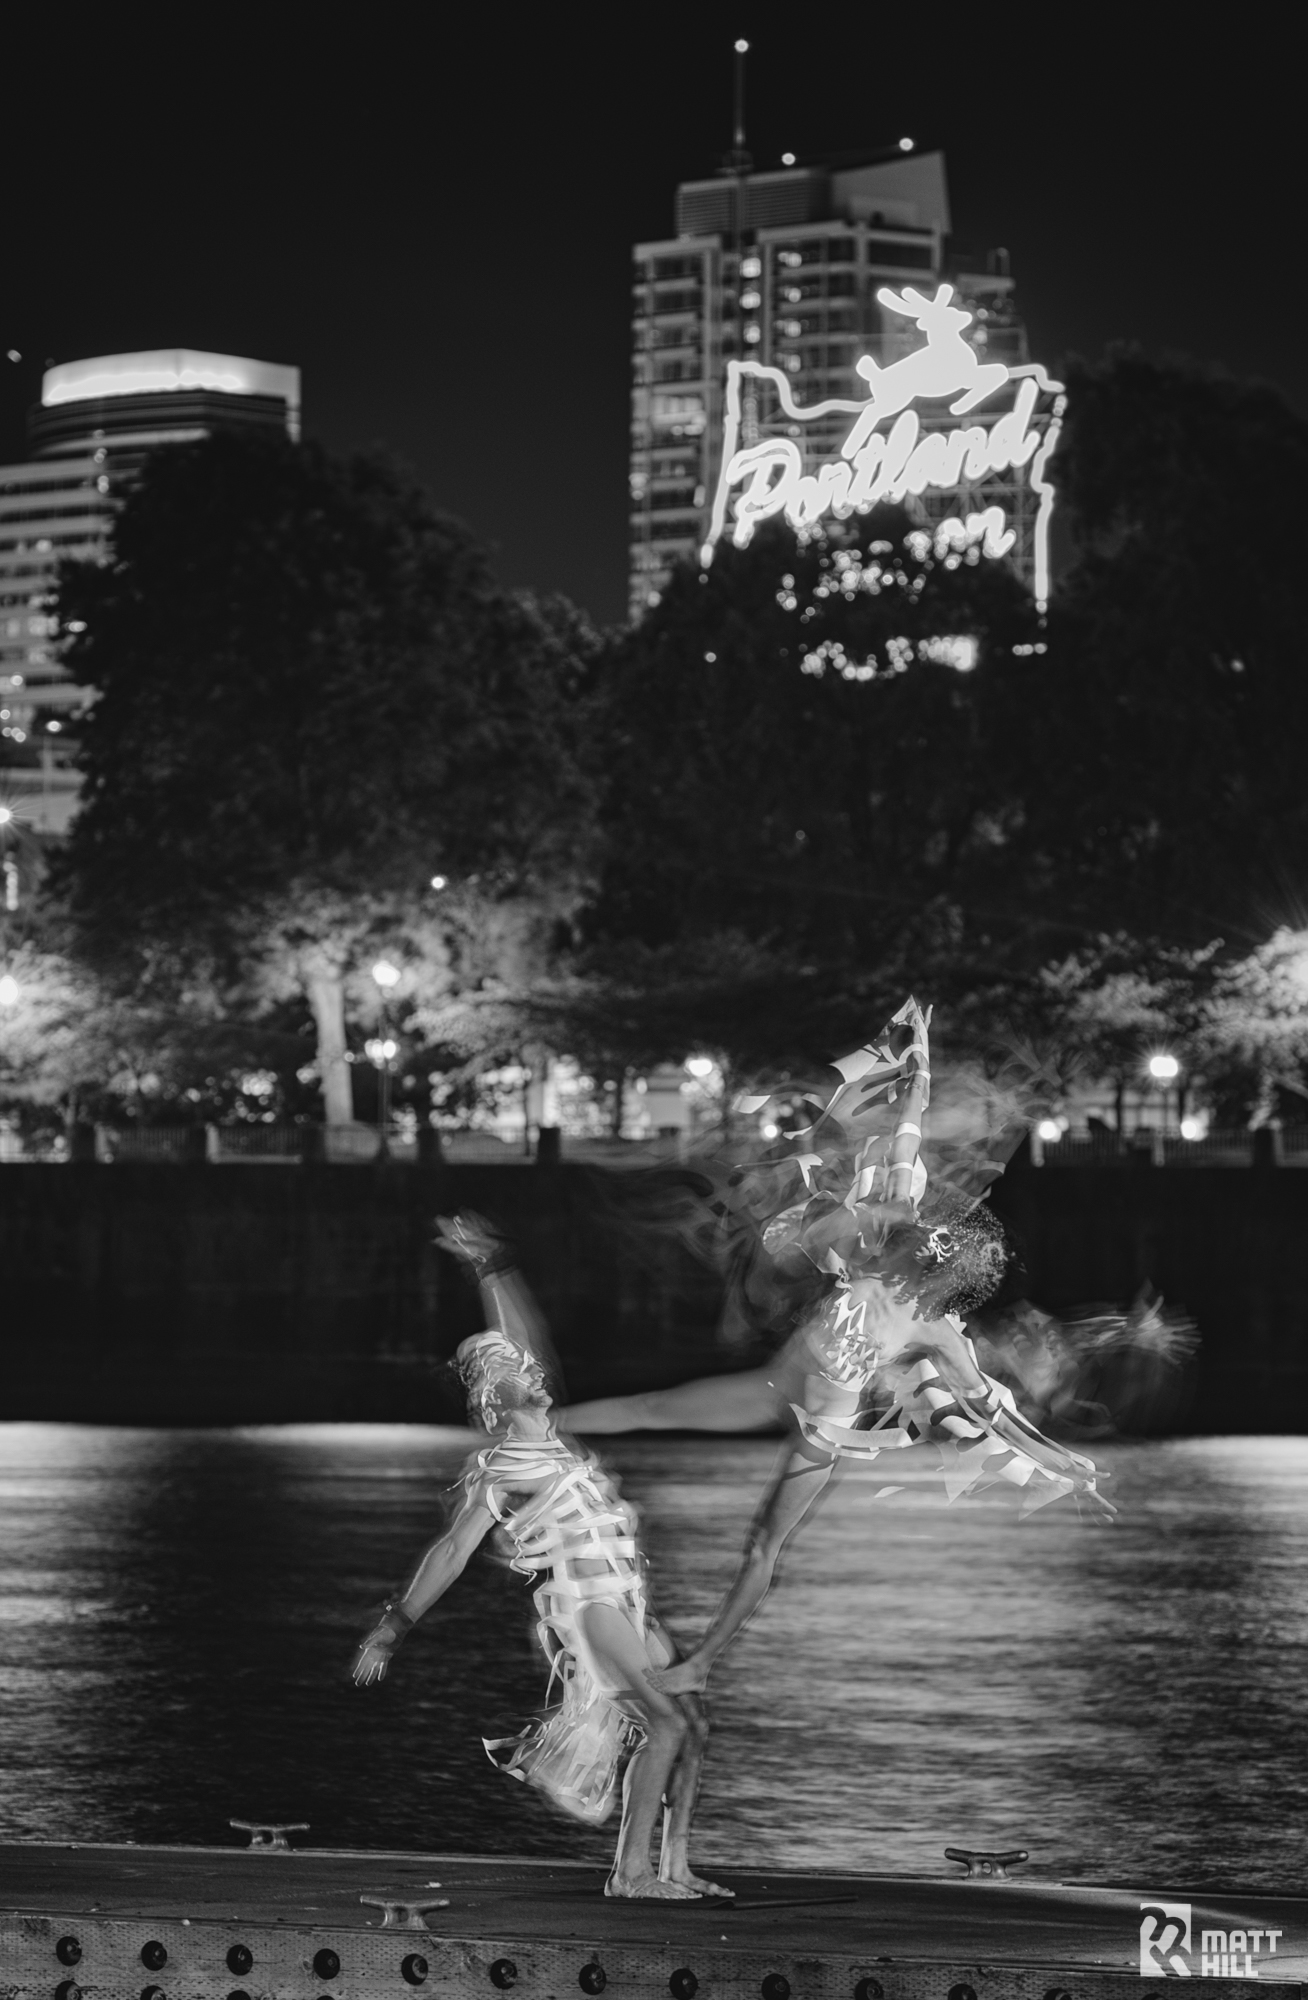
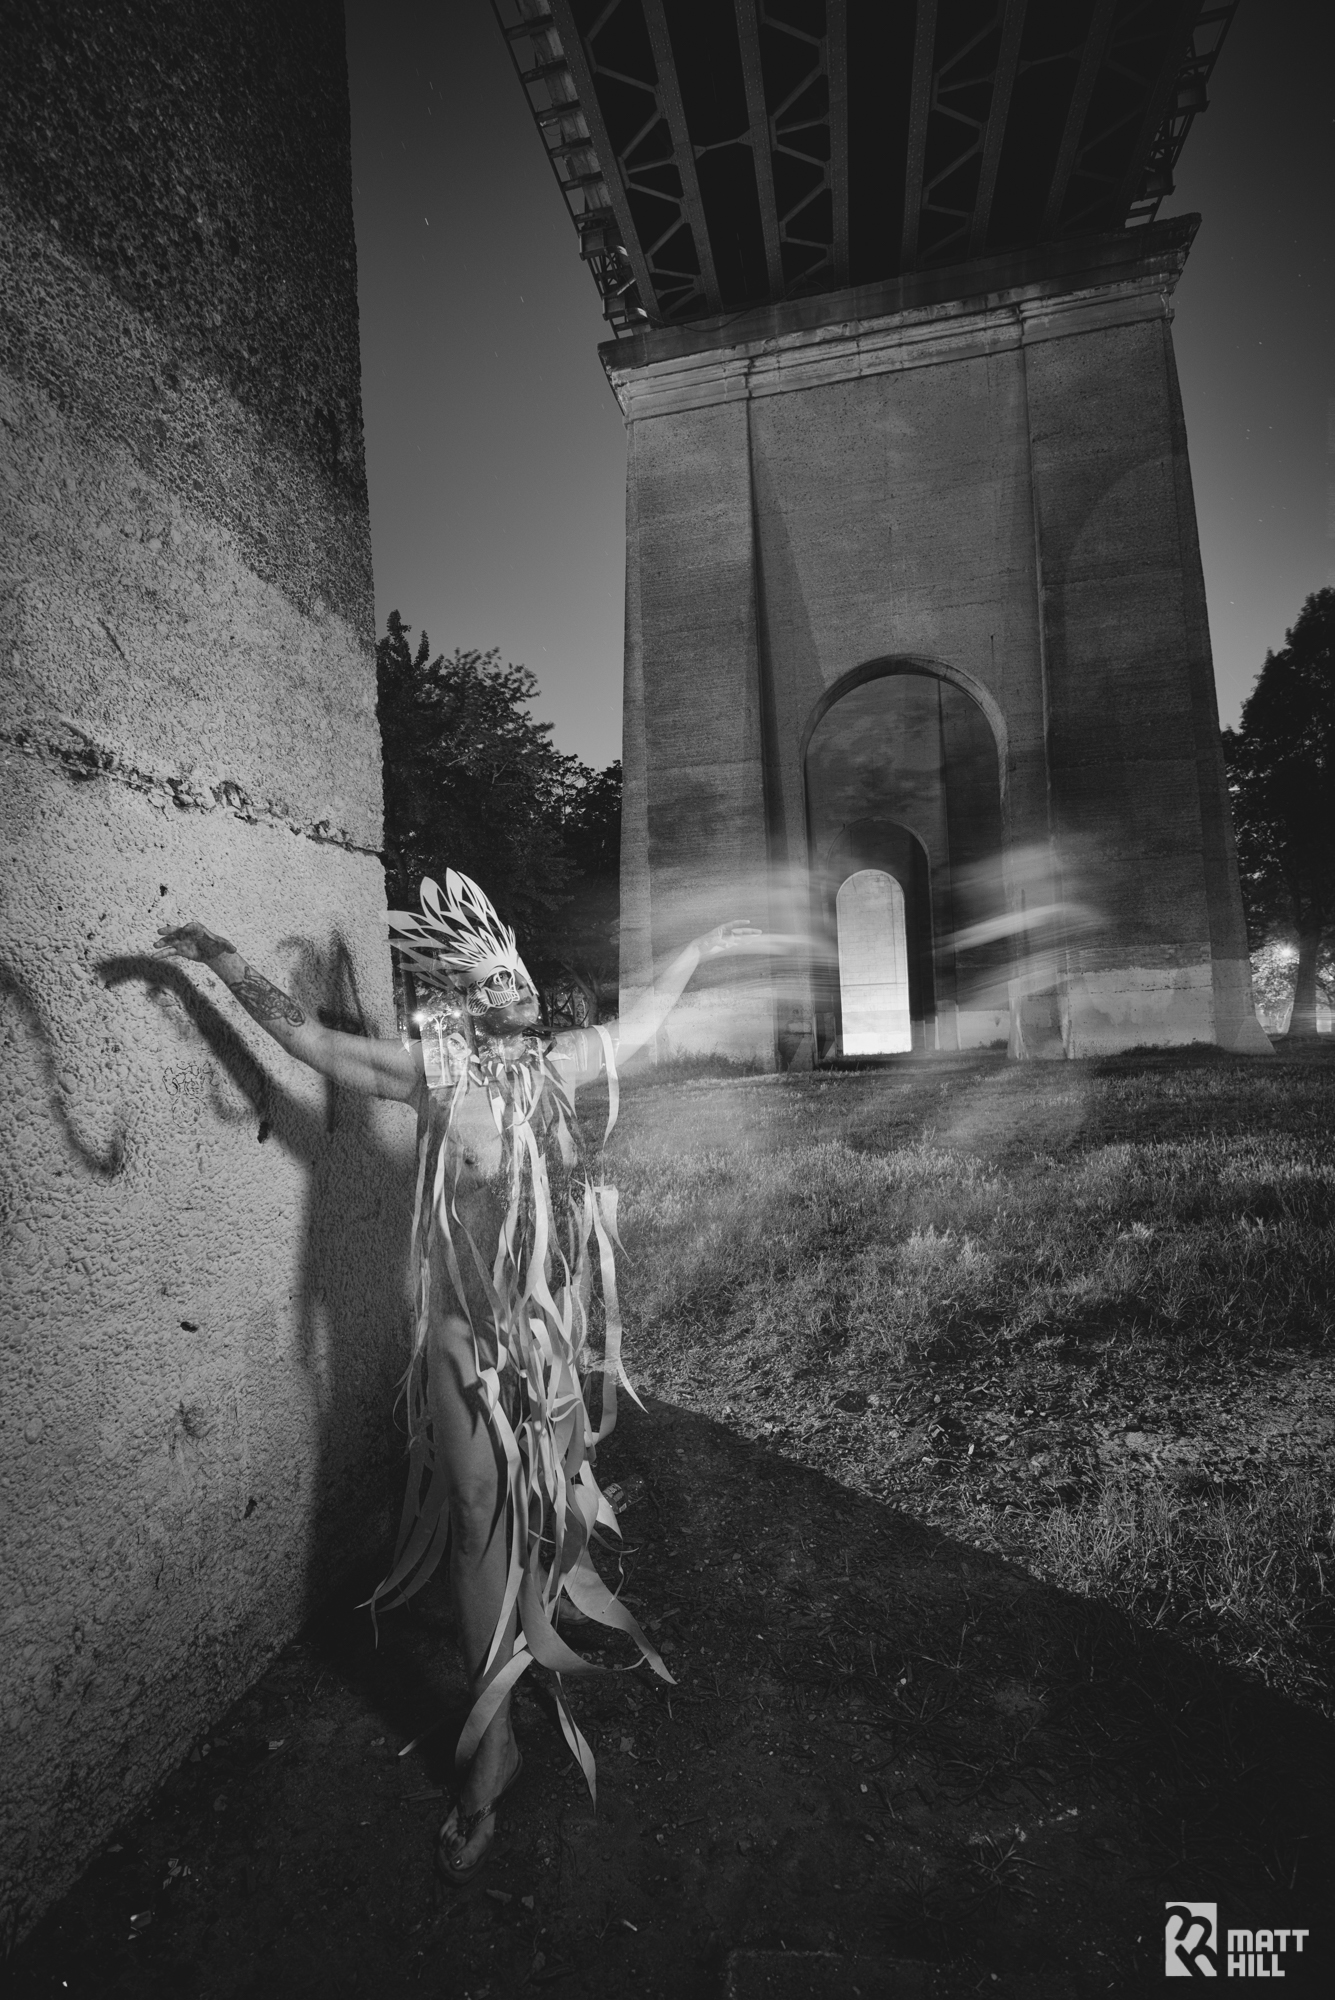
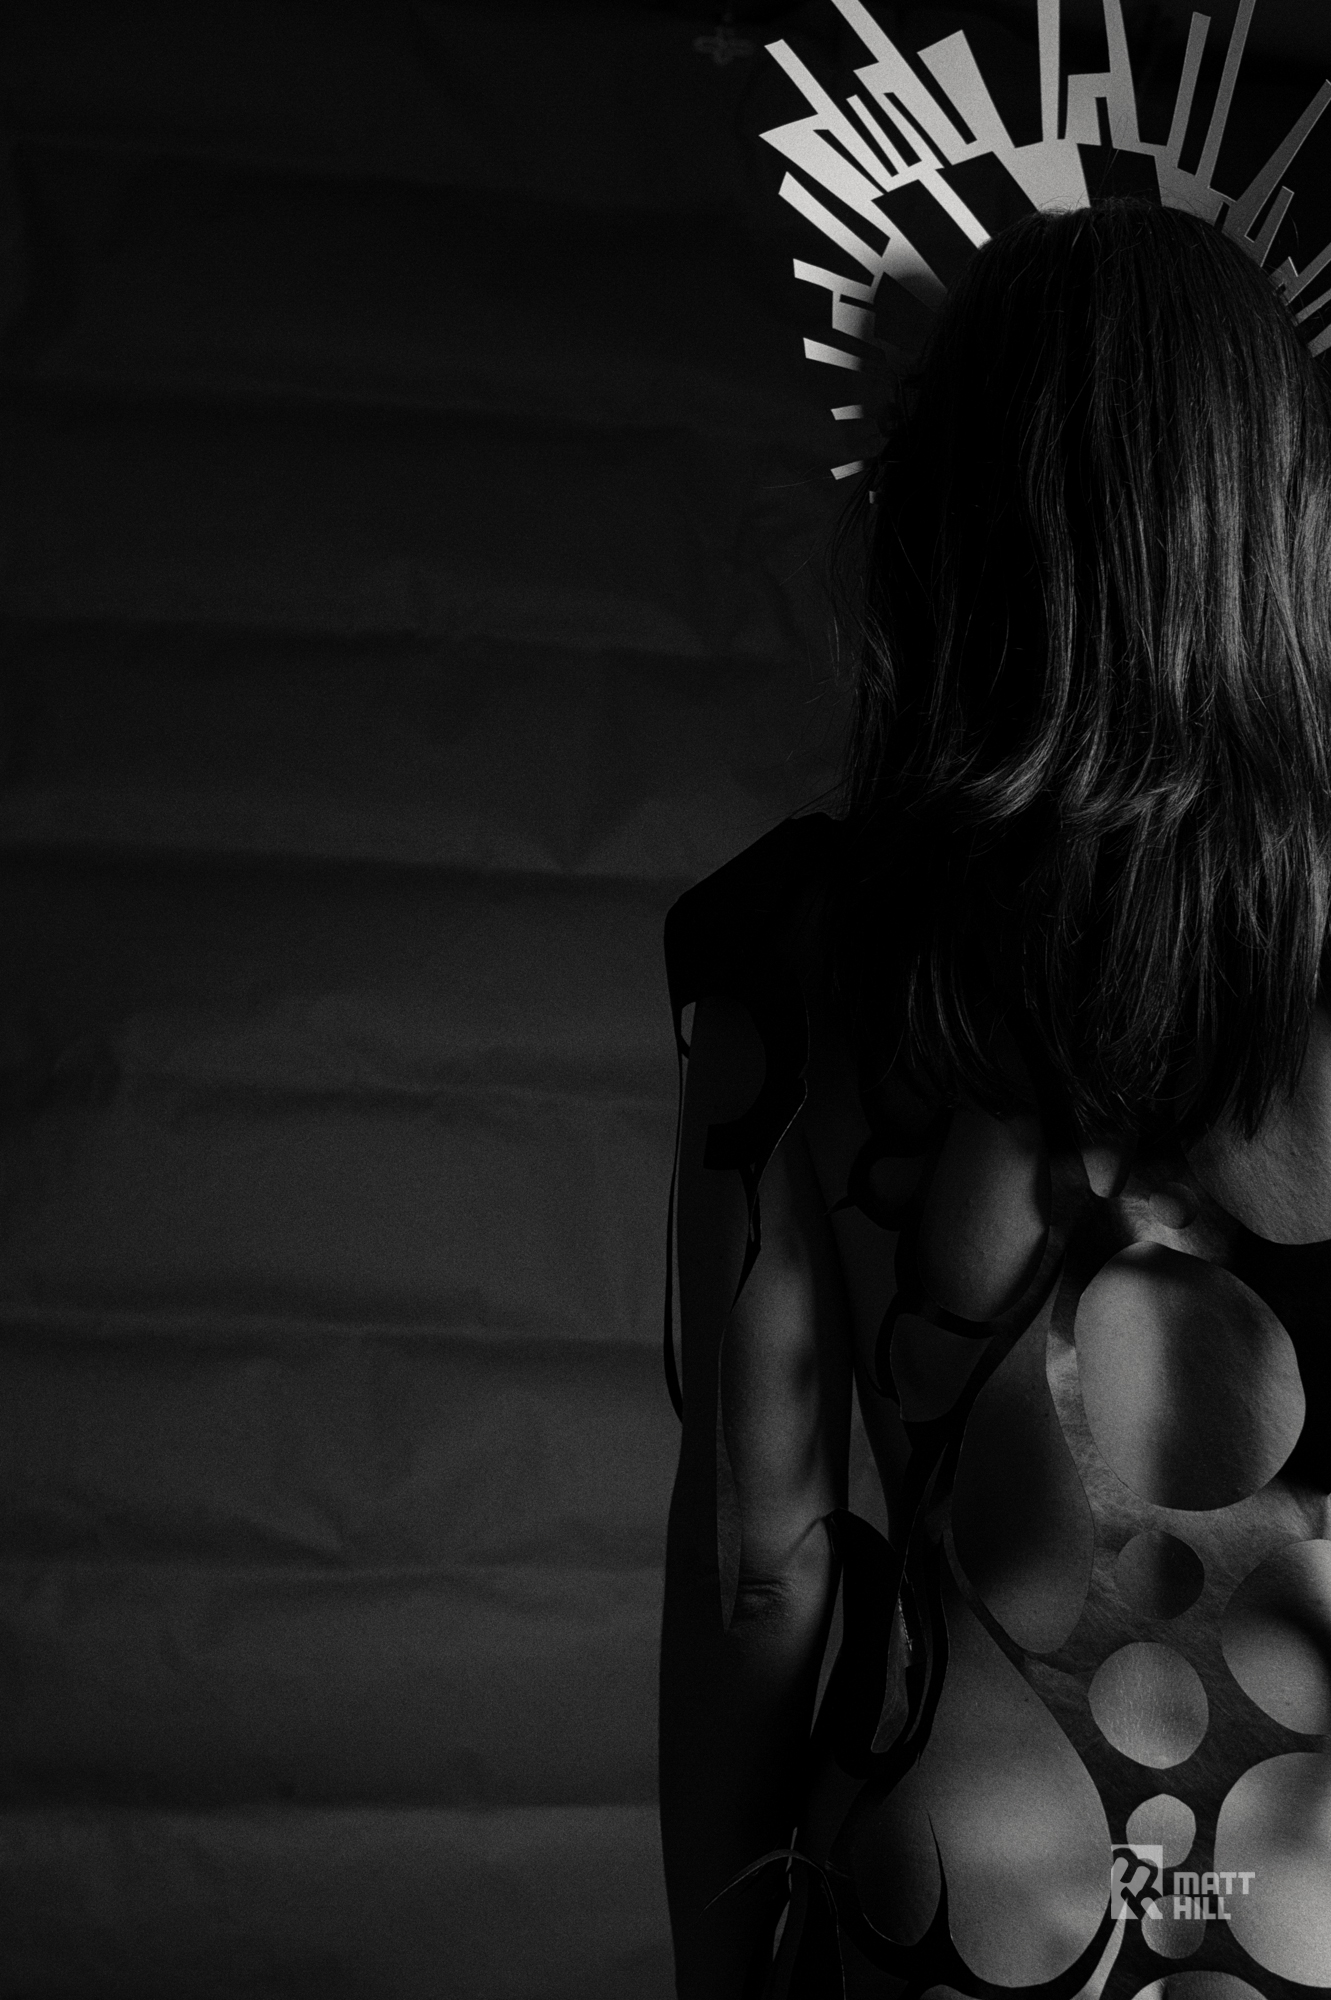
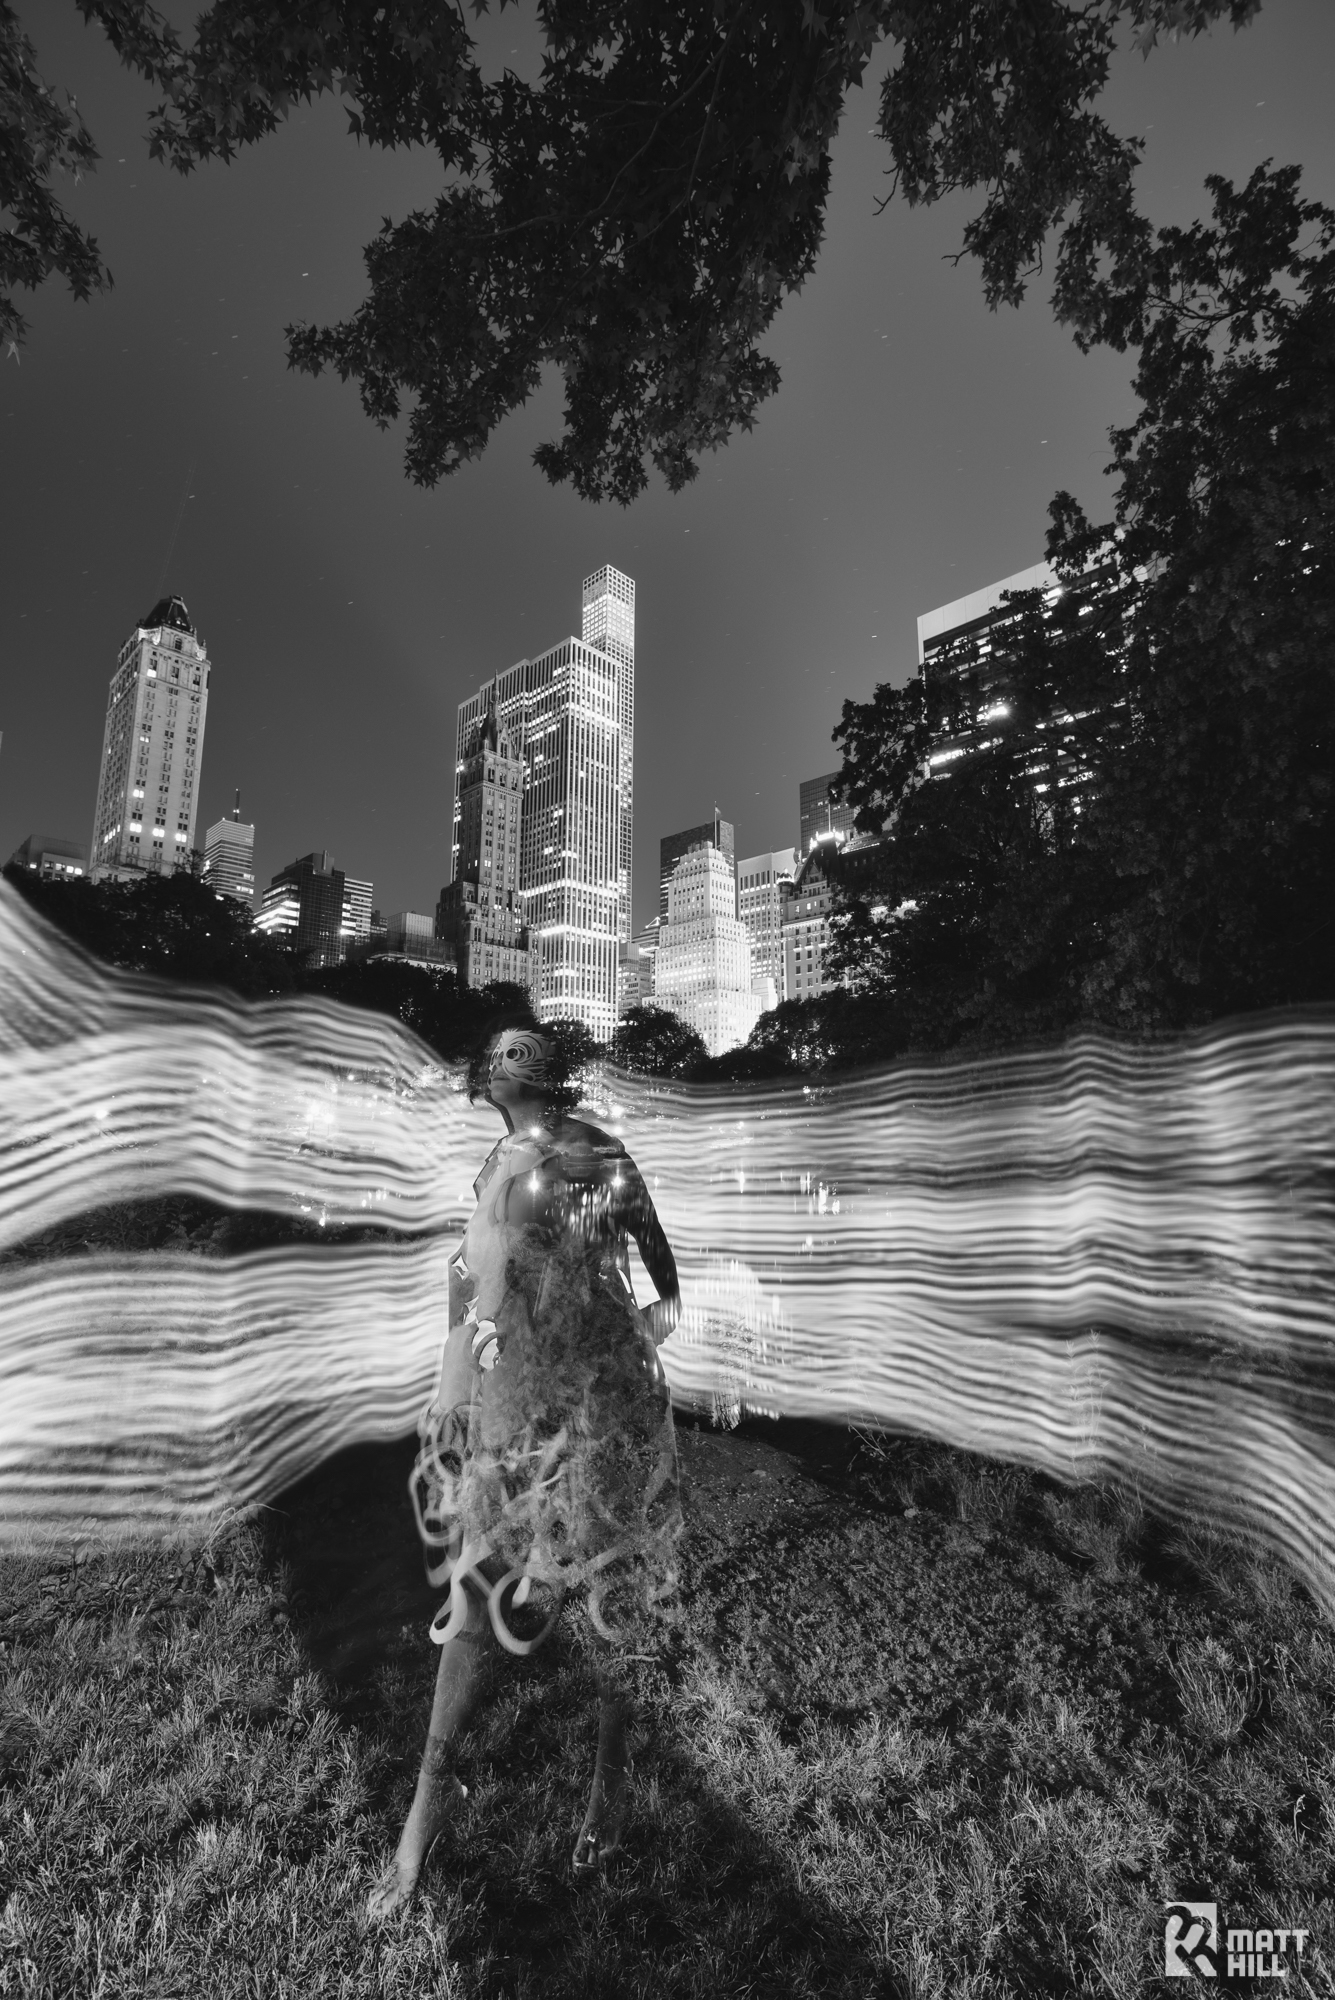
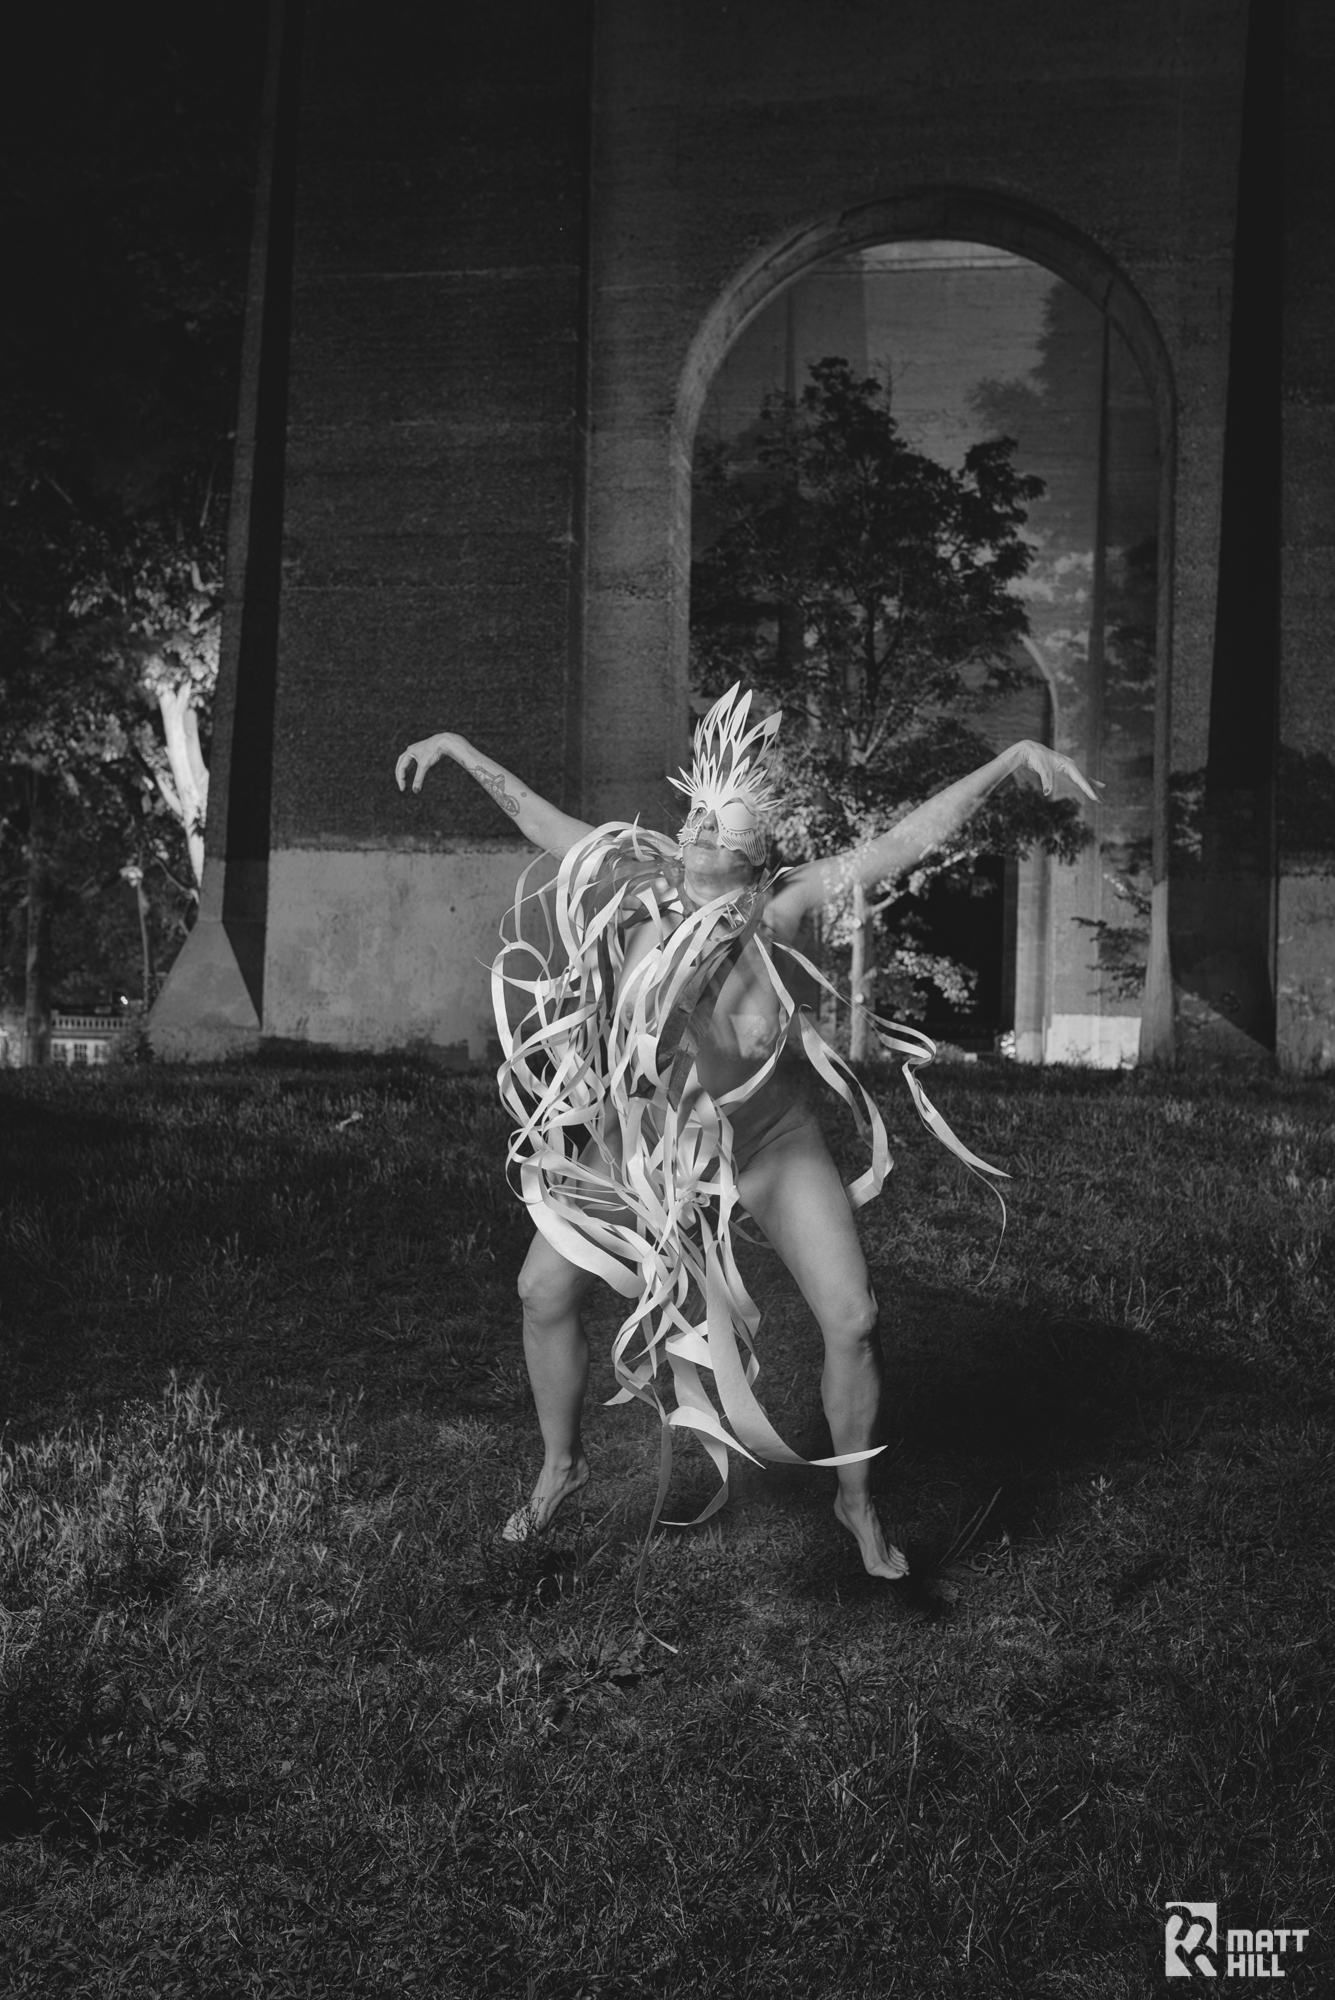
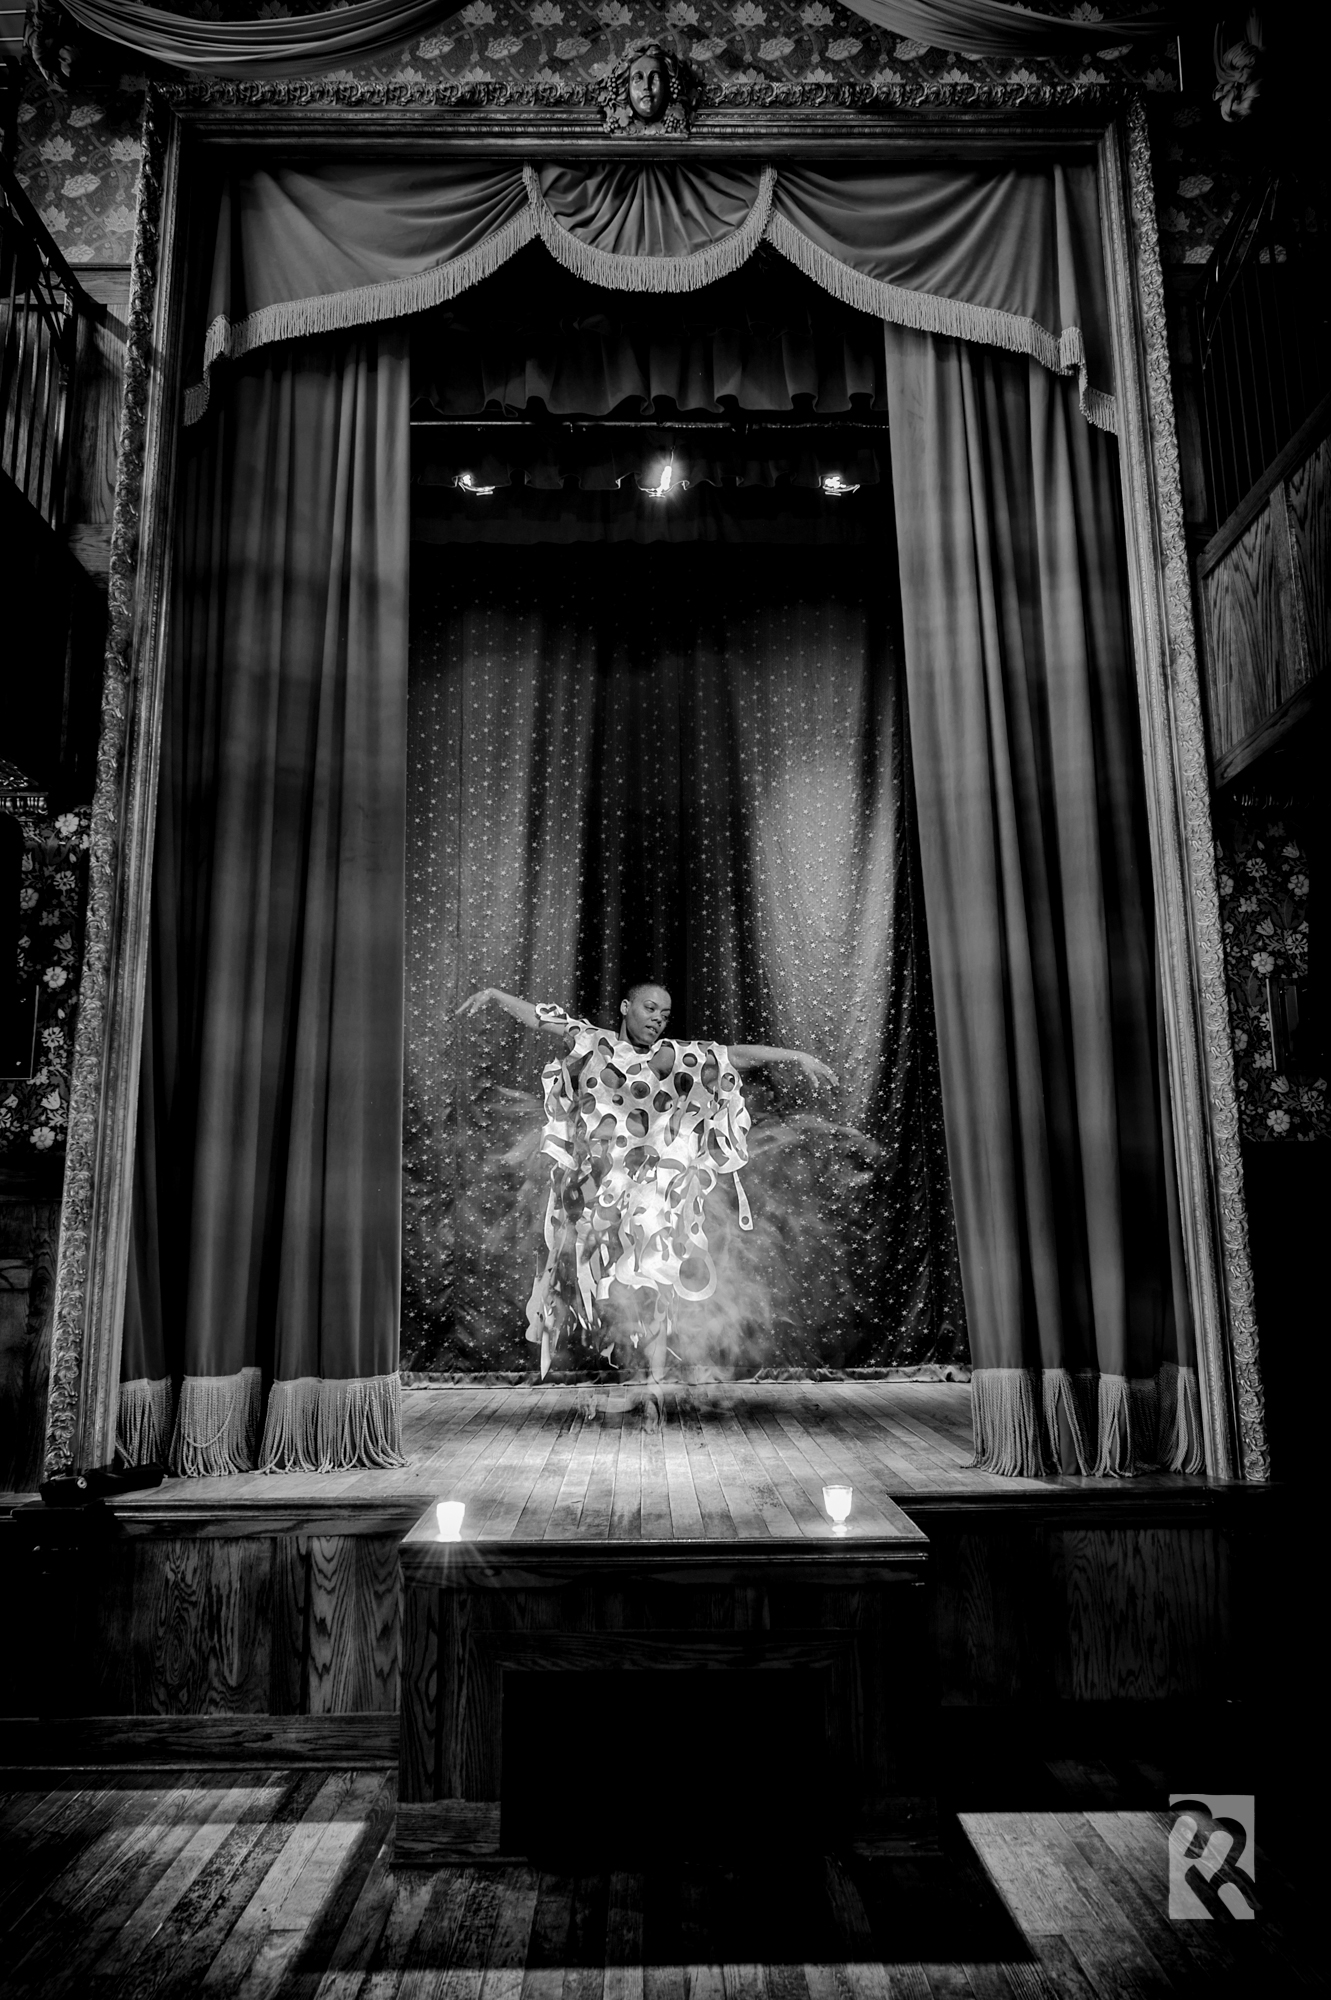
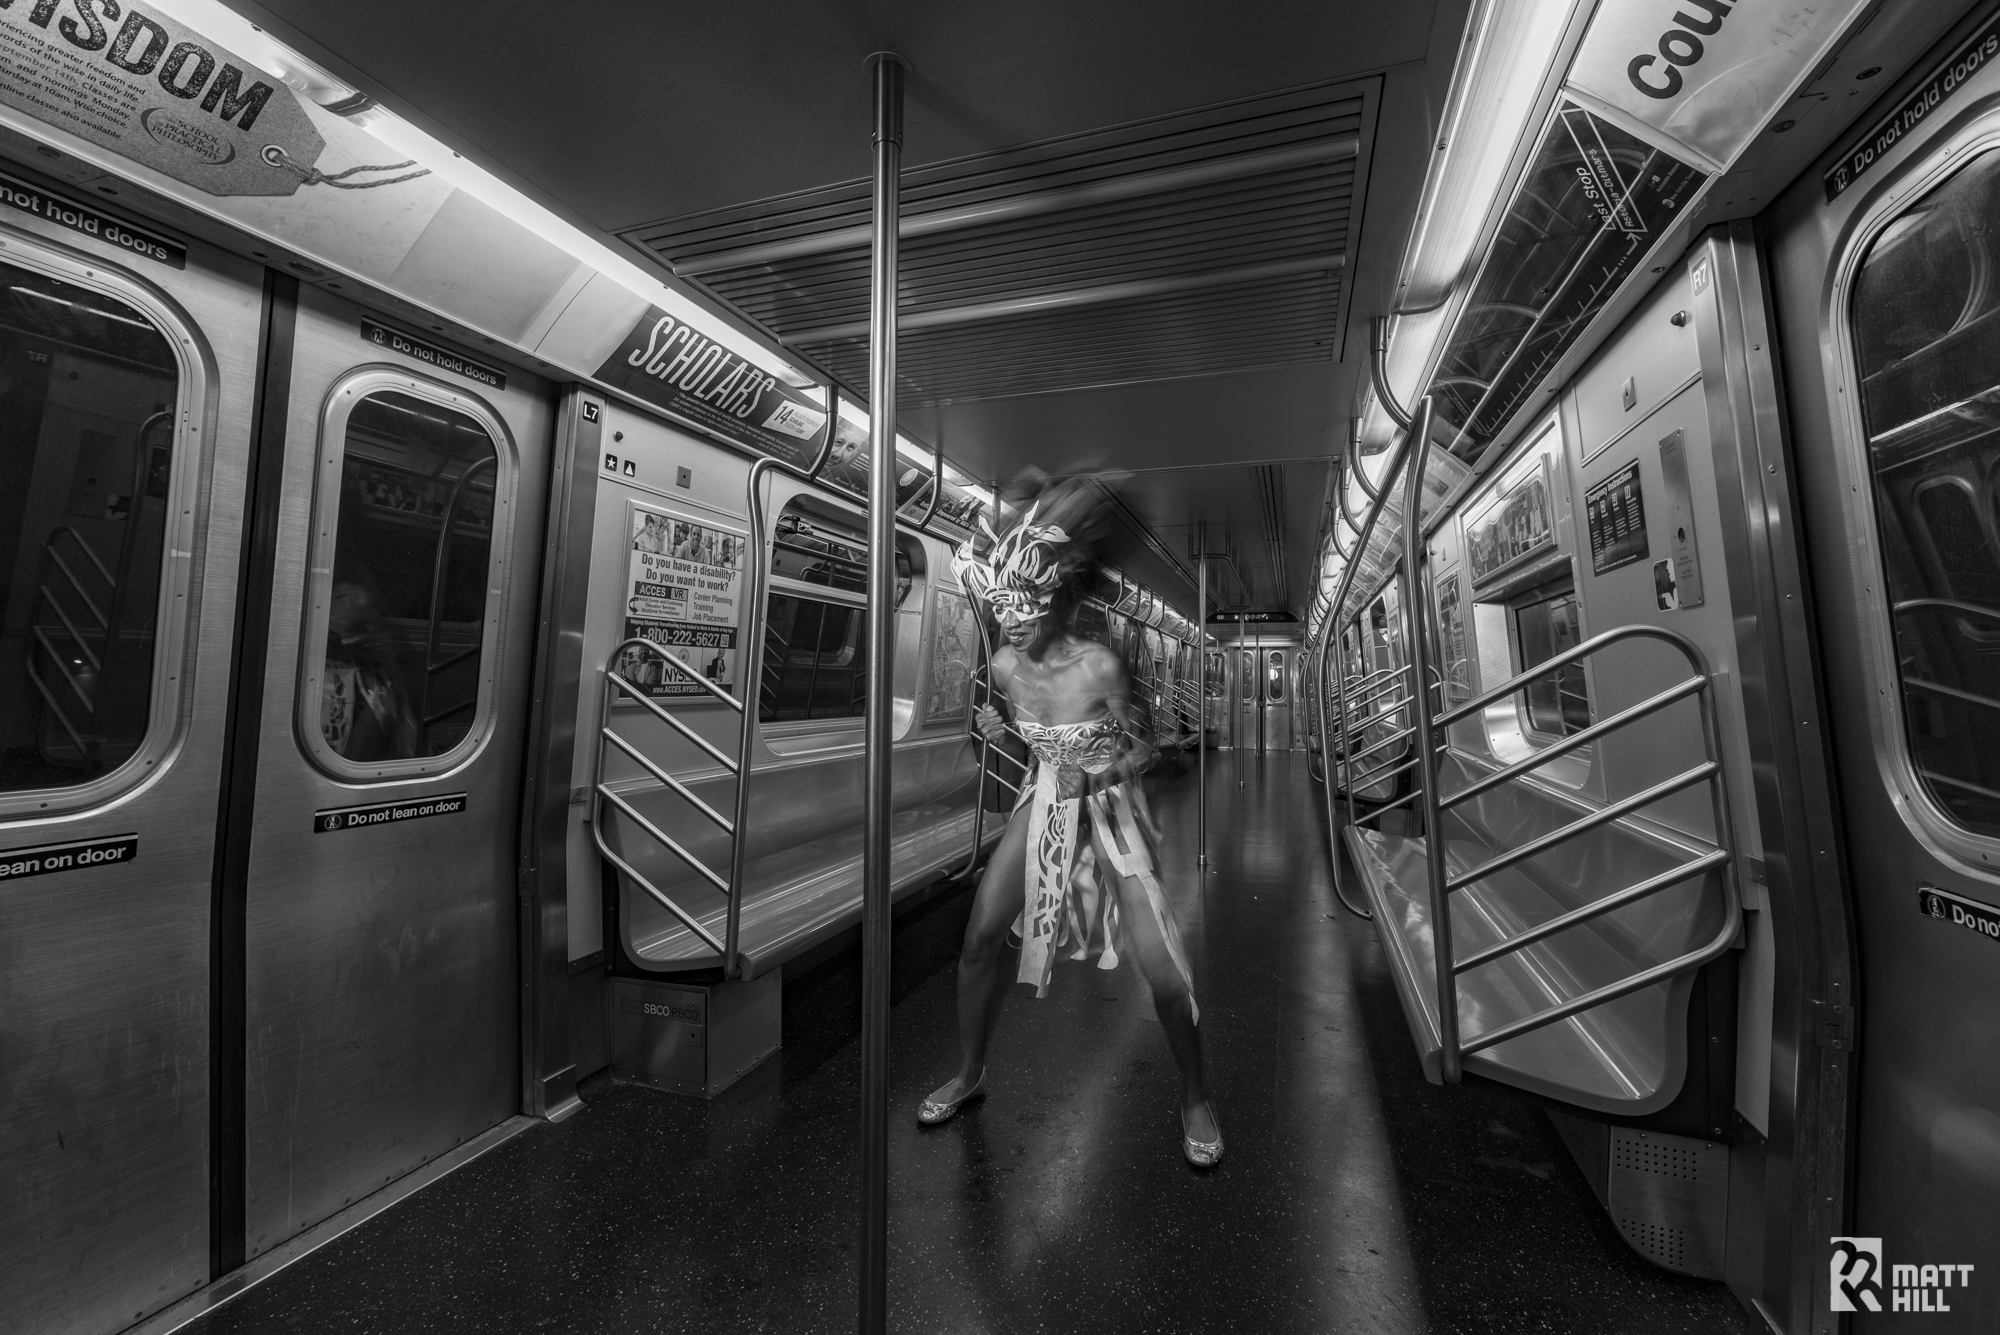
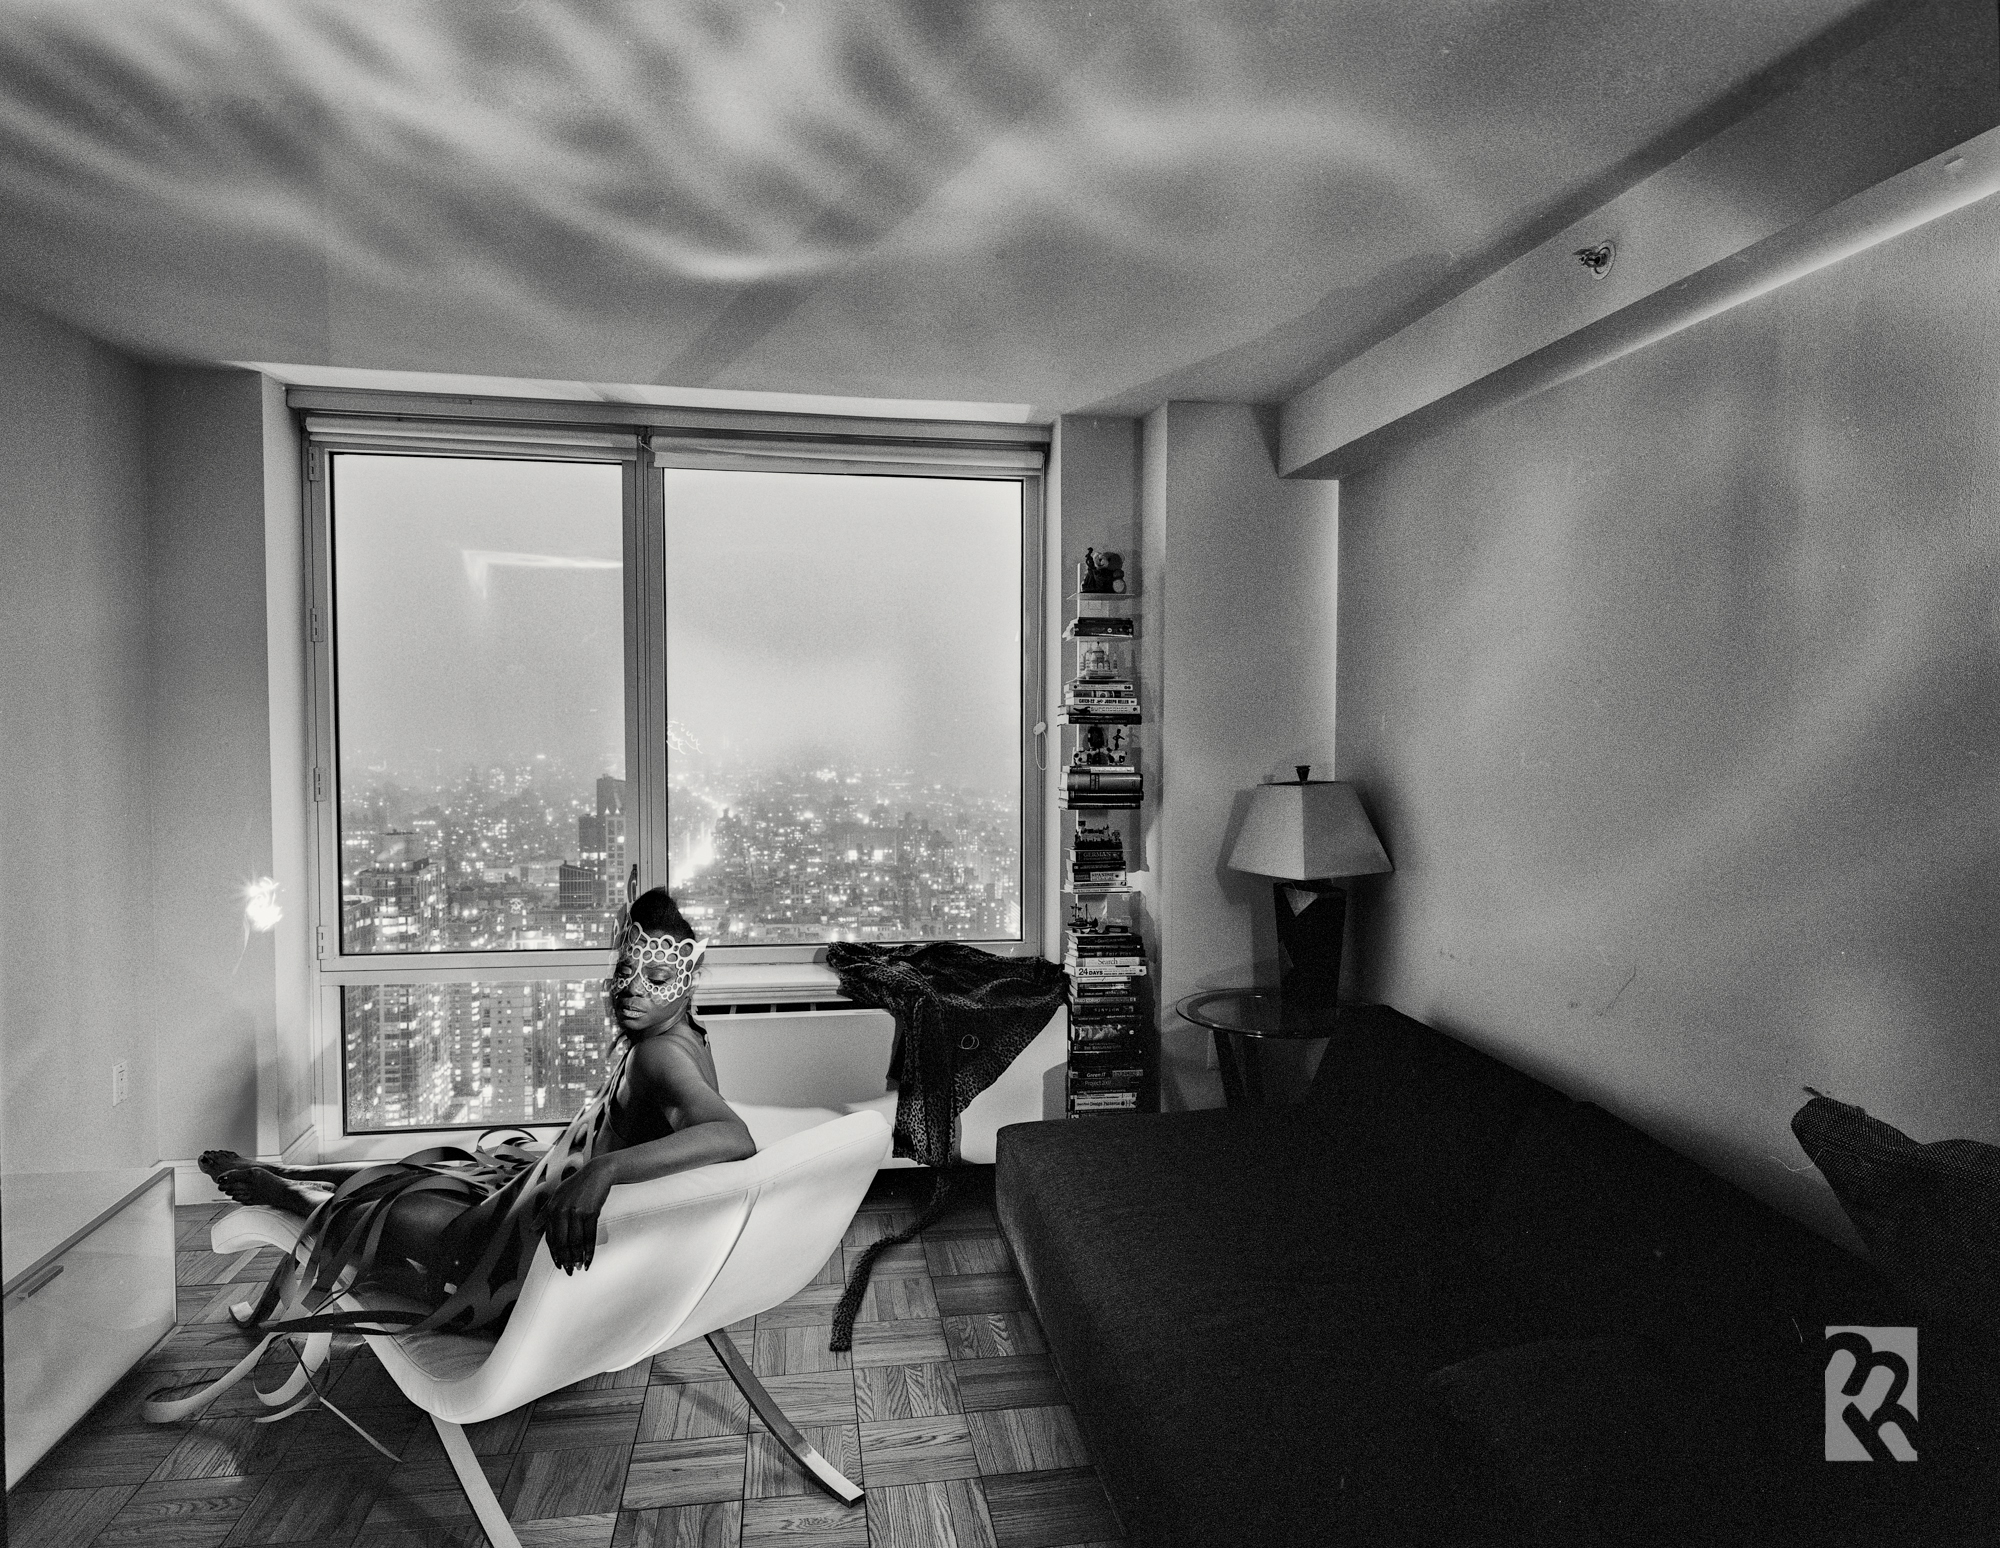
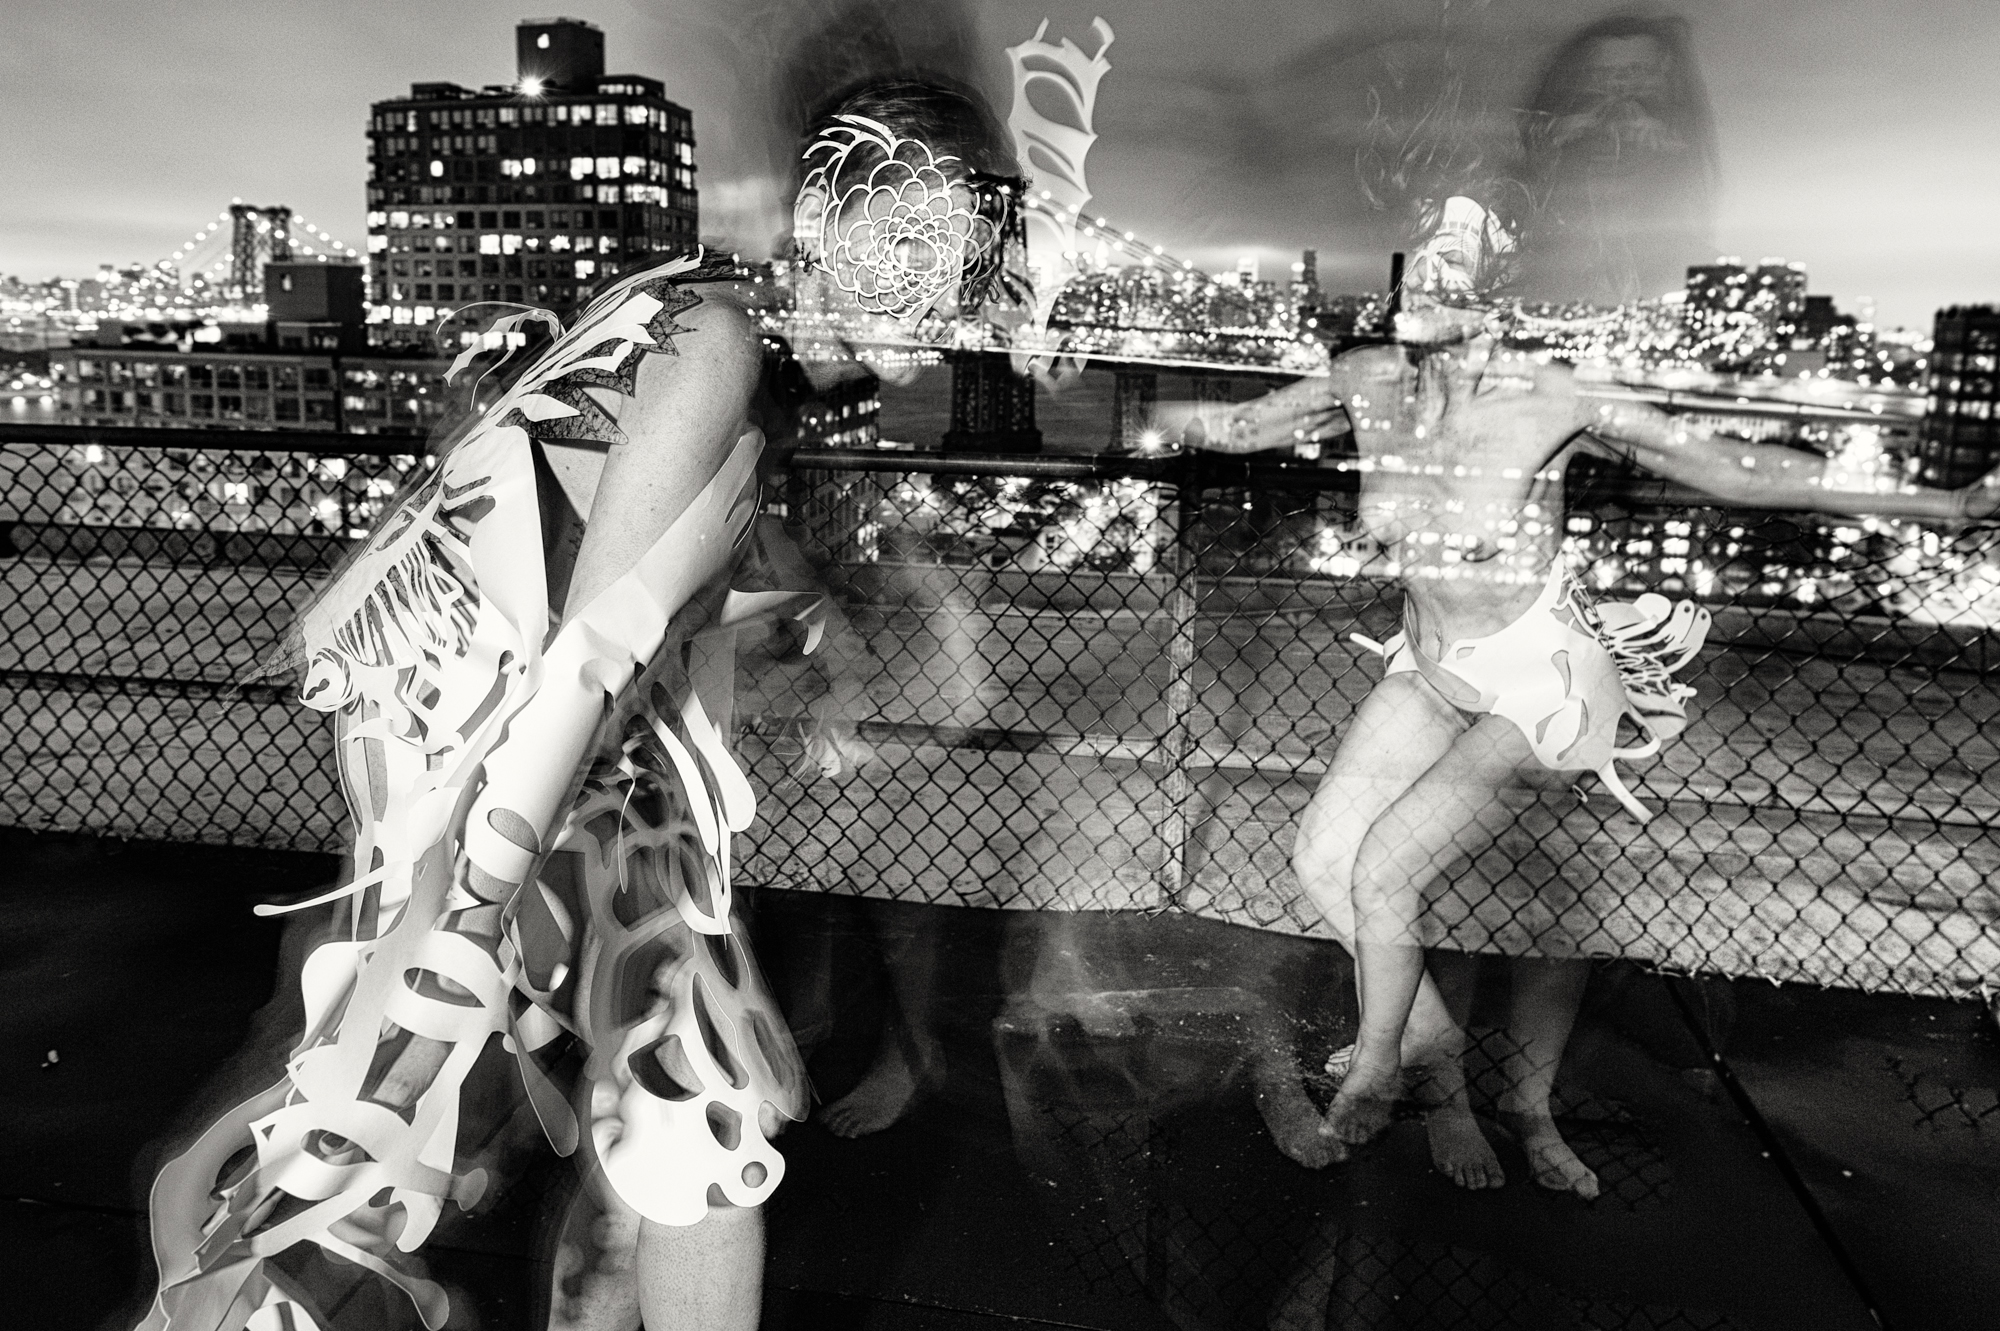
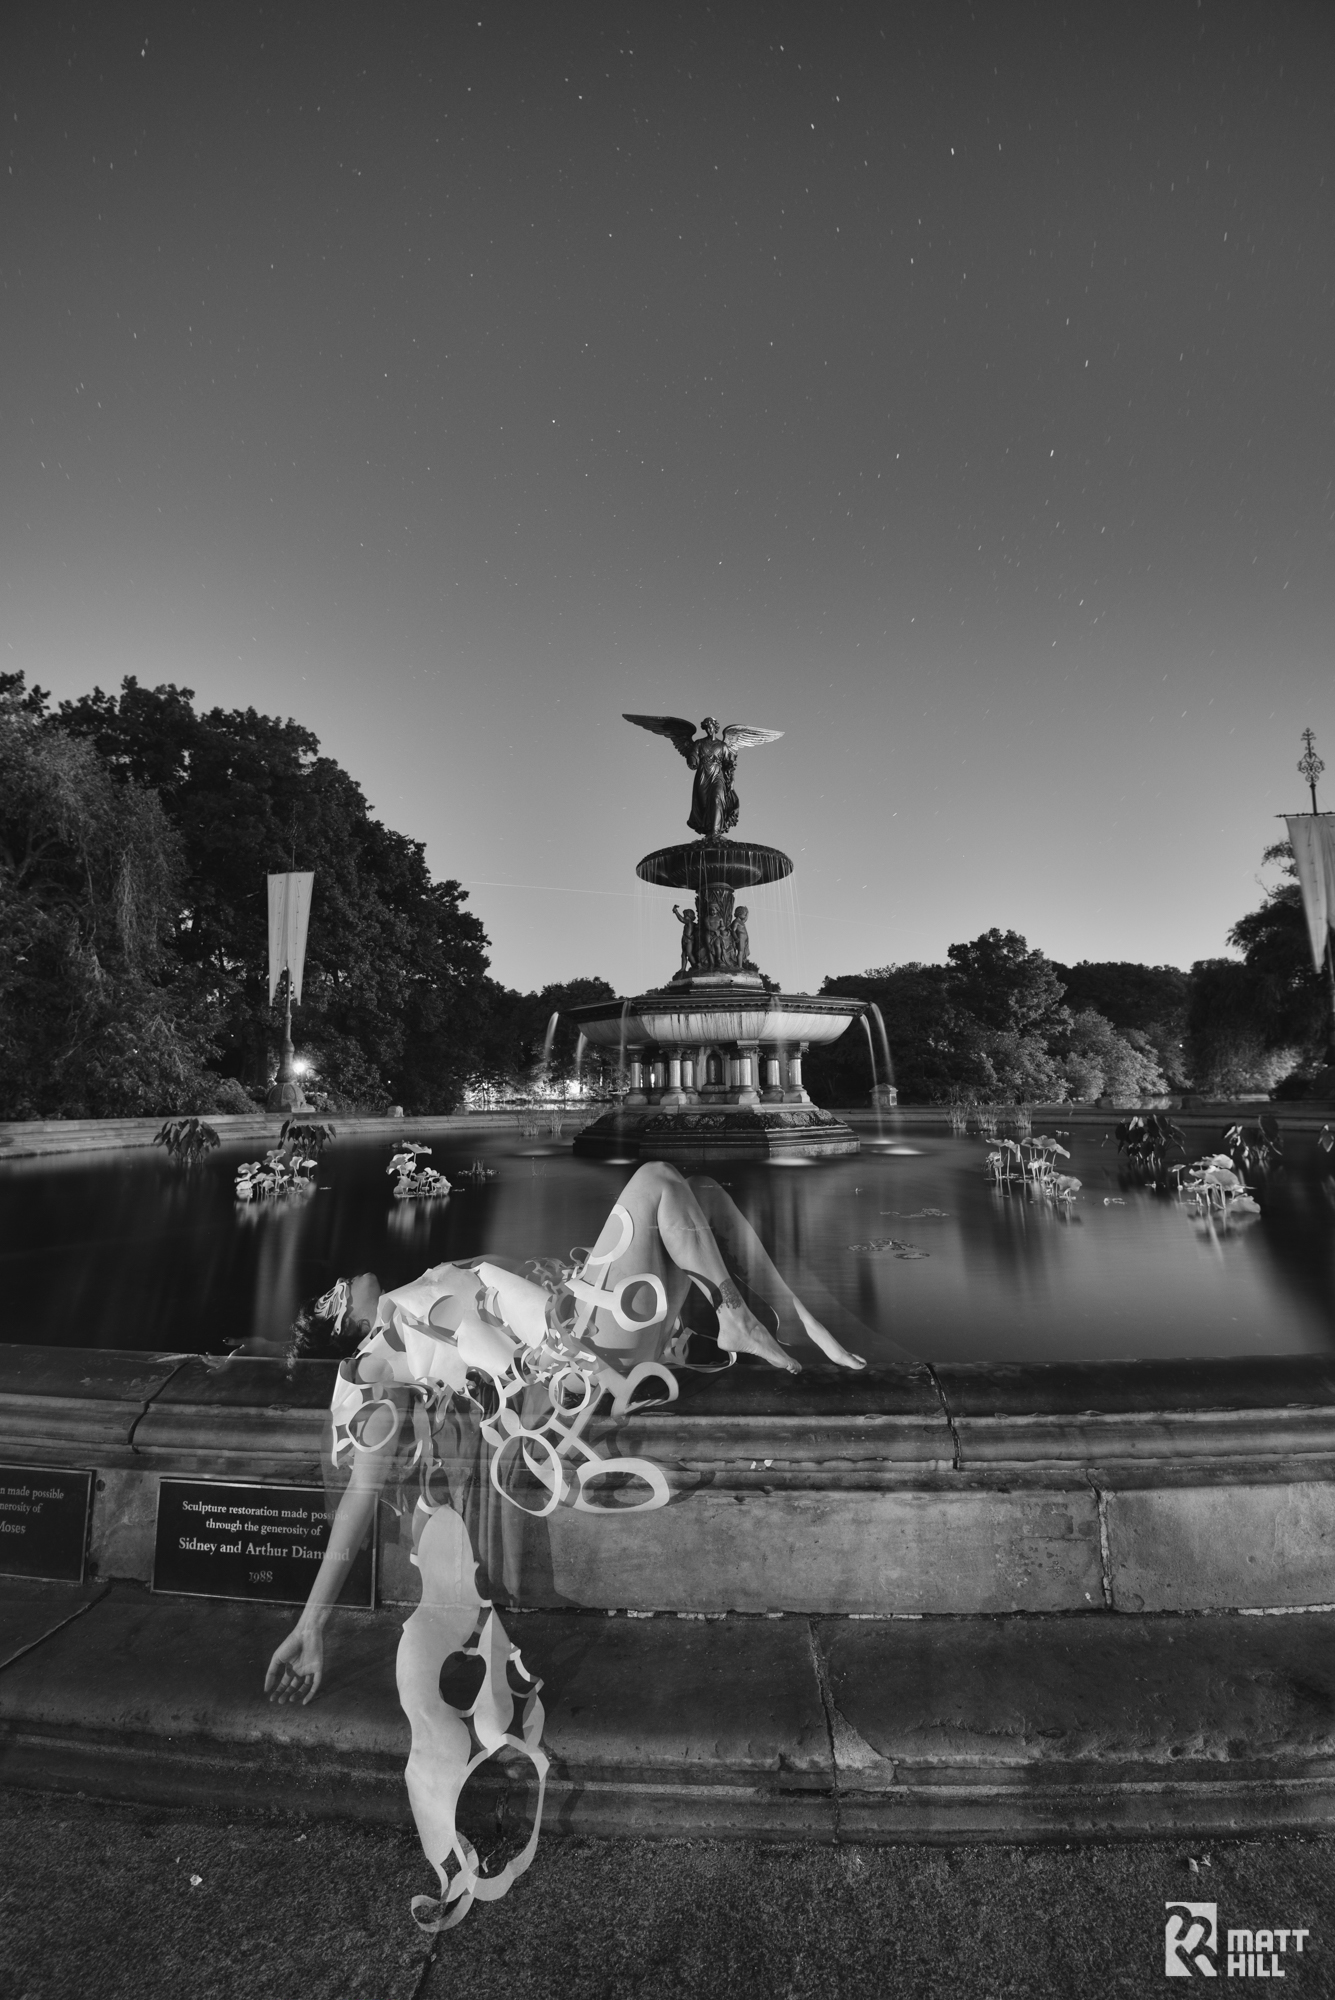
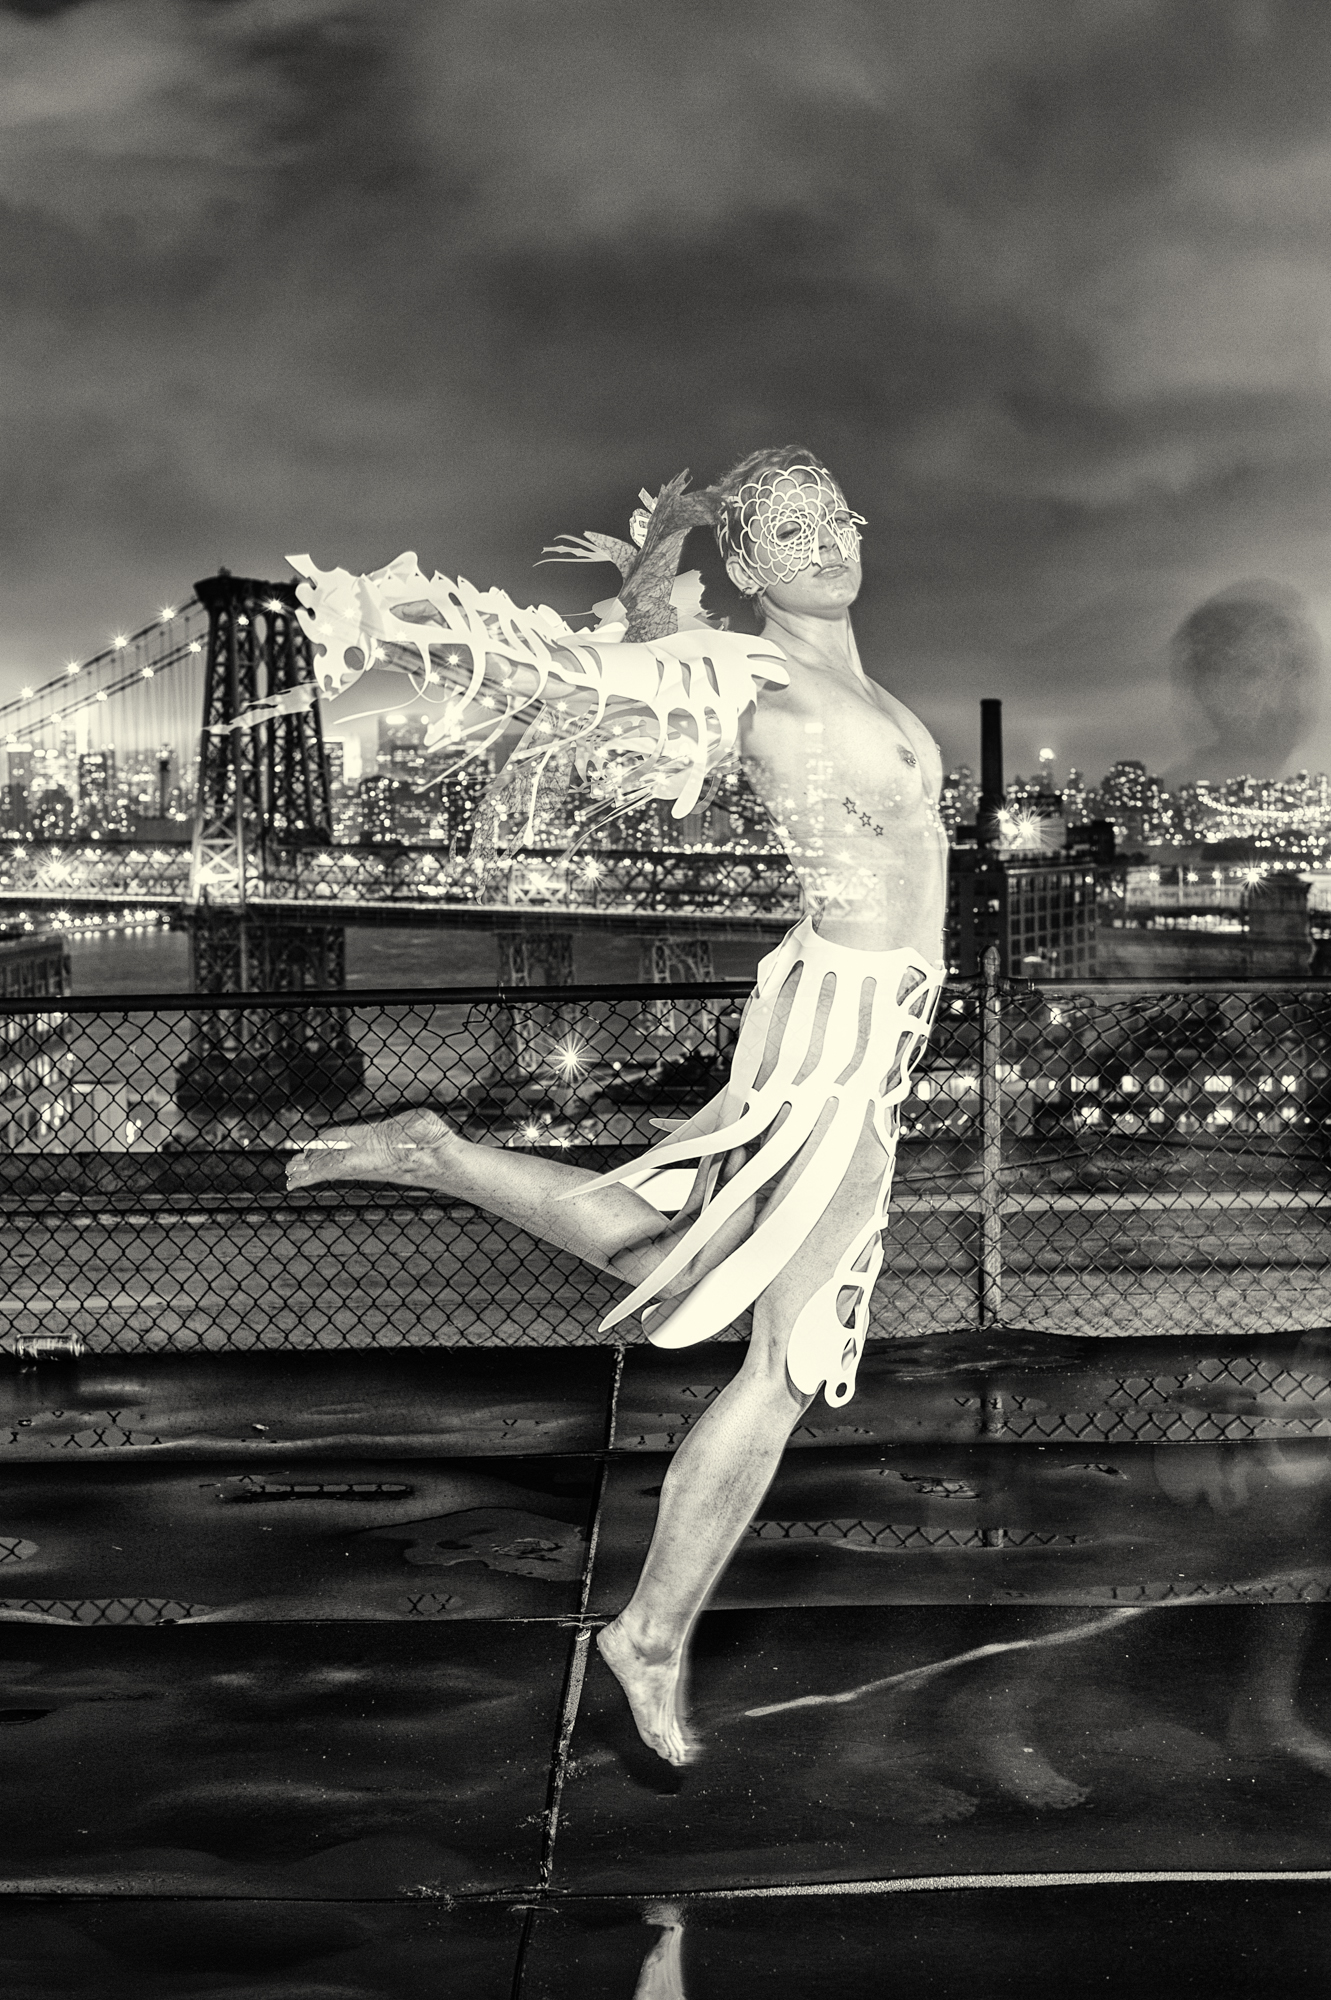
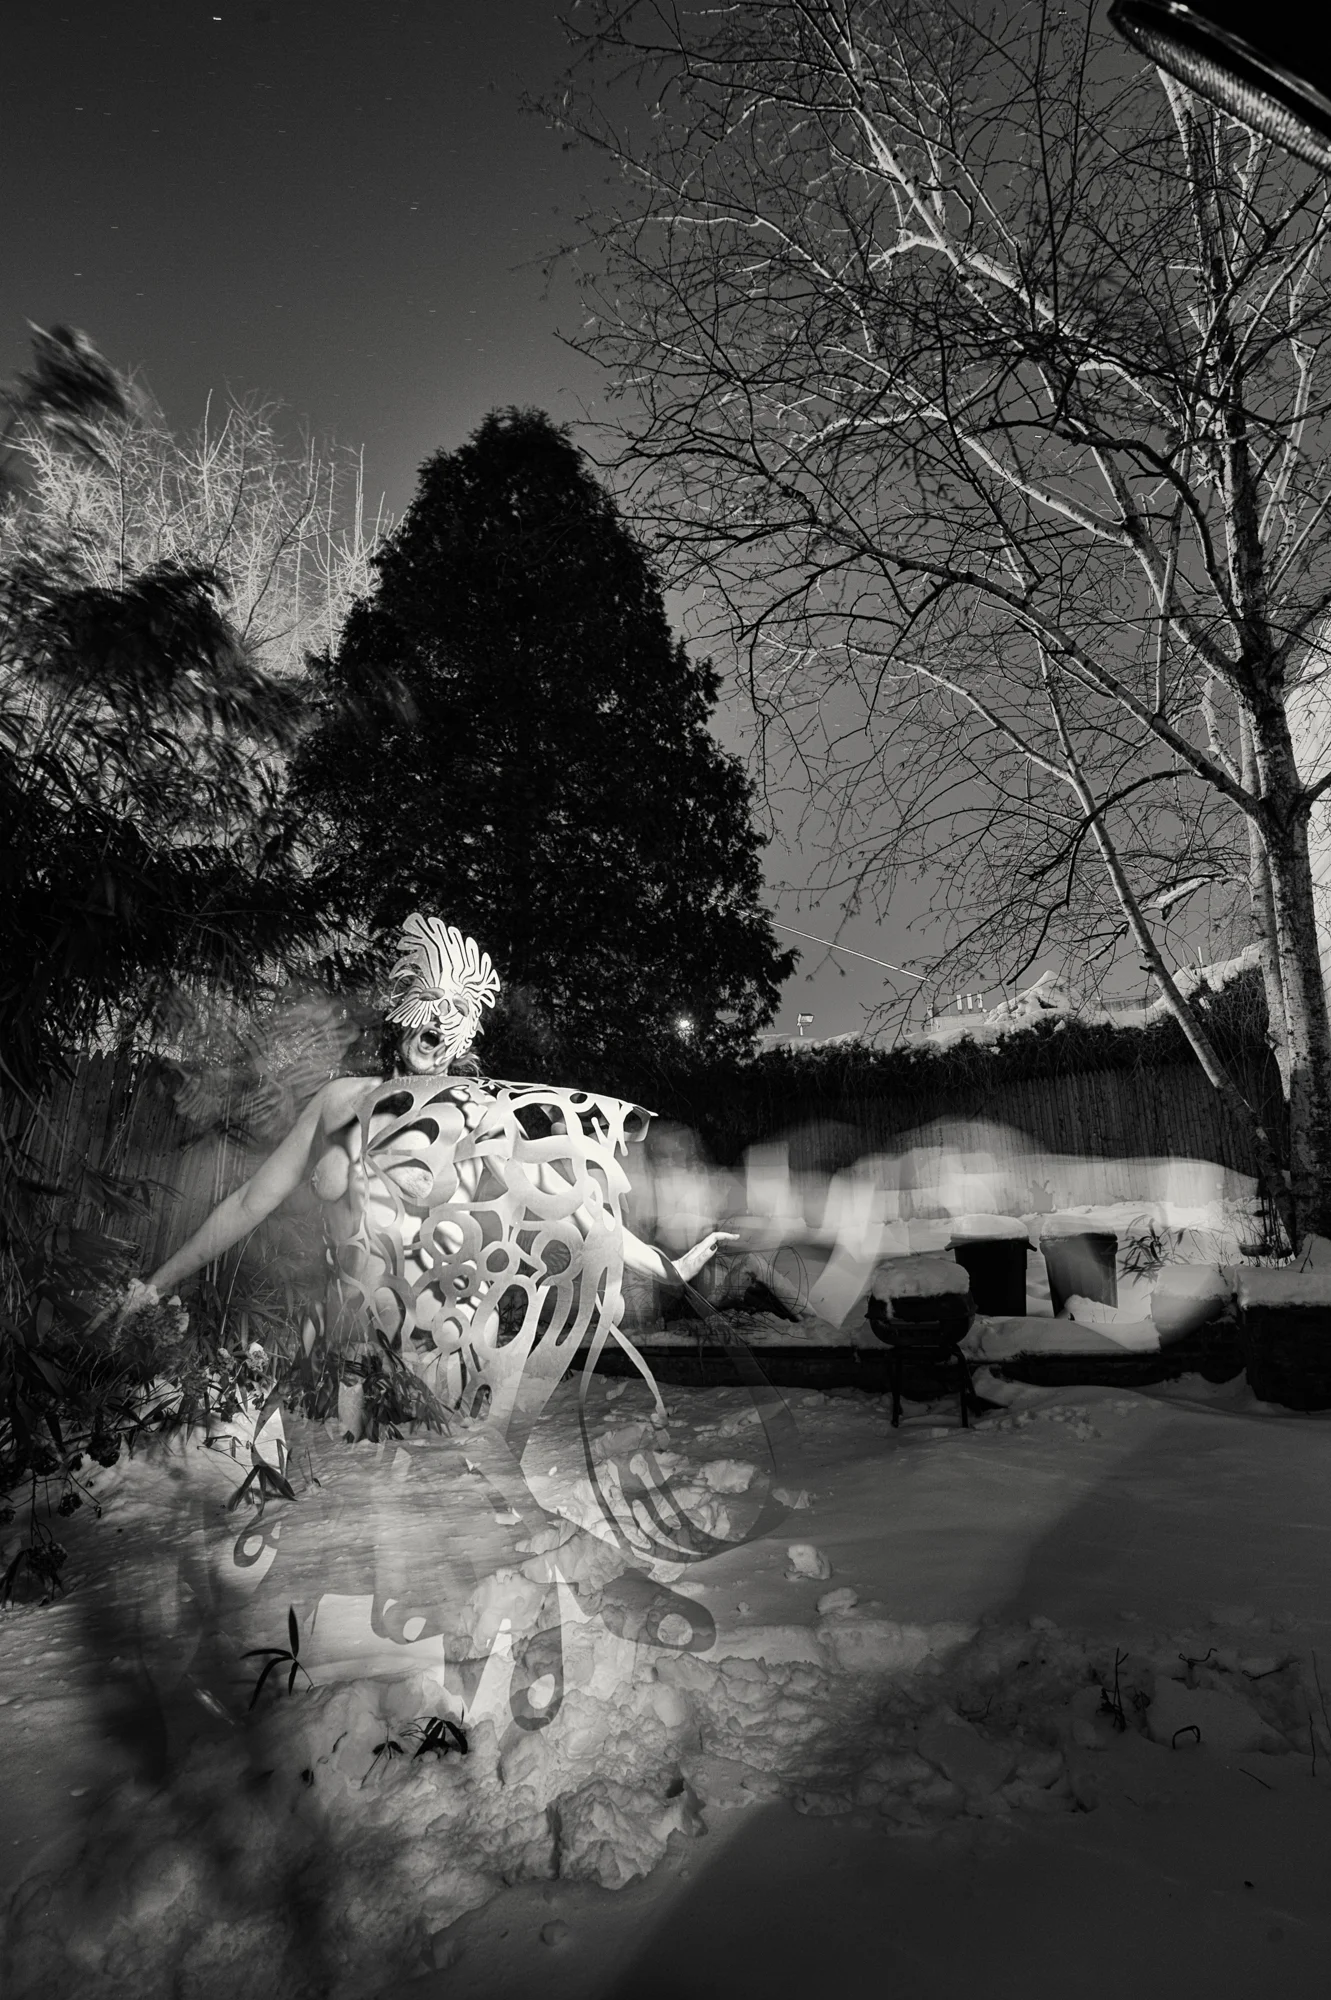
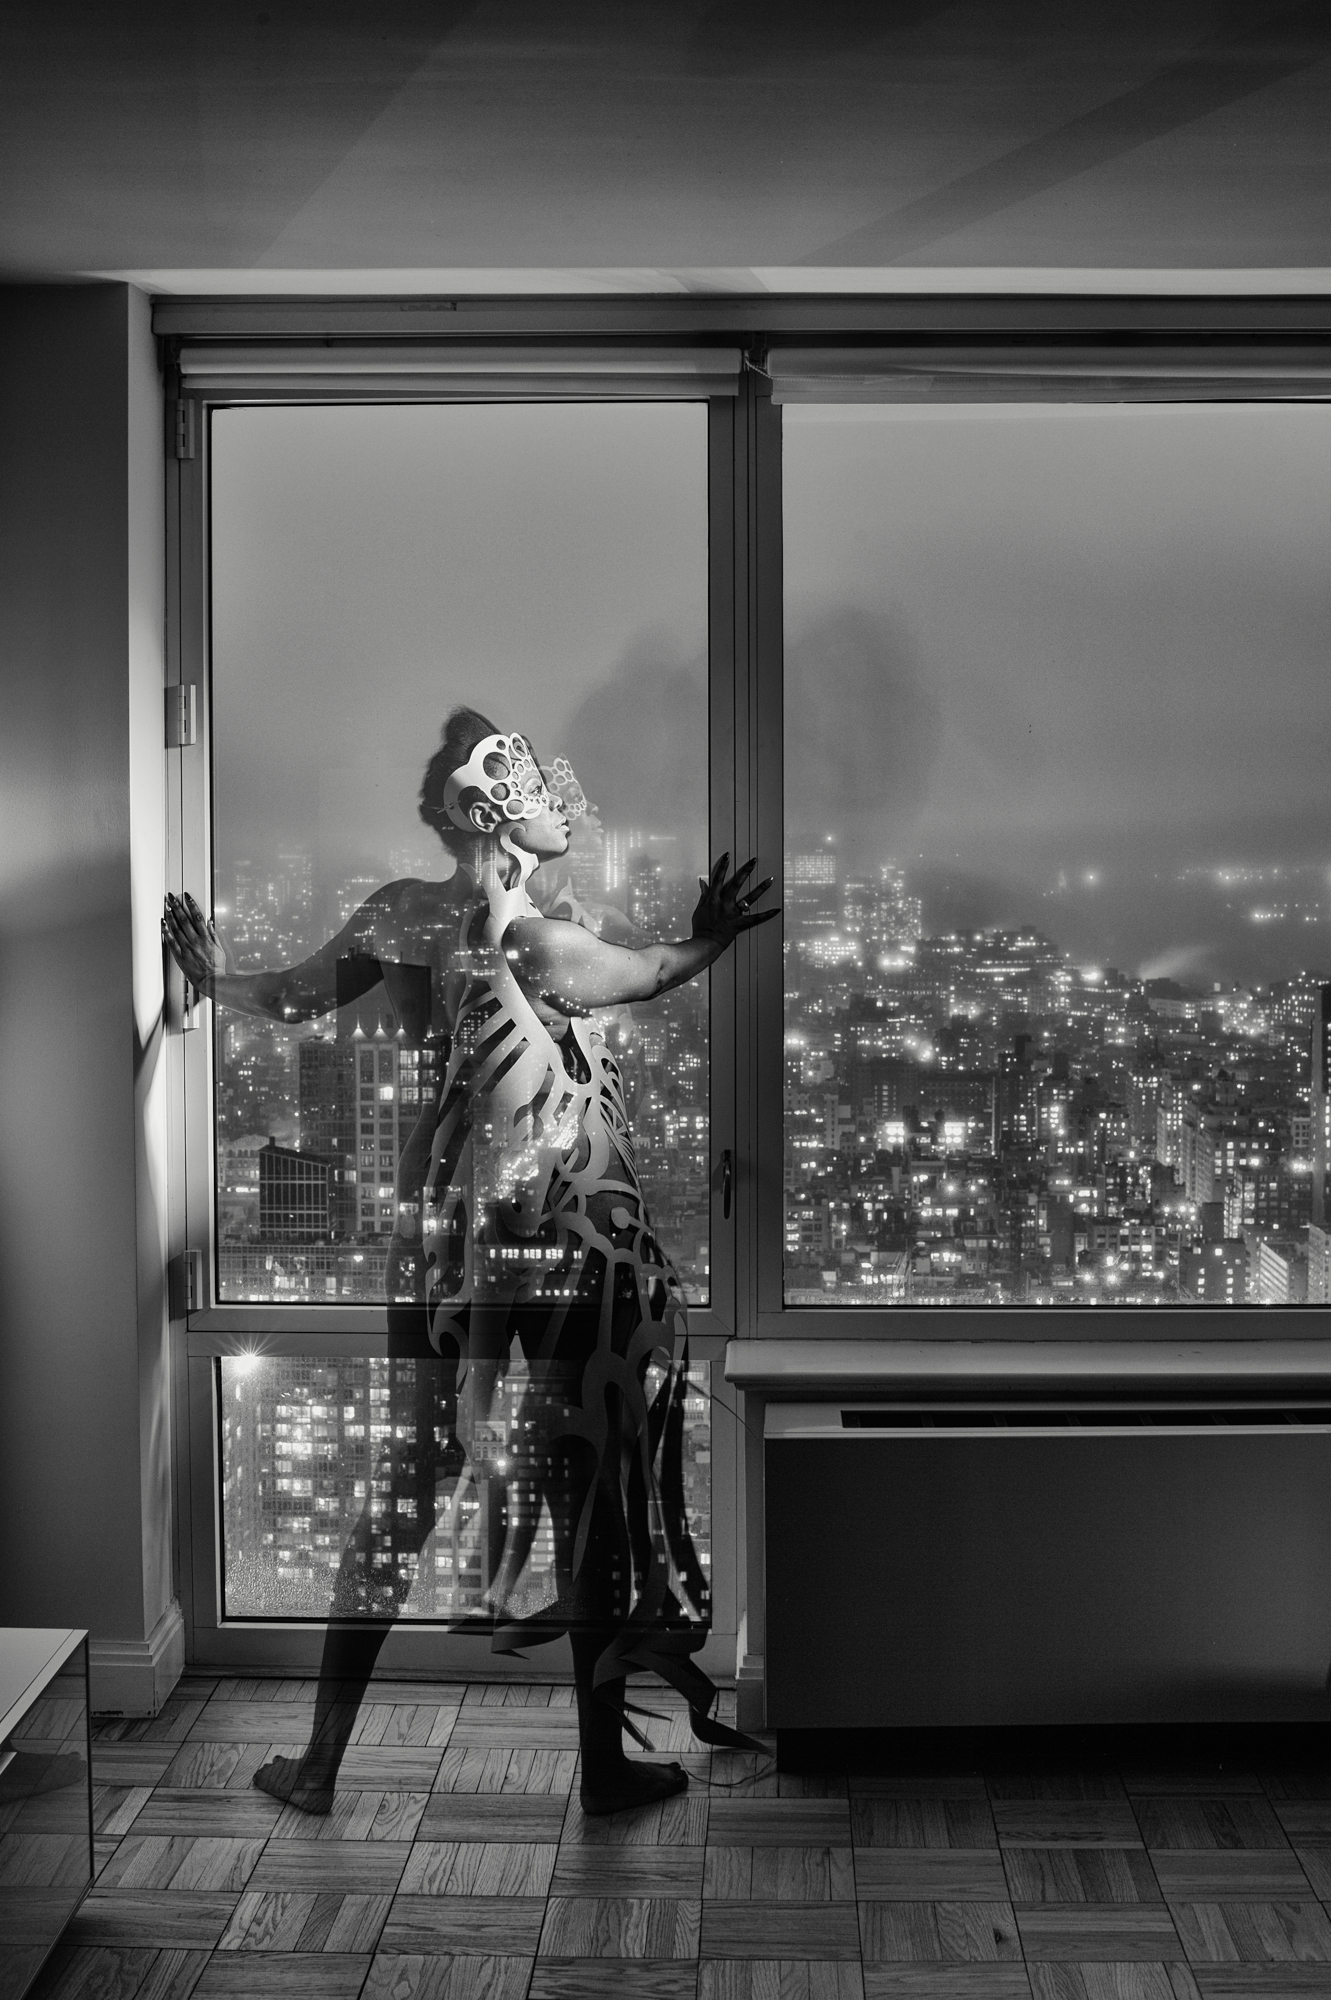
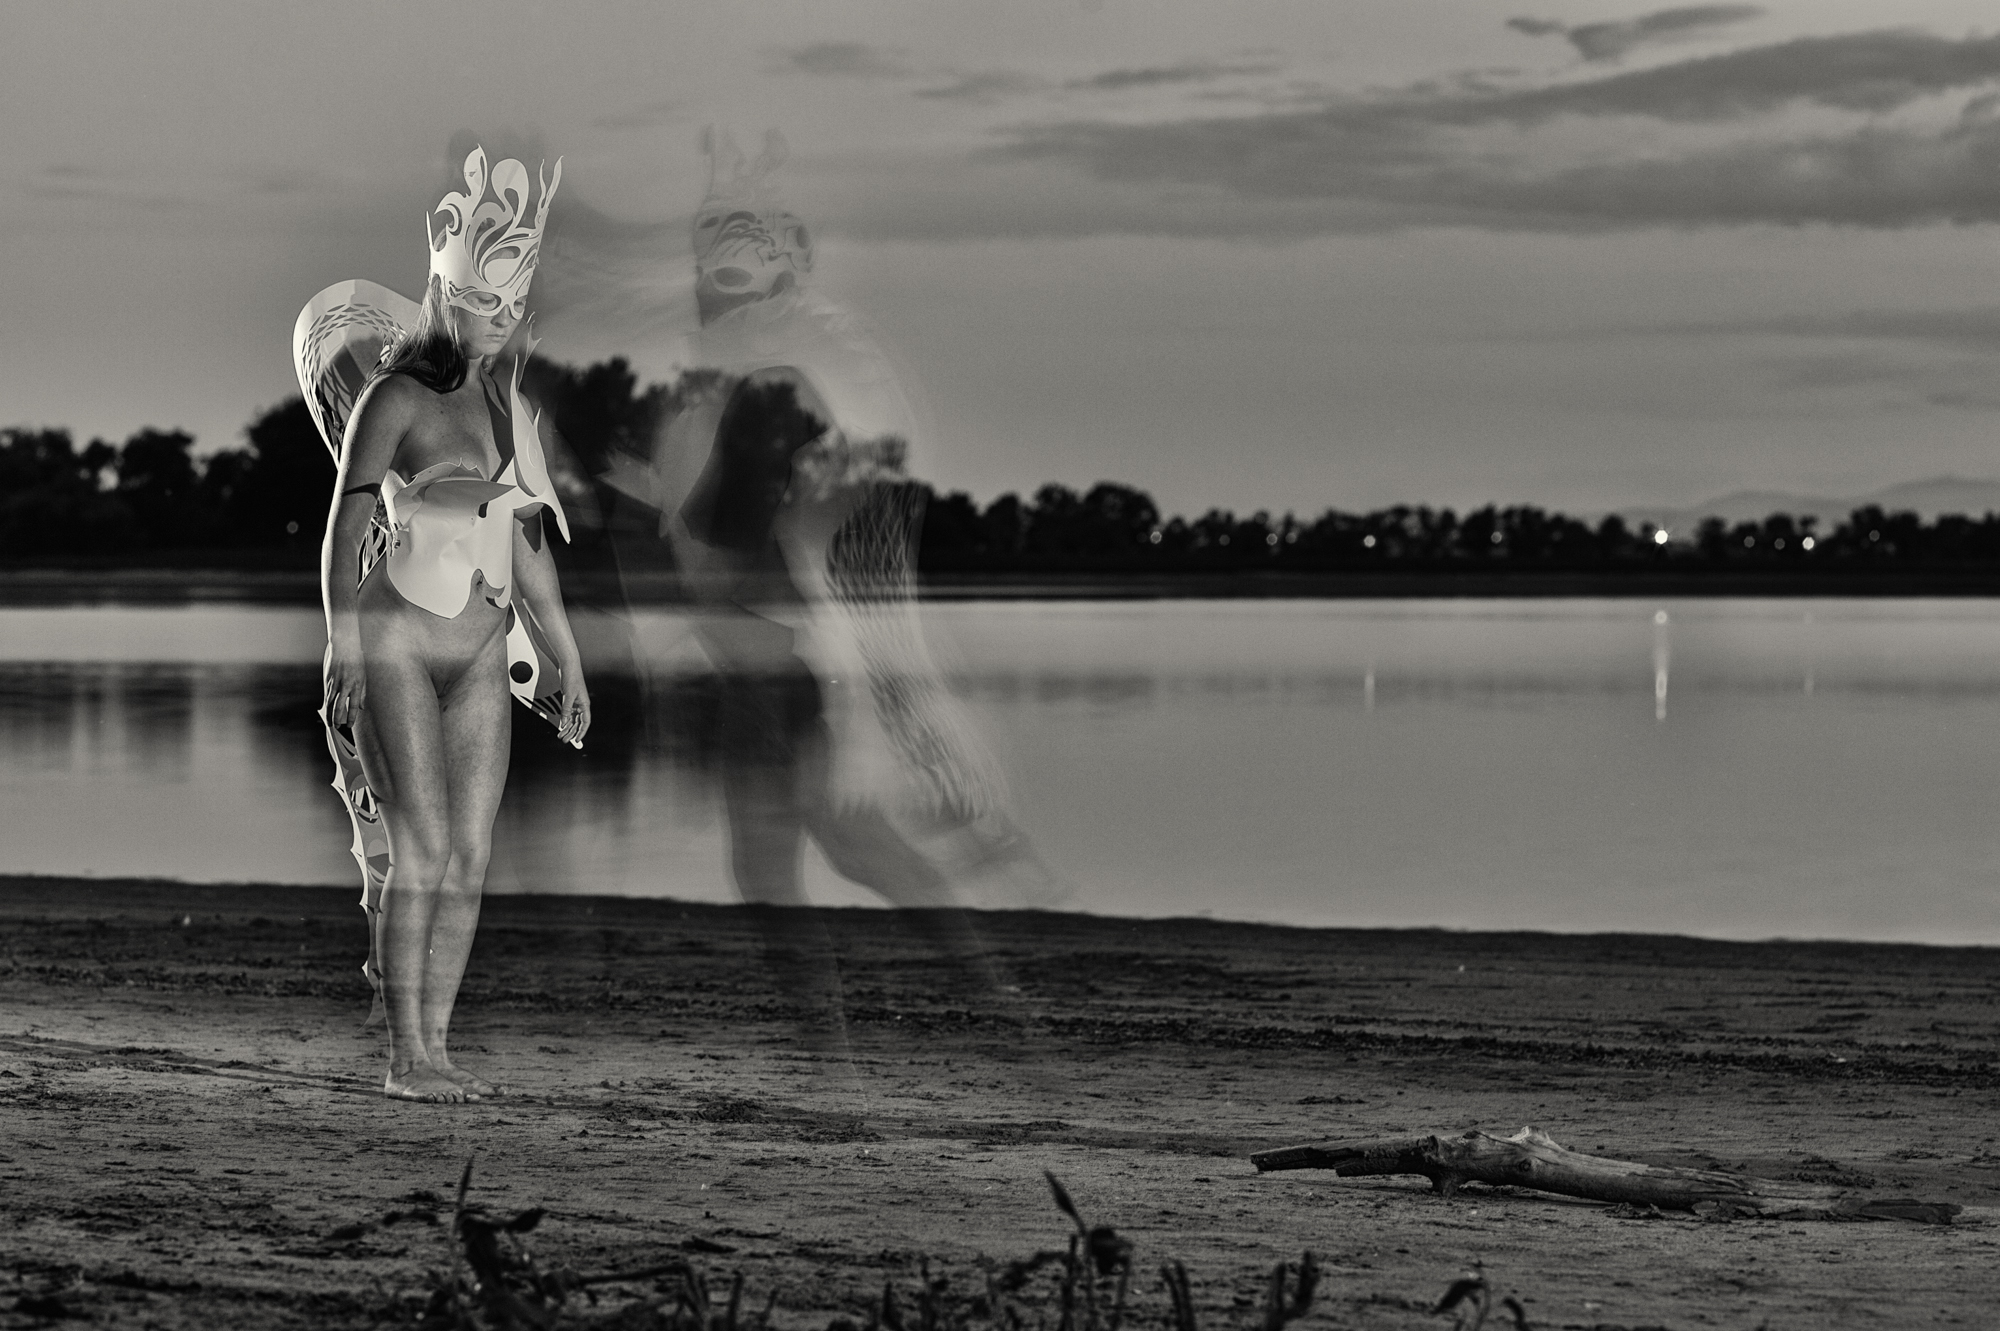
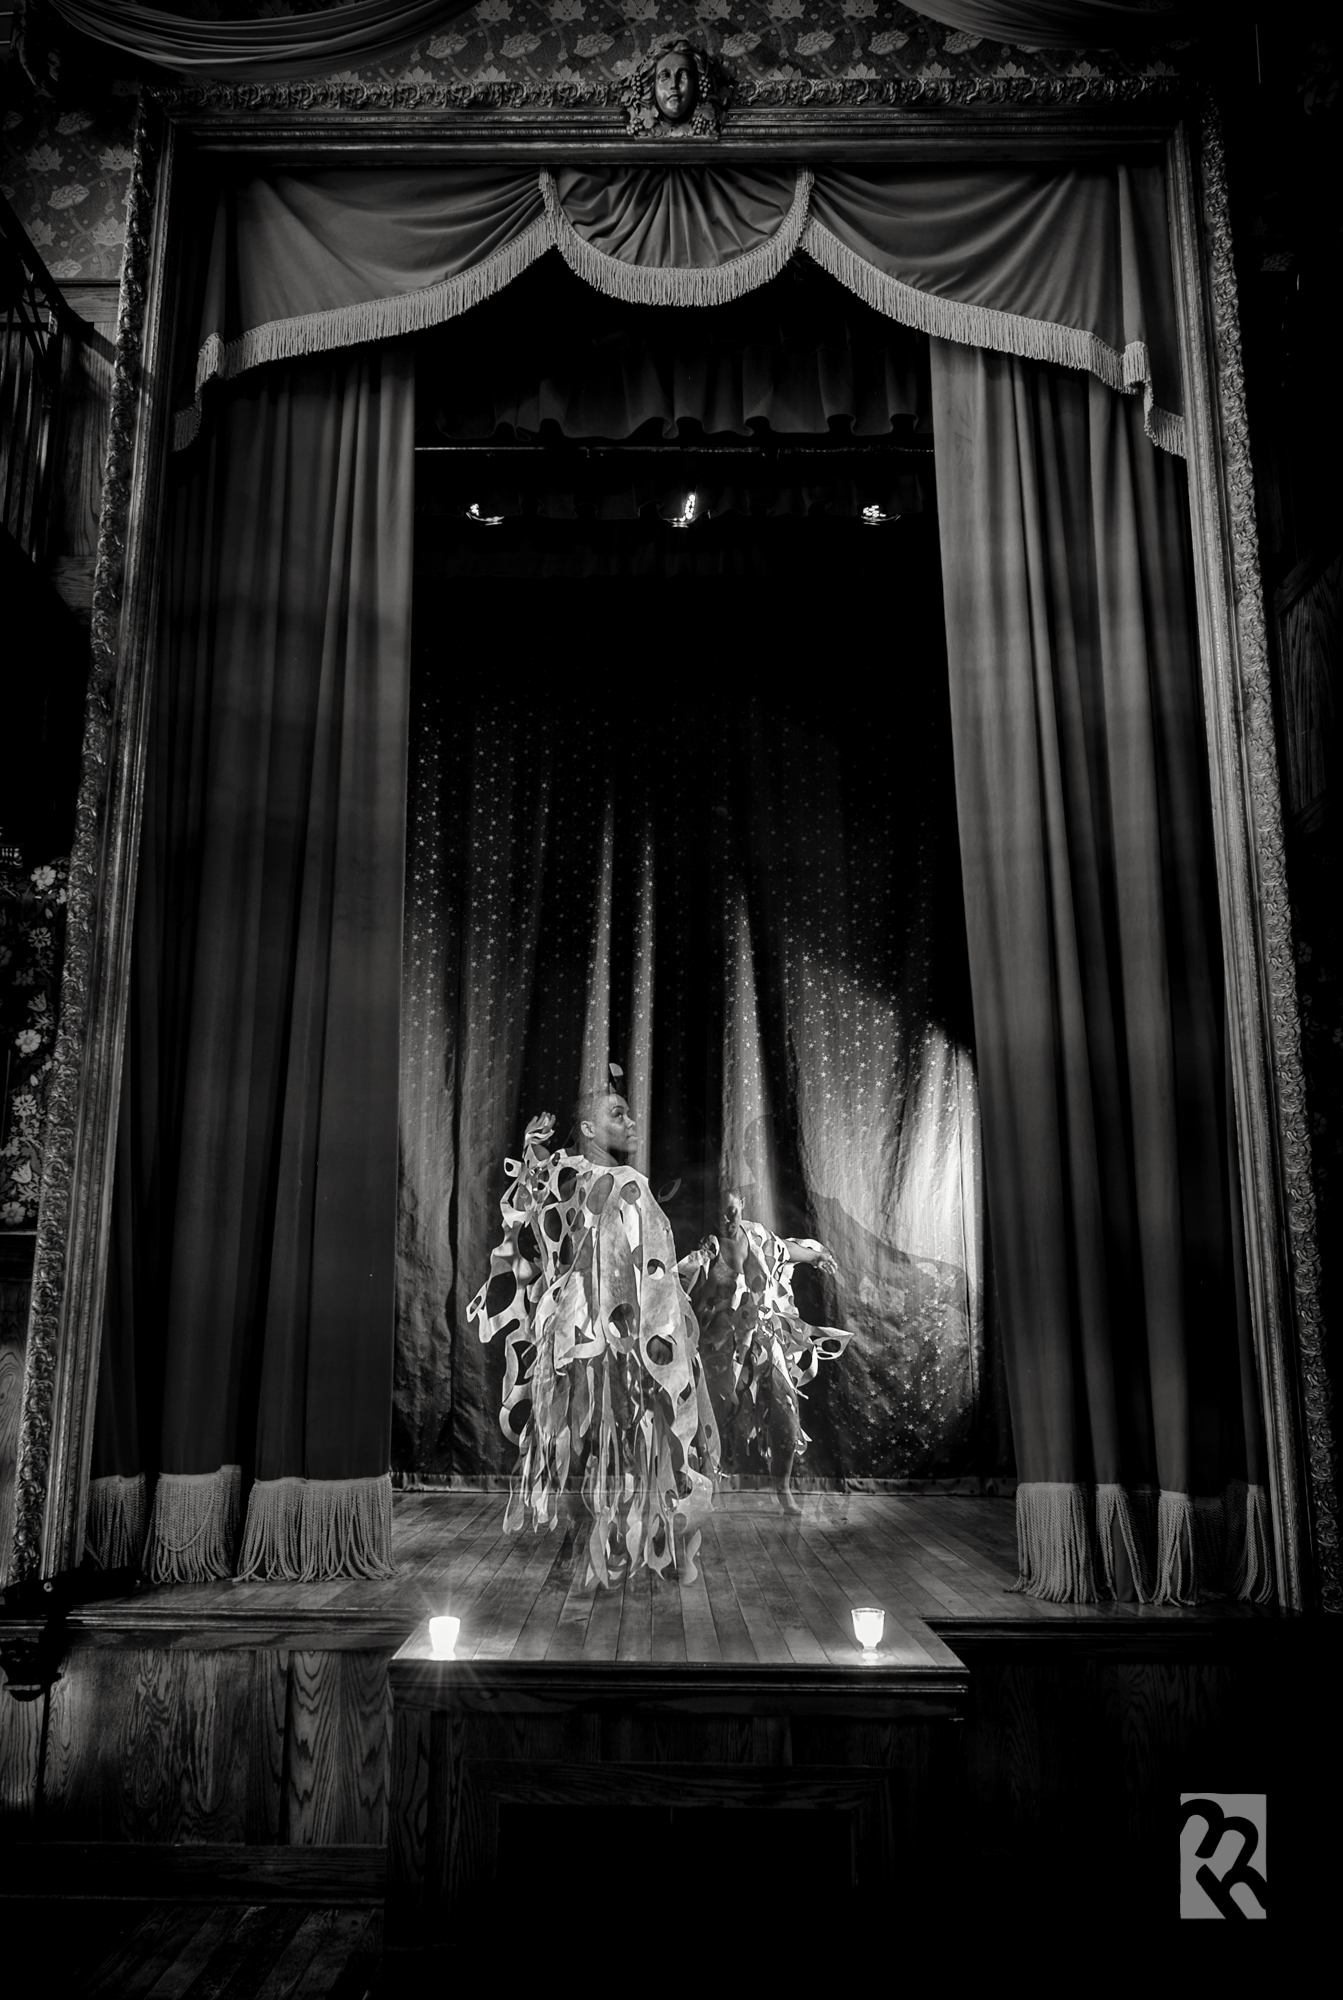
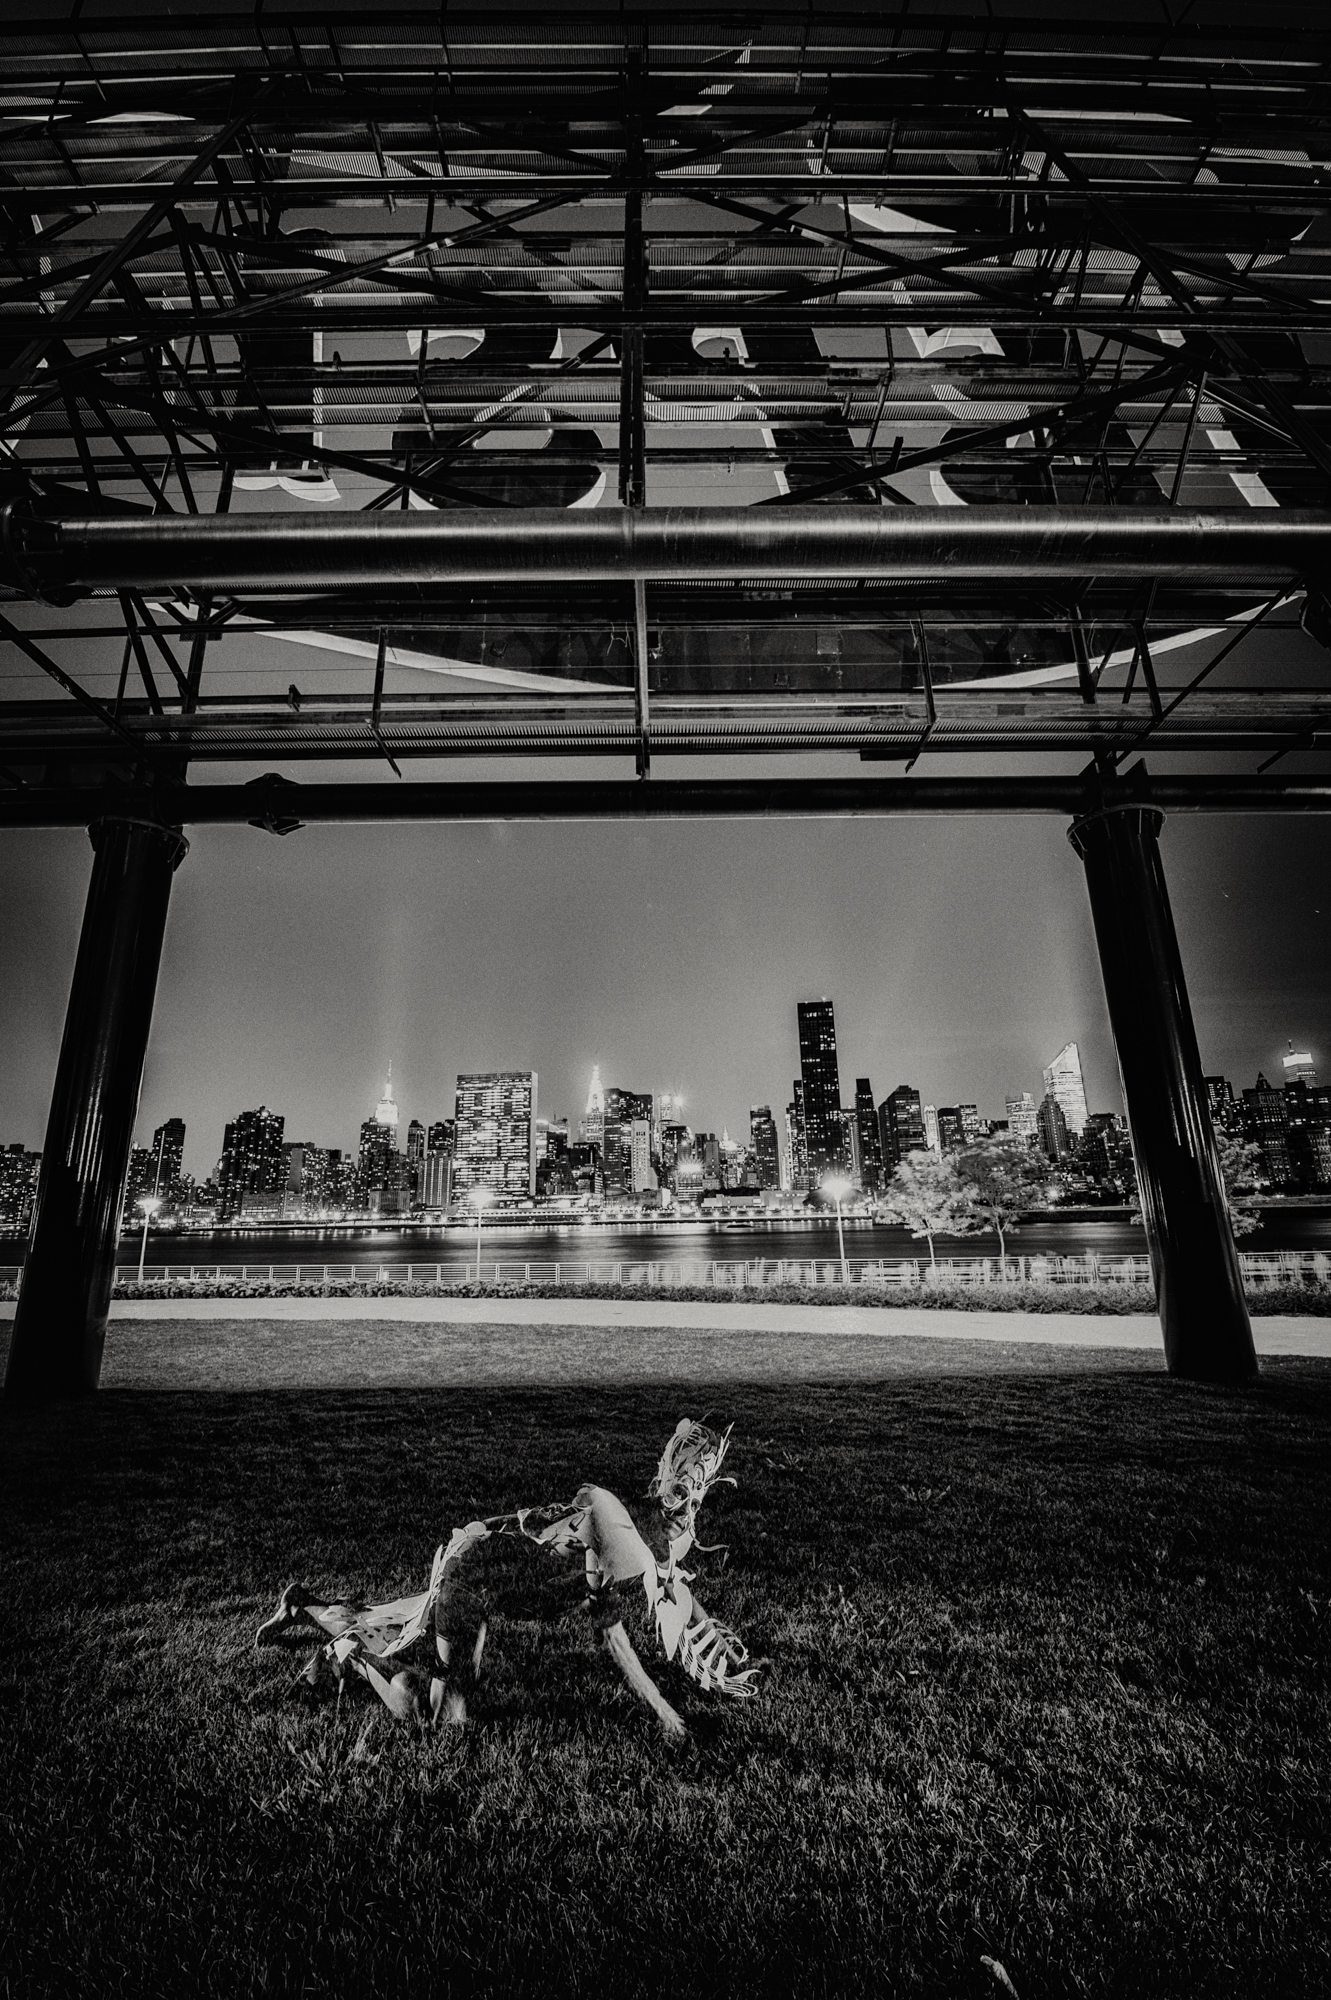
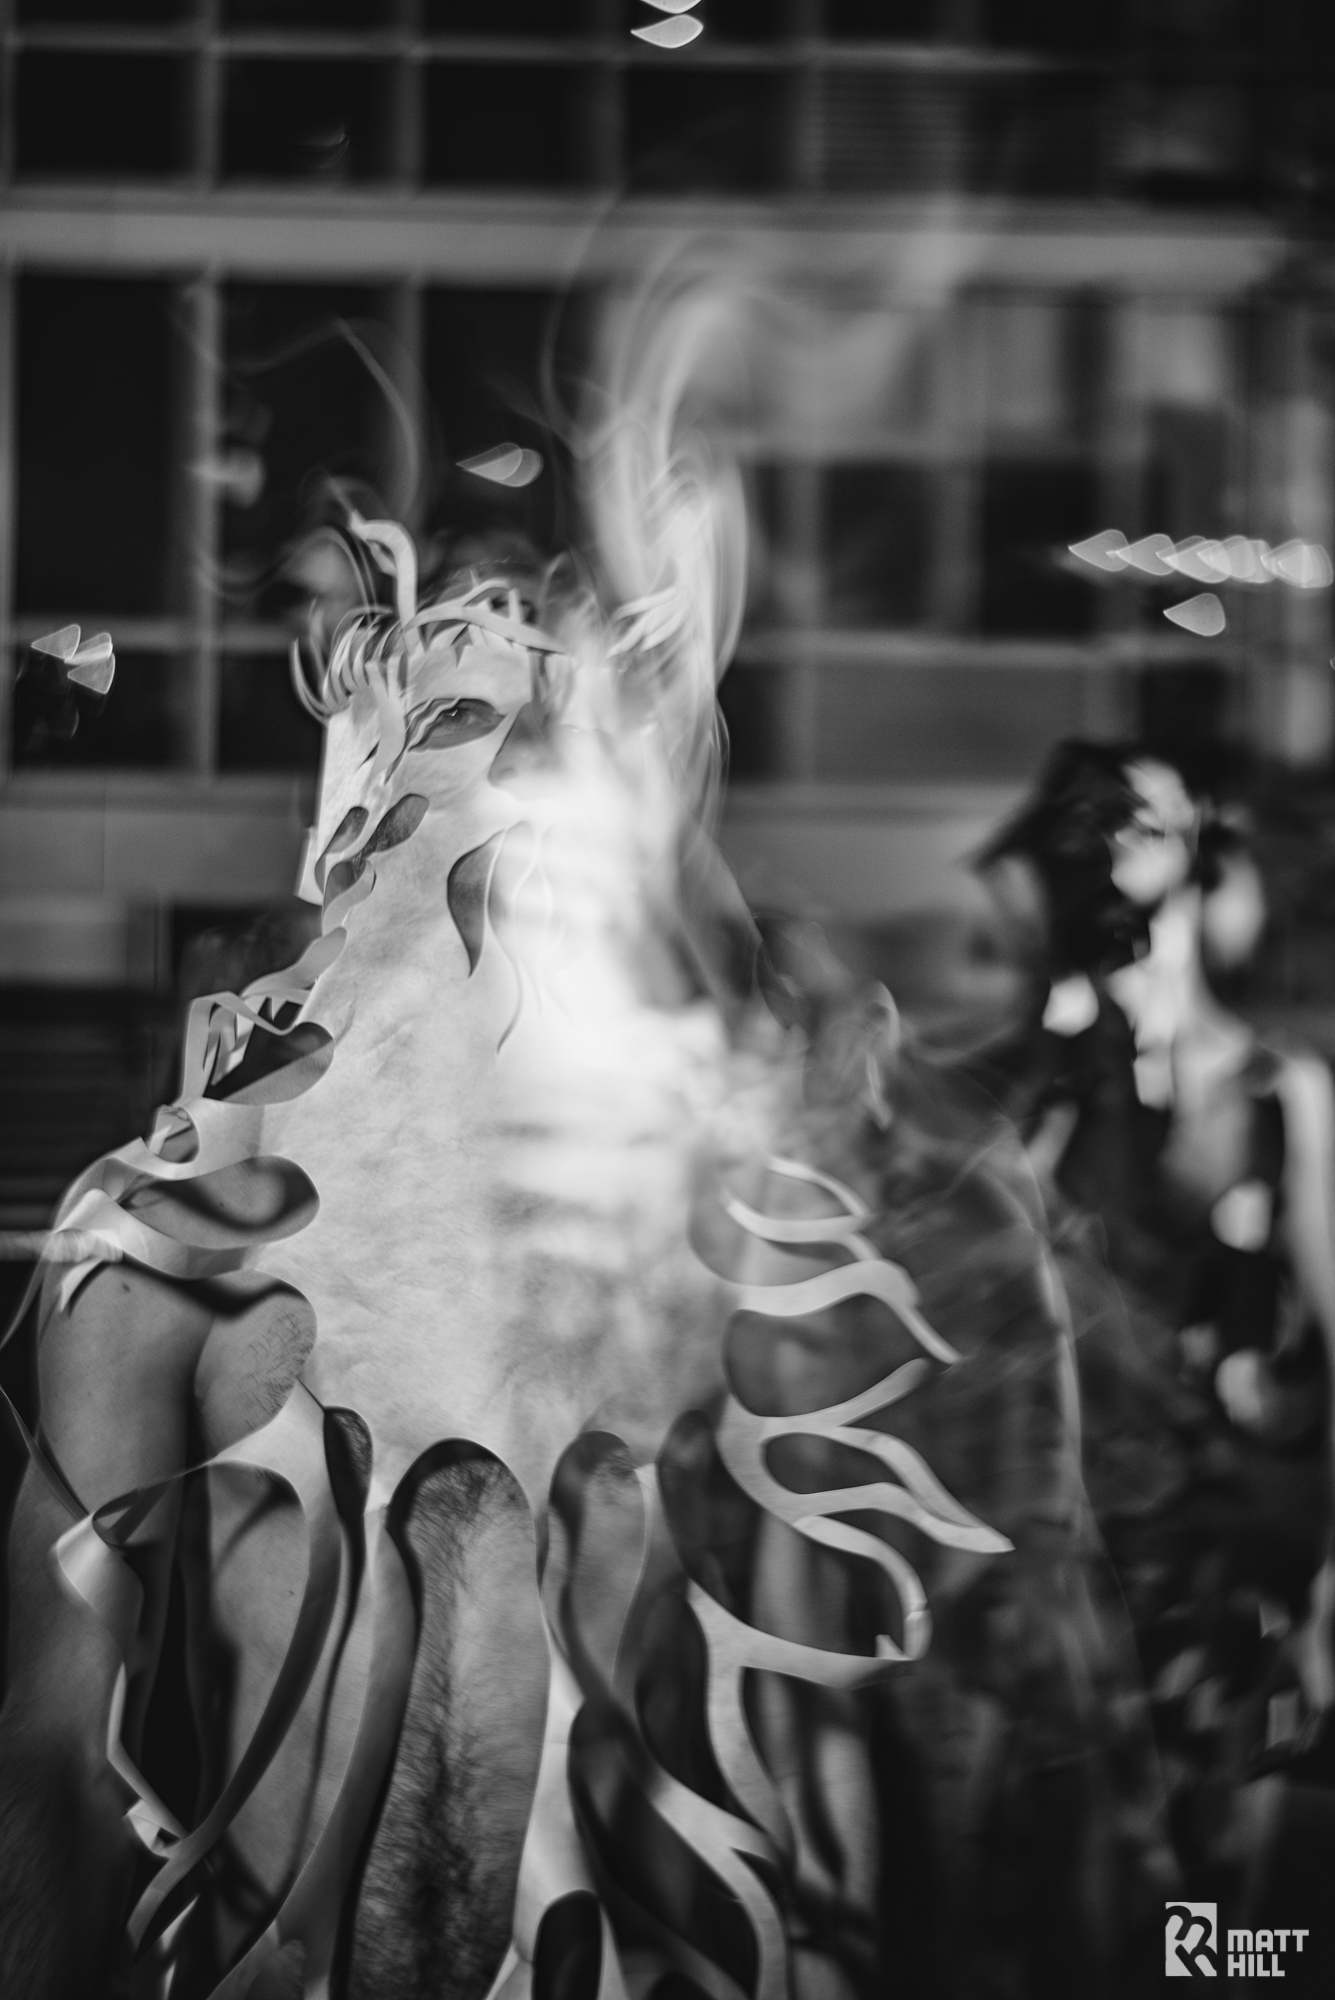
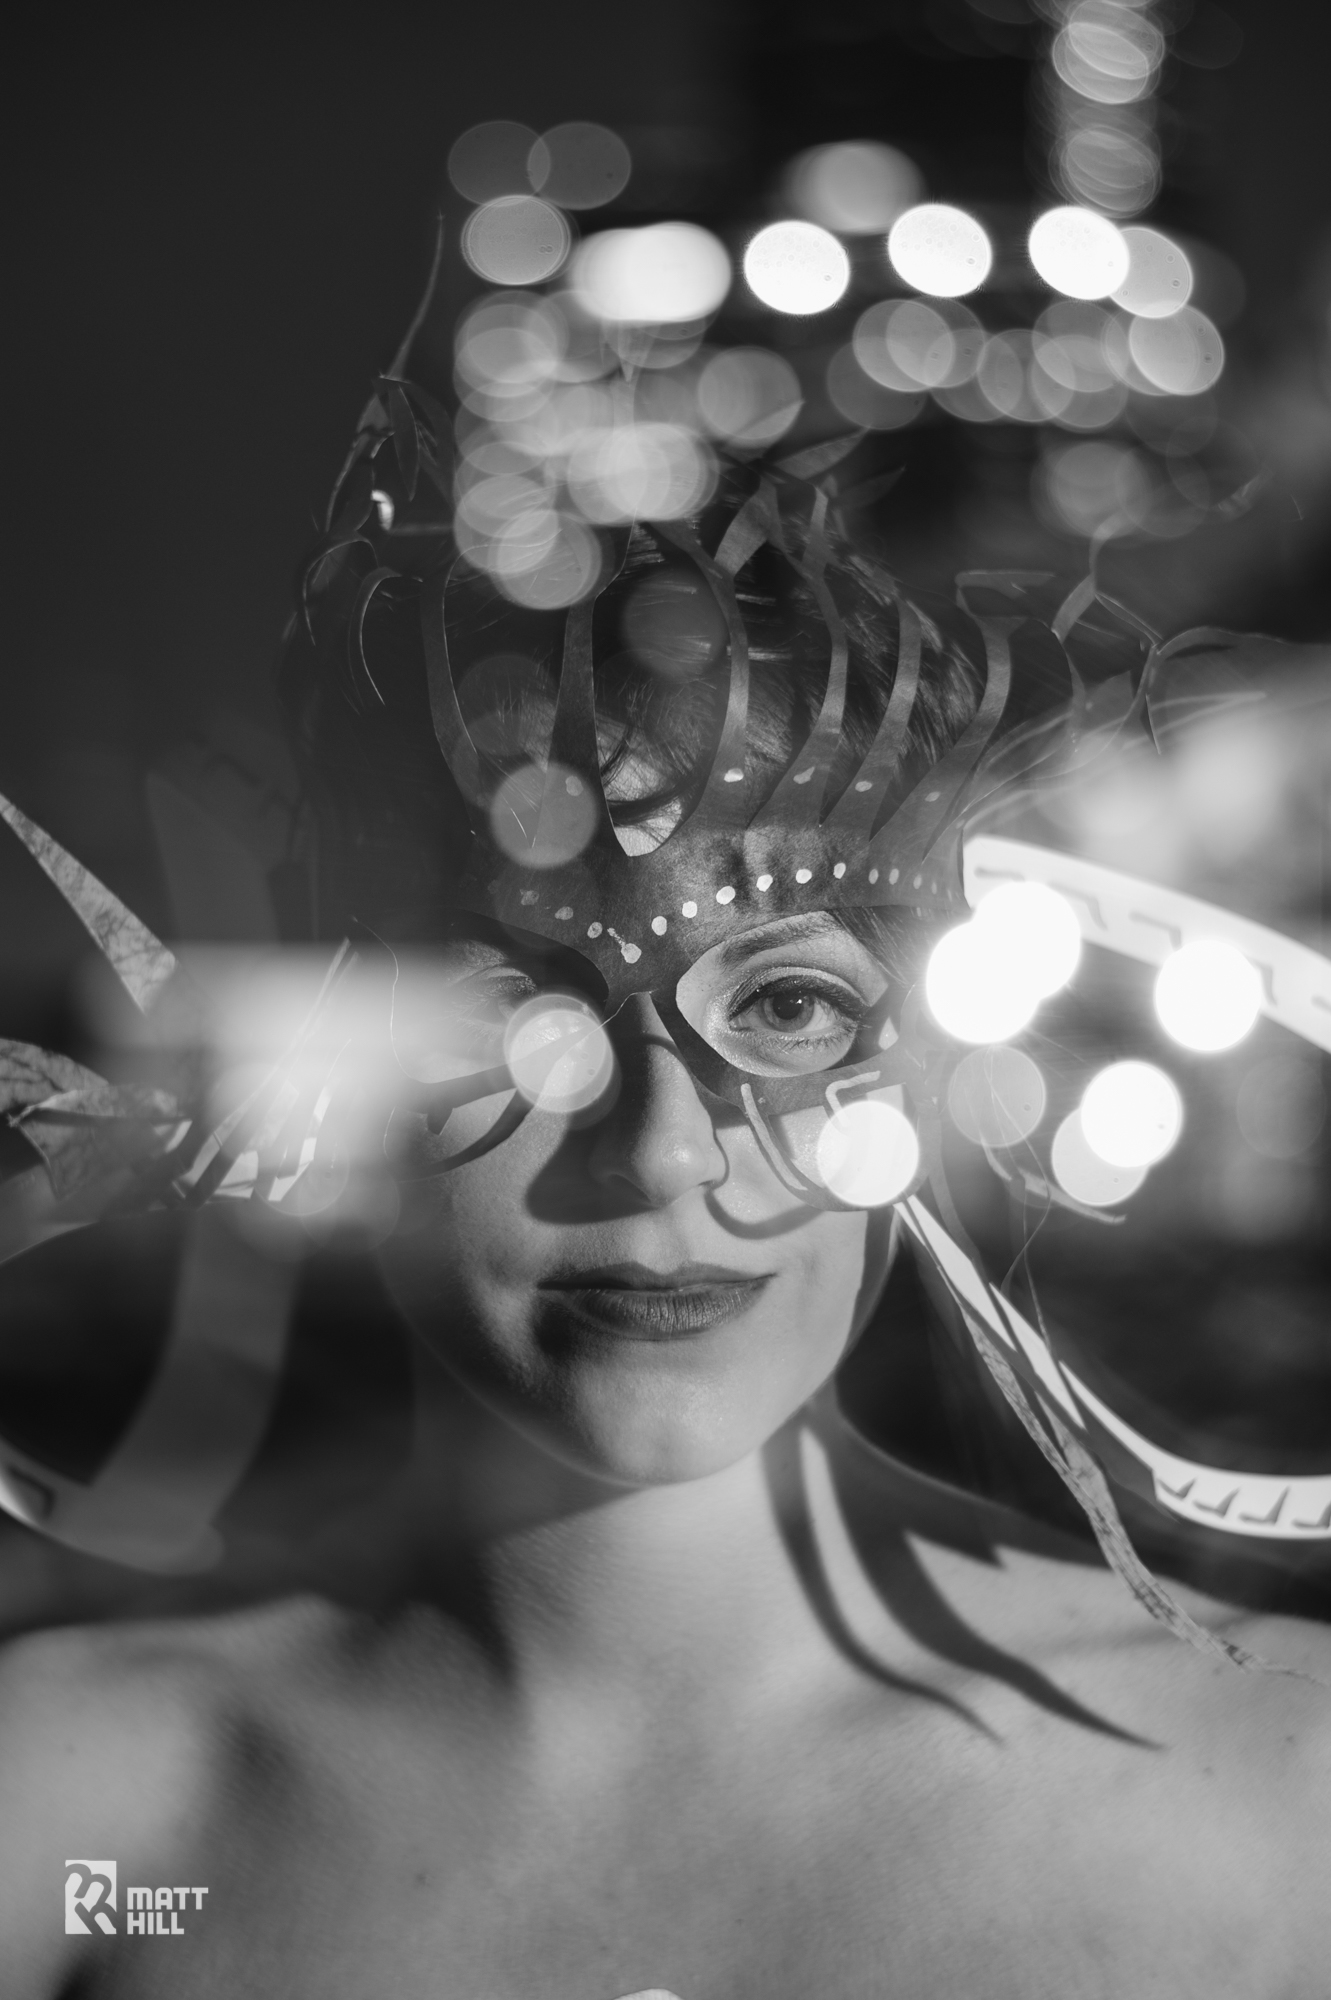
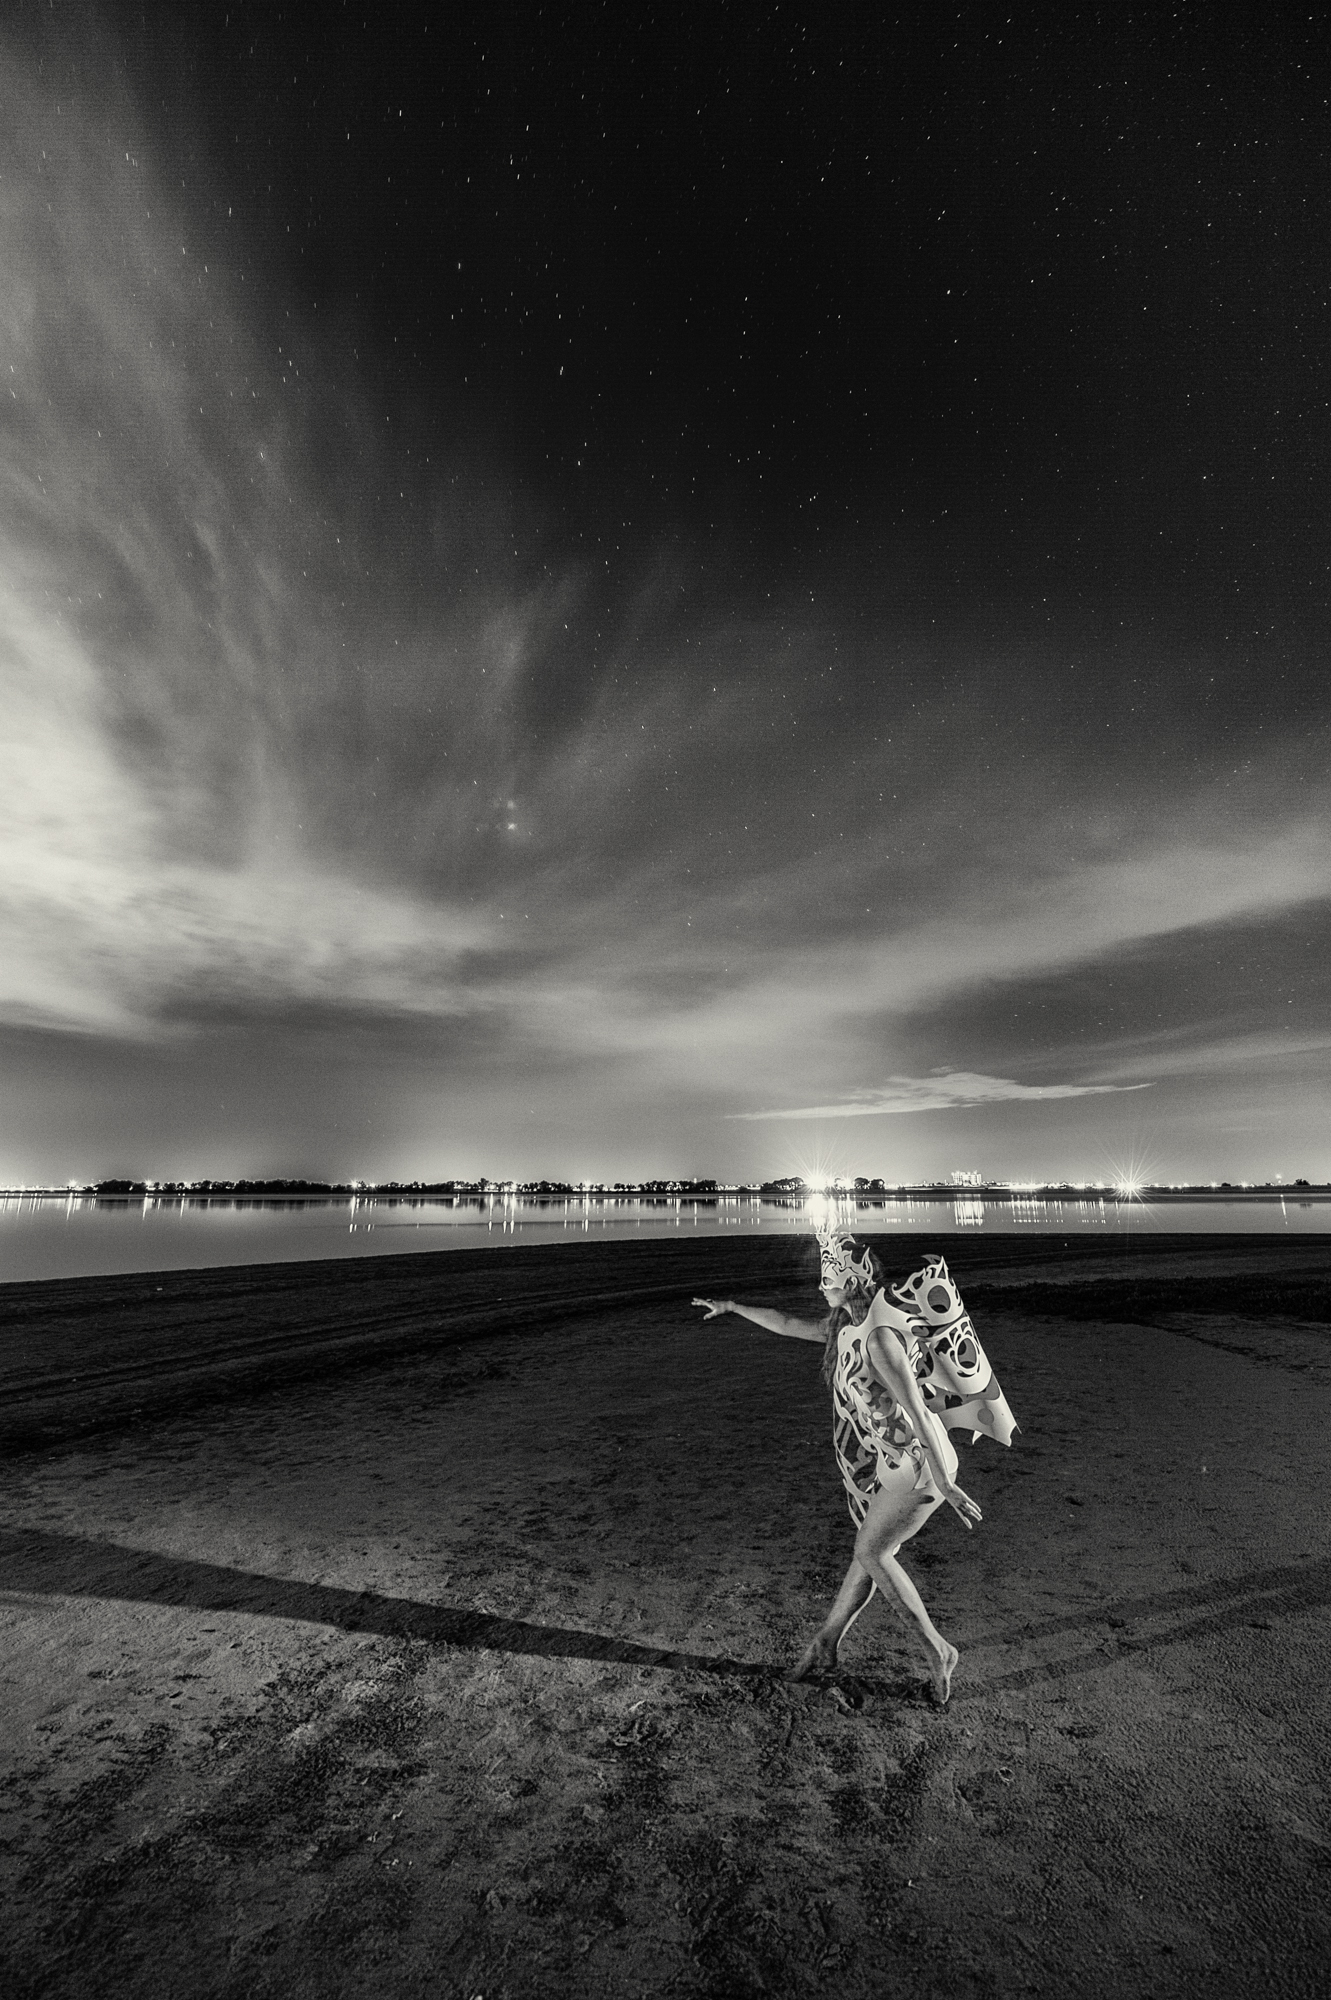
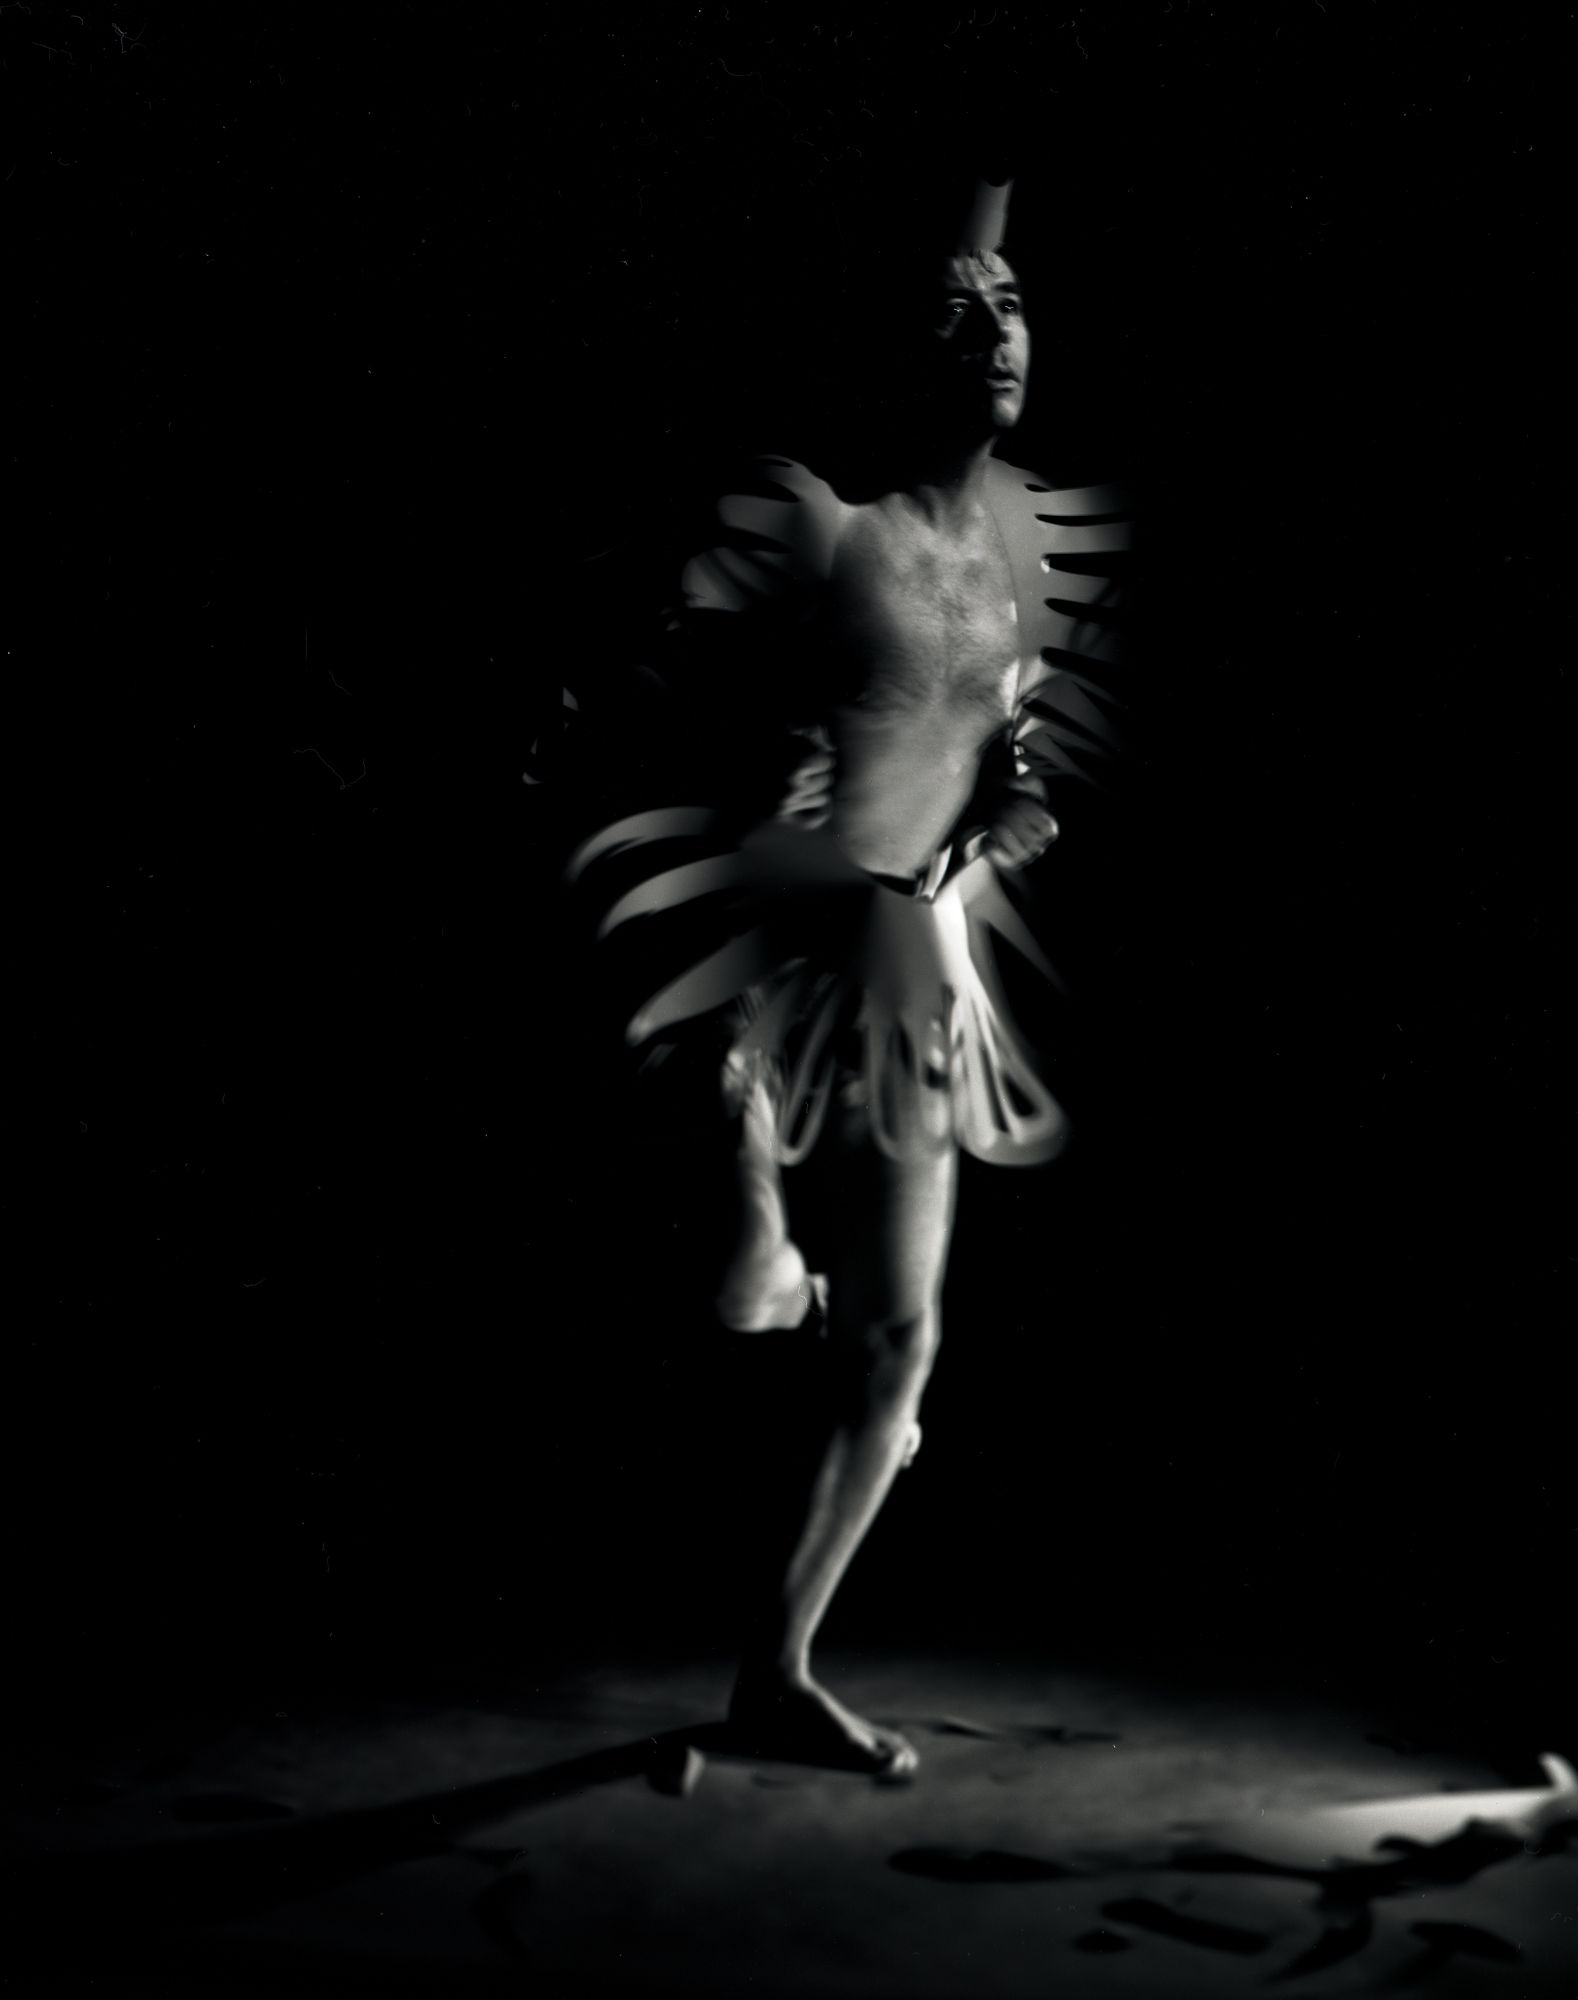
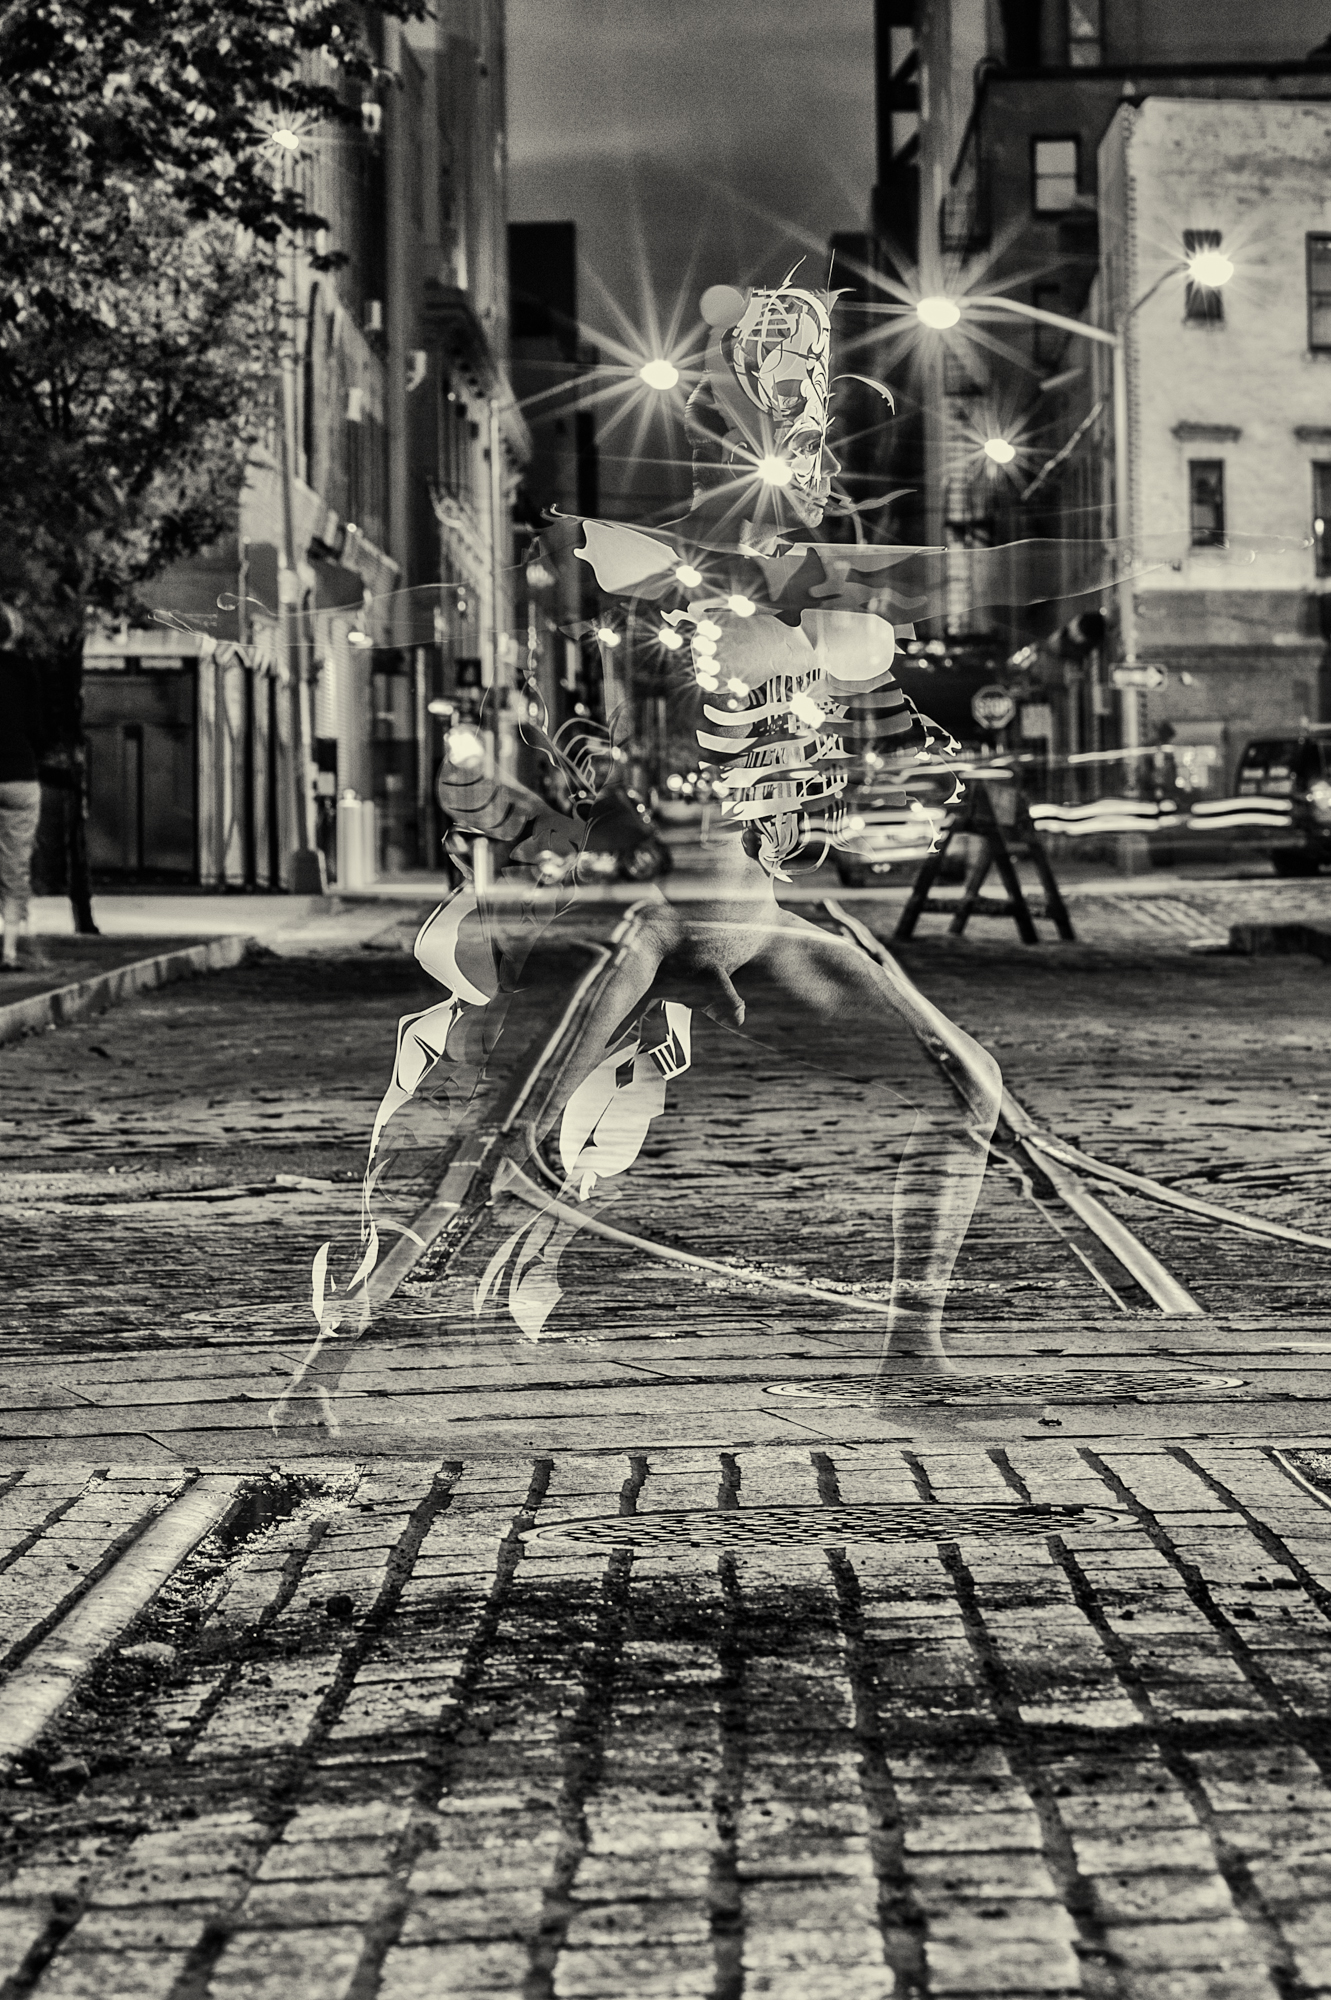
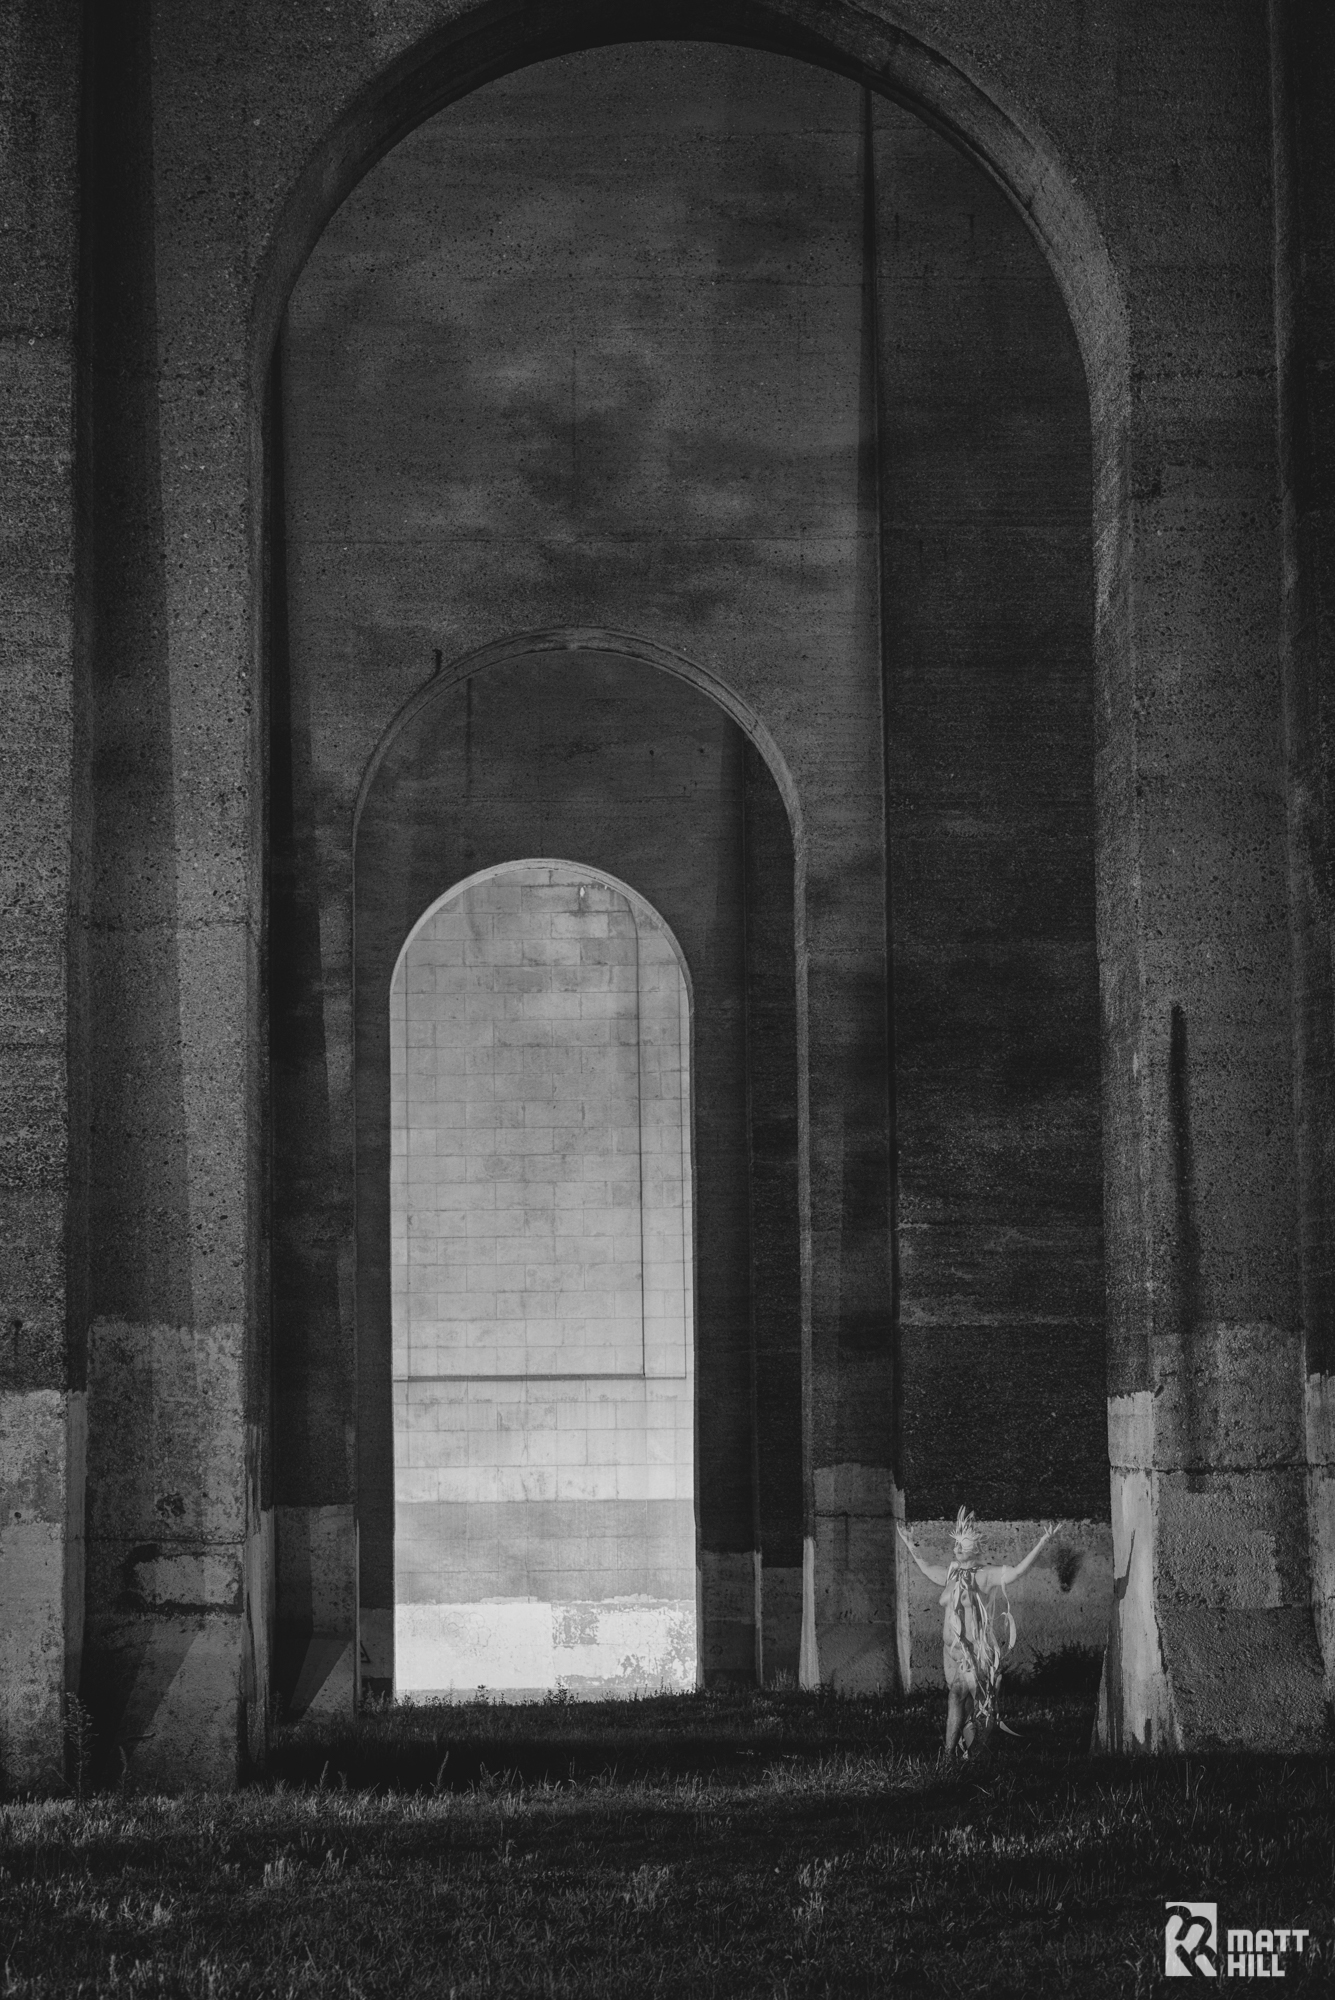
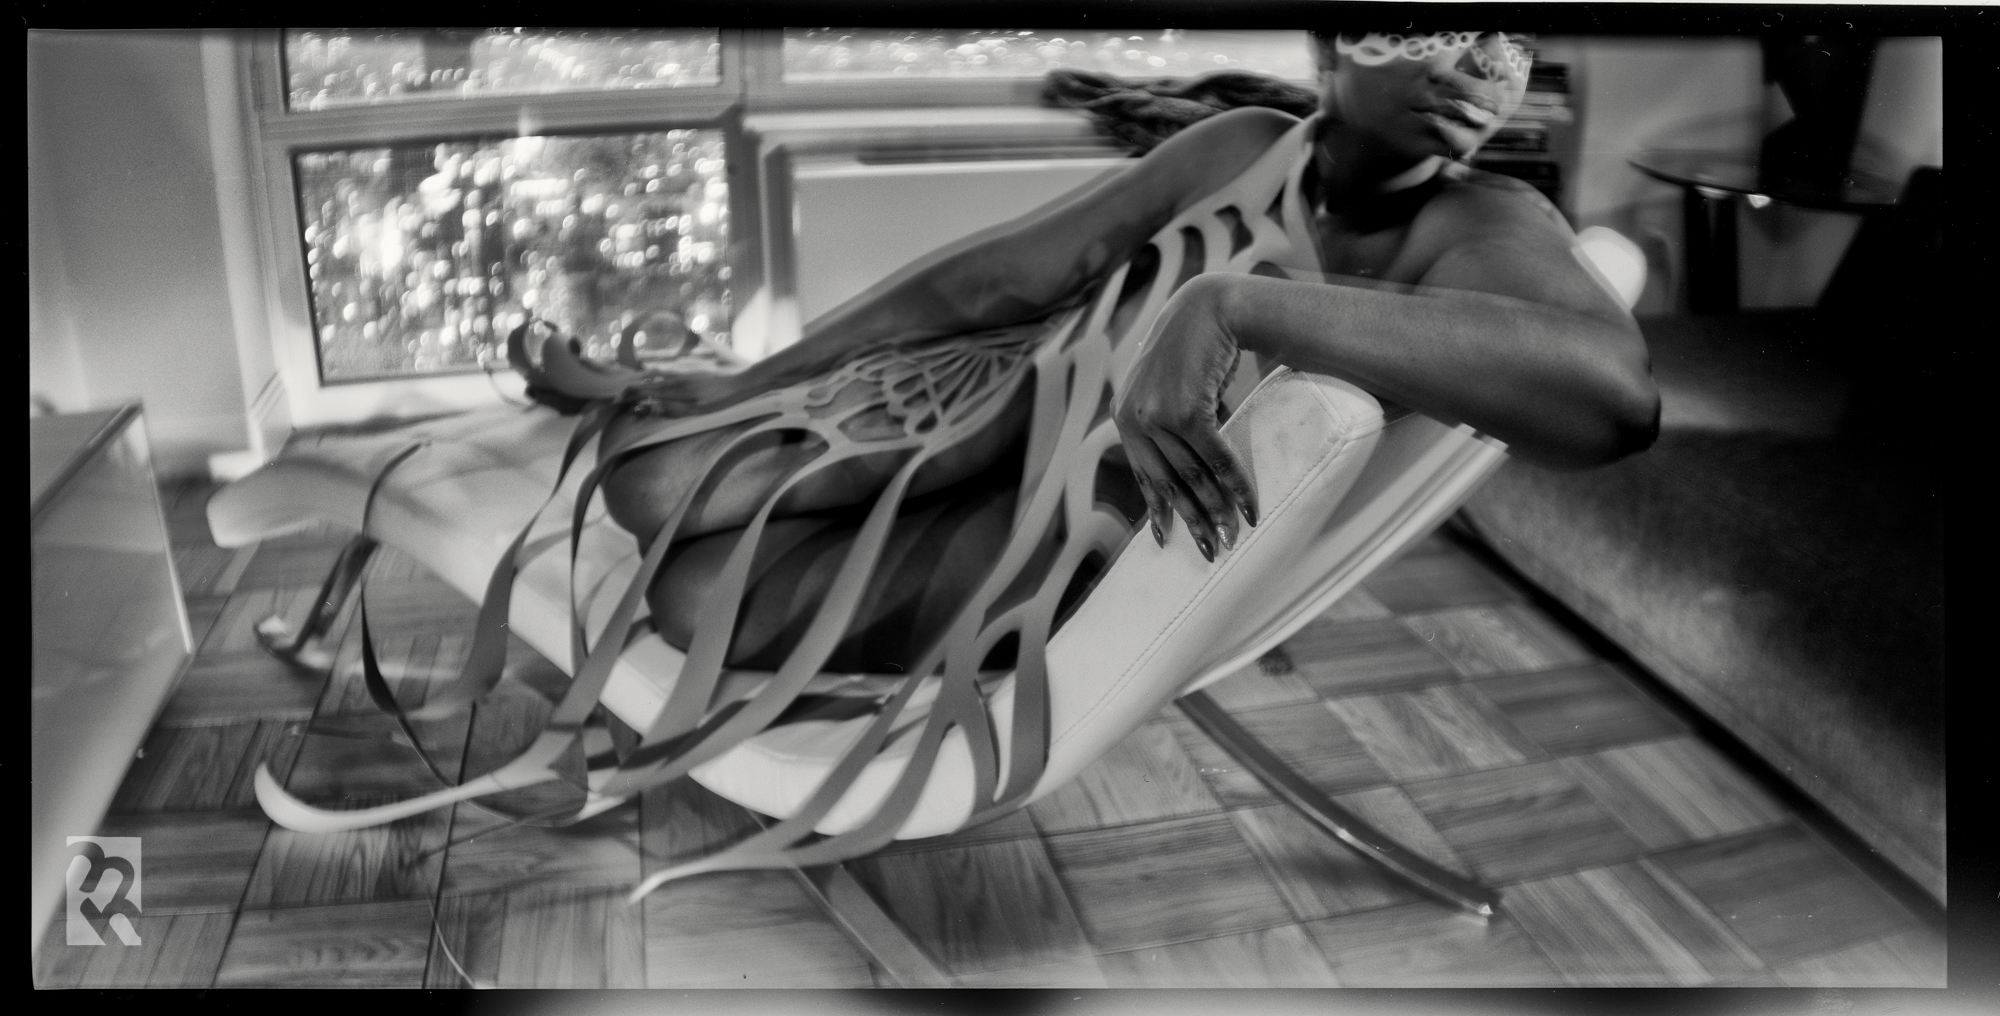
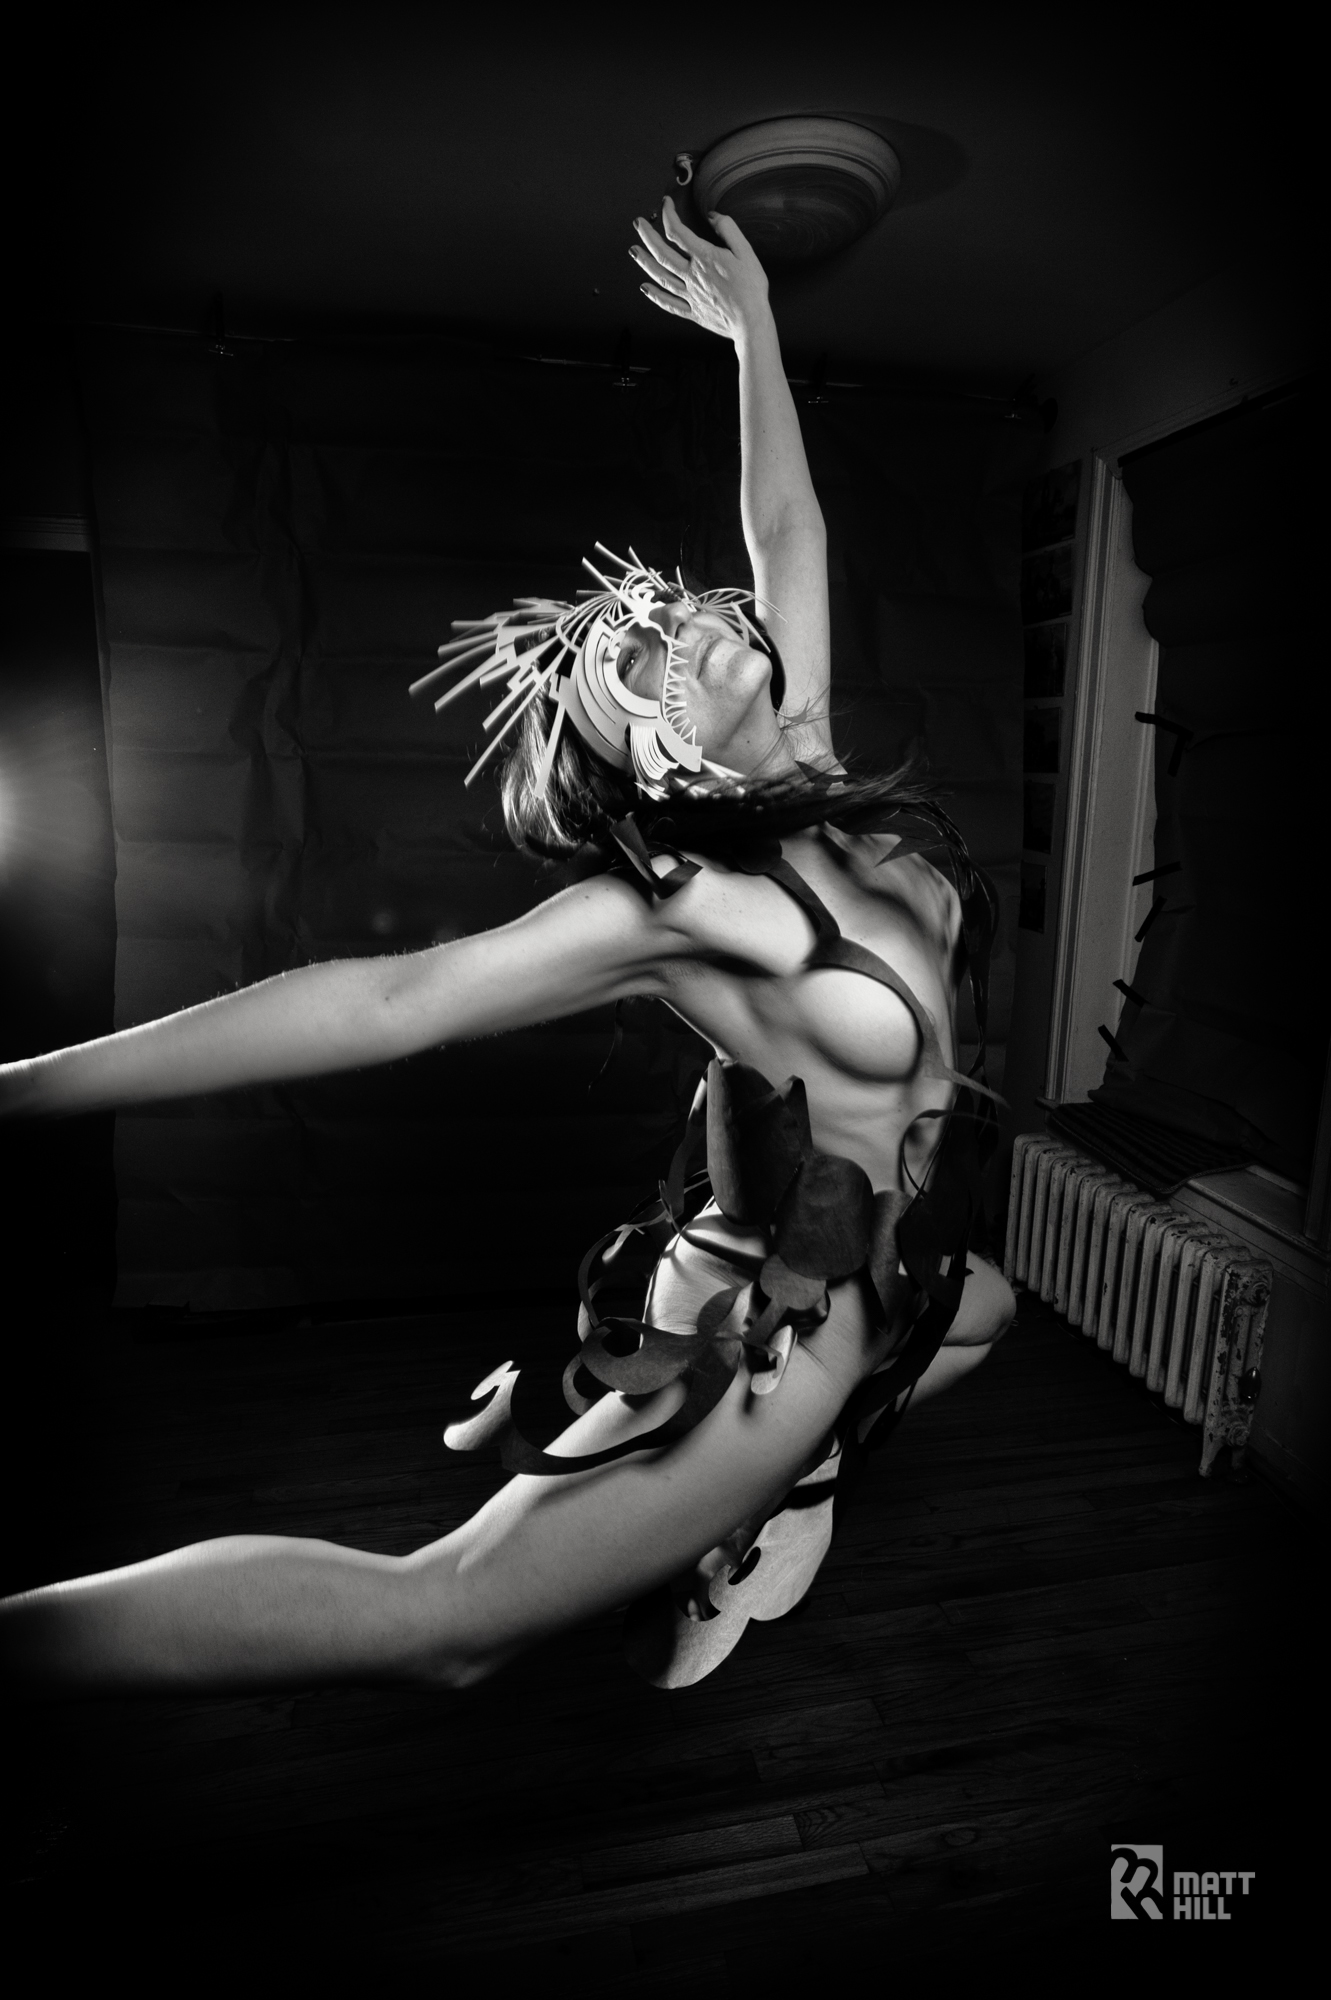
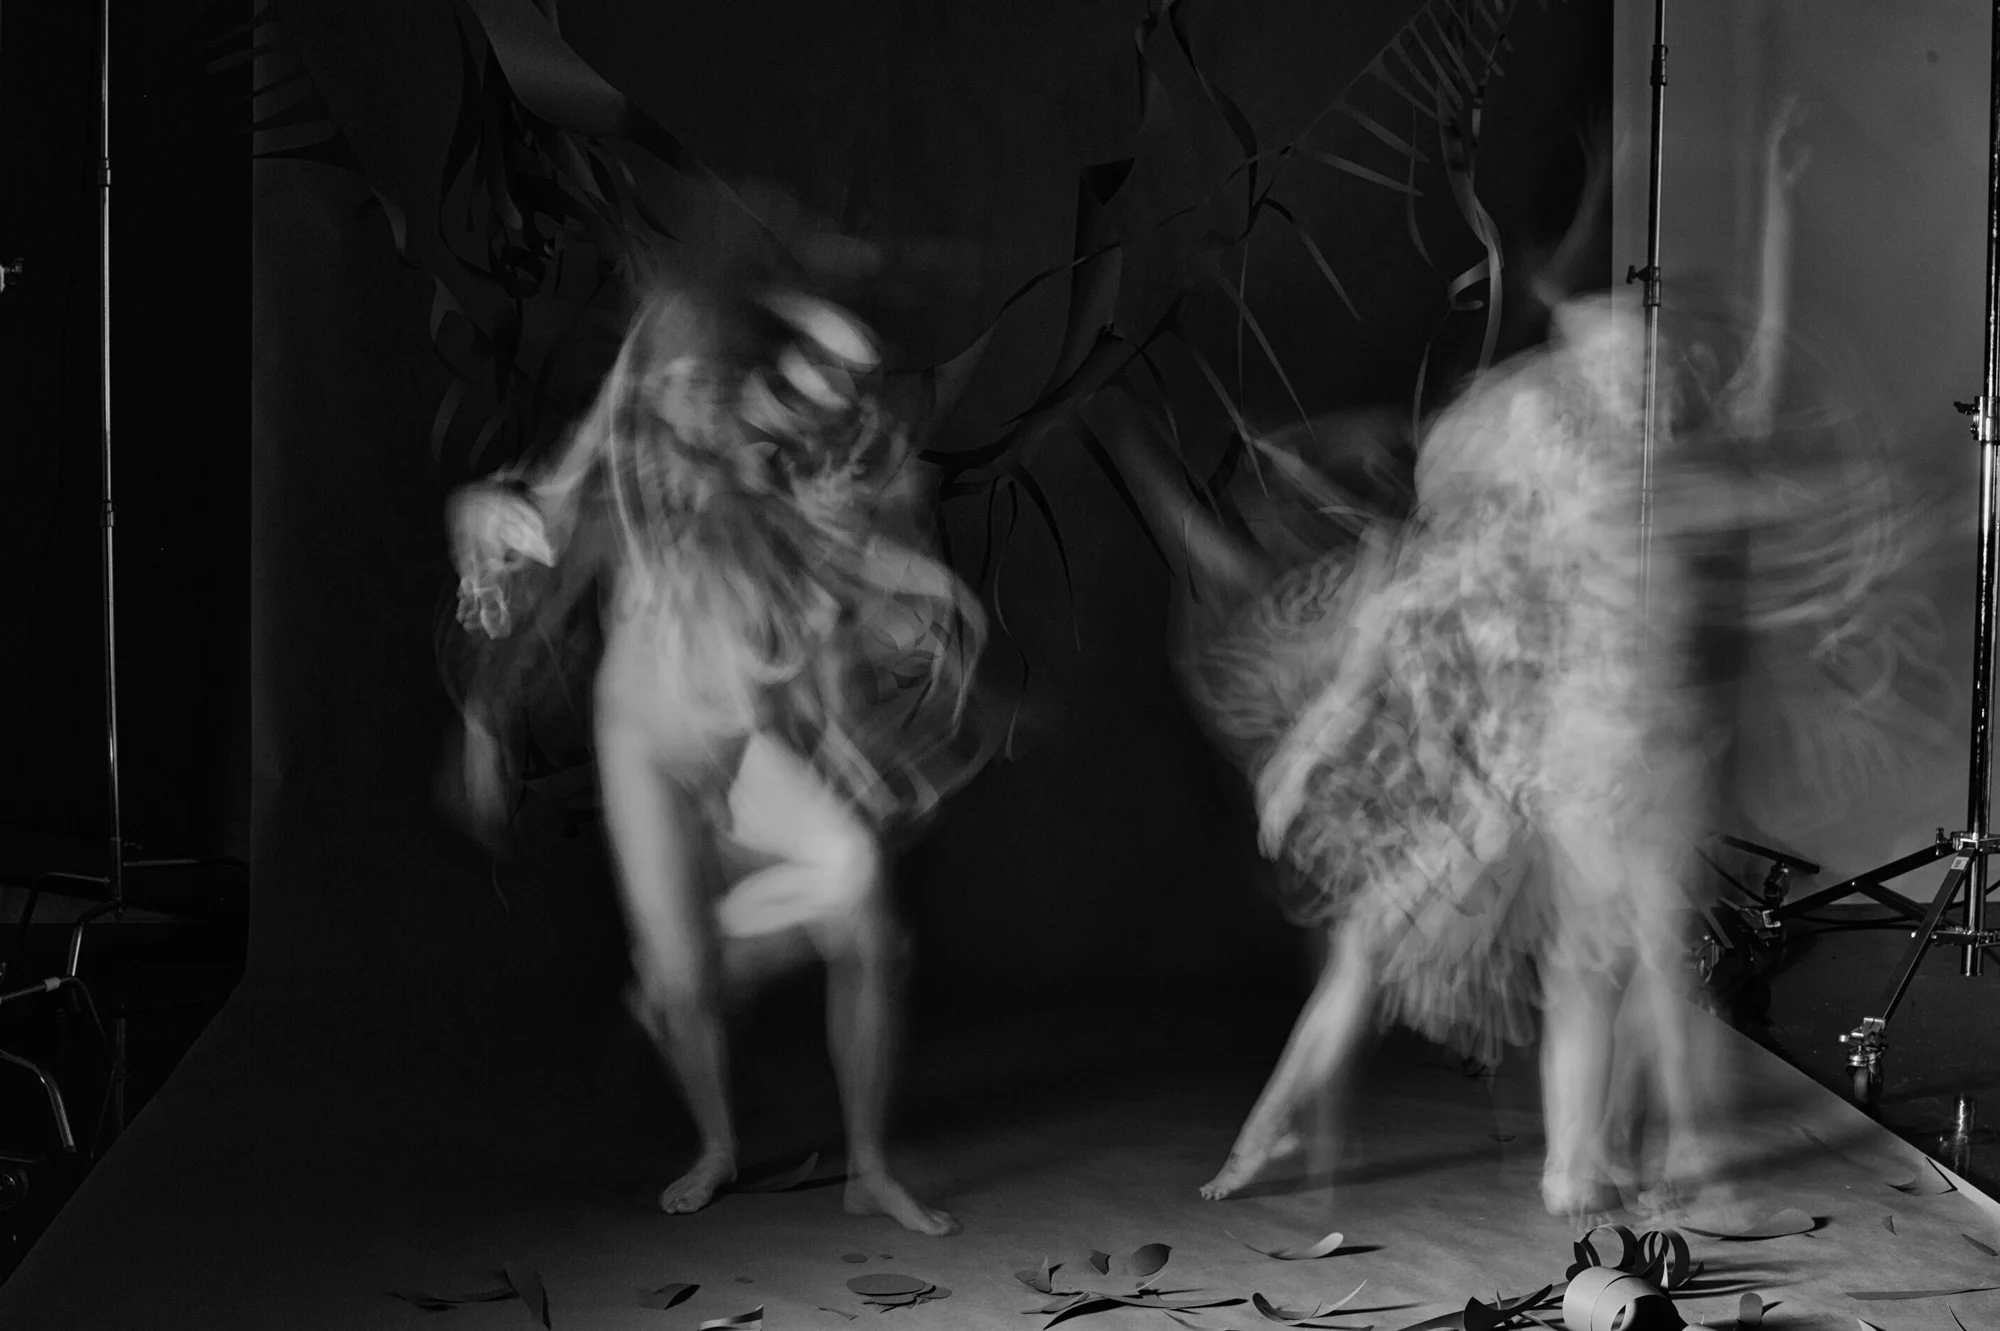
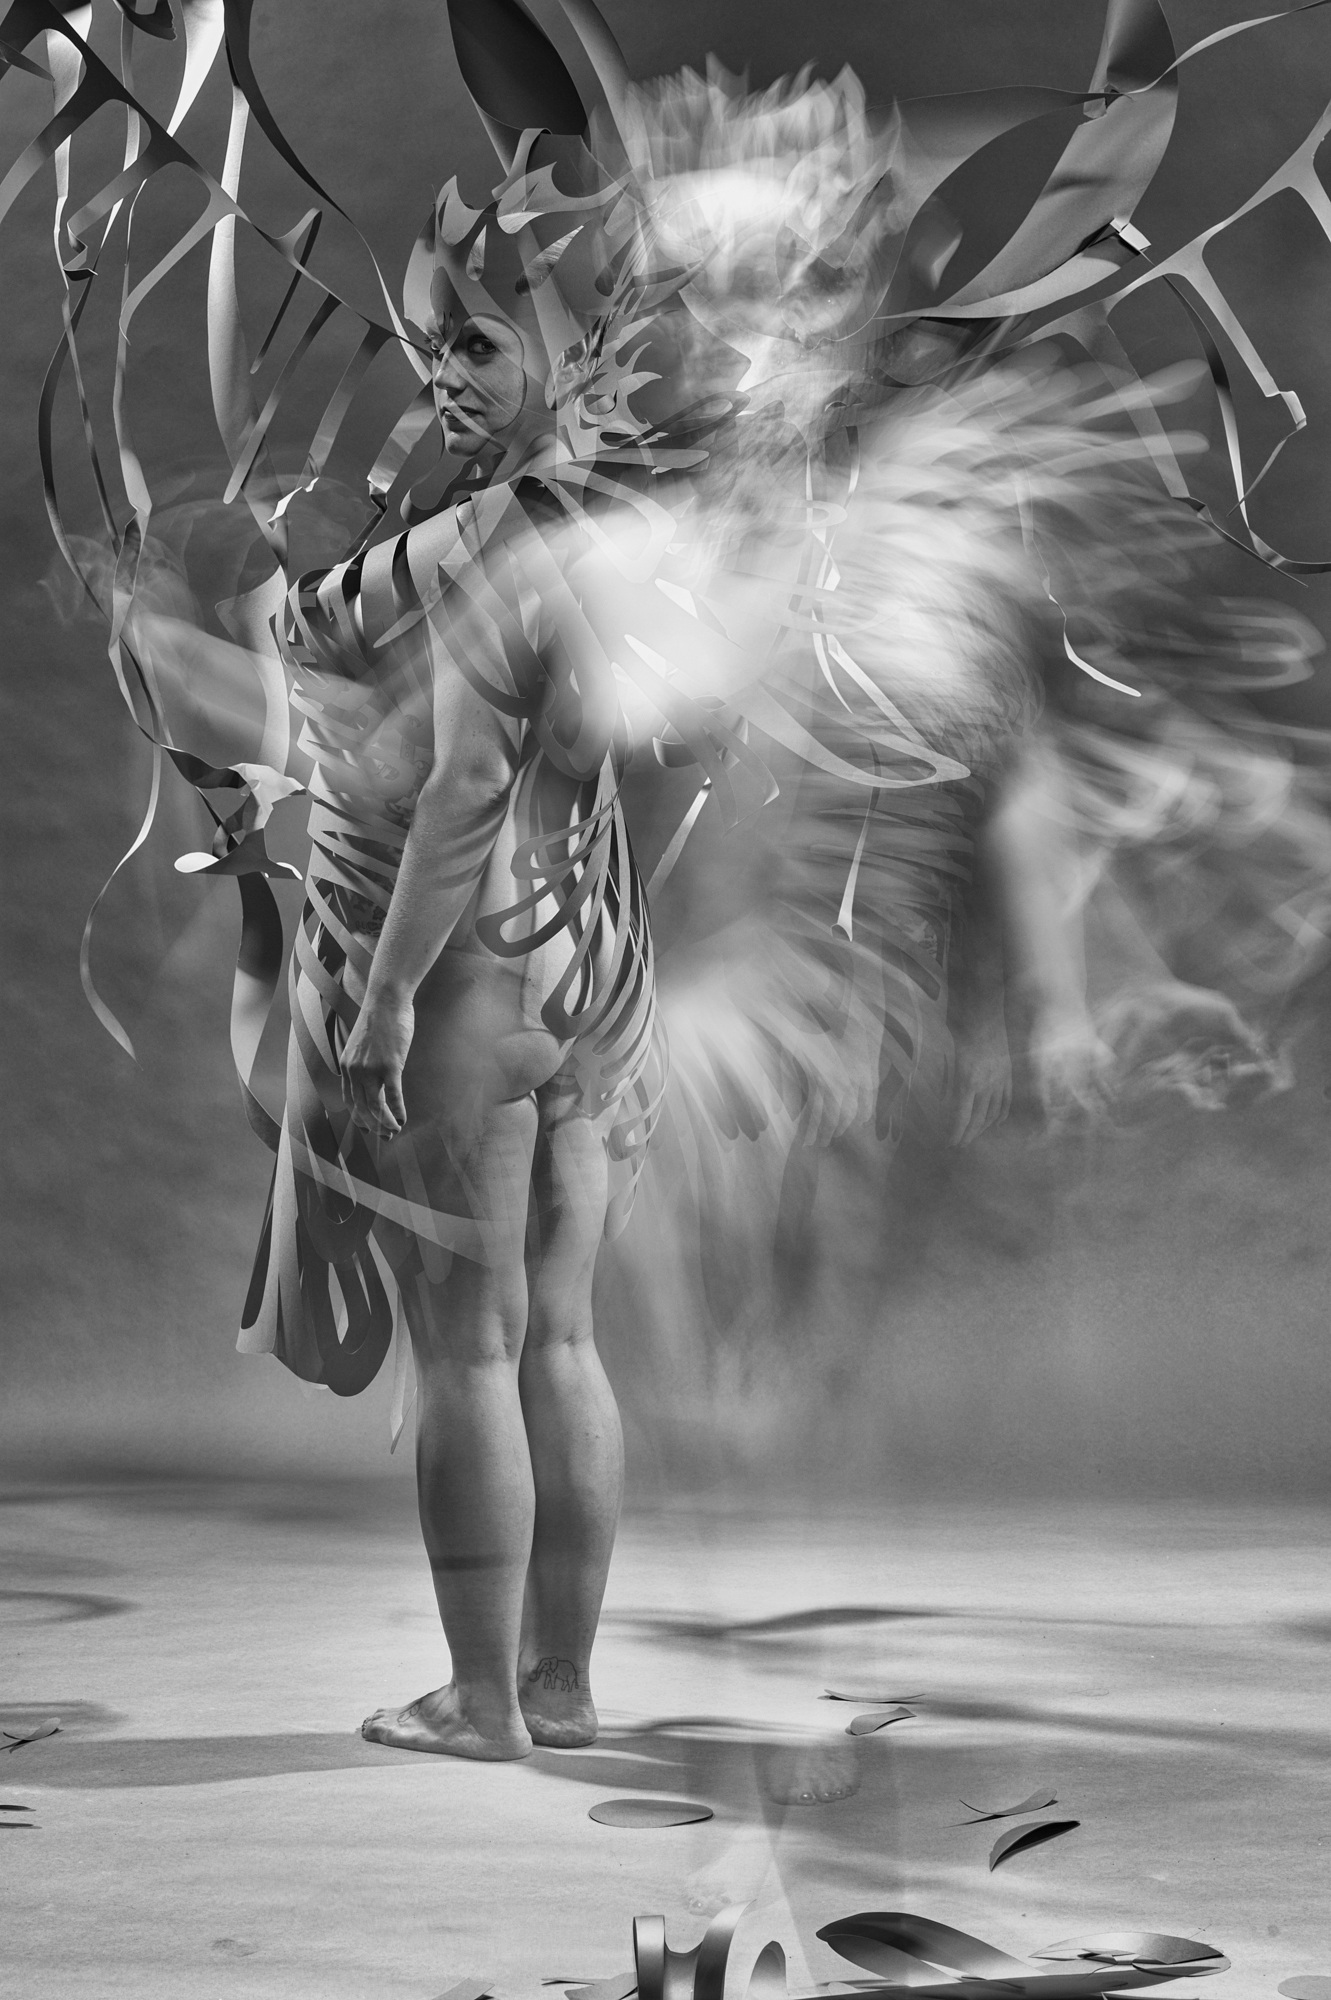
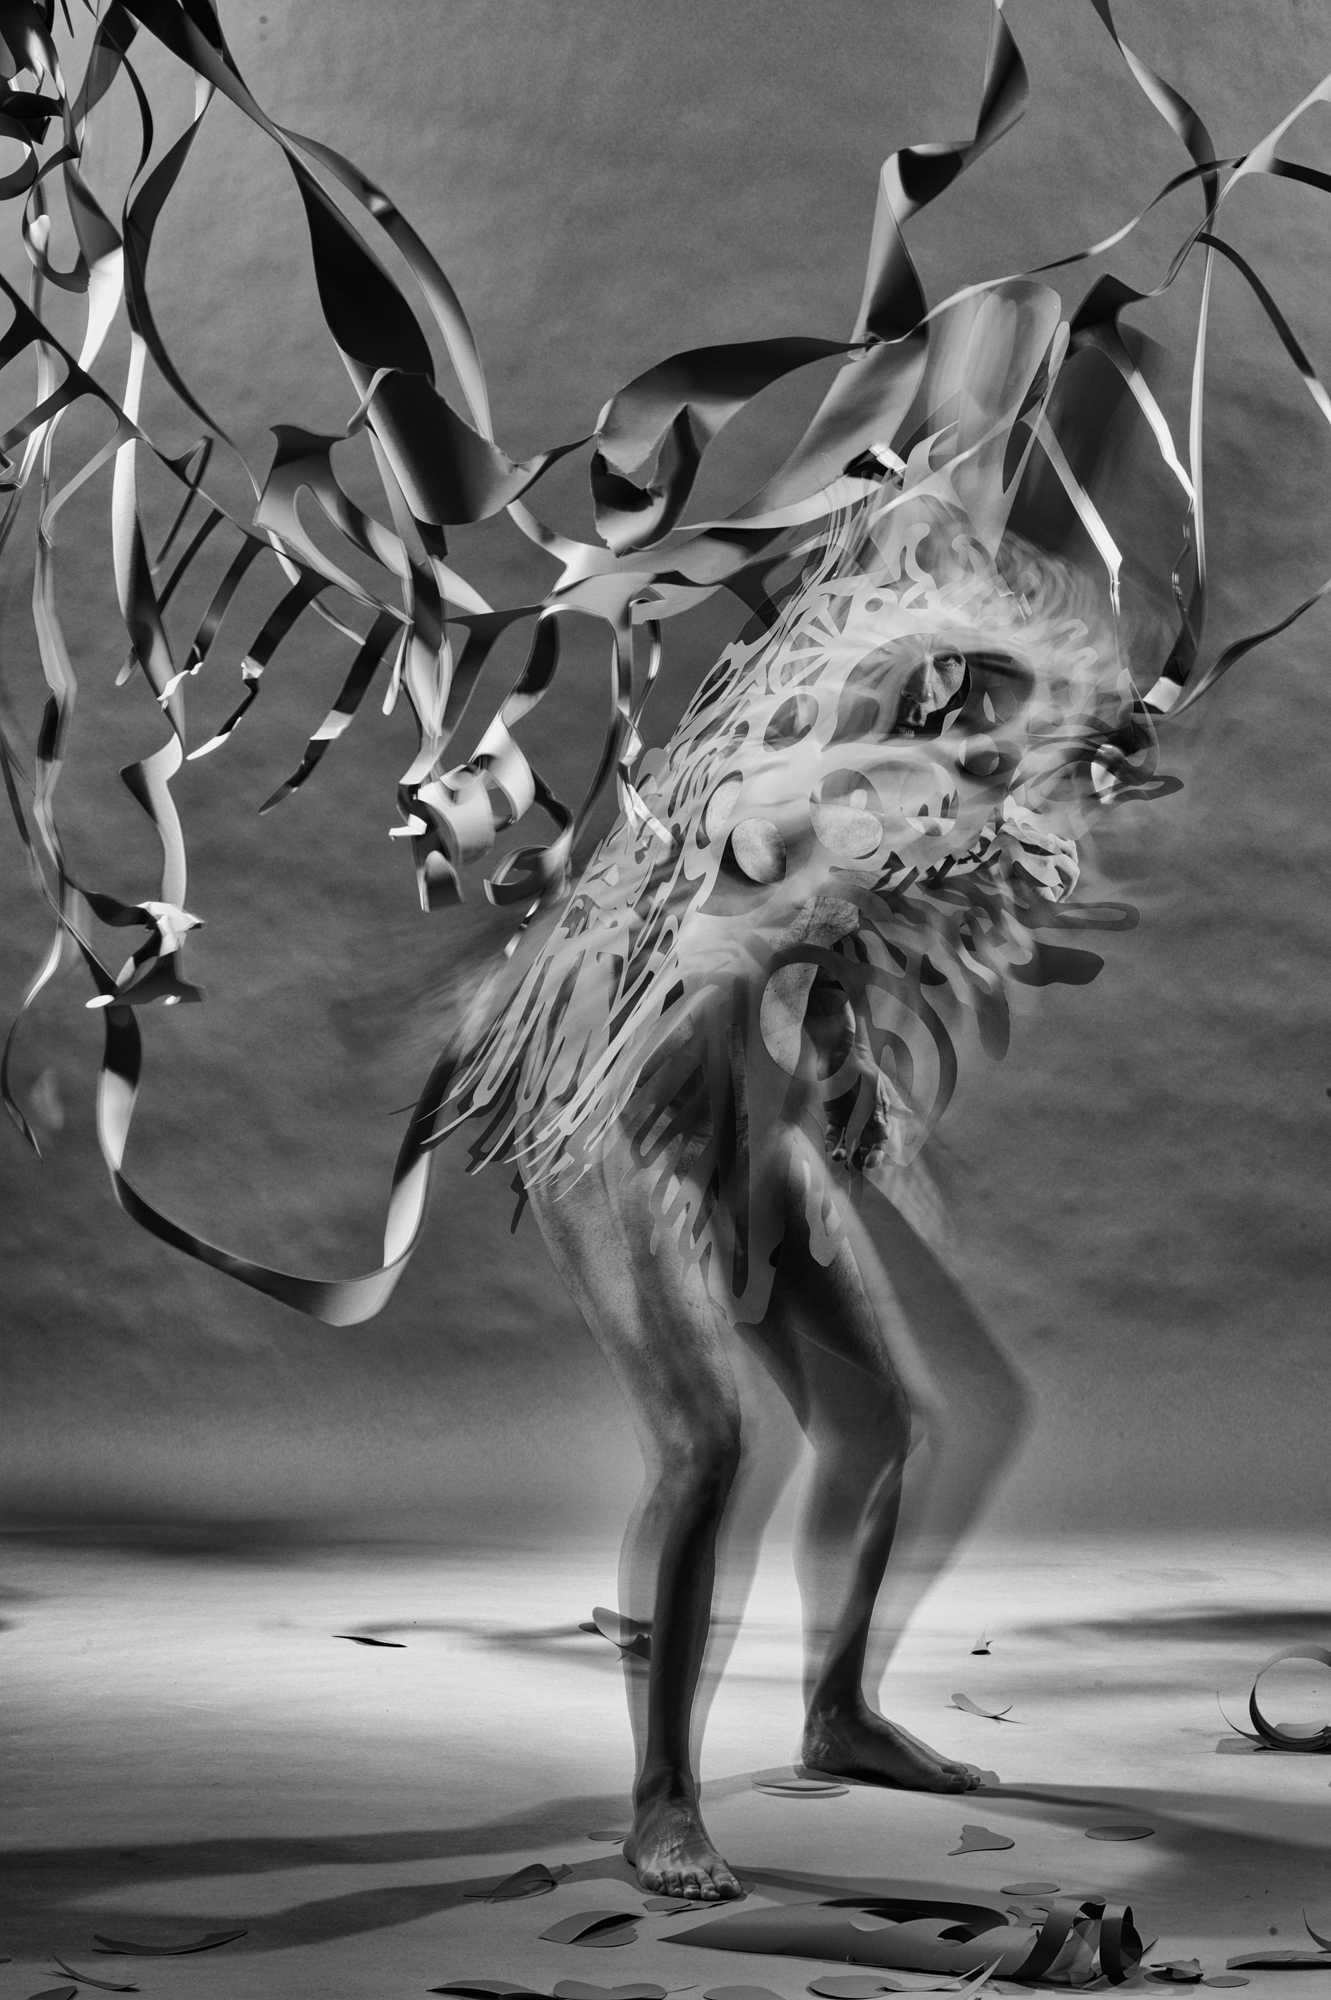
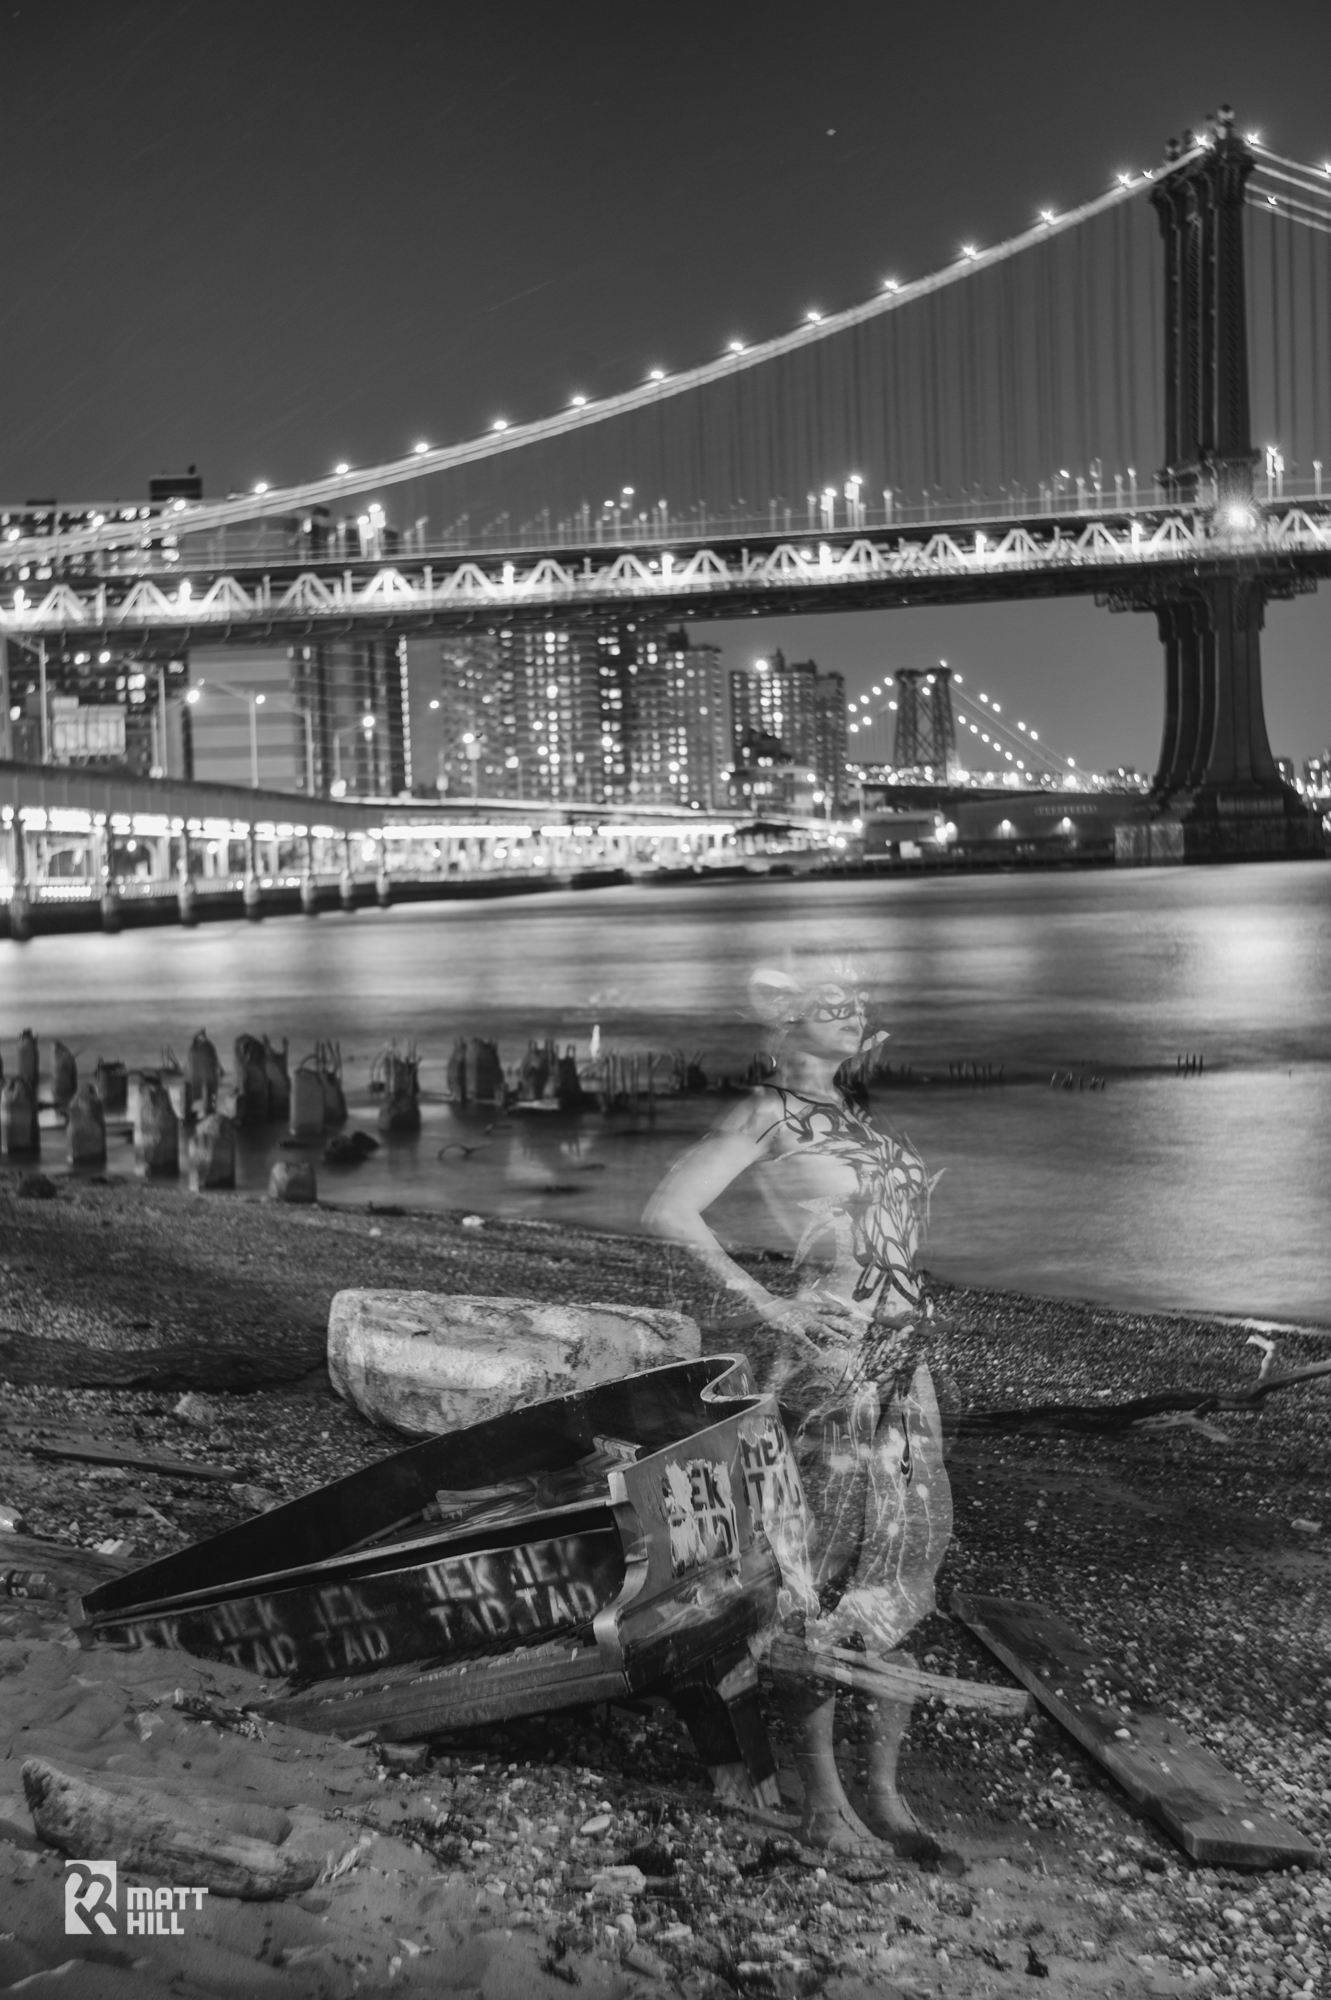
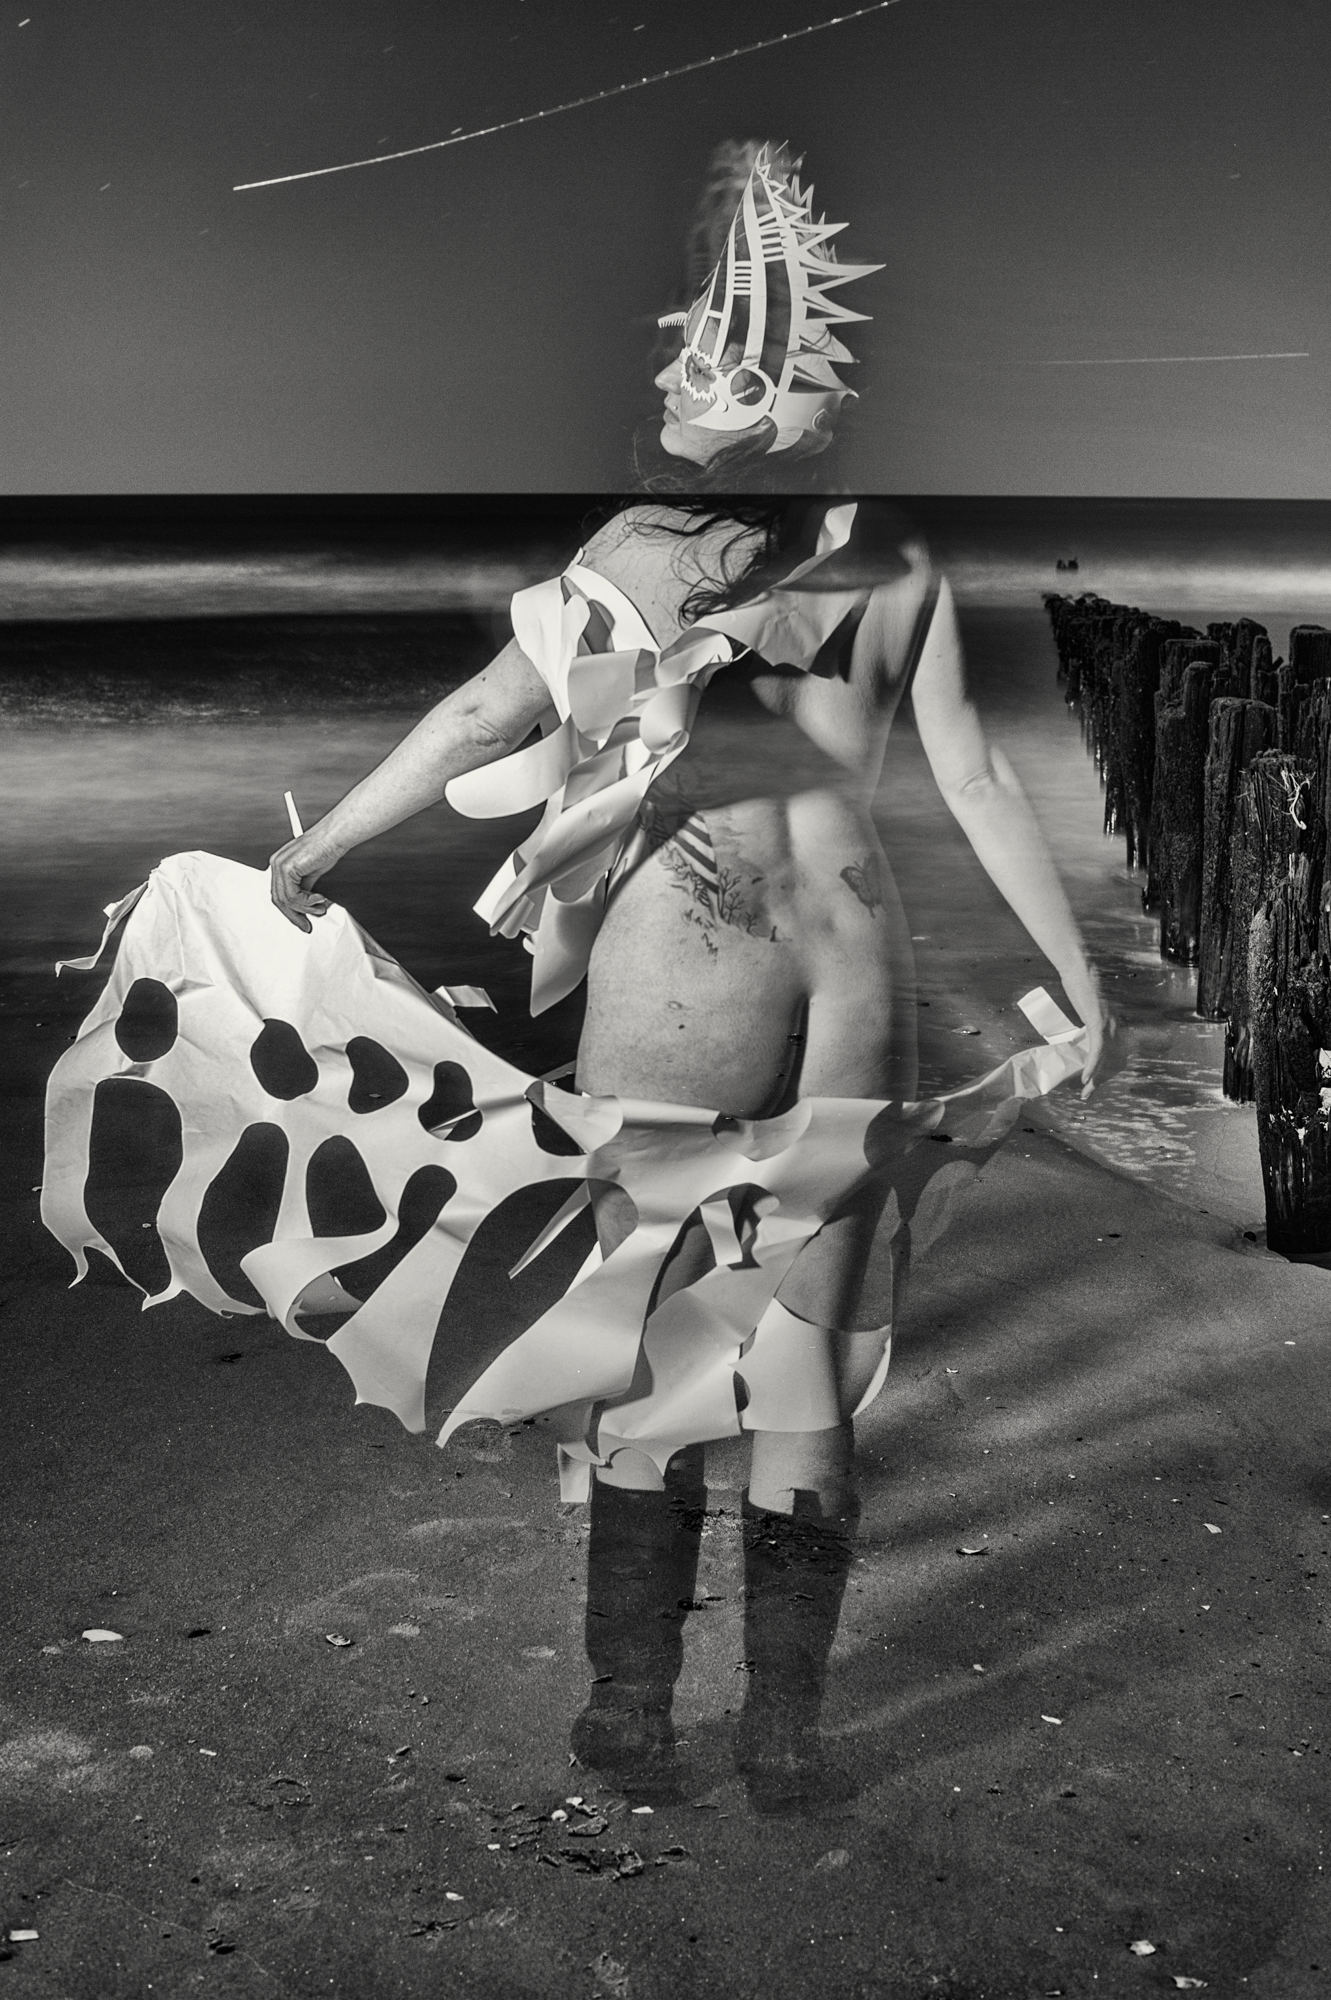
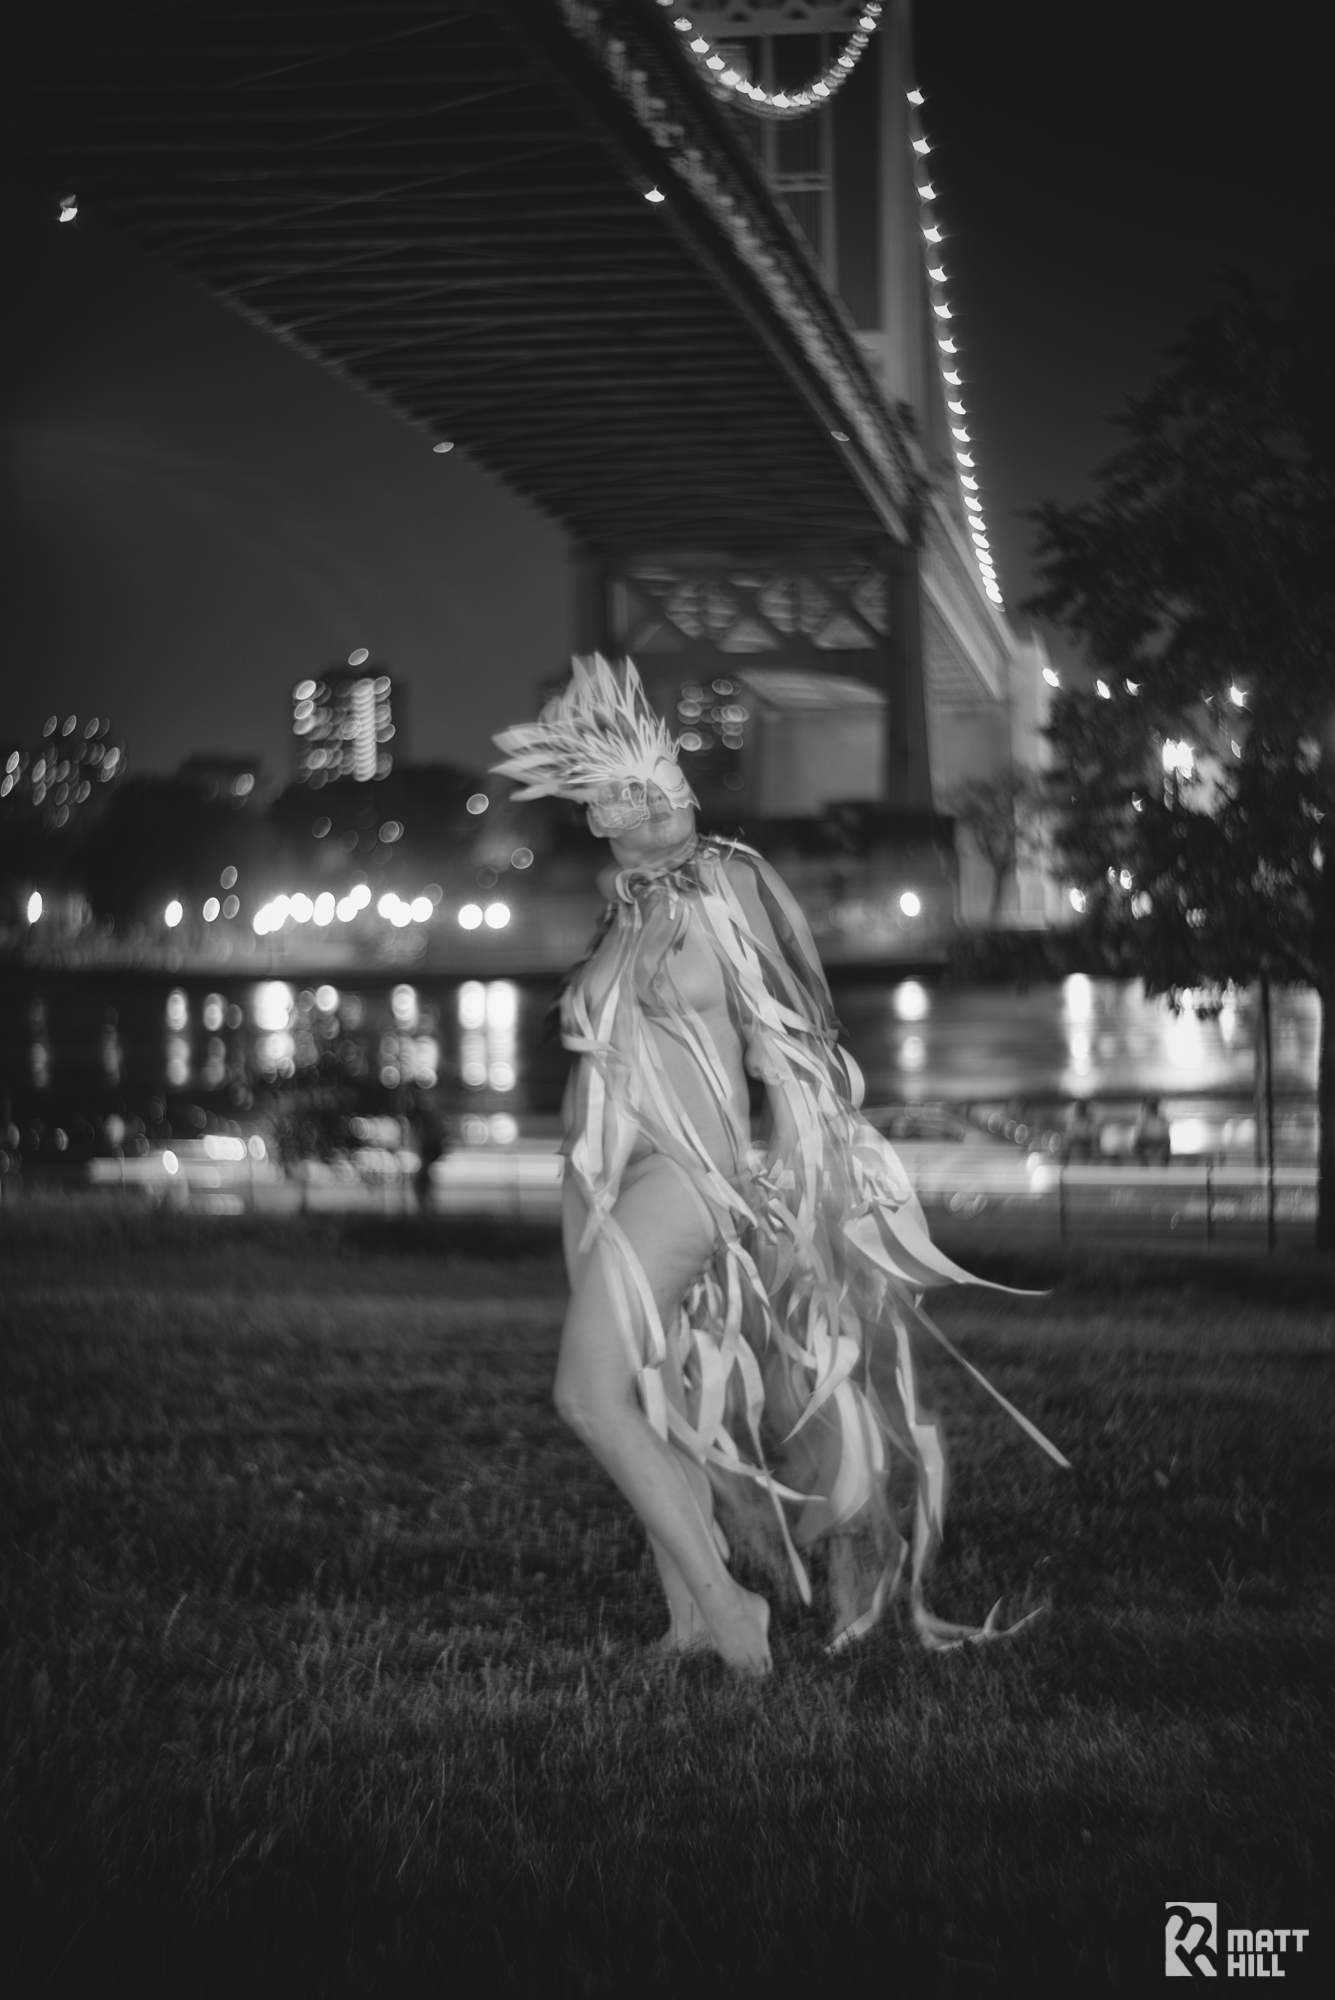
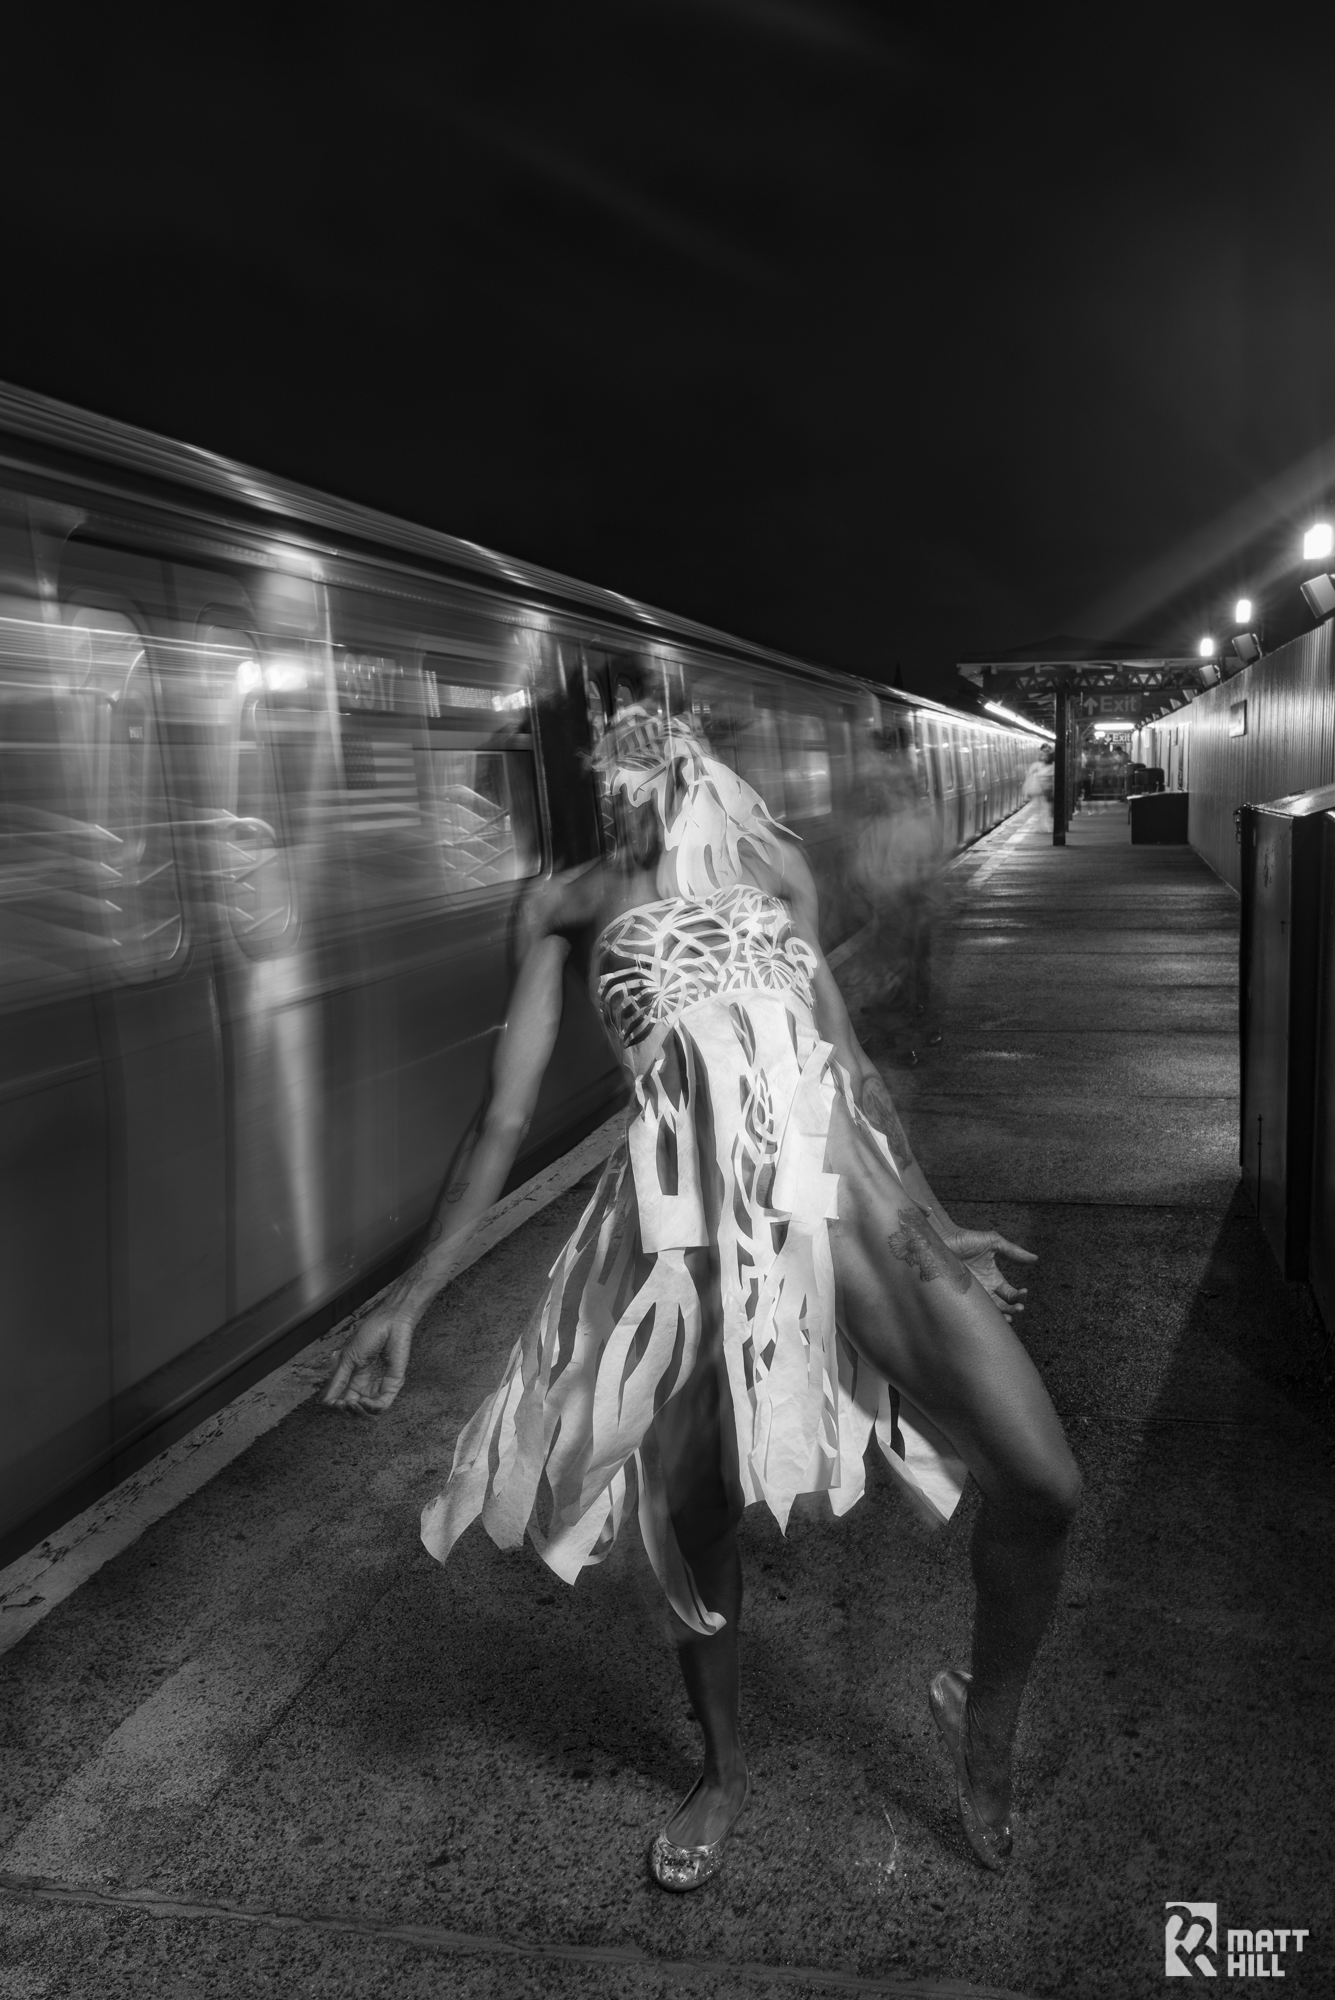
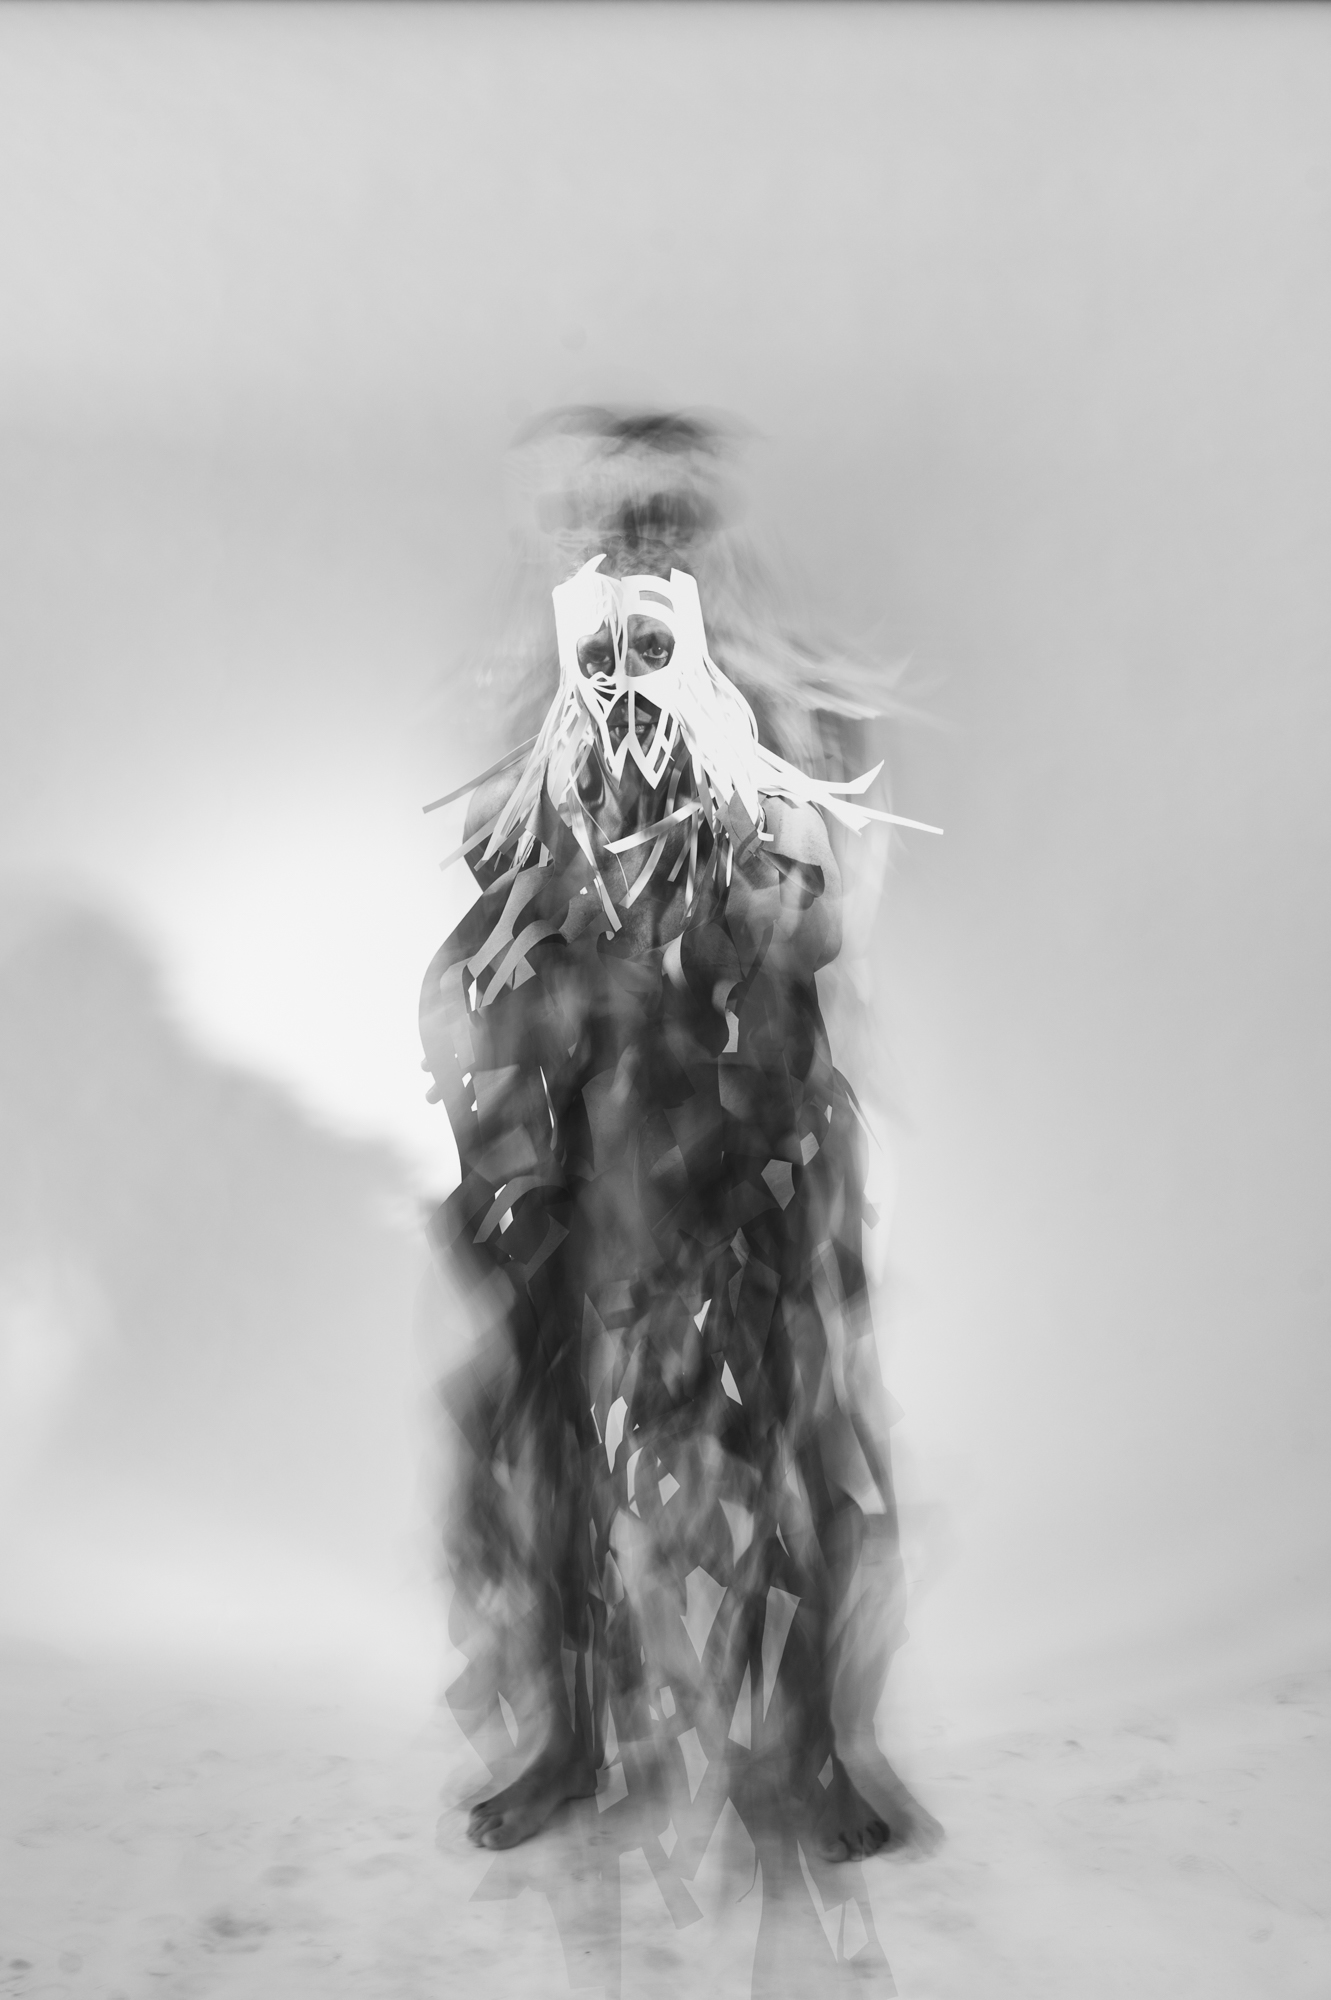
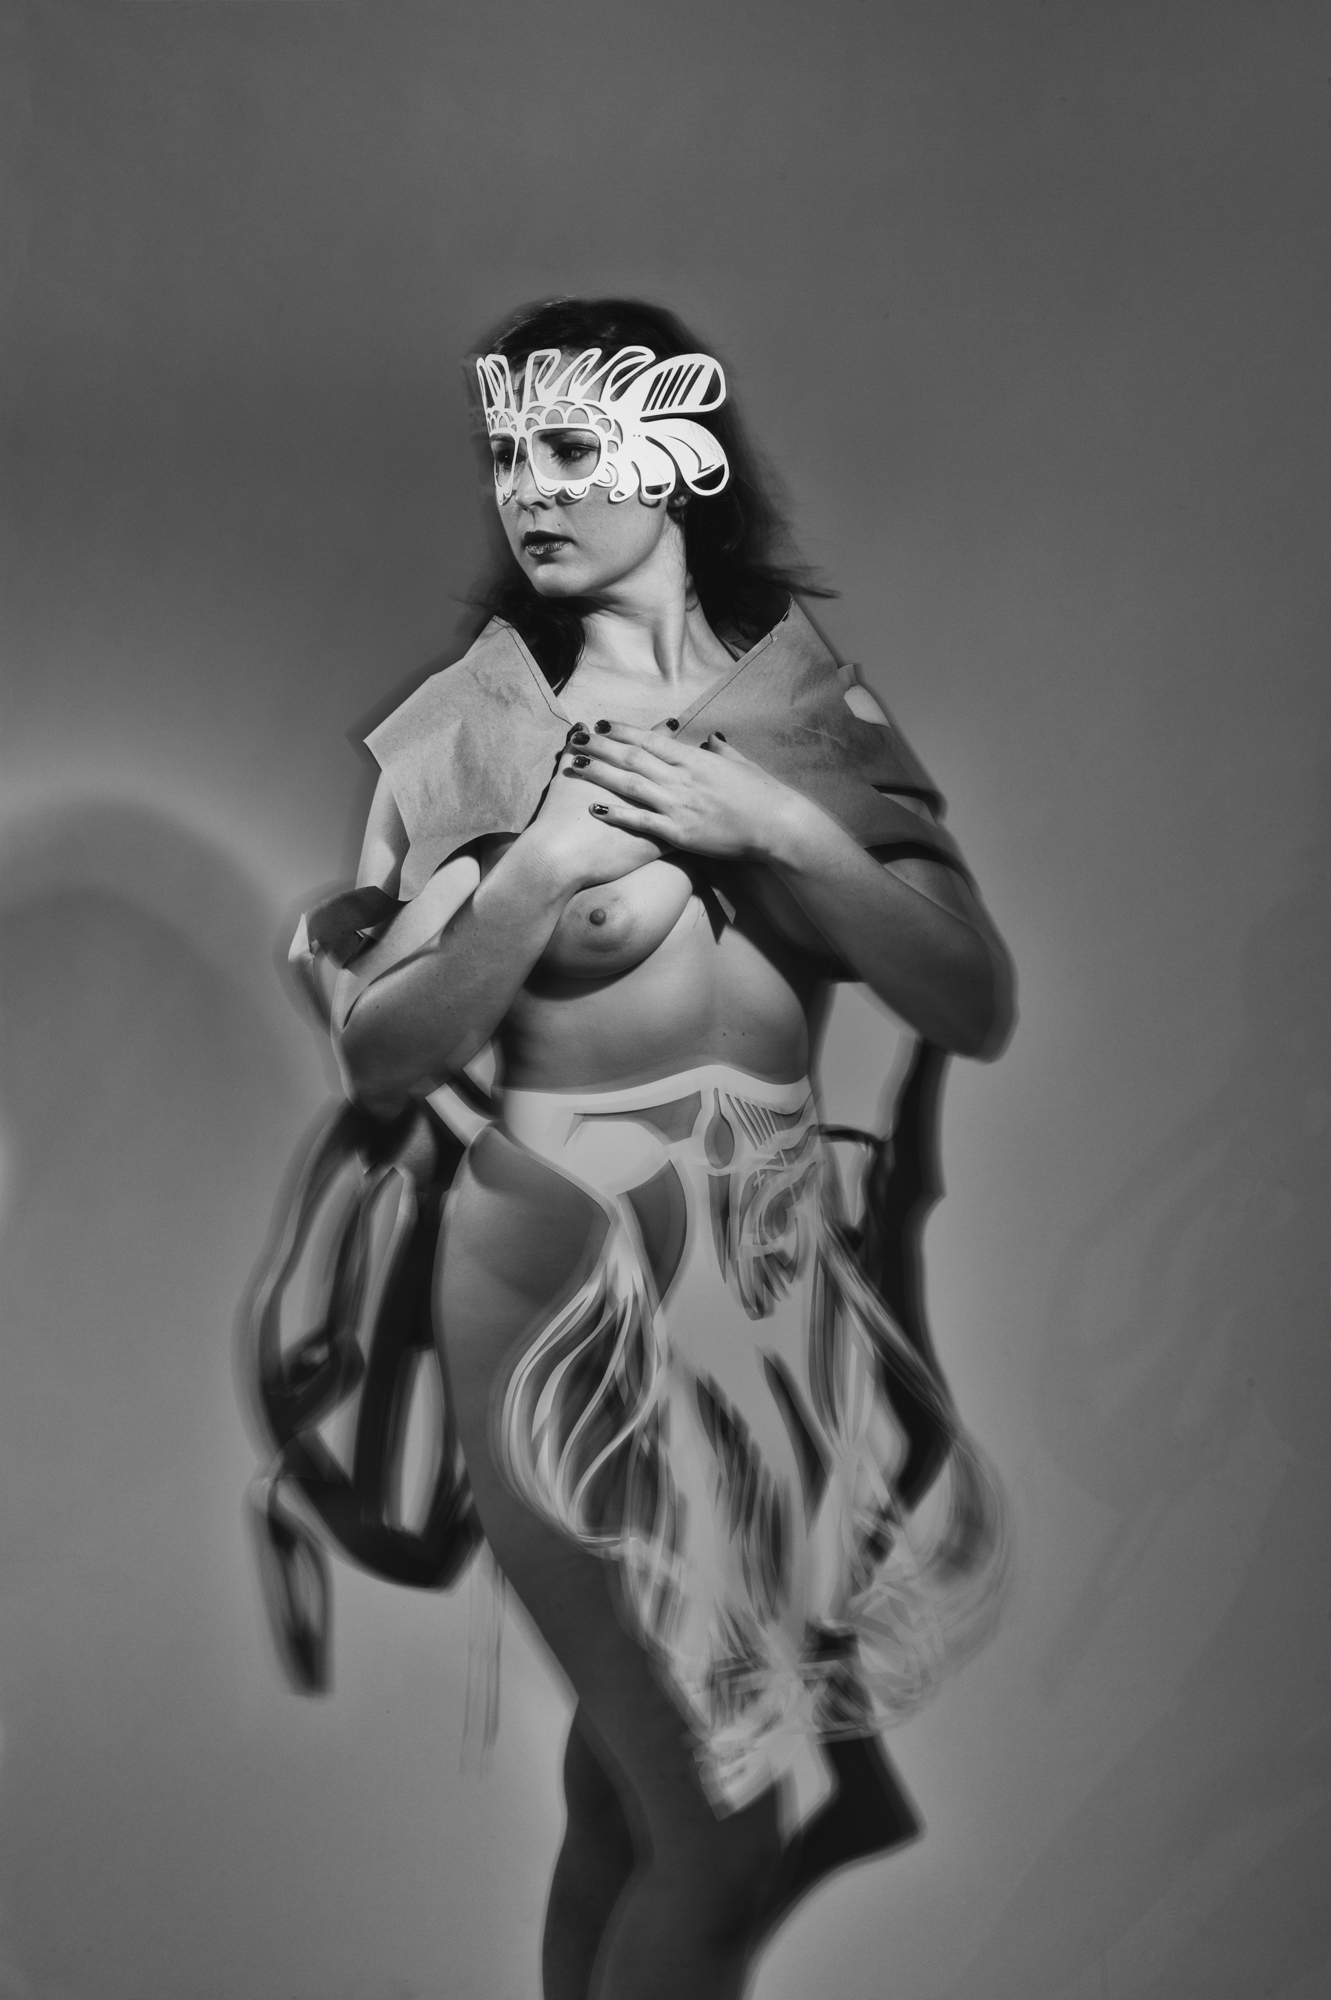
Fast-forward to today, where my NIGHT PAPER project has made me very serious about portraiture in the absence of ambient light. I am constantly evolving how I approach each portrait, but here are the basics I'd like to share today:
- Do the High ISO Test and make one perfect ambient exposure. Do not photograph a person until you have mastered your scene - too many variables out of control to then throw in a live human being.What's this? Read Lance Keimig's PDF.
- Use a flash meter. Batteries are your friend at night and every opportunity to do something once instead of chimping your way through your batteries and missing shots at the end is a benefit. I use a Sekonic L-758DR, and it has a PocketWizard trigger in it that works with my Plus III Transceivers and Profoto AcuteB battery flash pack. Additionally, I have to add that if you are able to master doing it all in-camera in one frame, your depth of knowledge and personal satisfaction will be very high.
Meter your main portrait light for so that it equals the aperture & ISO you set for your long exposure. Not enough? Turn up the power or move it closer. I'll post about quality of light in a separate blog post. To much? Do the opposite.
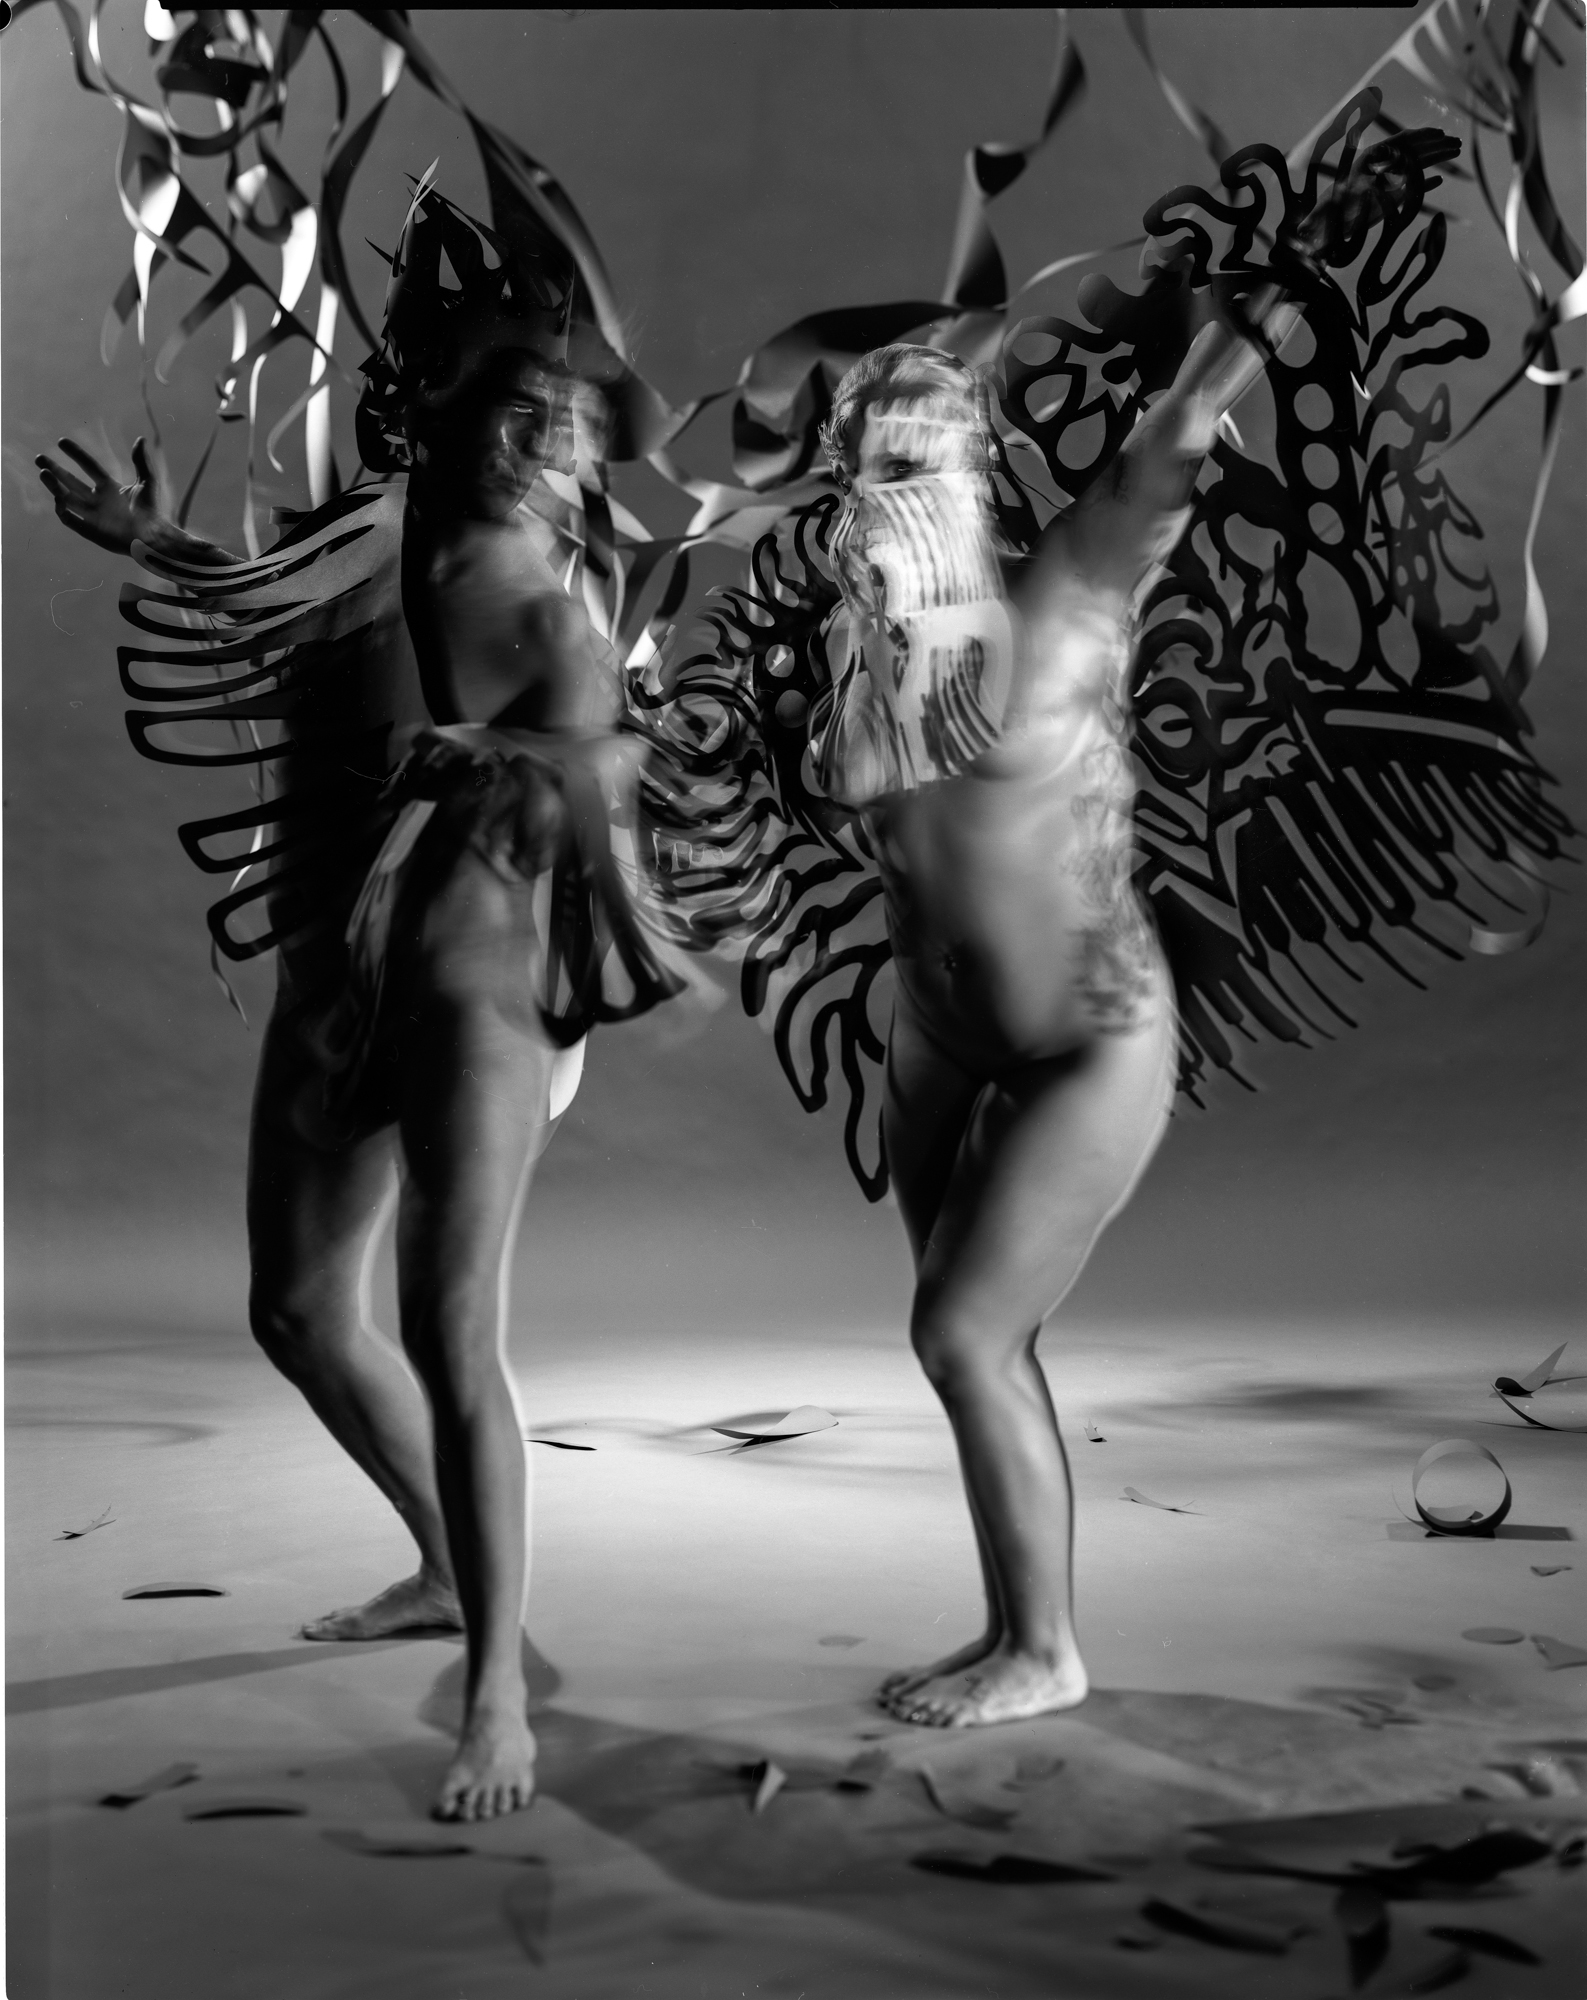
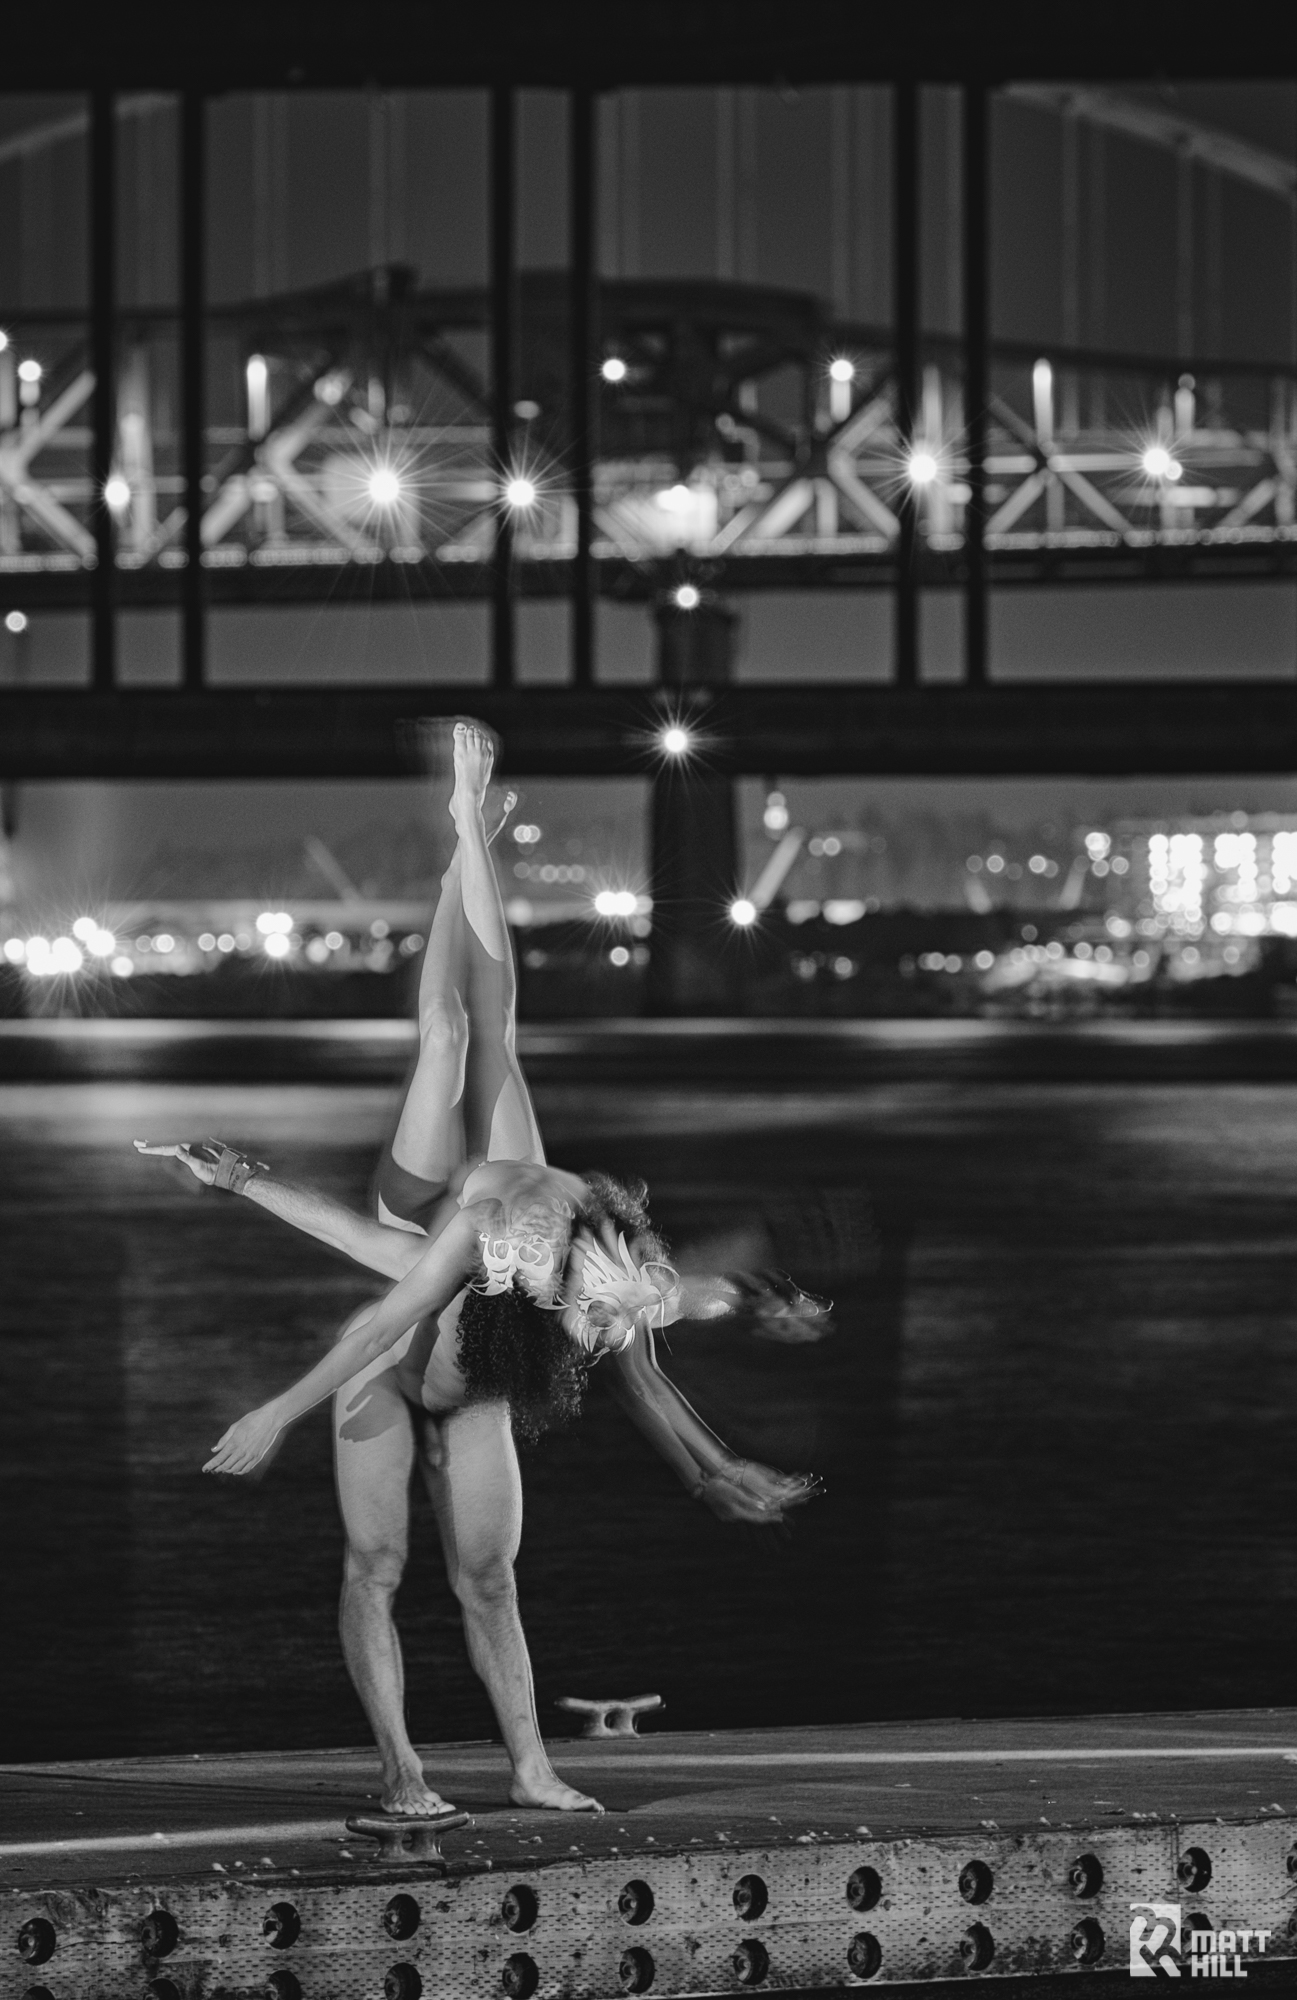
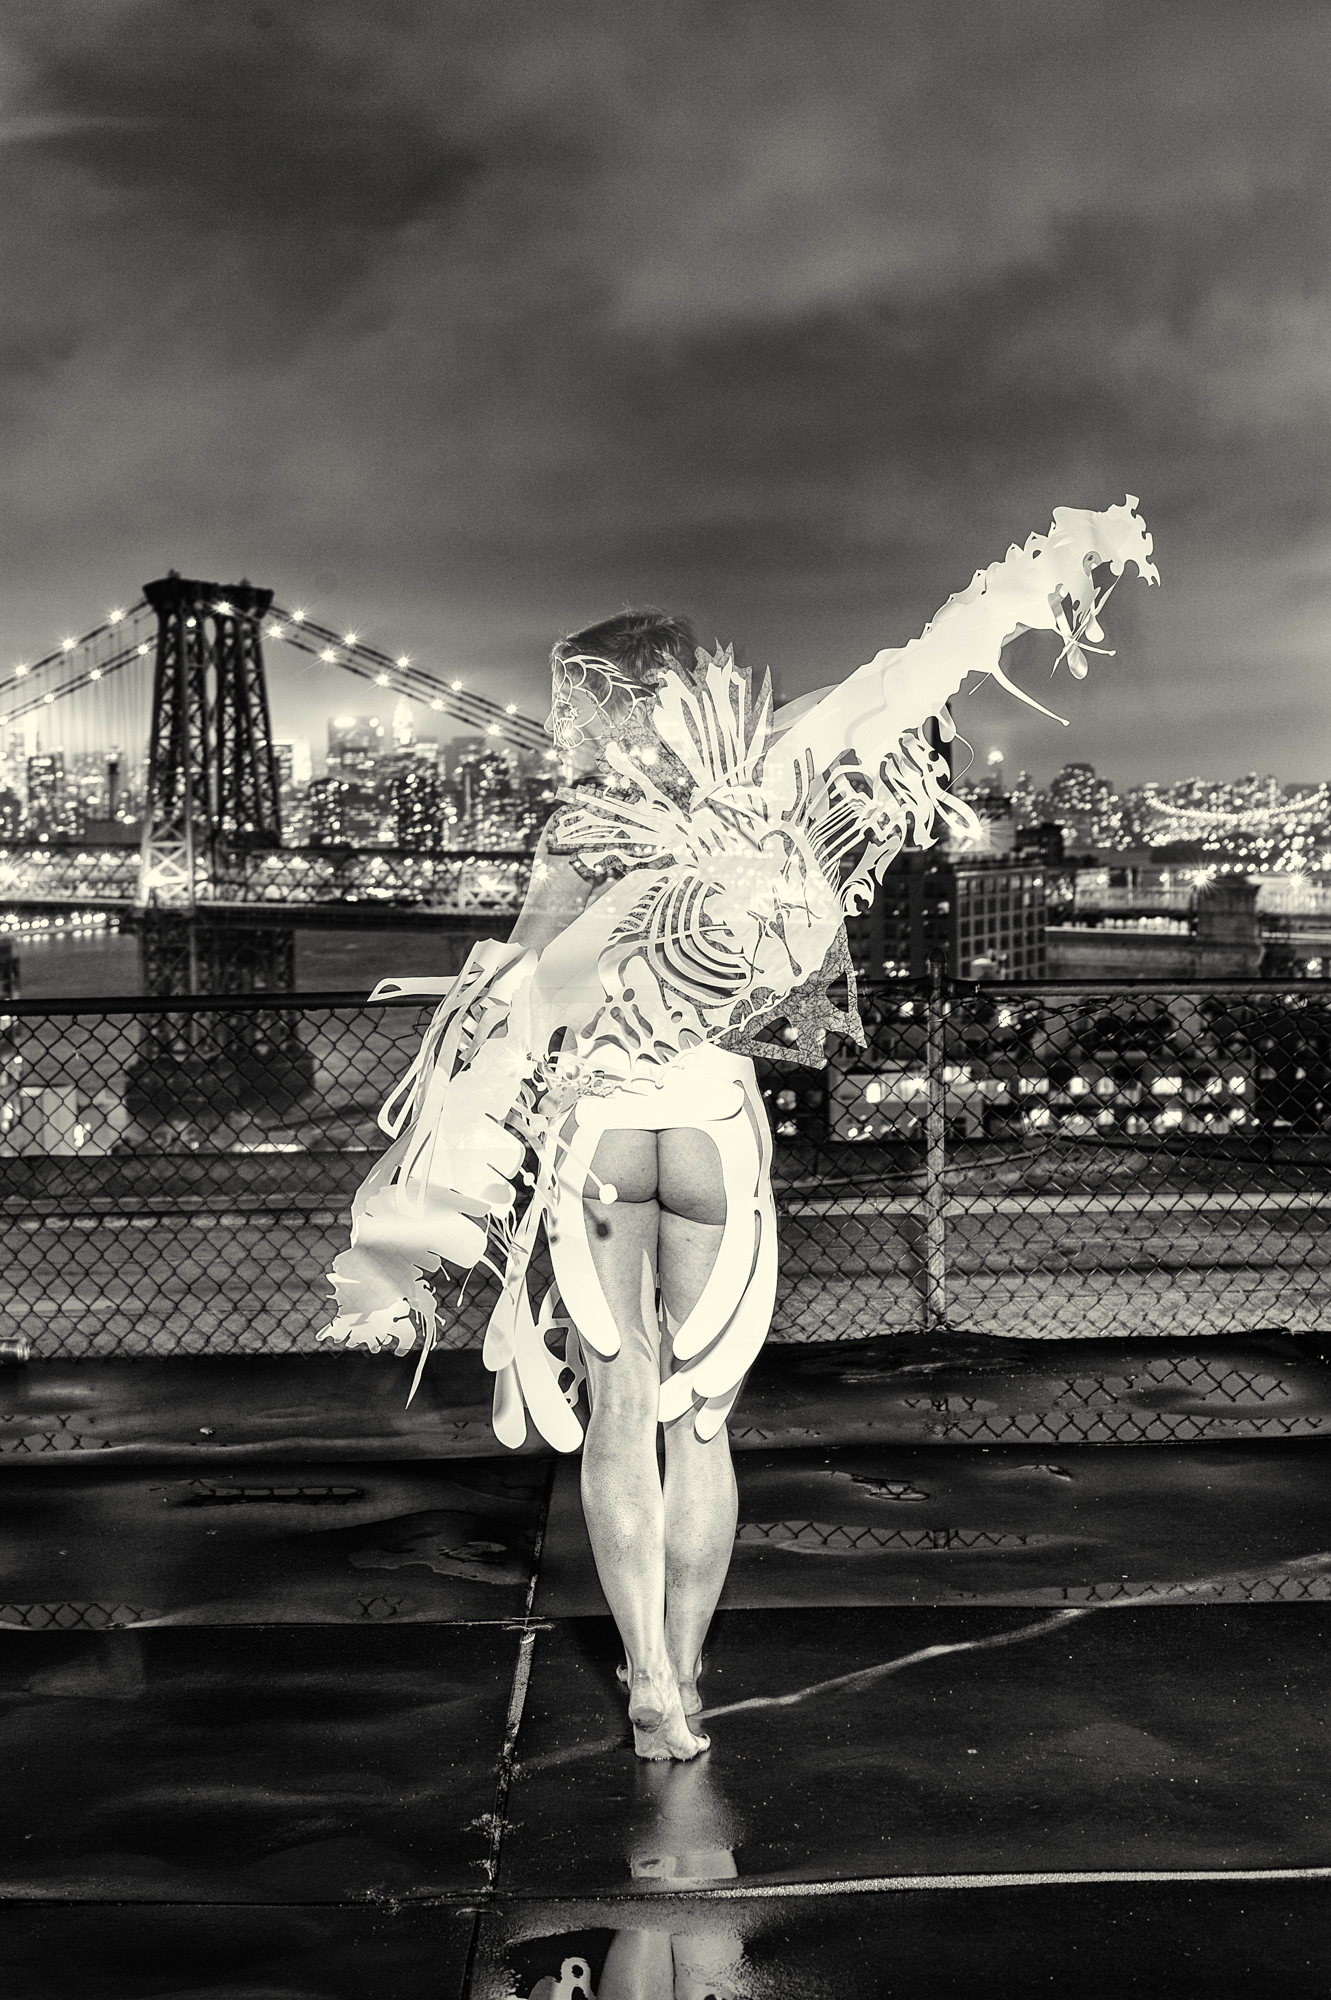
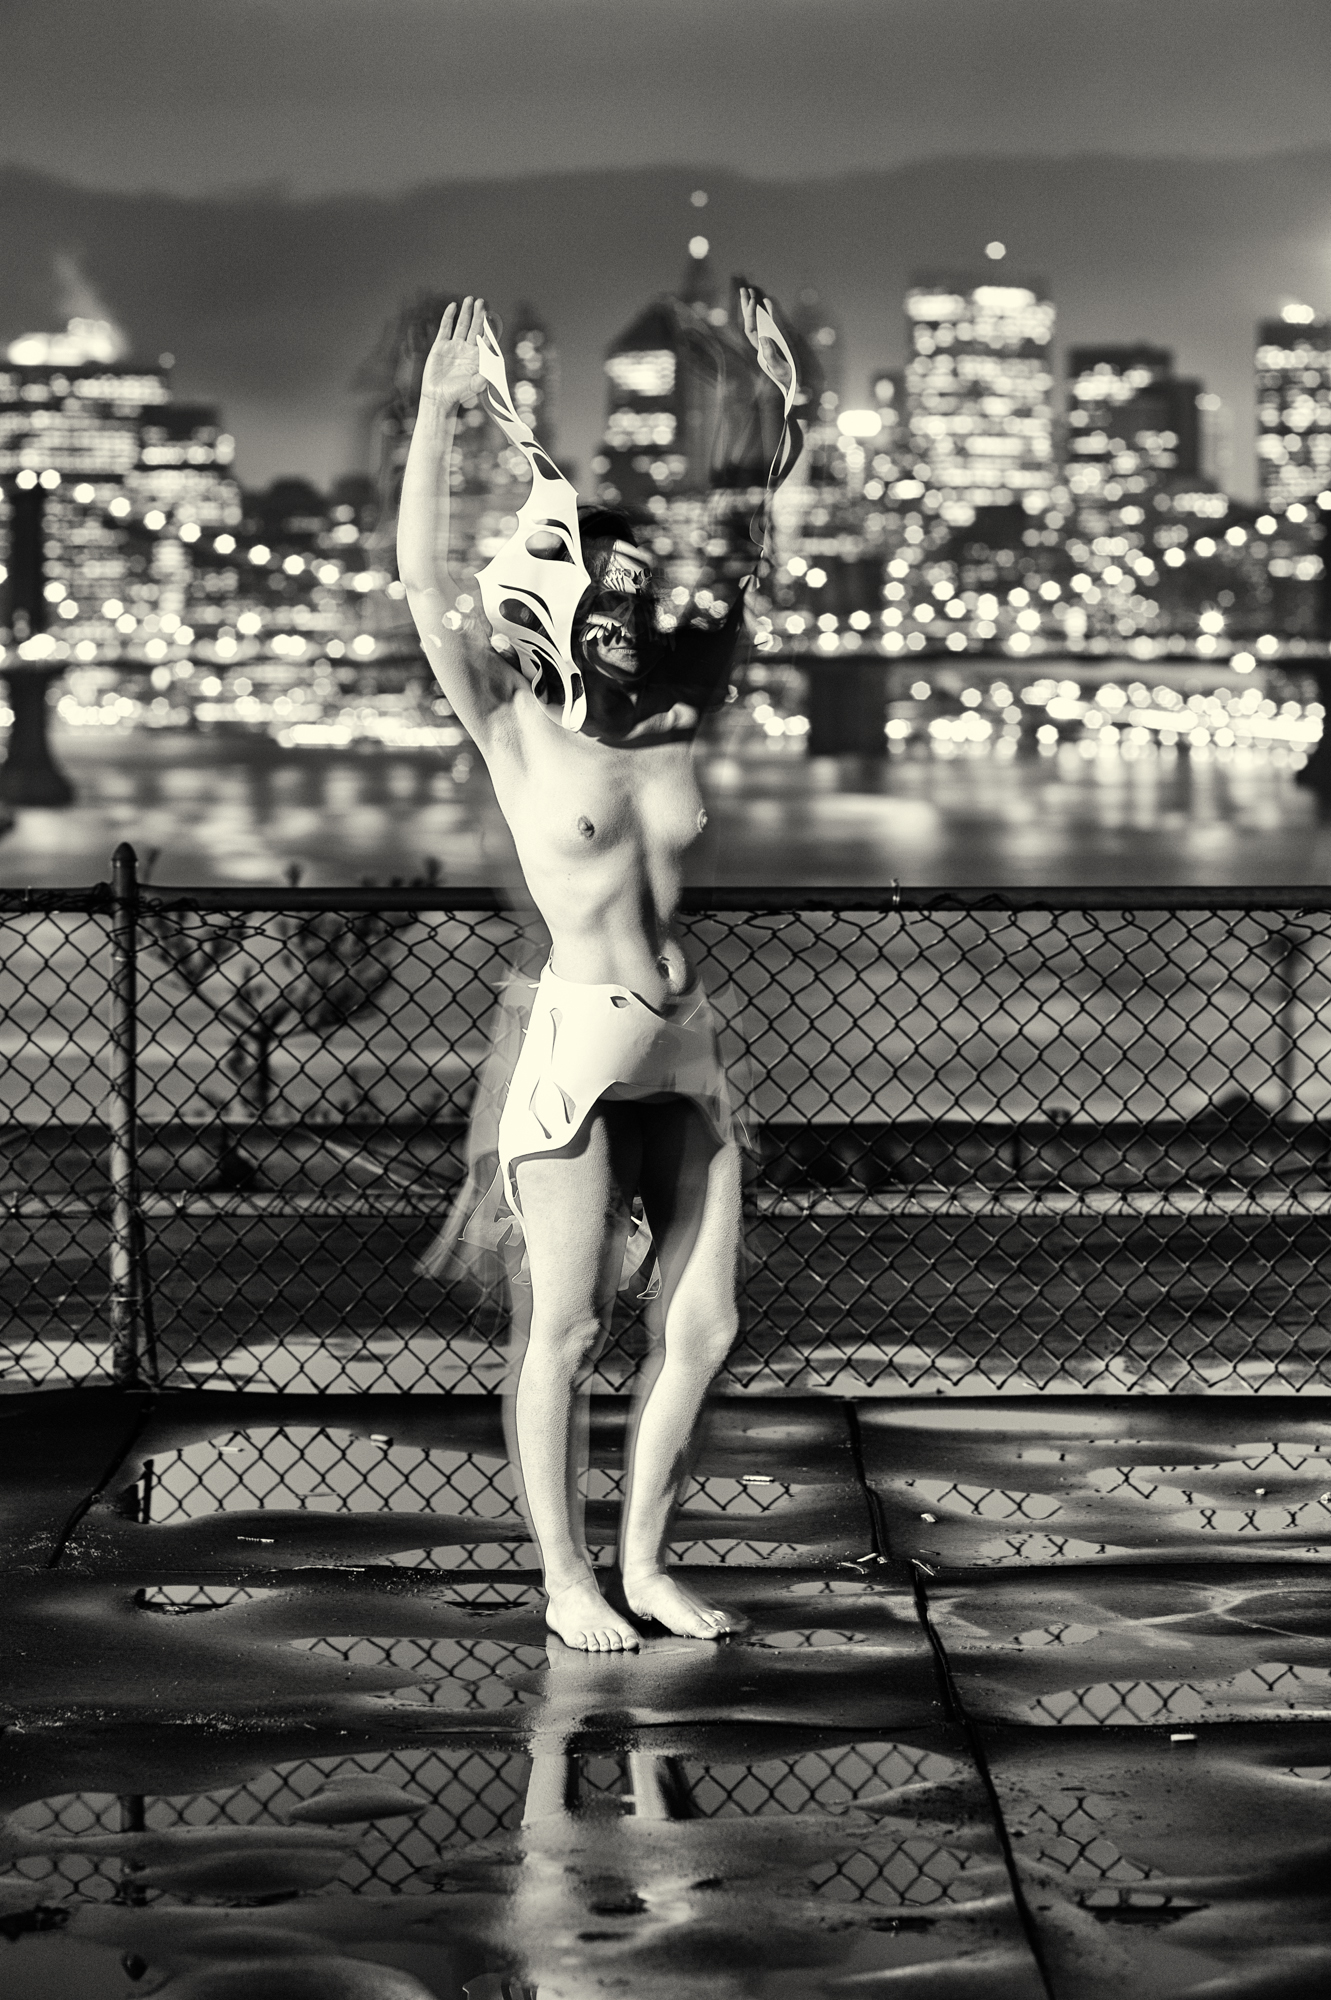
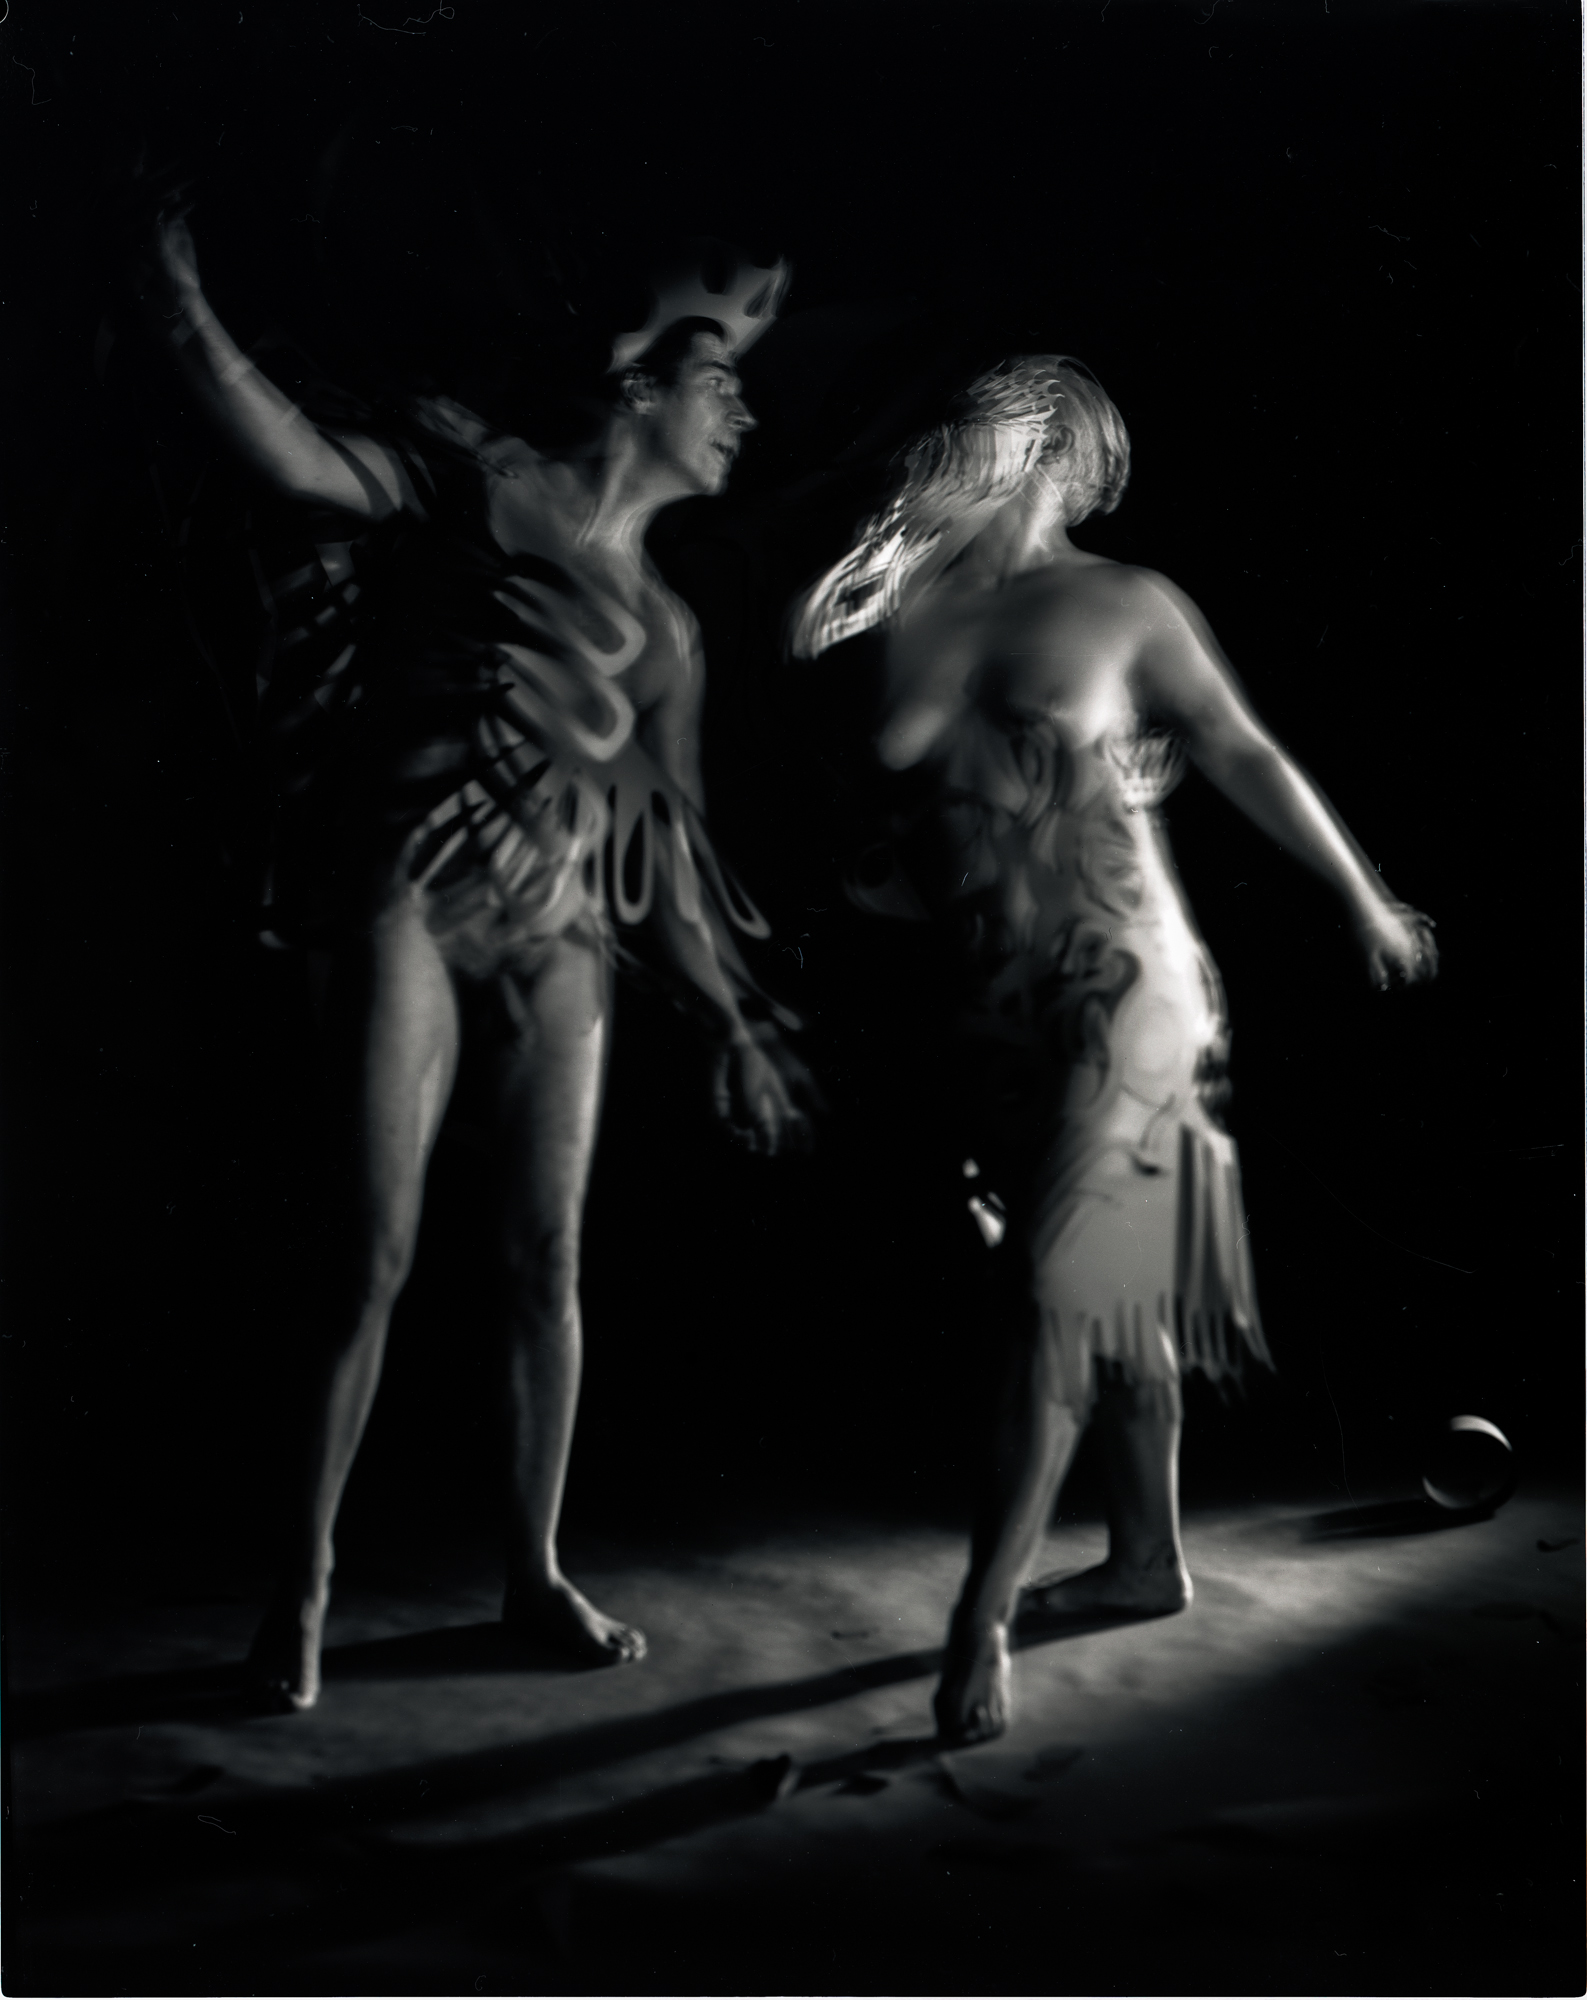
Also meter your 2nd and third flashes (set to manual) if you are using additional flashes for your initial burst. Make a good ratio if these lights are providing edge or texture definition for your model. - Be very aware of where the model's head is! Reason: If you have them move out of the frame after the first flash burst, which I often do, then whatever is behind their head is going to be added to the photograph. If it's a dark background, then almost nothing will happen. If it is a light source, then this will now become part of their head. Same goes for bodies - either intentionally let something burn through and "ghost" them or deliberately do not!
- Have the model always come back to the same spot. Sounds simple, but just to be clear - the flash power you metered was an exact distance form the flash. Keep your exposures consistent by keeping them in the same place.
- Try simple poses first. I am a fan of the face pointing towards the main light - it is flattering. Start there, then do variations of face placement for different shadow structure. Whatever is good in the daytime is also good at night!
- Try jumps. These are not only fun on film, but also great to stimulate a model who may have to wait minutes between exposures. A good trick is to have them bend their knees when jumping - it give the illusion of a higher jump.
- Mix continuous and flash sources. This is my favorite benefit of doing night portraits (as opposed to daytime). Use a tungsten flashlight, and LED flashlight, your speedlites (snooted off or with grids), your iPad/iPhone, flames (carefully!), video light, LED penlight, anything with which you can isolate parts of your model's body and then have them move after the flash goes off at the beginning of the exposure. Experiment. Get crazy - you may love those "happy accidents."
- Safety first! Make sure your model is comfortable and in a place that is safe.
Take a fresh look at NIGHT PAPER (below) and see if you see anything different after reading what I have learned along the way. Comments welcome!