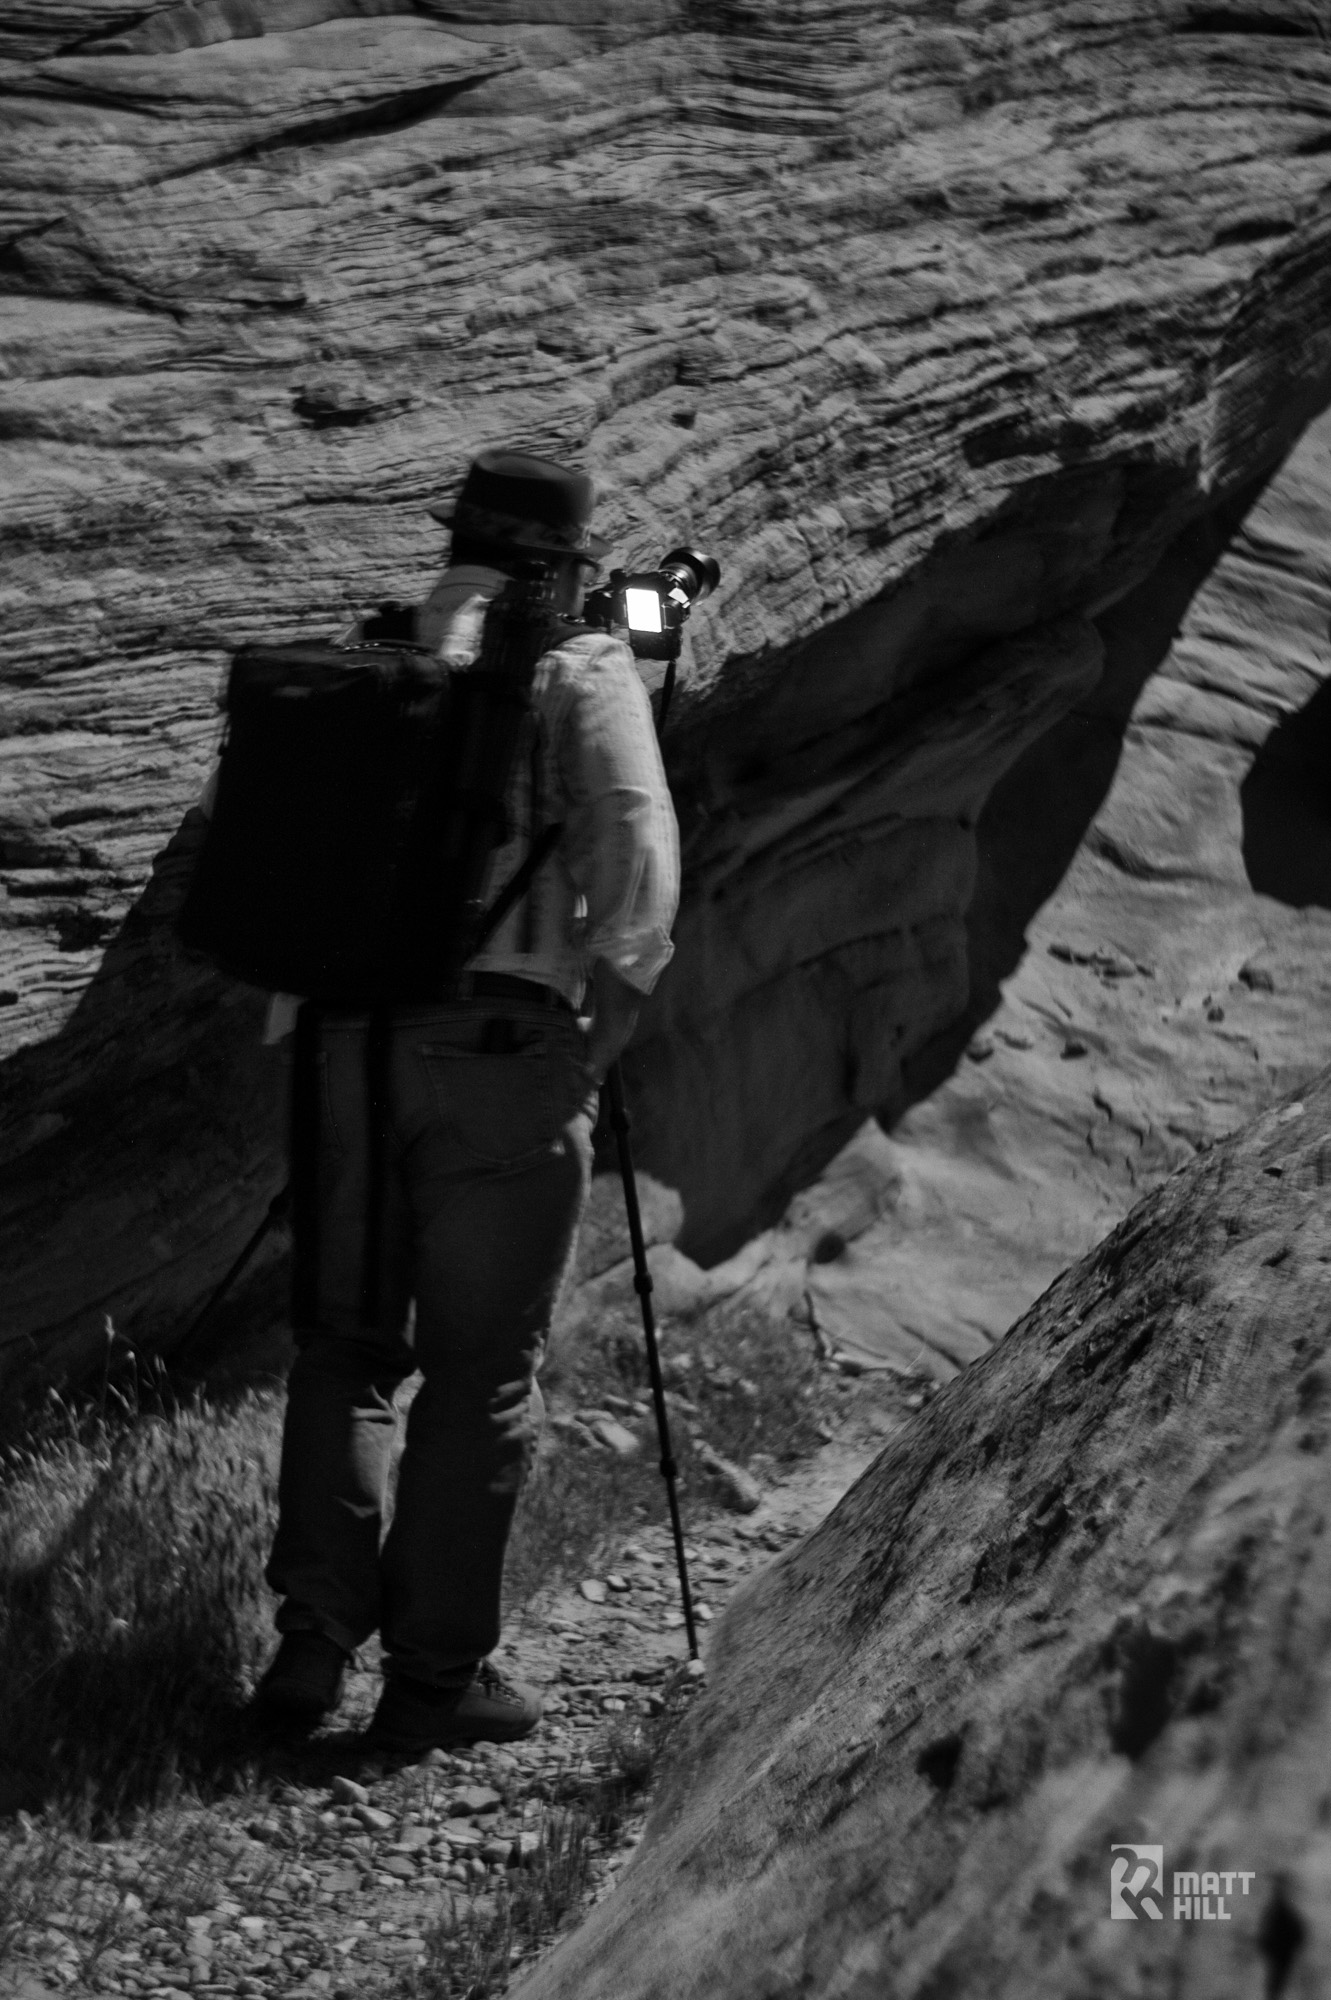
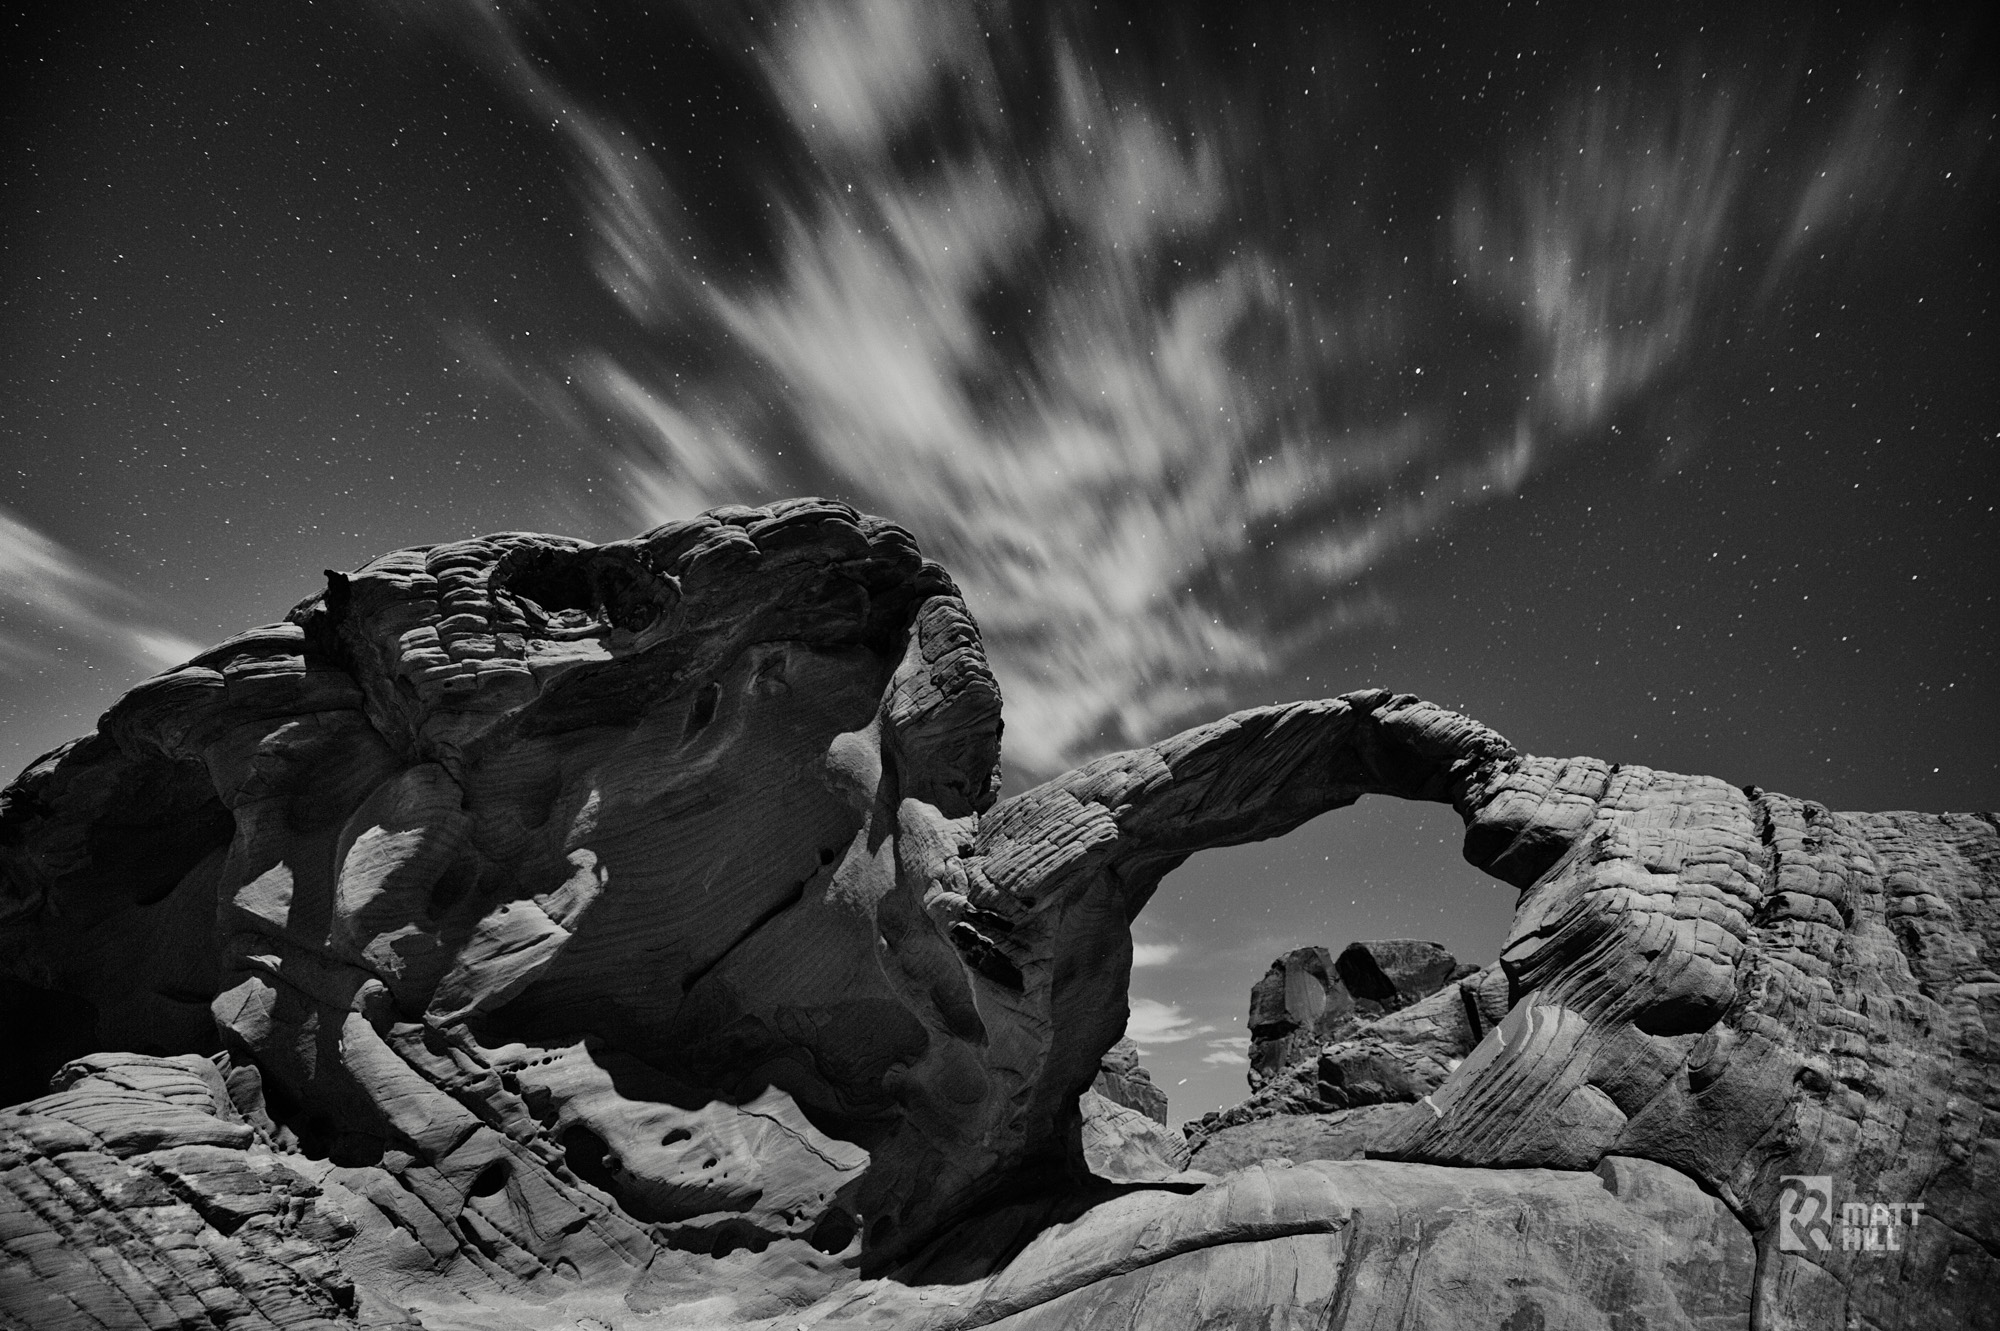
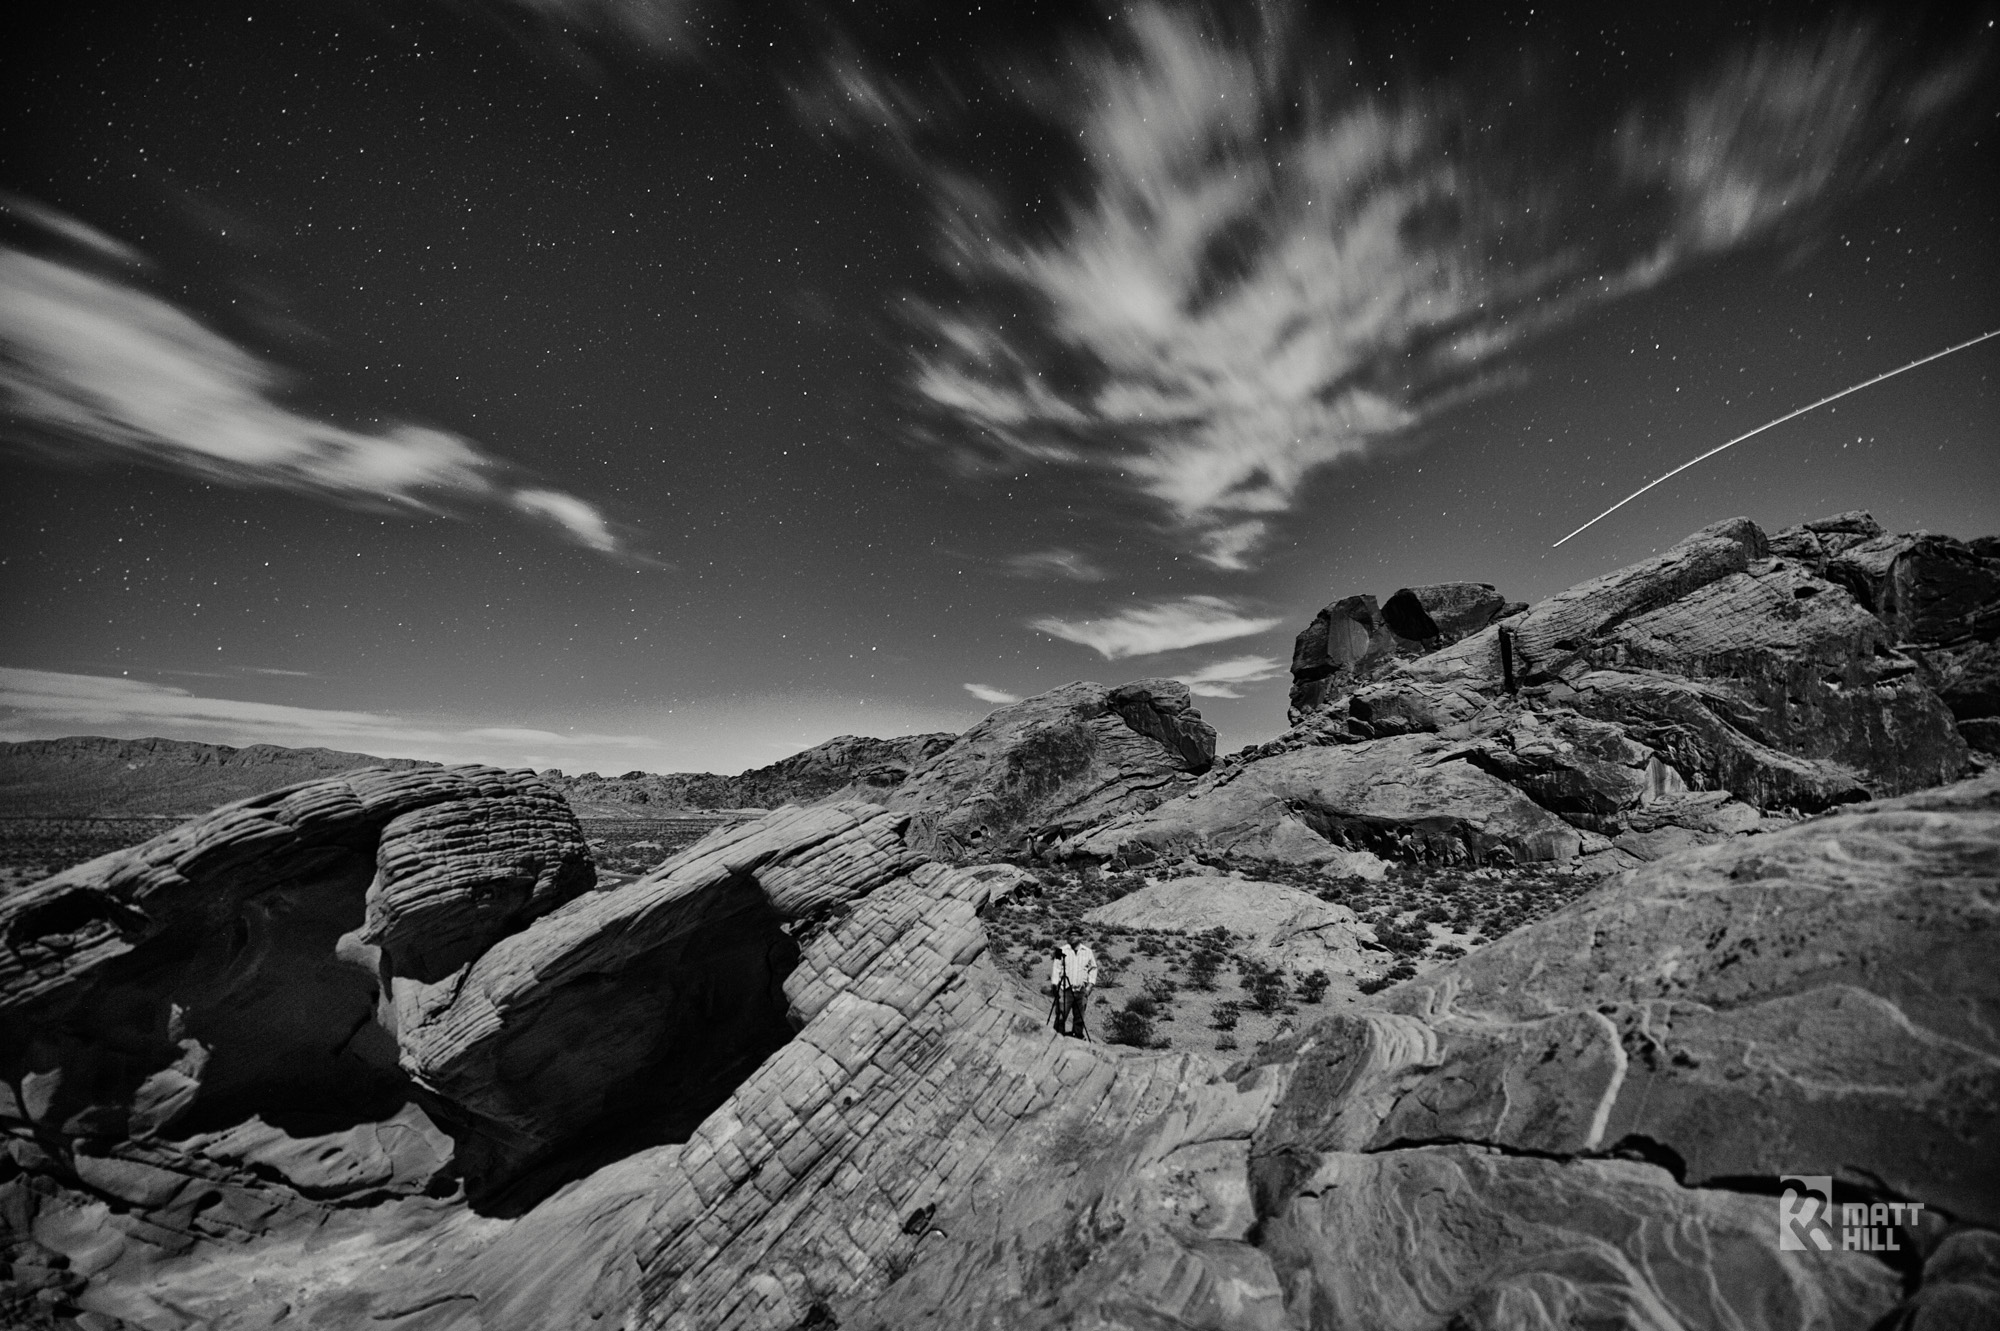
Revisiting the Valley of Fire
Had a great outing tonight with my good friends Gabe and JC in the Valley of Fire. Photos!


Sedona Winter Star Trail Stack
Went out to the airport this evening in Sedona, AZ to run a 30-minute star trail stack loping north over the valley. Enjoy!
Fourteen (14) 2-minute exposures @ 200 ISO
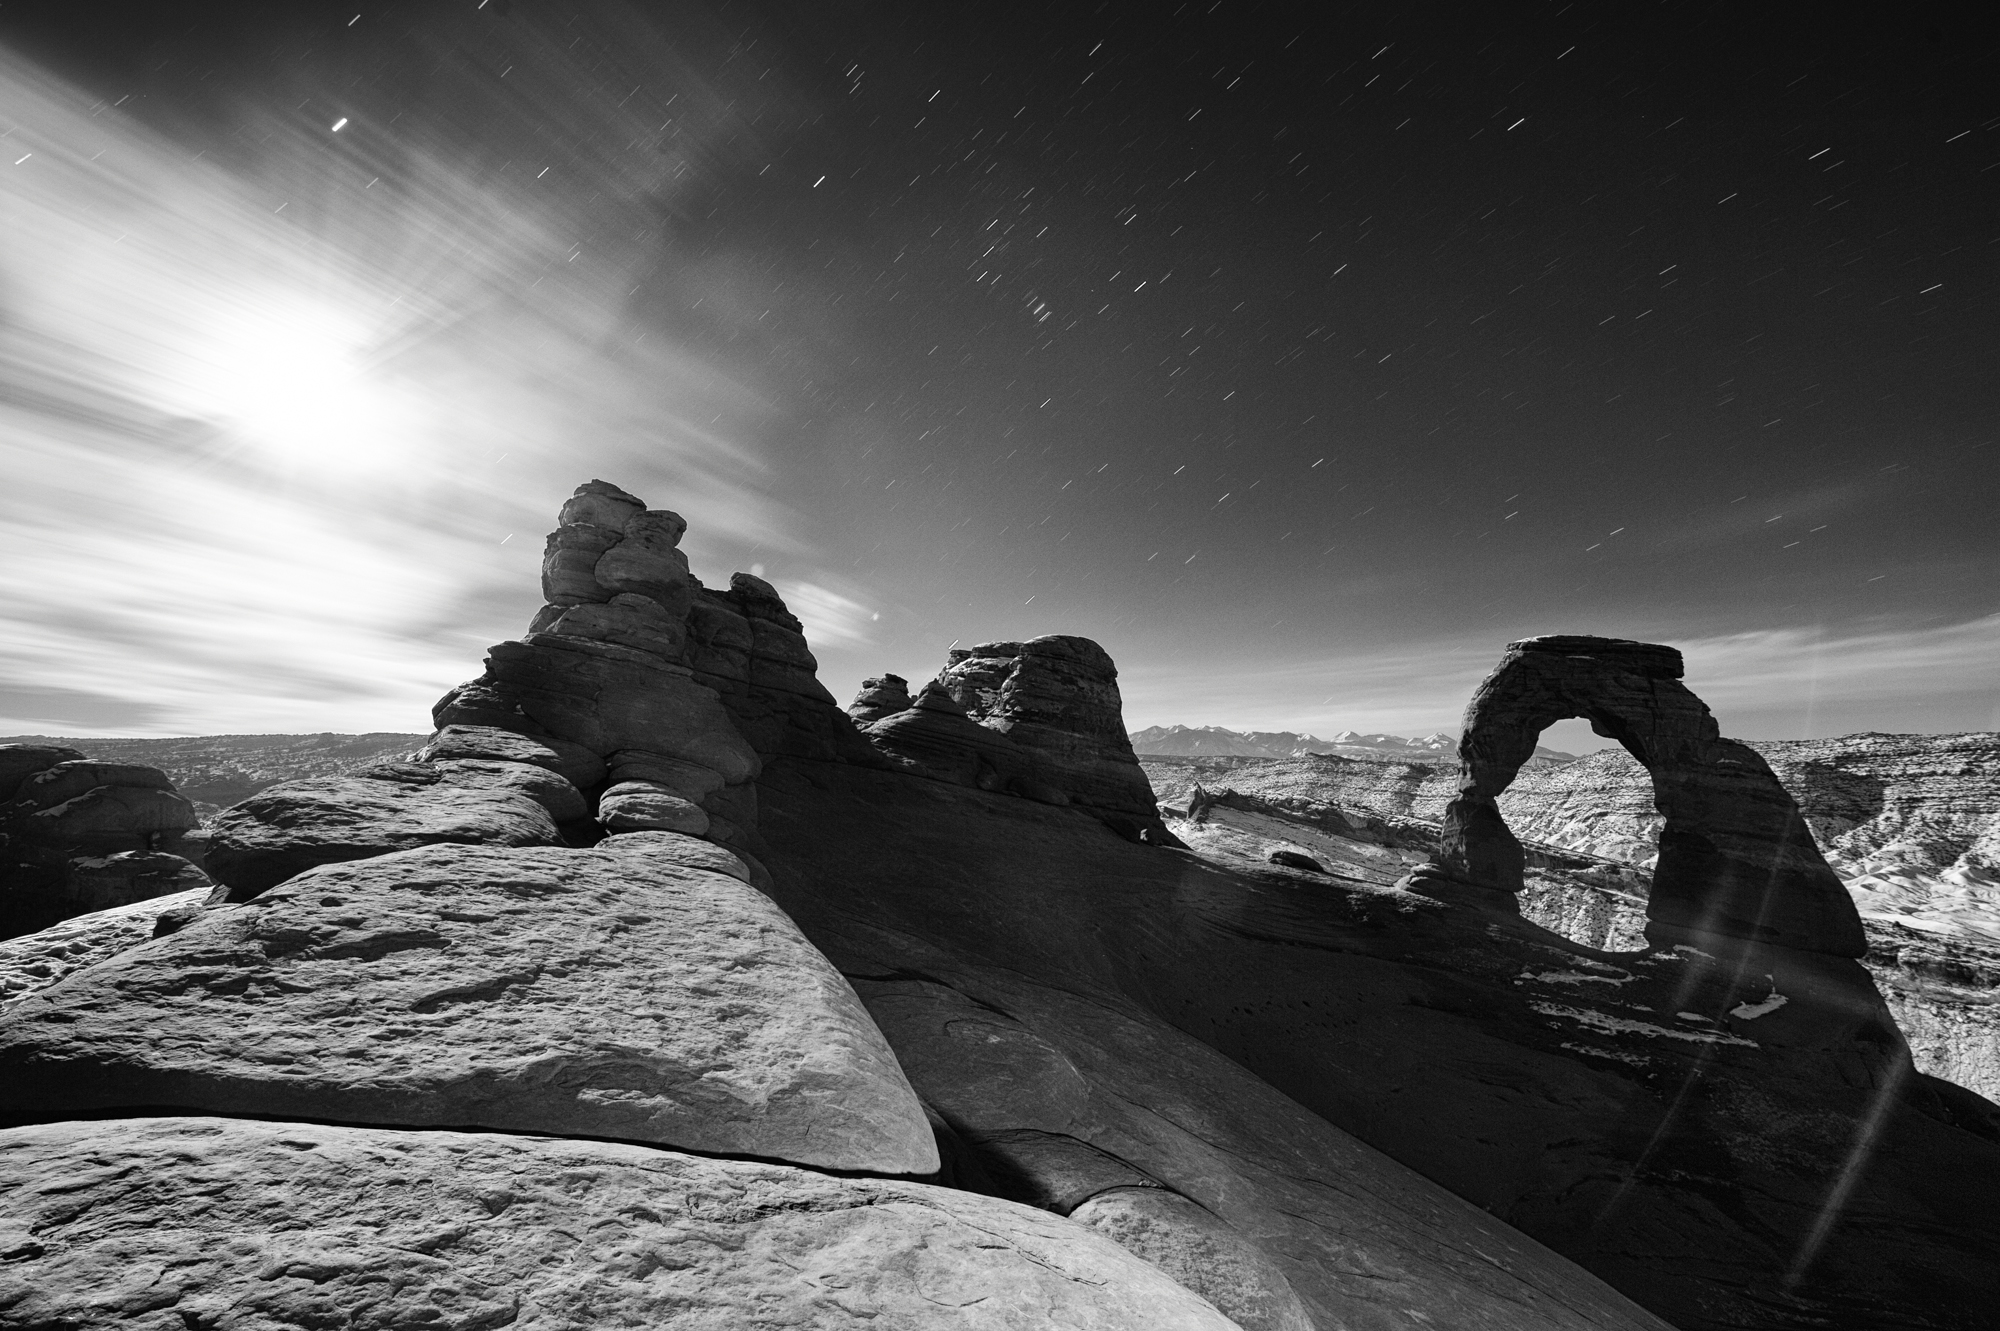
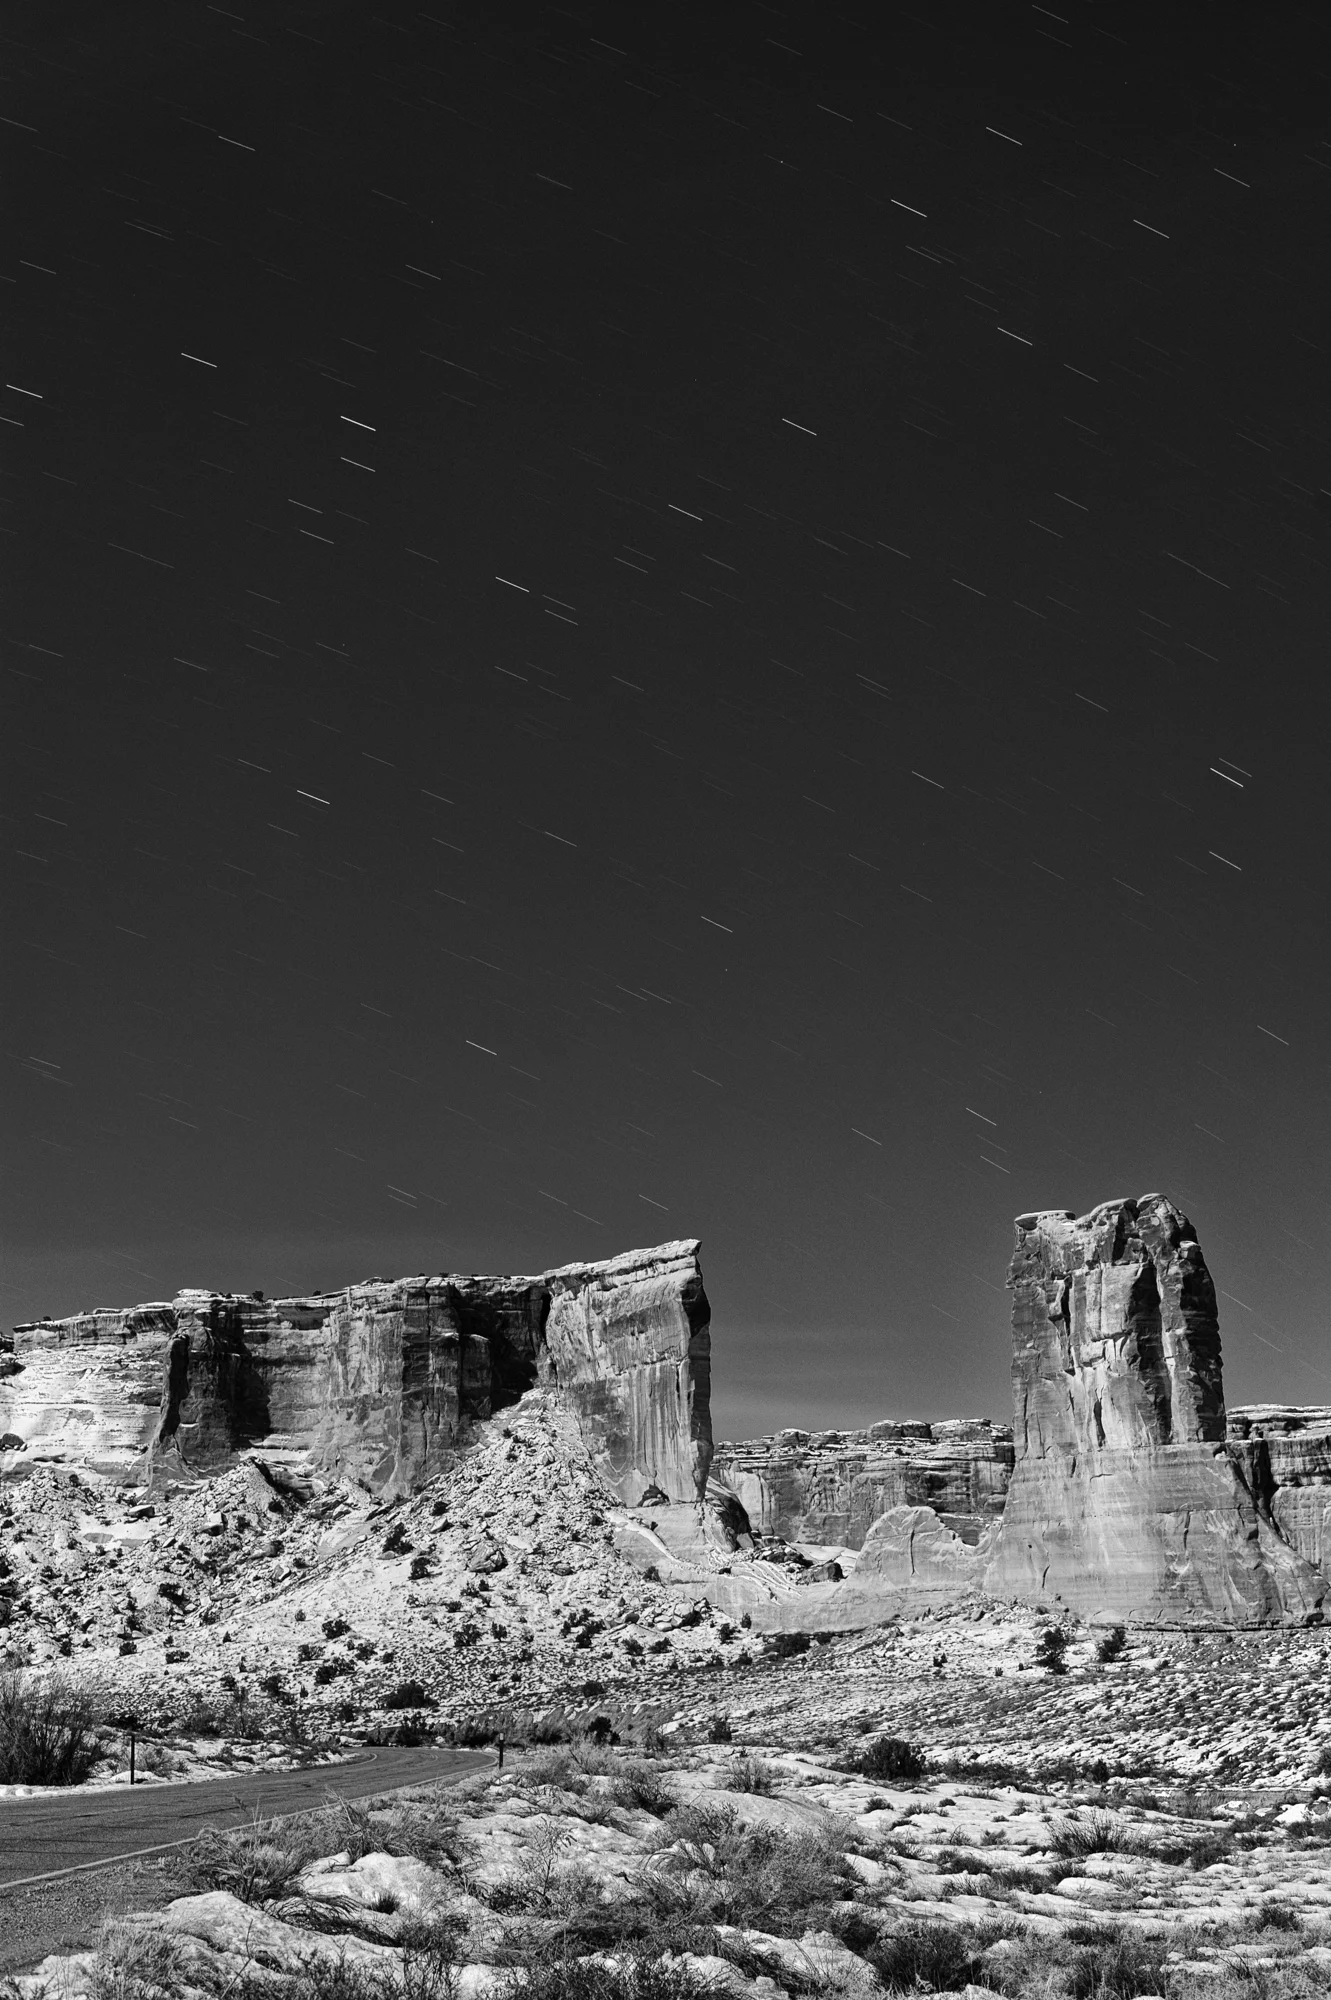
Night Photography in Arches National Park, Utah
Had a FANTASTIC evening in Arches National Park last night. We climbed a mountain in the dark to get to Delicate Arch. It was 25 degrees. Huzzah for intestinal fortitude!


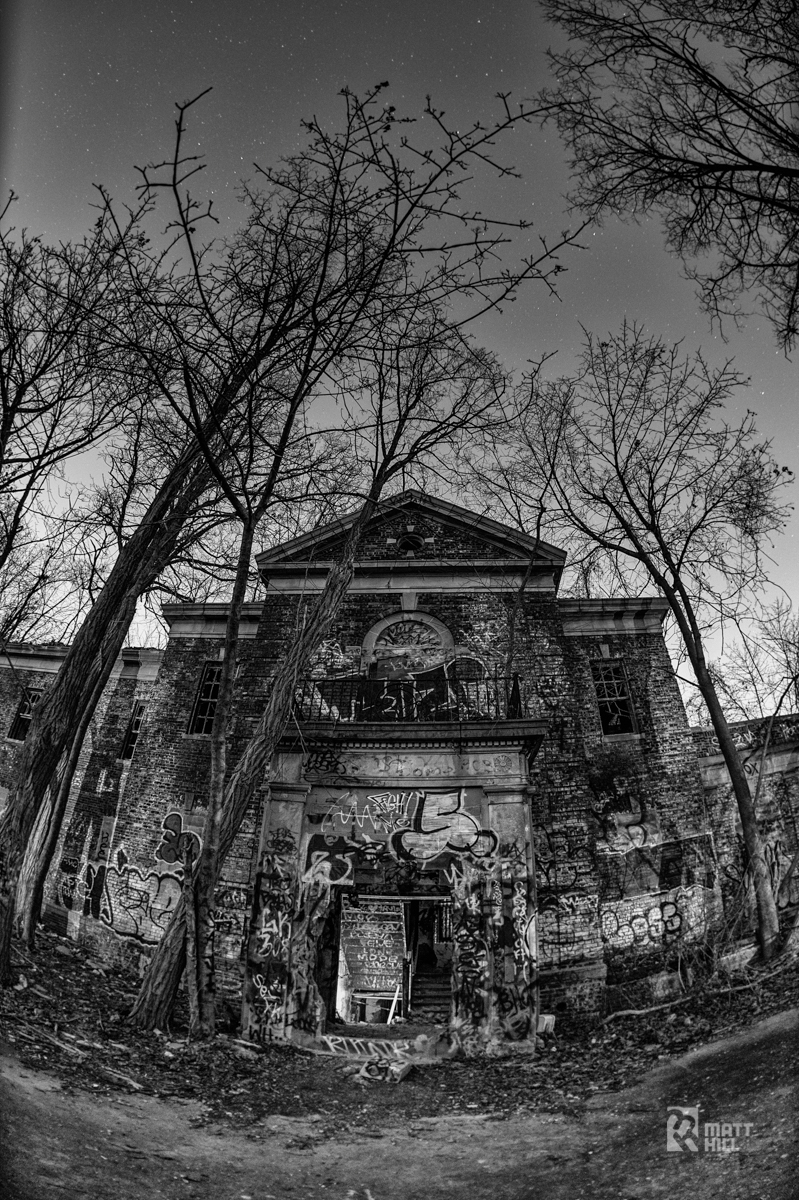
Testing out the Nikon Df for Night Photography
ISO 400 / 57 Sec at f/3.5
AF FIsheye-Nikkor 16mm f/2,8D
I had the delightful opportunity to go out shooting with good friend and Nikon NPS rep Joseph Carey over the XMas break. He brought along the drool-worthy Nikon Df and a sweet selection of Nikon glass I have not had the opportunity to shoot yet What a fun opportunity.
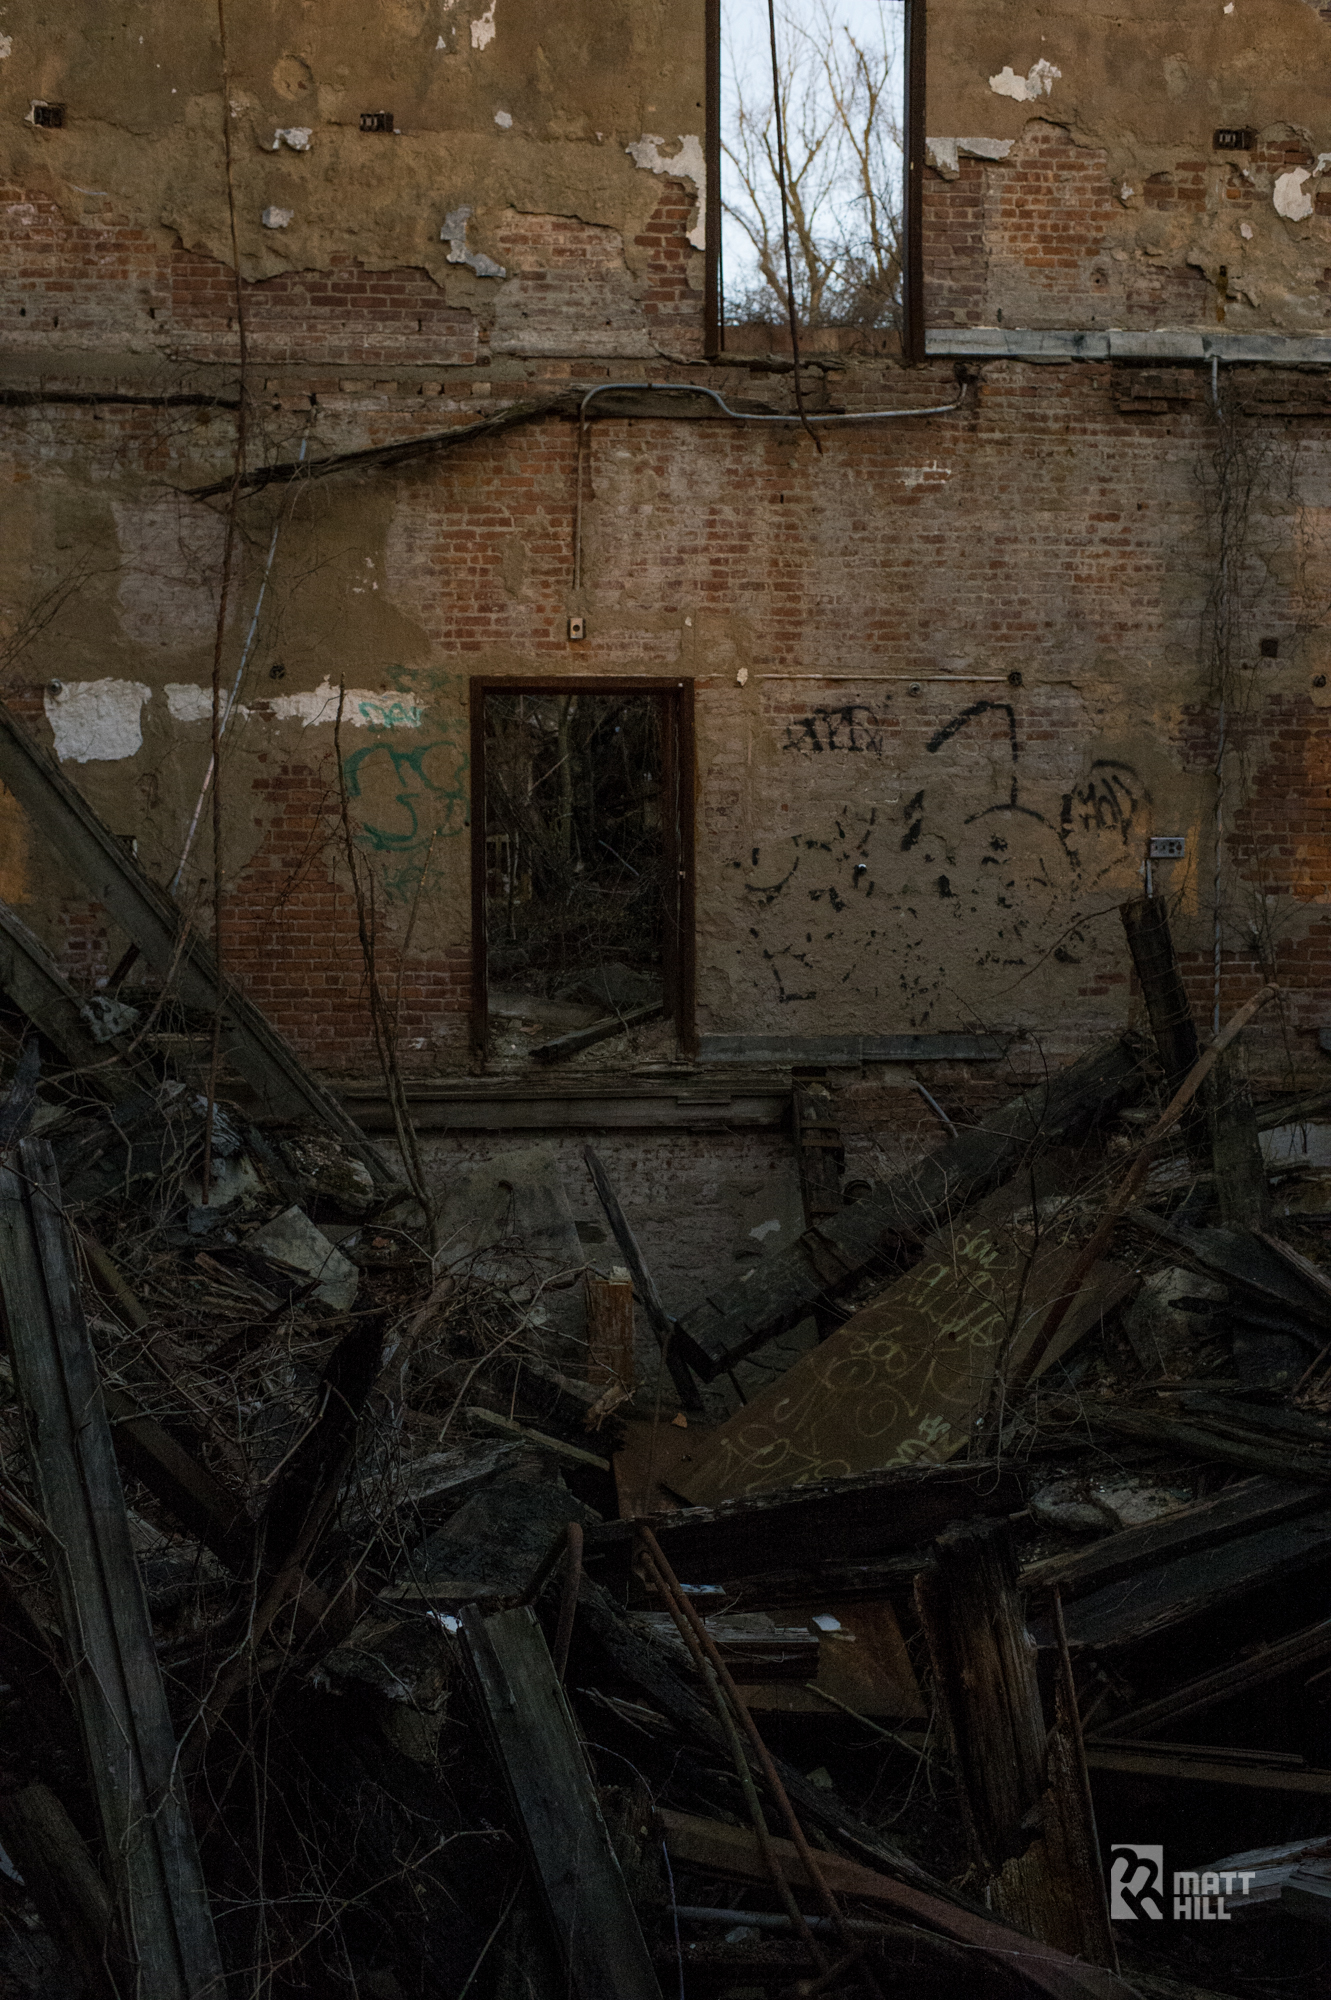
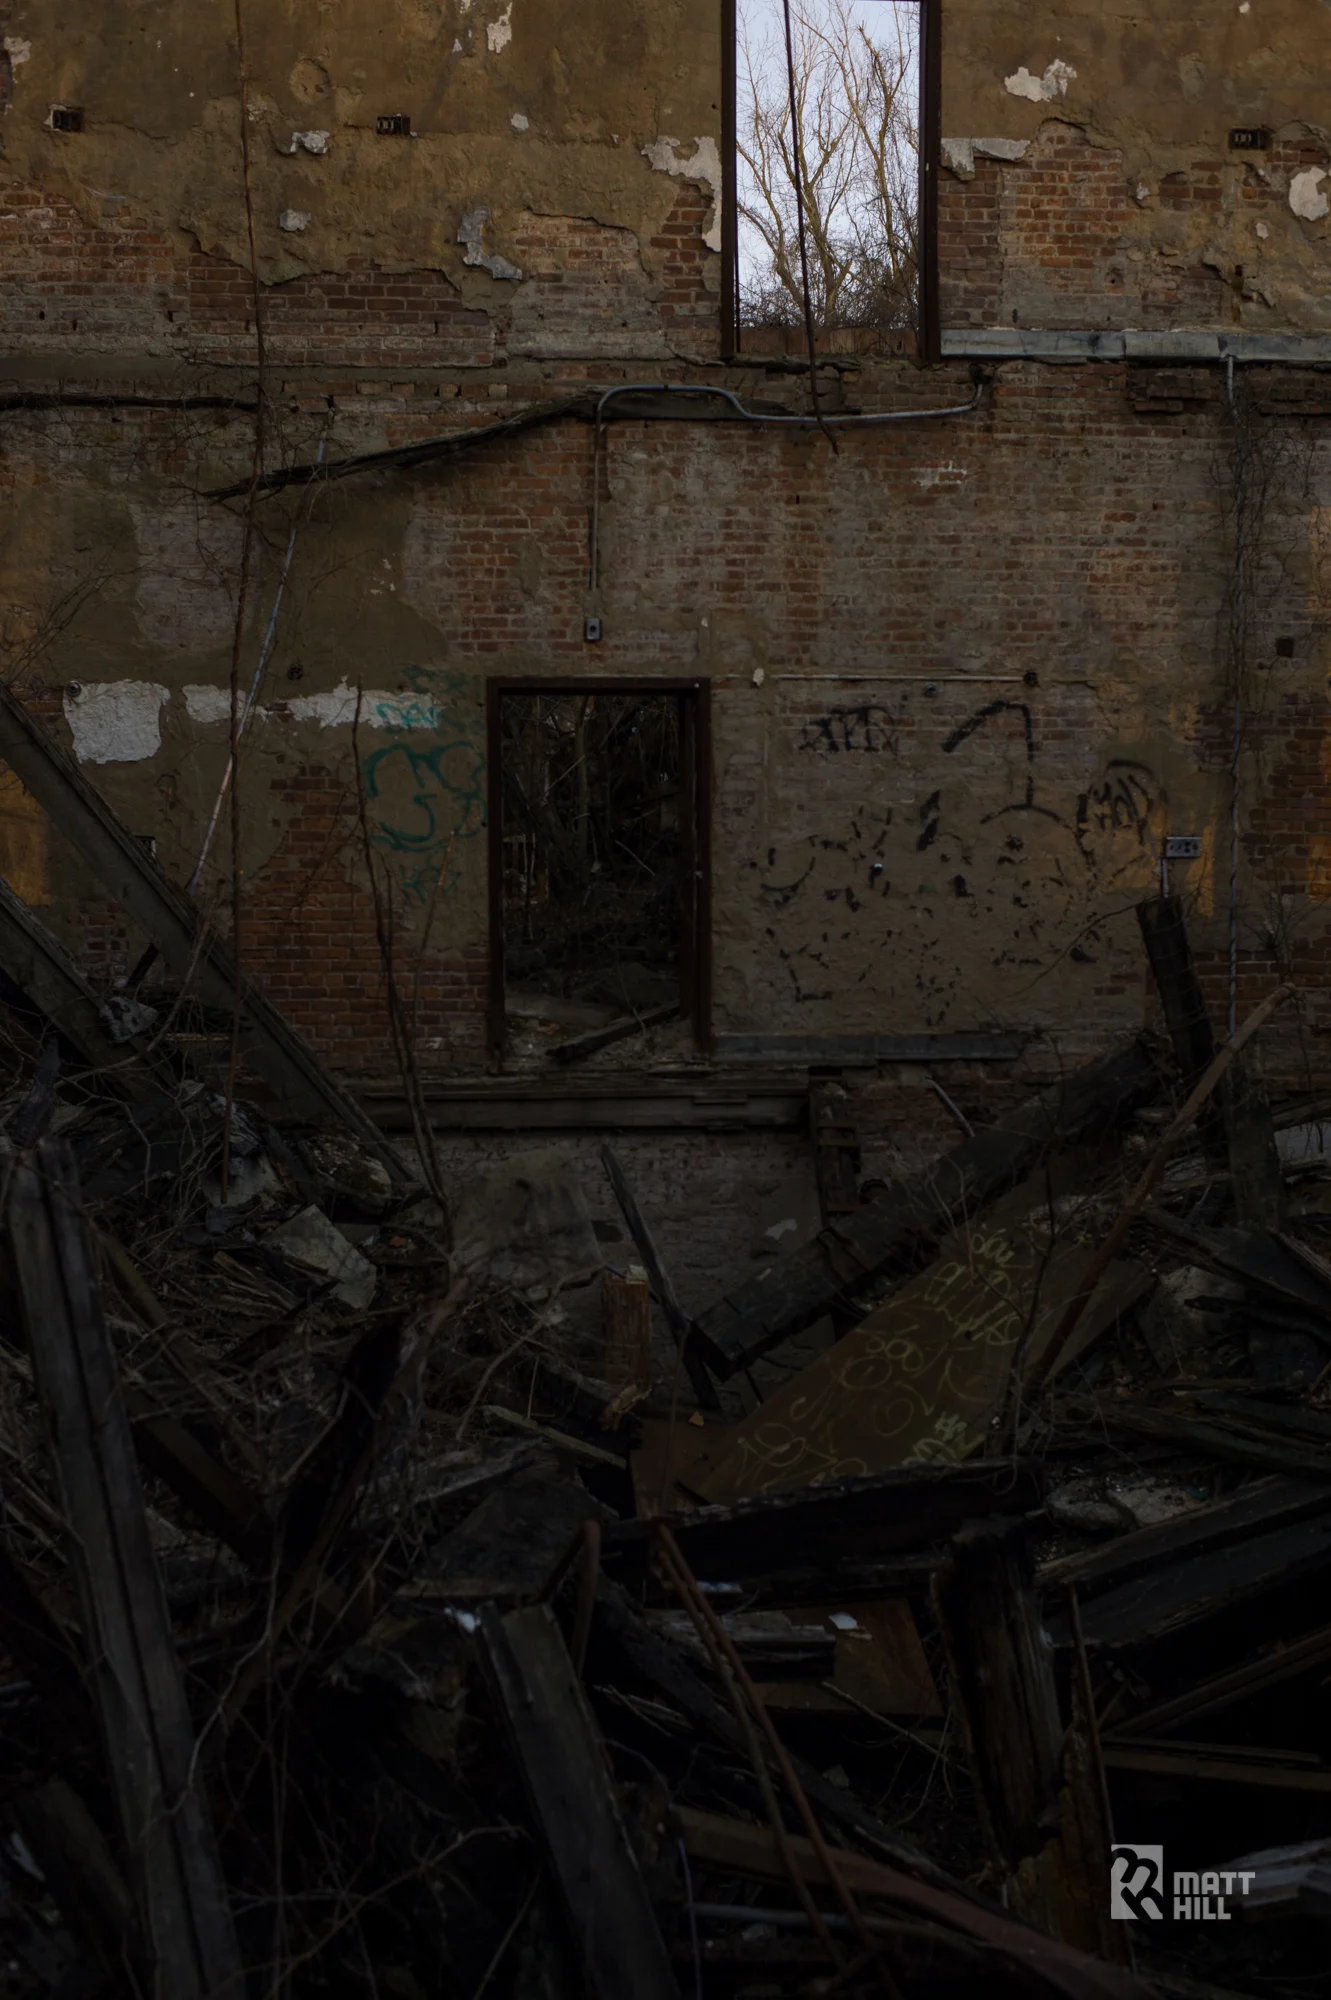
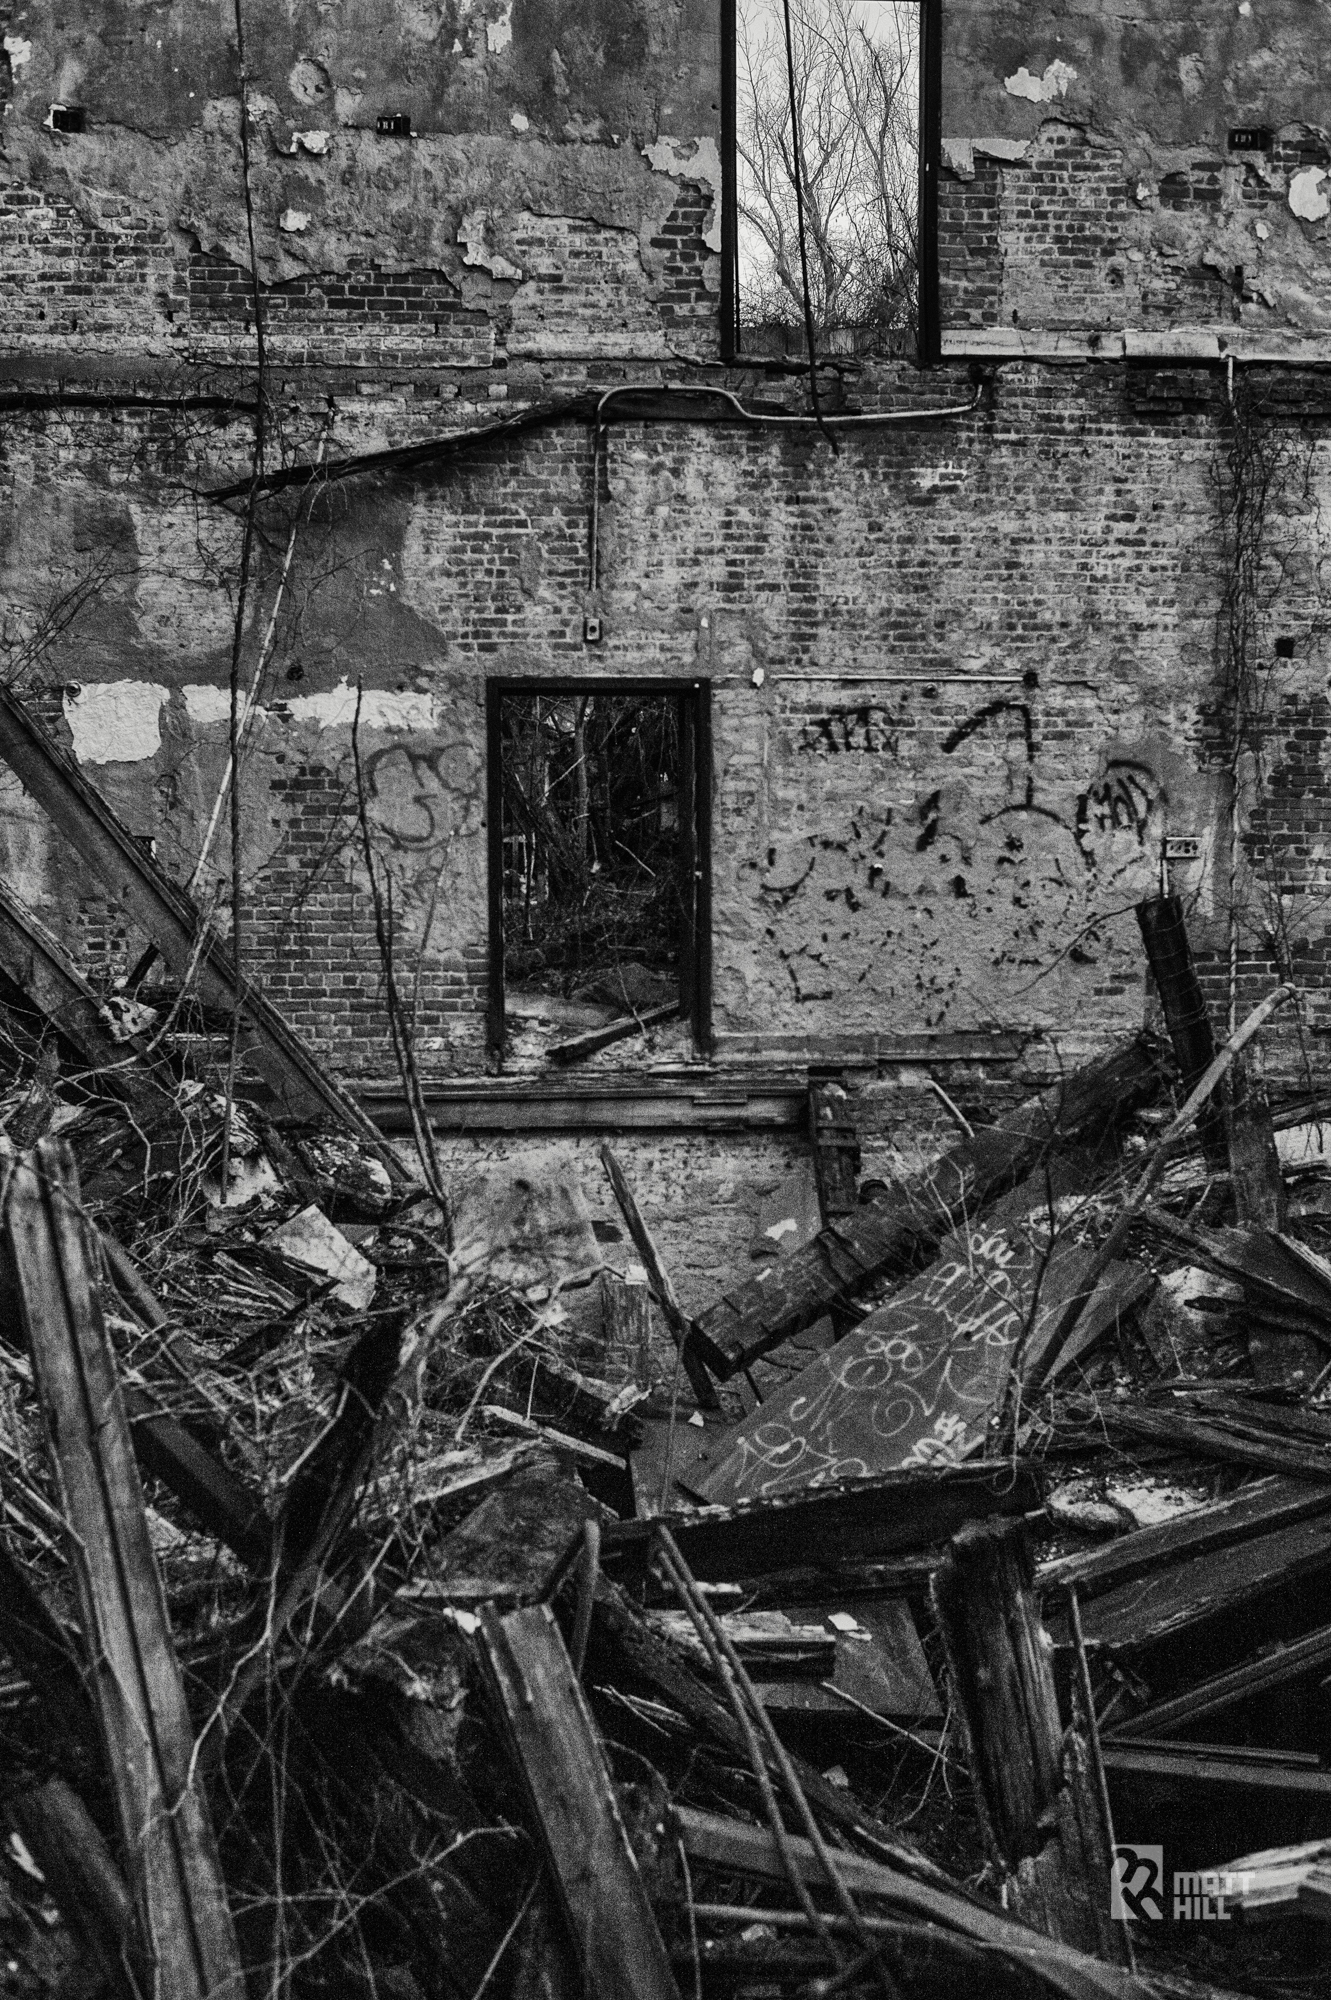
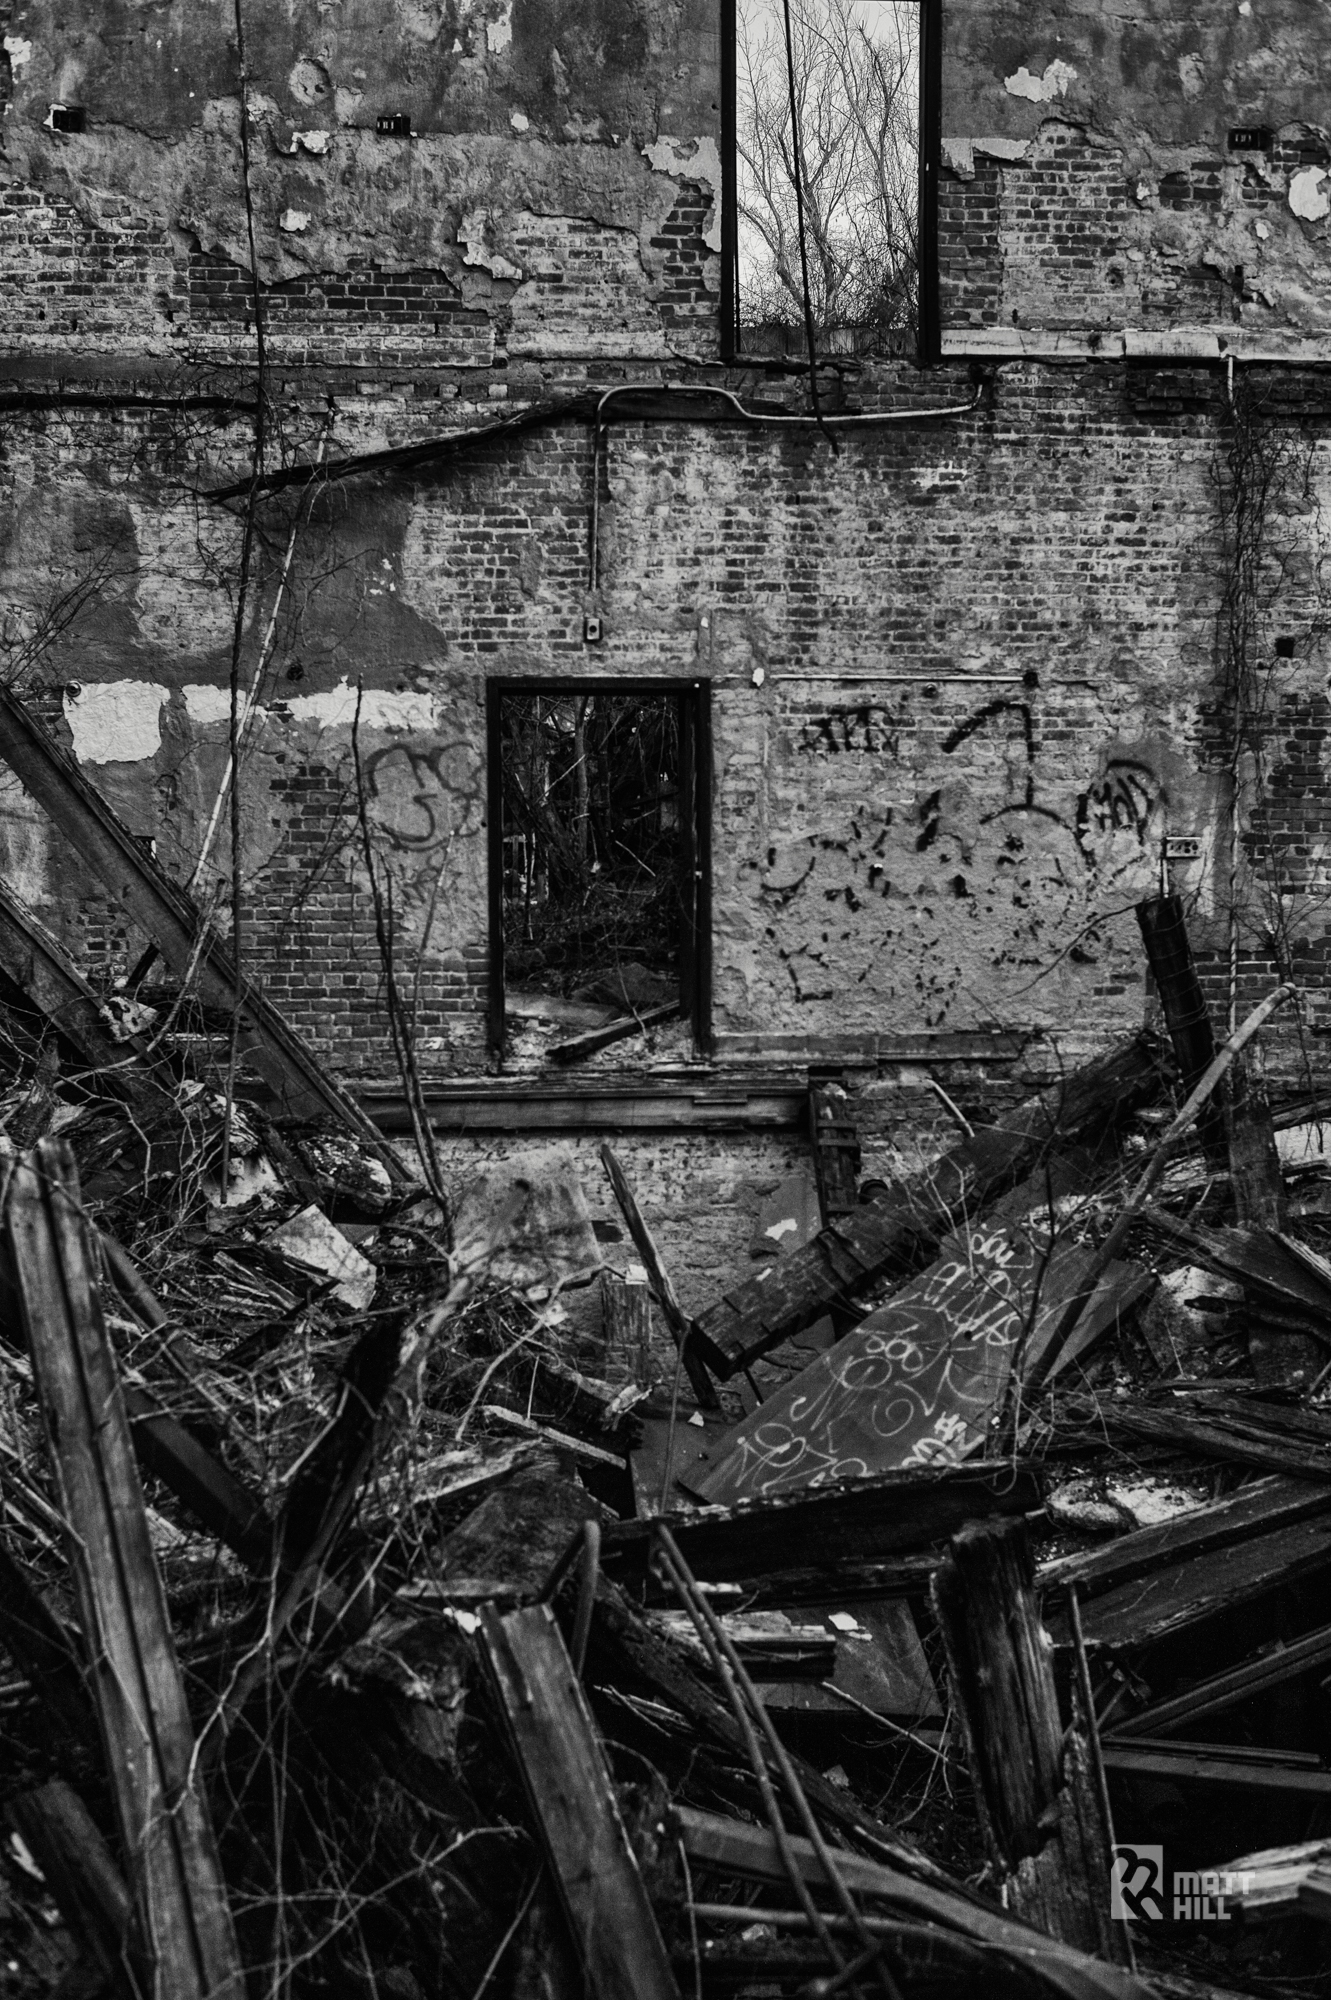
Joe brought us to an abandoned location he has shot previously and we went to town as dusk settled in...
First thing I did was to run an exposure test from ISO 6400 down to the native ISO 100. I didn't go all the way up because I was interested in the 6-stop High Exposure Test and discovering if there were noticeable quality differences on the way down to ISO 100.
Looking closely at the scene I chose, can easily say that this camera body surpasses my D700 in reducing noise in higher ISOs. It should - it has the D4 sensor in it! But keep in mind the temperature was around 36 degrees Fahrenheit – ideal for full-frame sensors doing longer exposures. (The higher the ambient temperature, the harder time a sensor has keeping hot pixels out of the RAW file.)
All below shot with the AF-S Nikkor 35mm f/1.4G manually range focused because I forgot my high-powered flashlight (smacks self in head). Click for fullscreen to see the ISO, time and F/stop. NOTE: This uses a manual cable release, so the timing was not to-the-second perfect. But I was darn close!


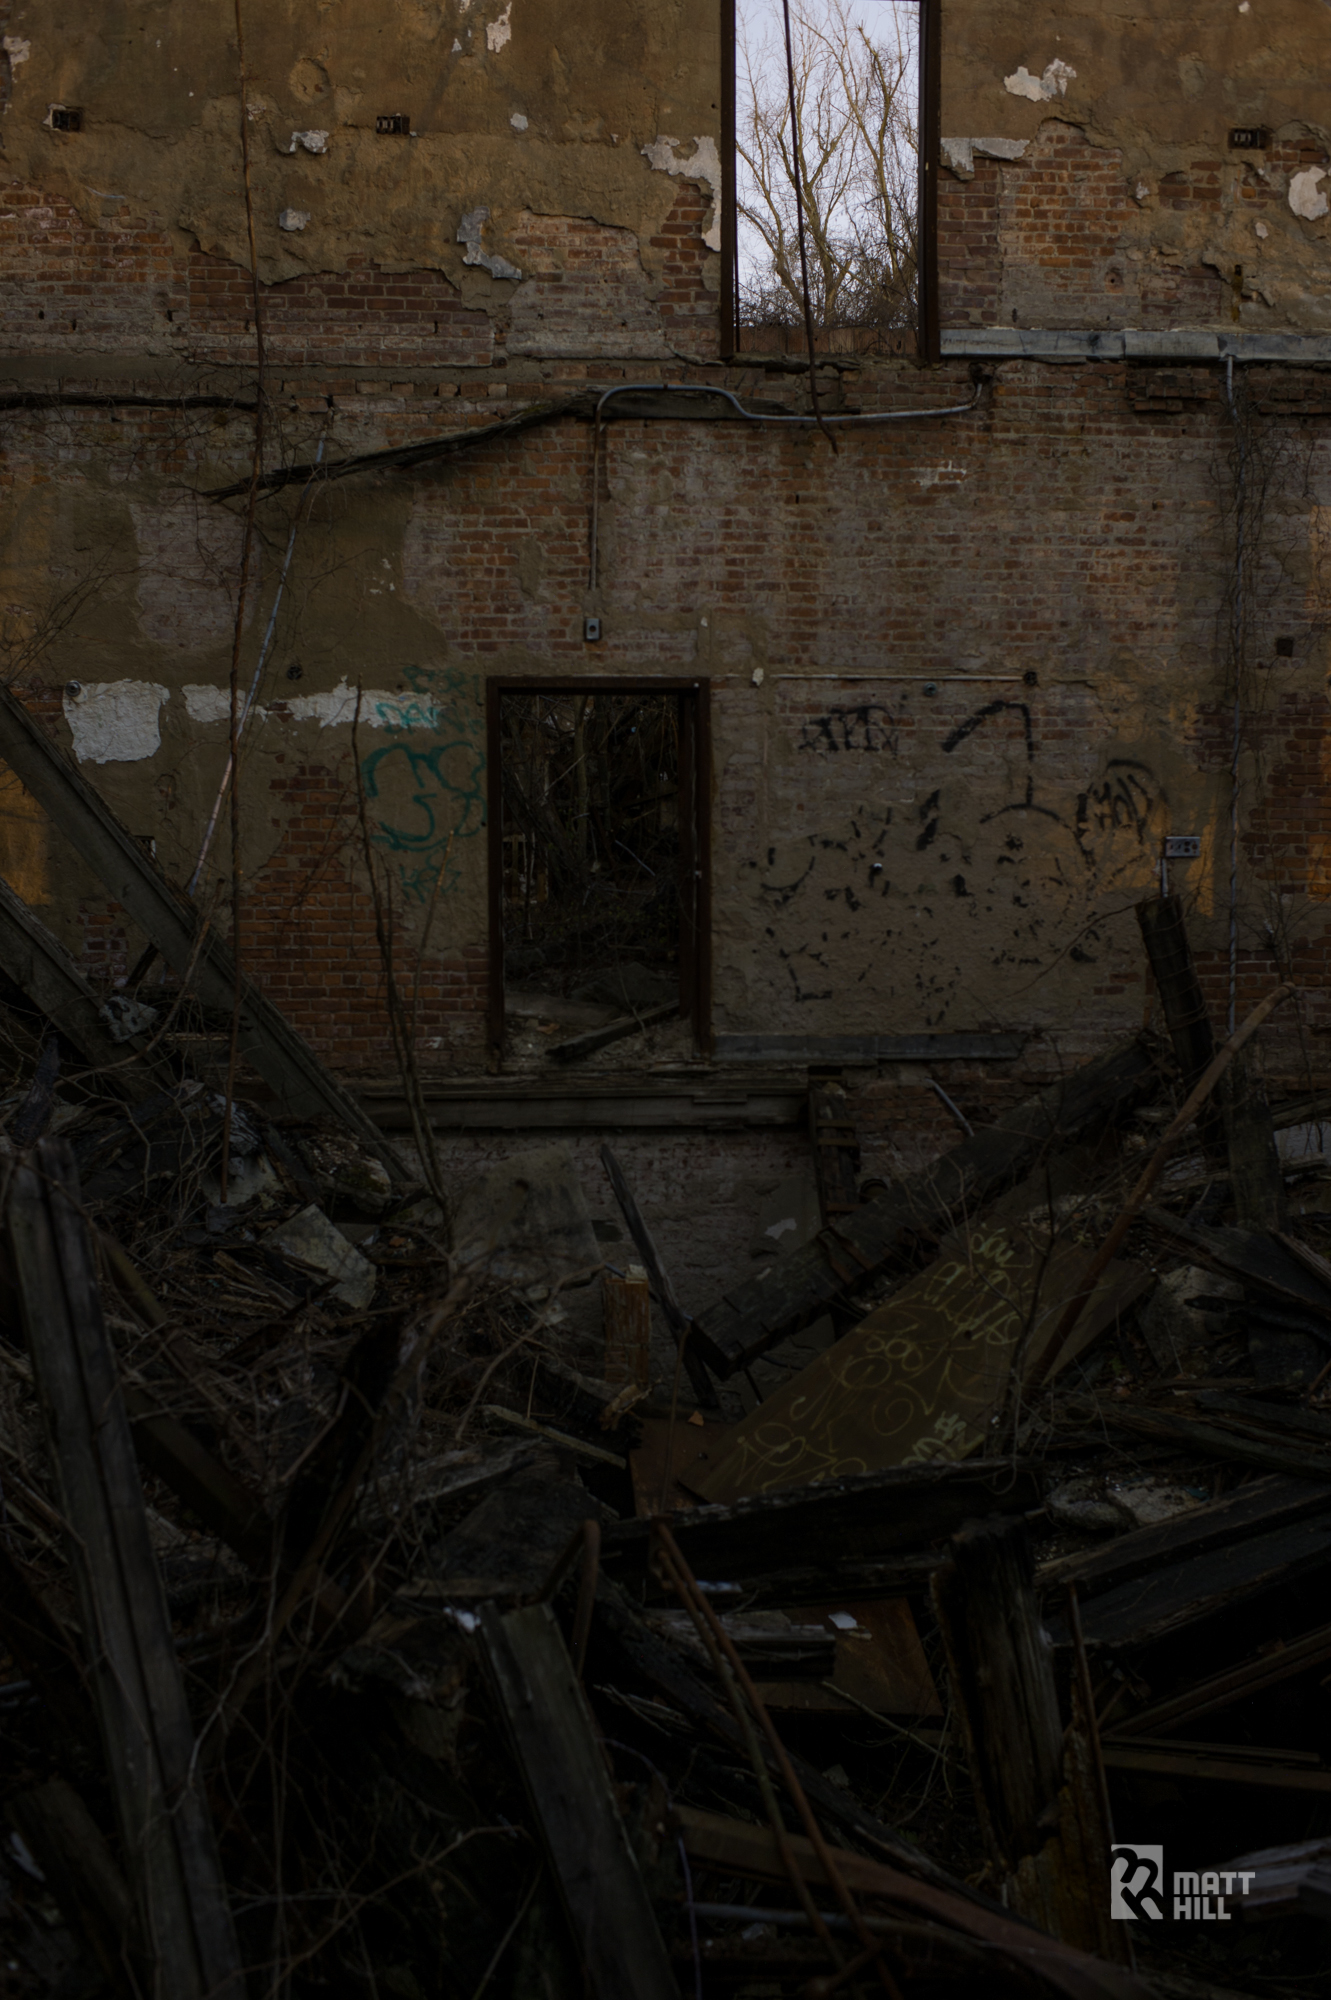
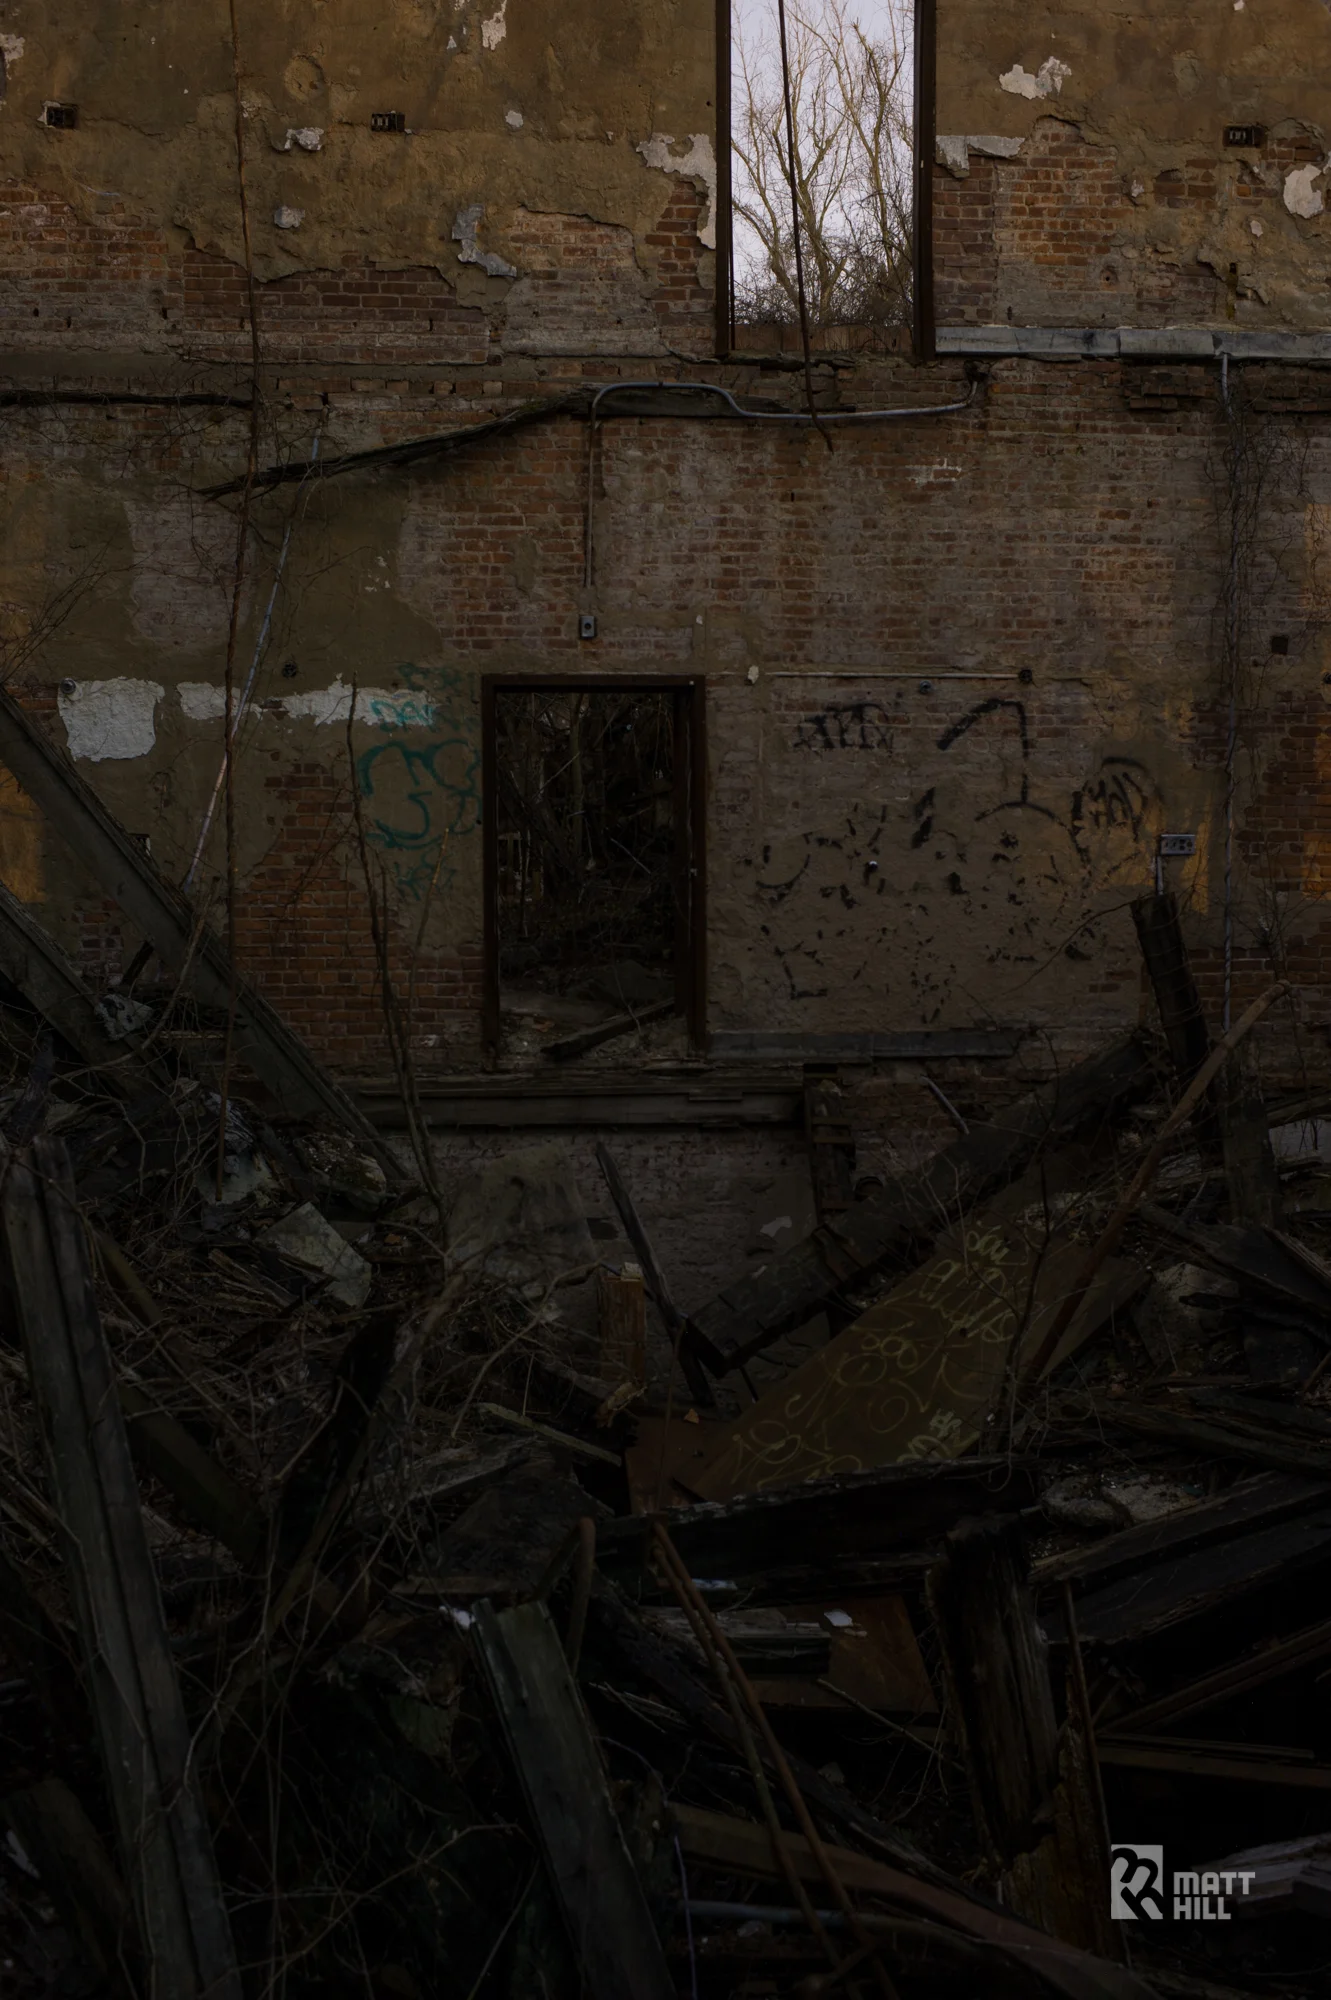
And here is how the spread of exposure tests looks after I apply my special sauce in Silver Efex Pro.


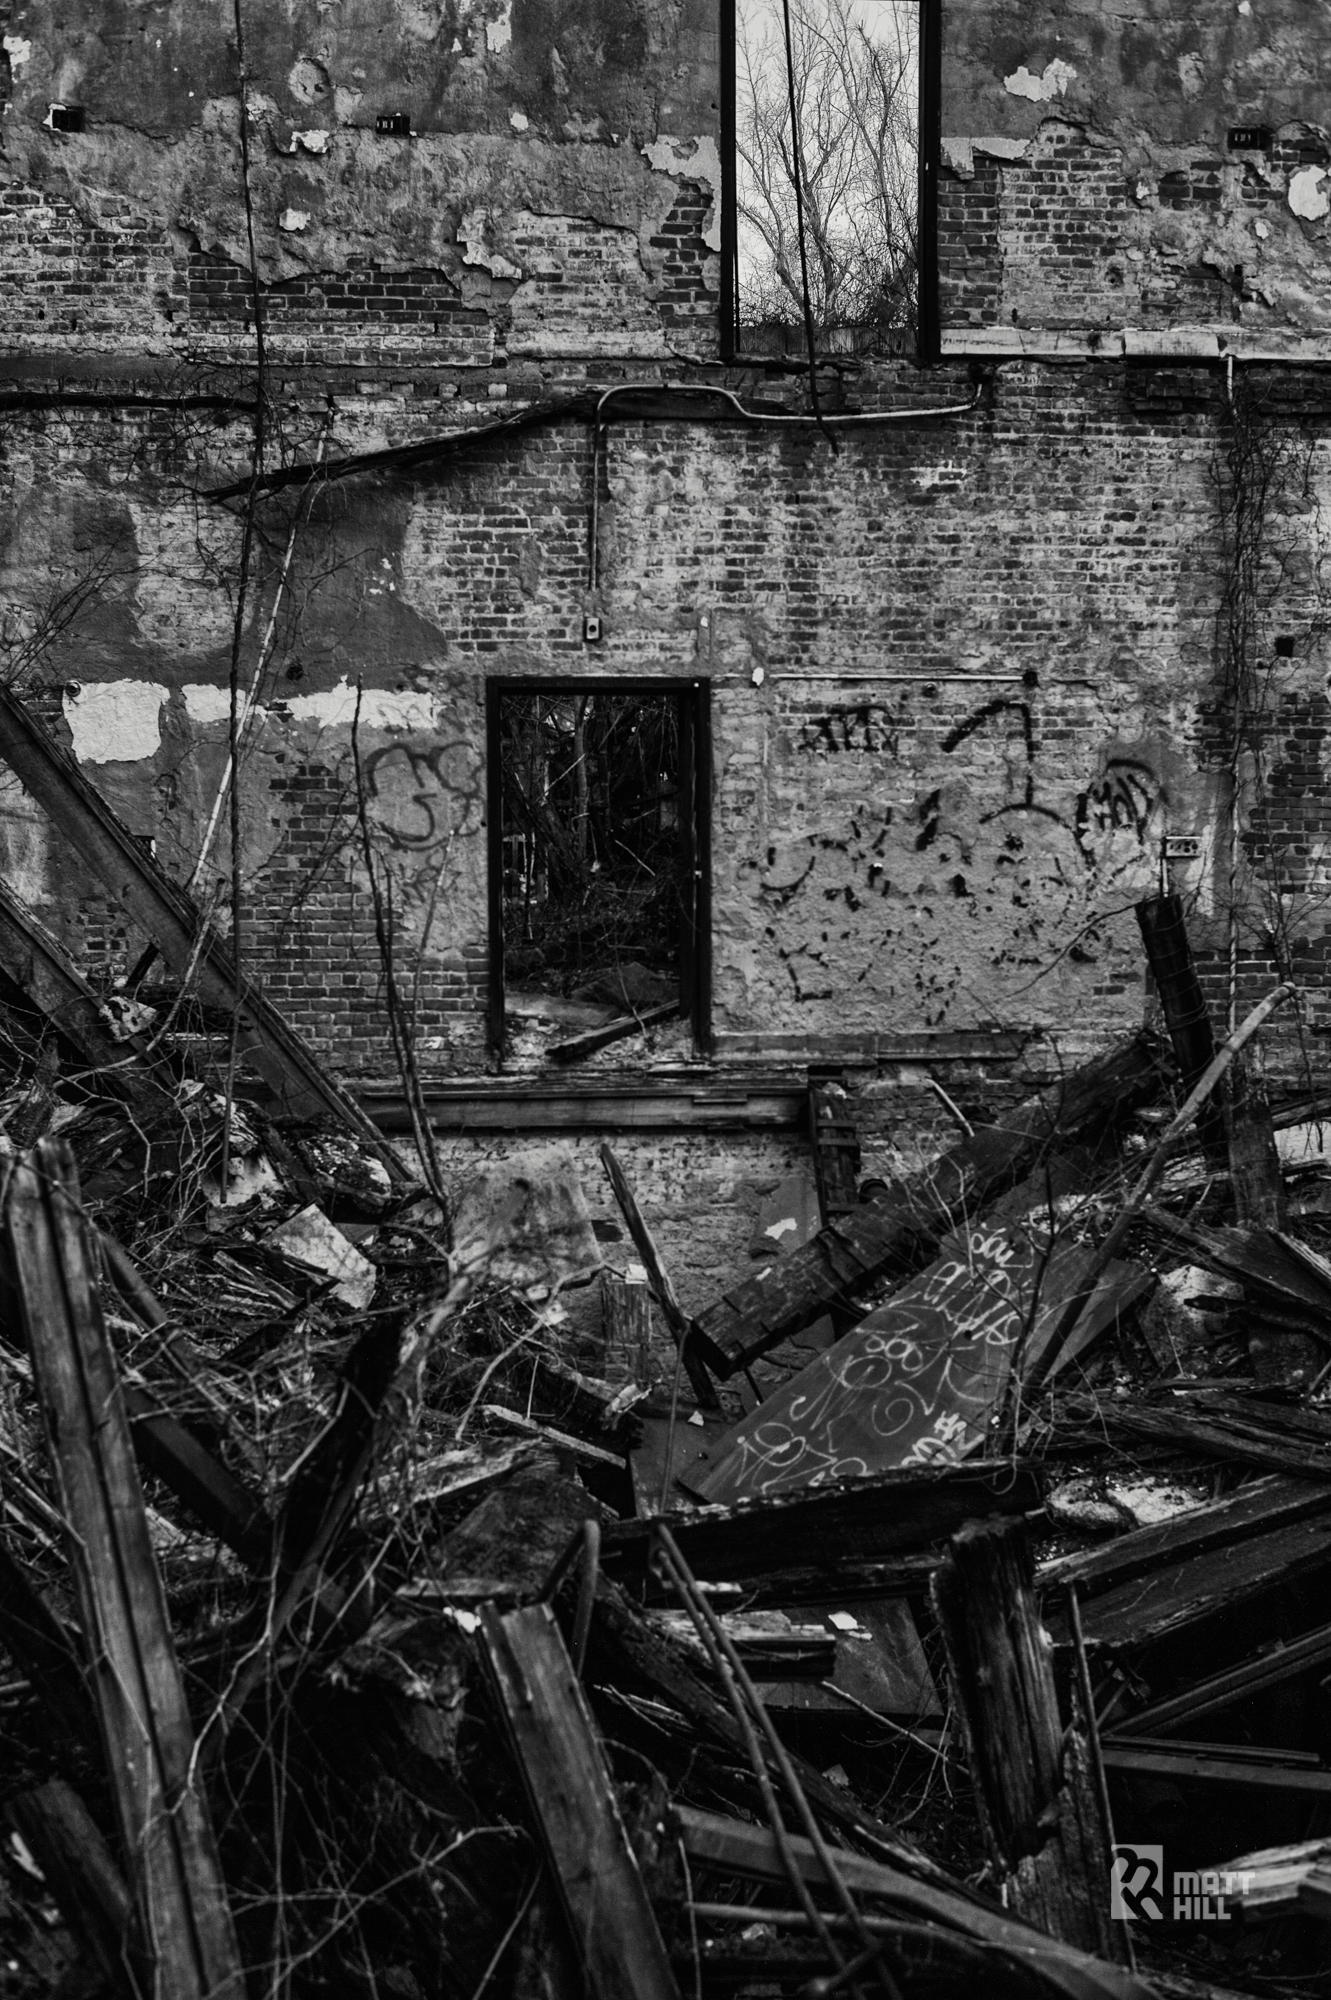
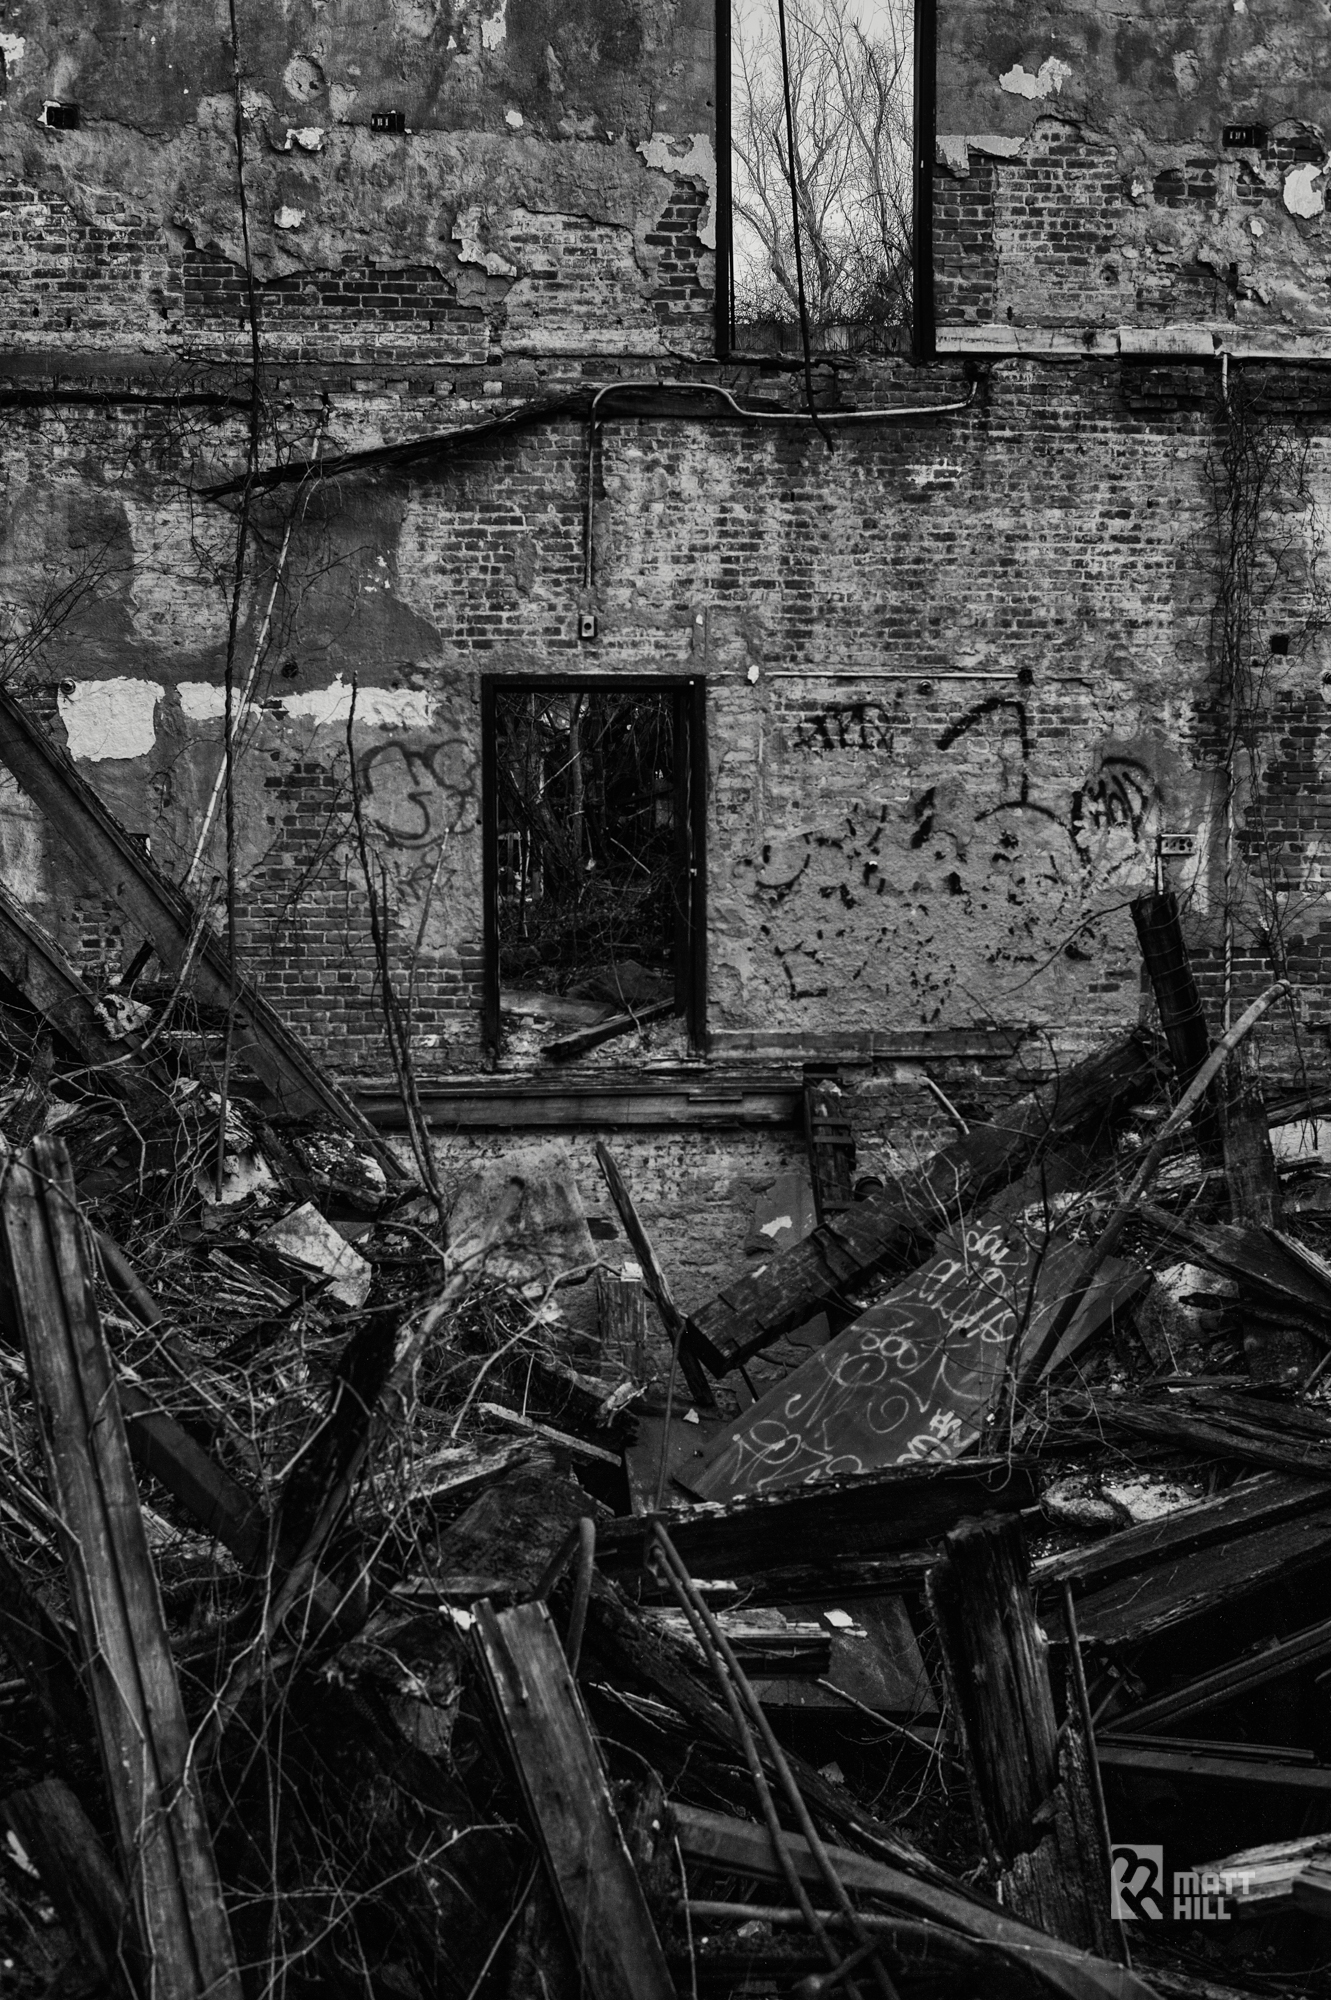
Here is a little gallery of all the images. I did a small tweak to exposure, shadow tones and clarity to match my tastes. Click for fullscreen!


At first blush, it's very hard to see problems with the files at higher ISO settings than I am used to using on my D700. Makes sense, of course since it's a much newer sensor system, but it does make me seriously consider it as the successor for my D700.
I did very much enjoy the manual controls, which after some acclimation time were easy to use with thinnish gloves on. And the body is surprisingly lightweight. Felt more like a D7000 than a D700.
I'm looking forward to shooting with it again in different situations and when I have more time to put it through other tests of extreme exposure situations (grin). As Gabe would say, carpe noctem!
Thanks to JC for the fun evening out and the opportunity to shoot a new body and lenses.
Central Park at Night in the Snow with Jeff McCrum
I gladly joined my fellow night photography buddy Jeff McCrum this evening for some post-Hercules snowstorm shooting in the brisk somewhere-near-6-degree-weather. It was great. Here are my picks from the outing.
Featured in Pro Photo Daily
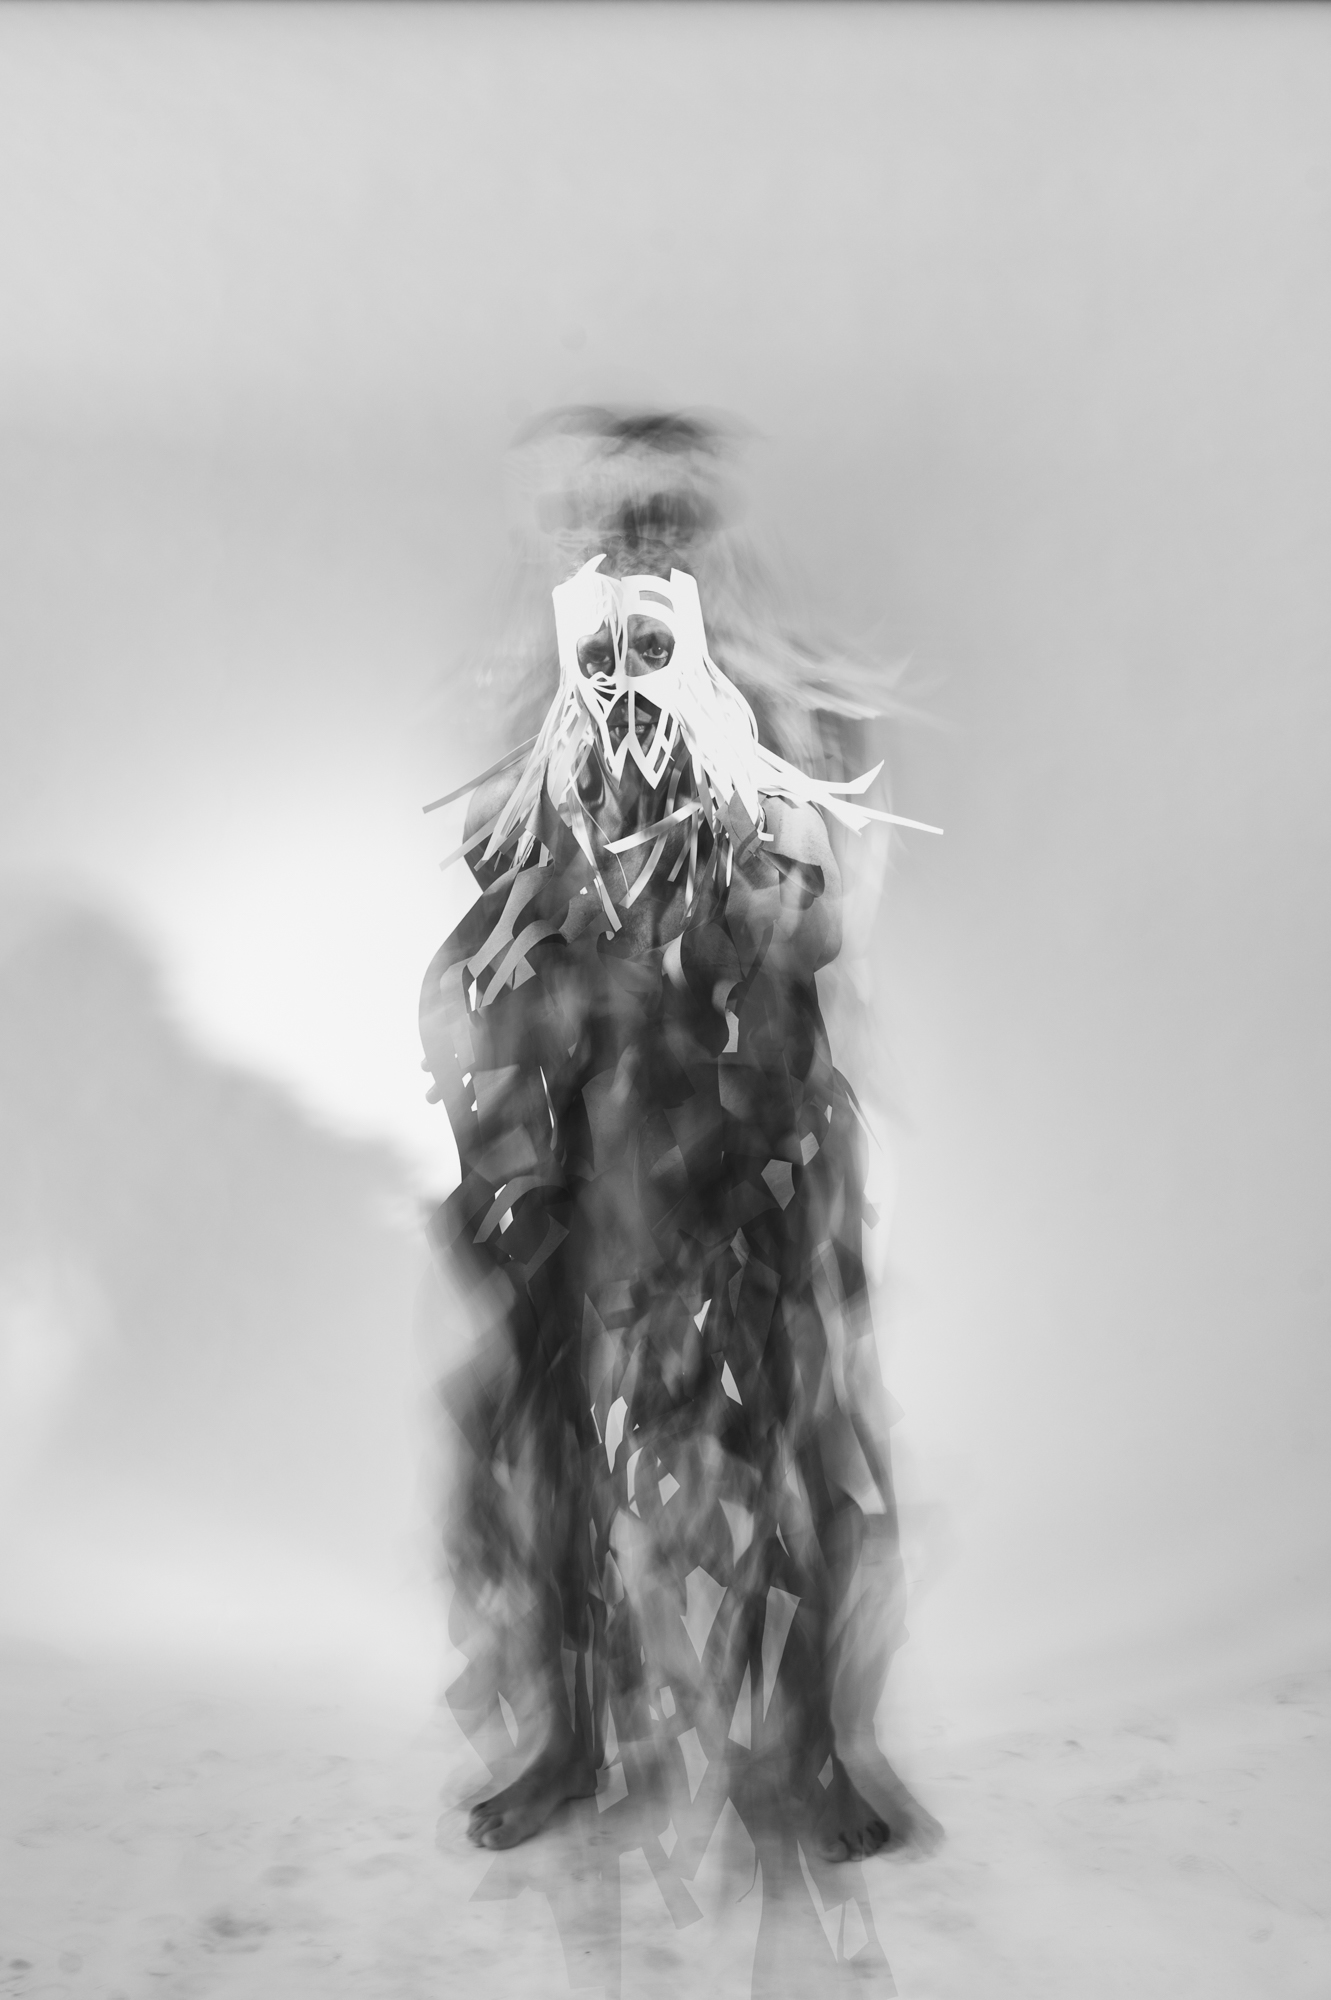
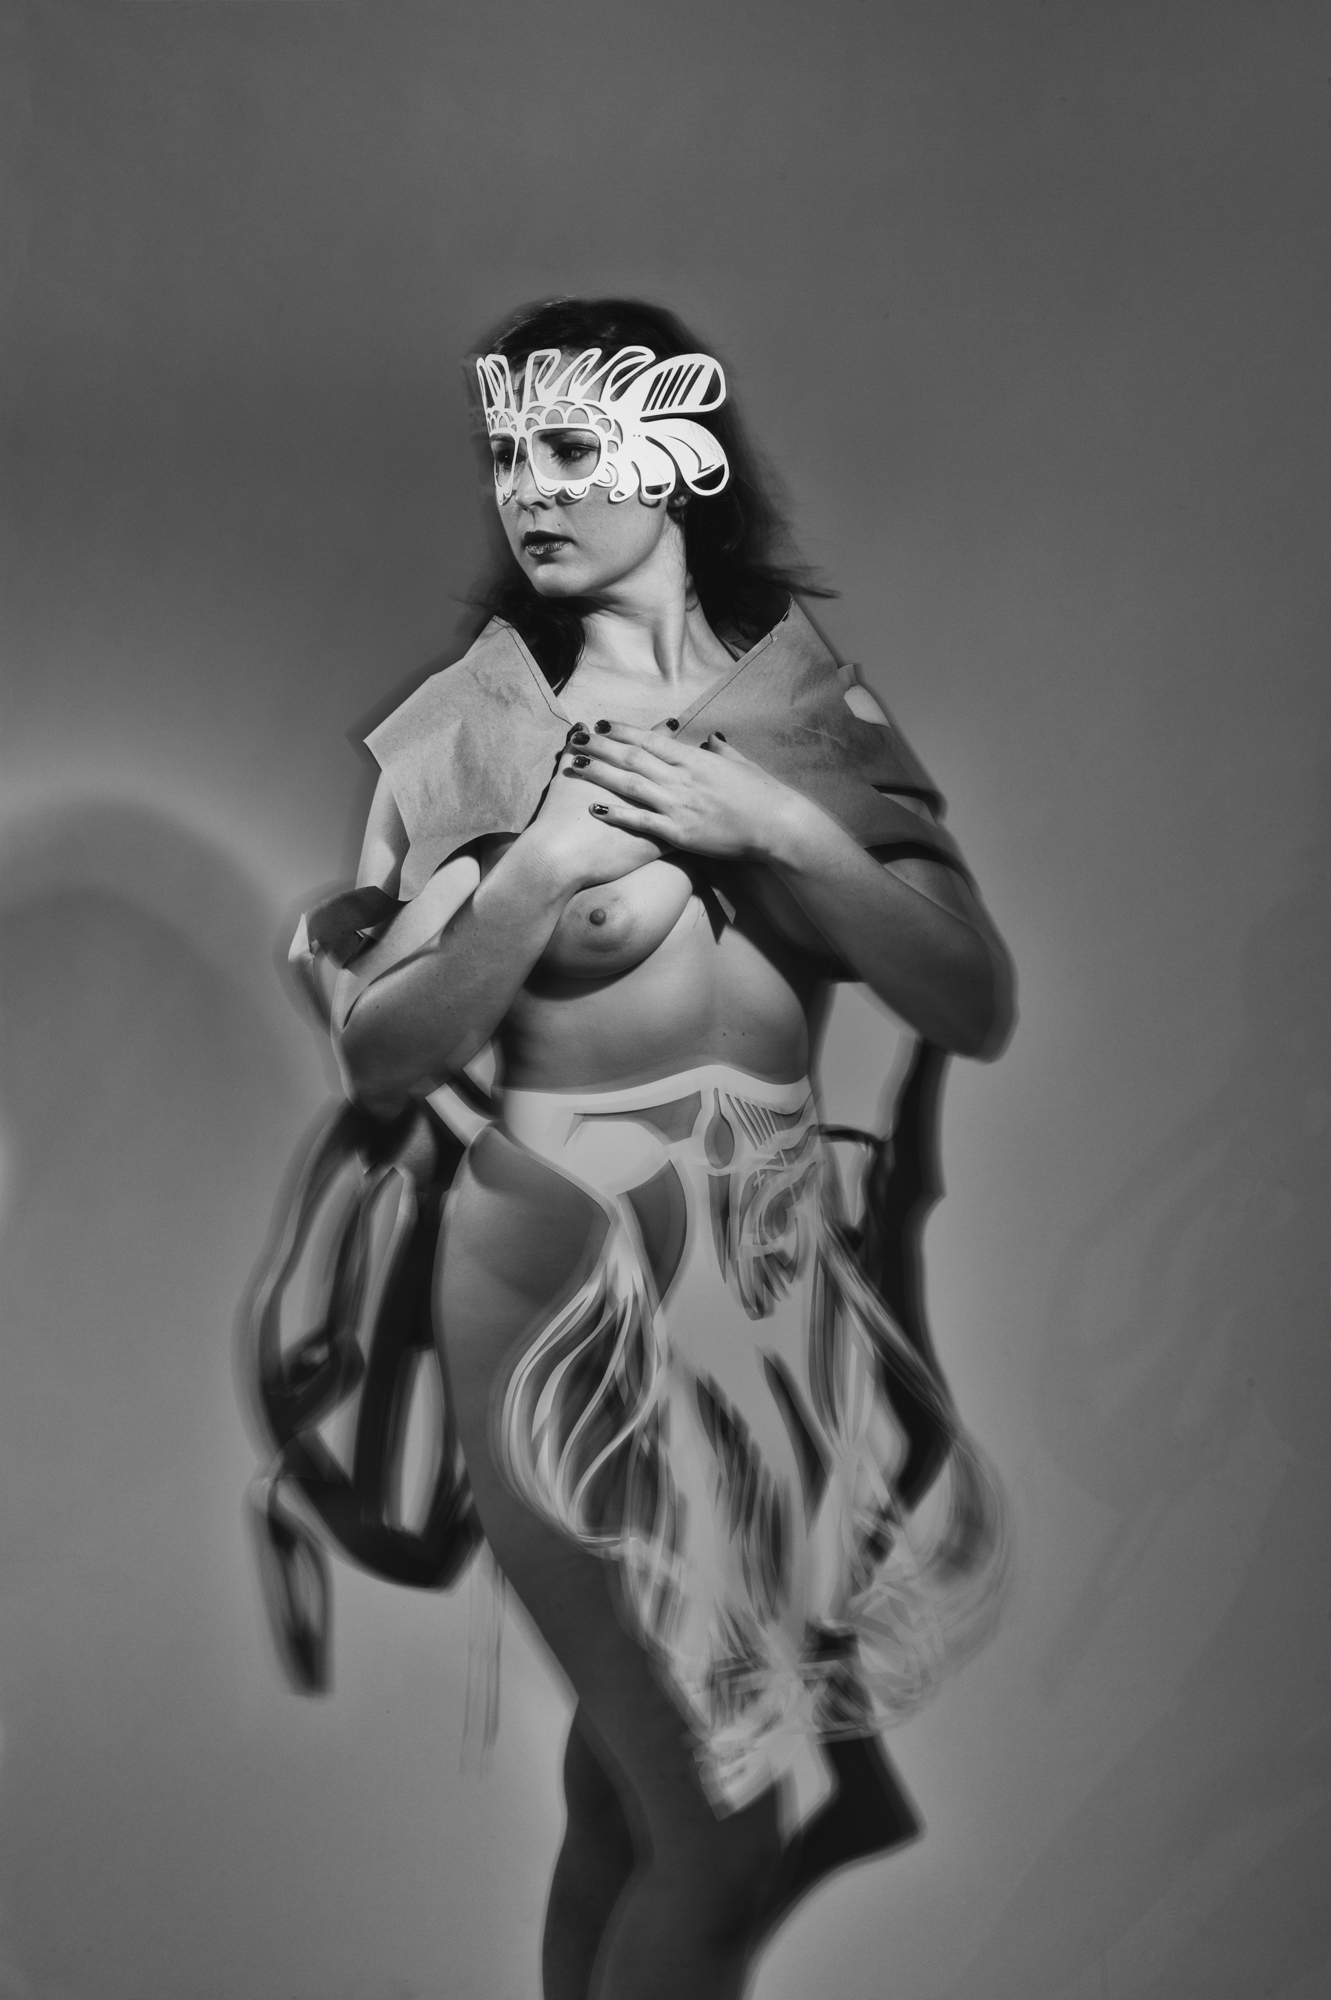
Thanks so much to the folks at Pro Photo Daily for featuring NIGHT PAPER today!
© AI-AP.com
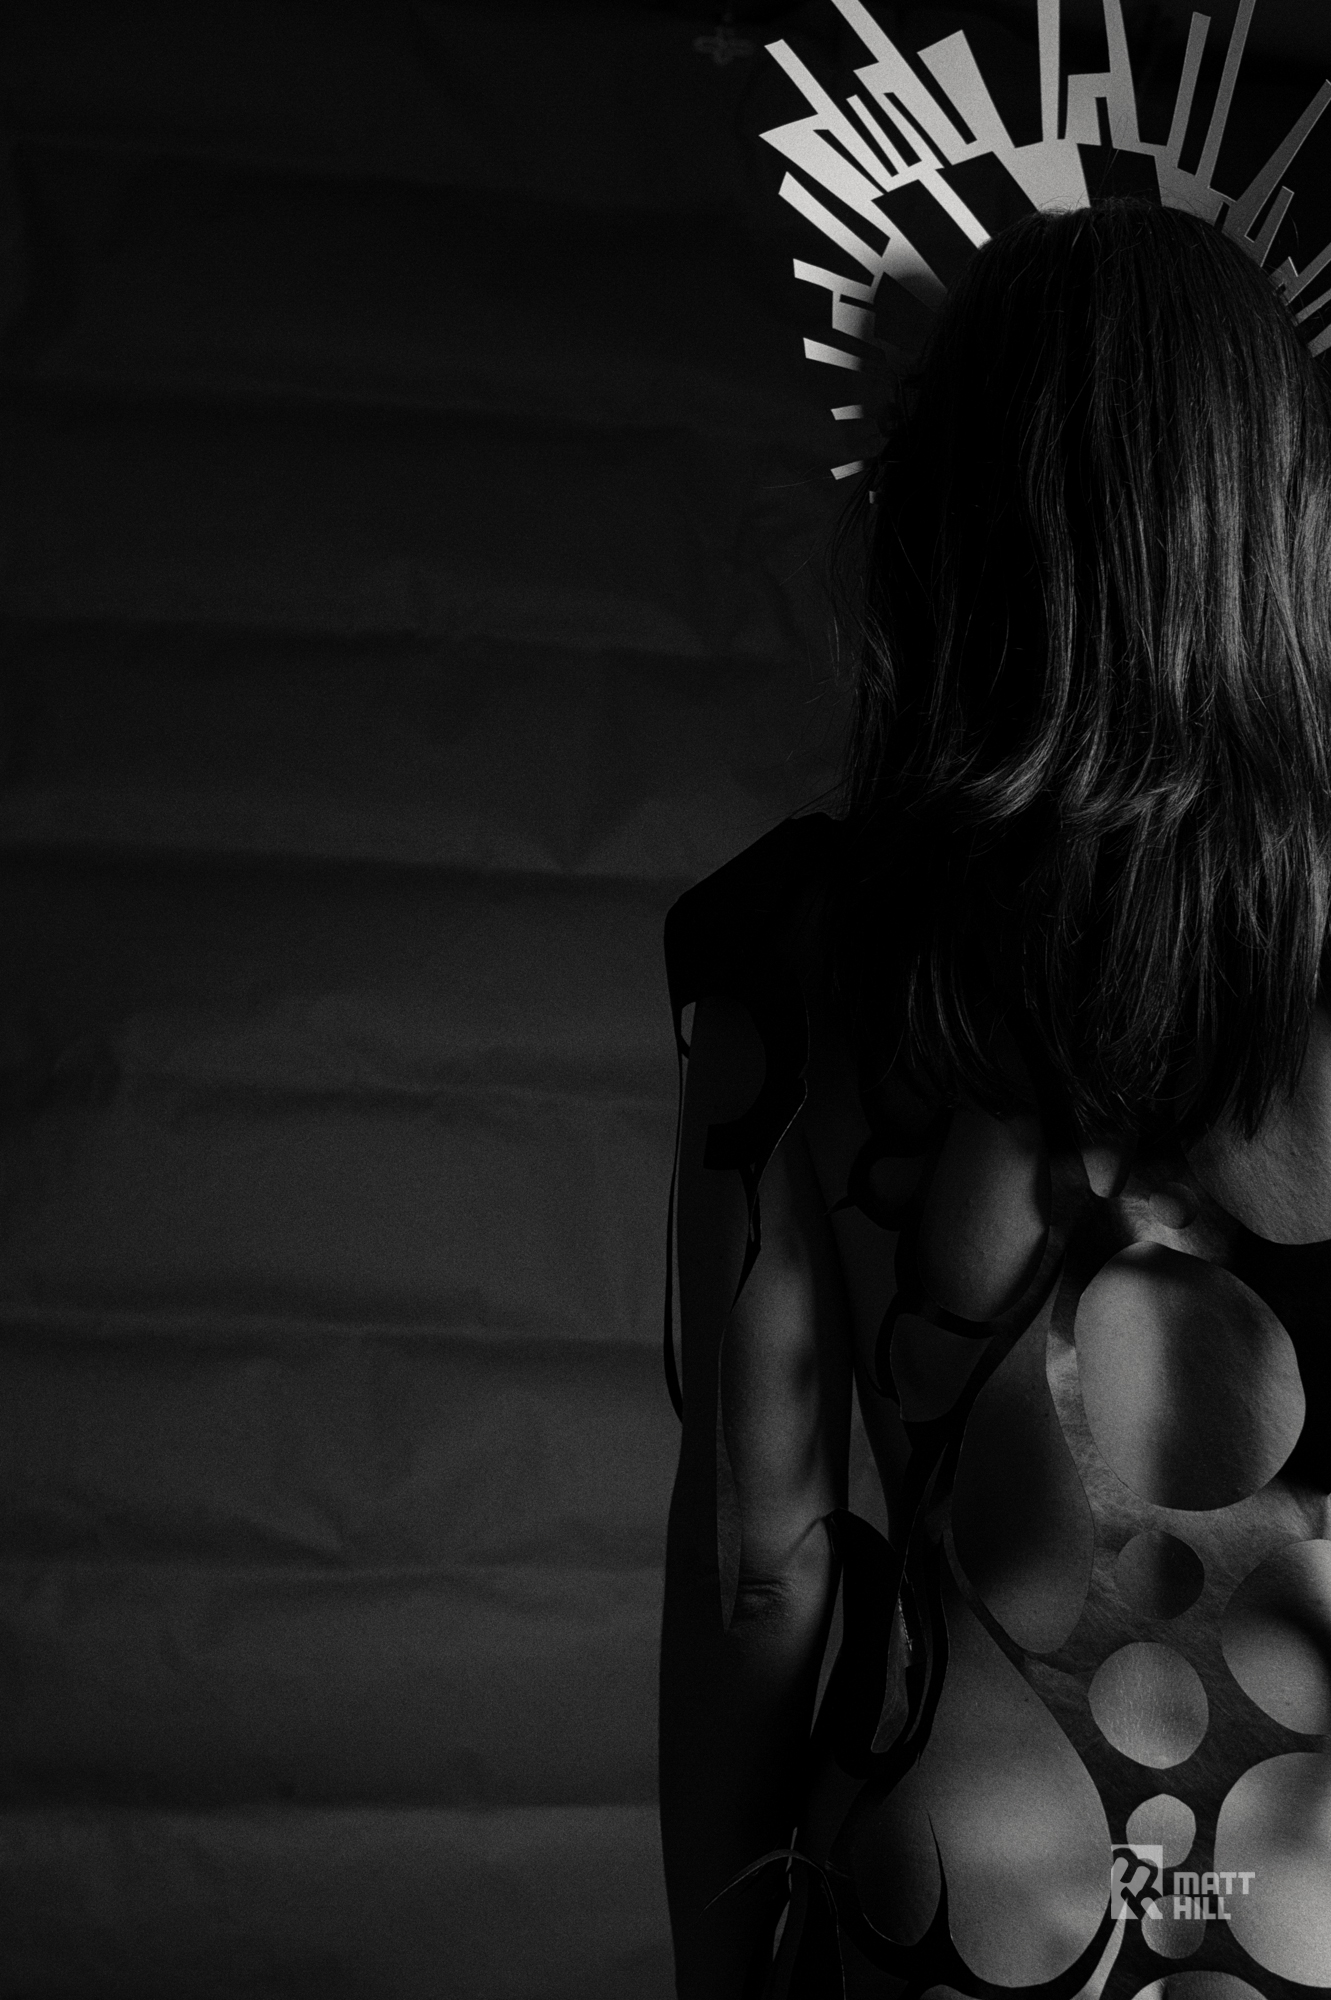
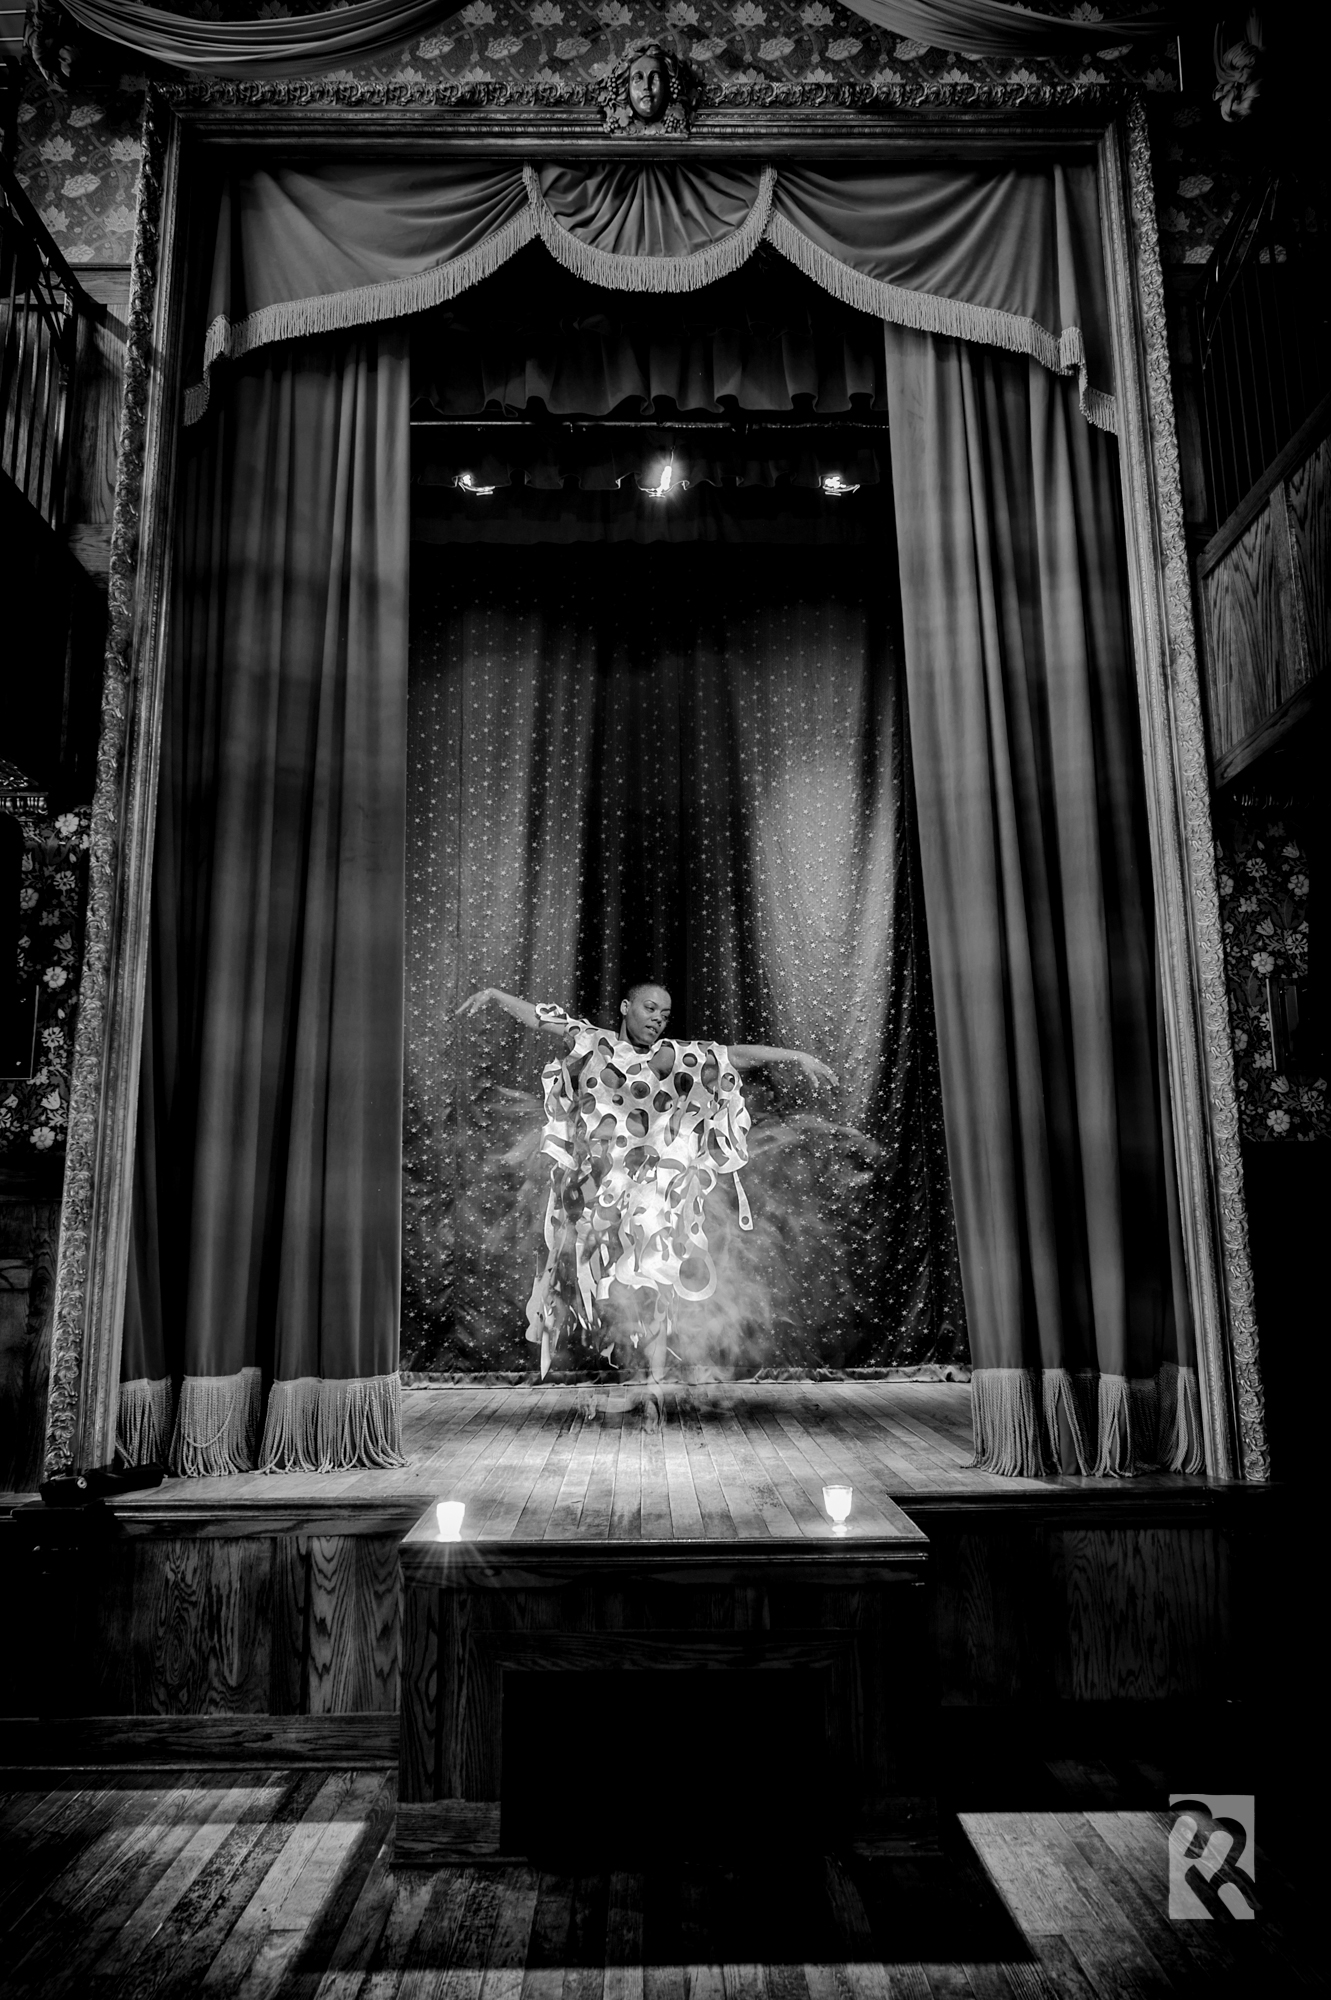
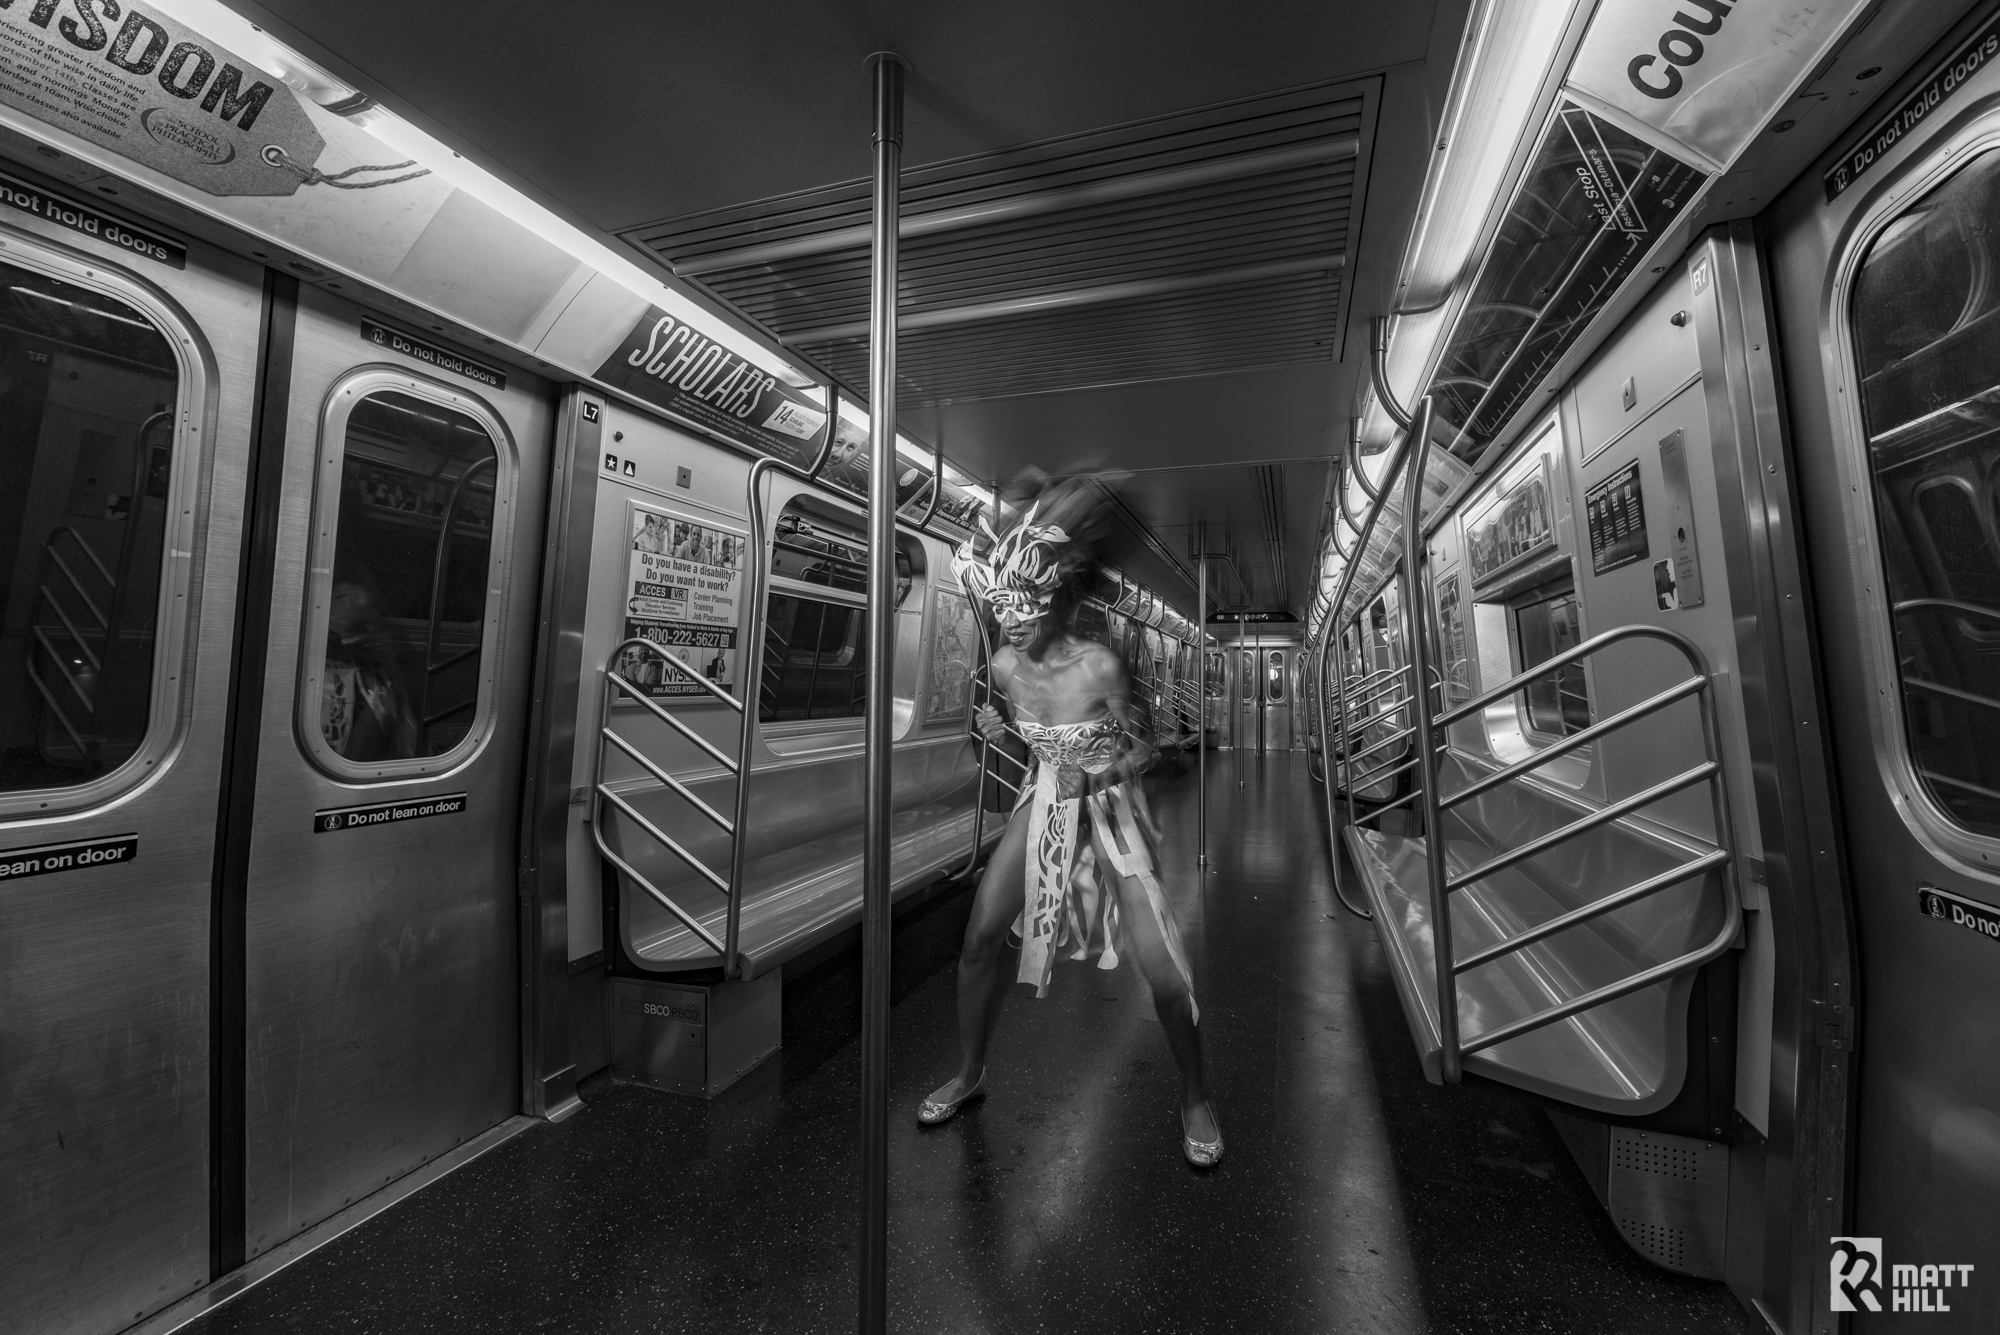
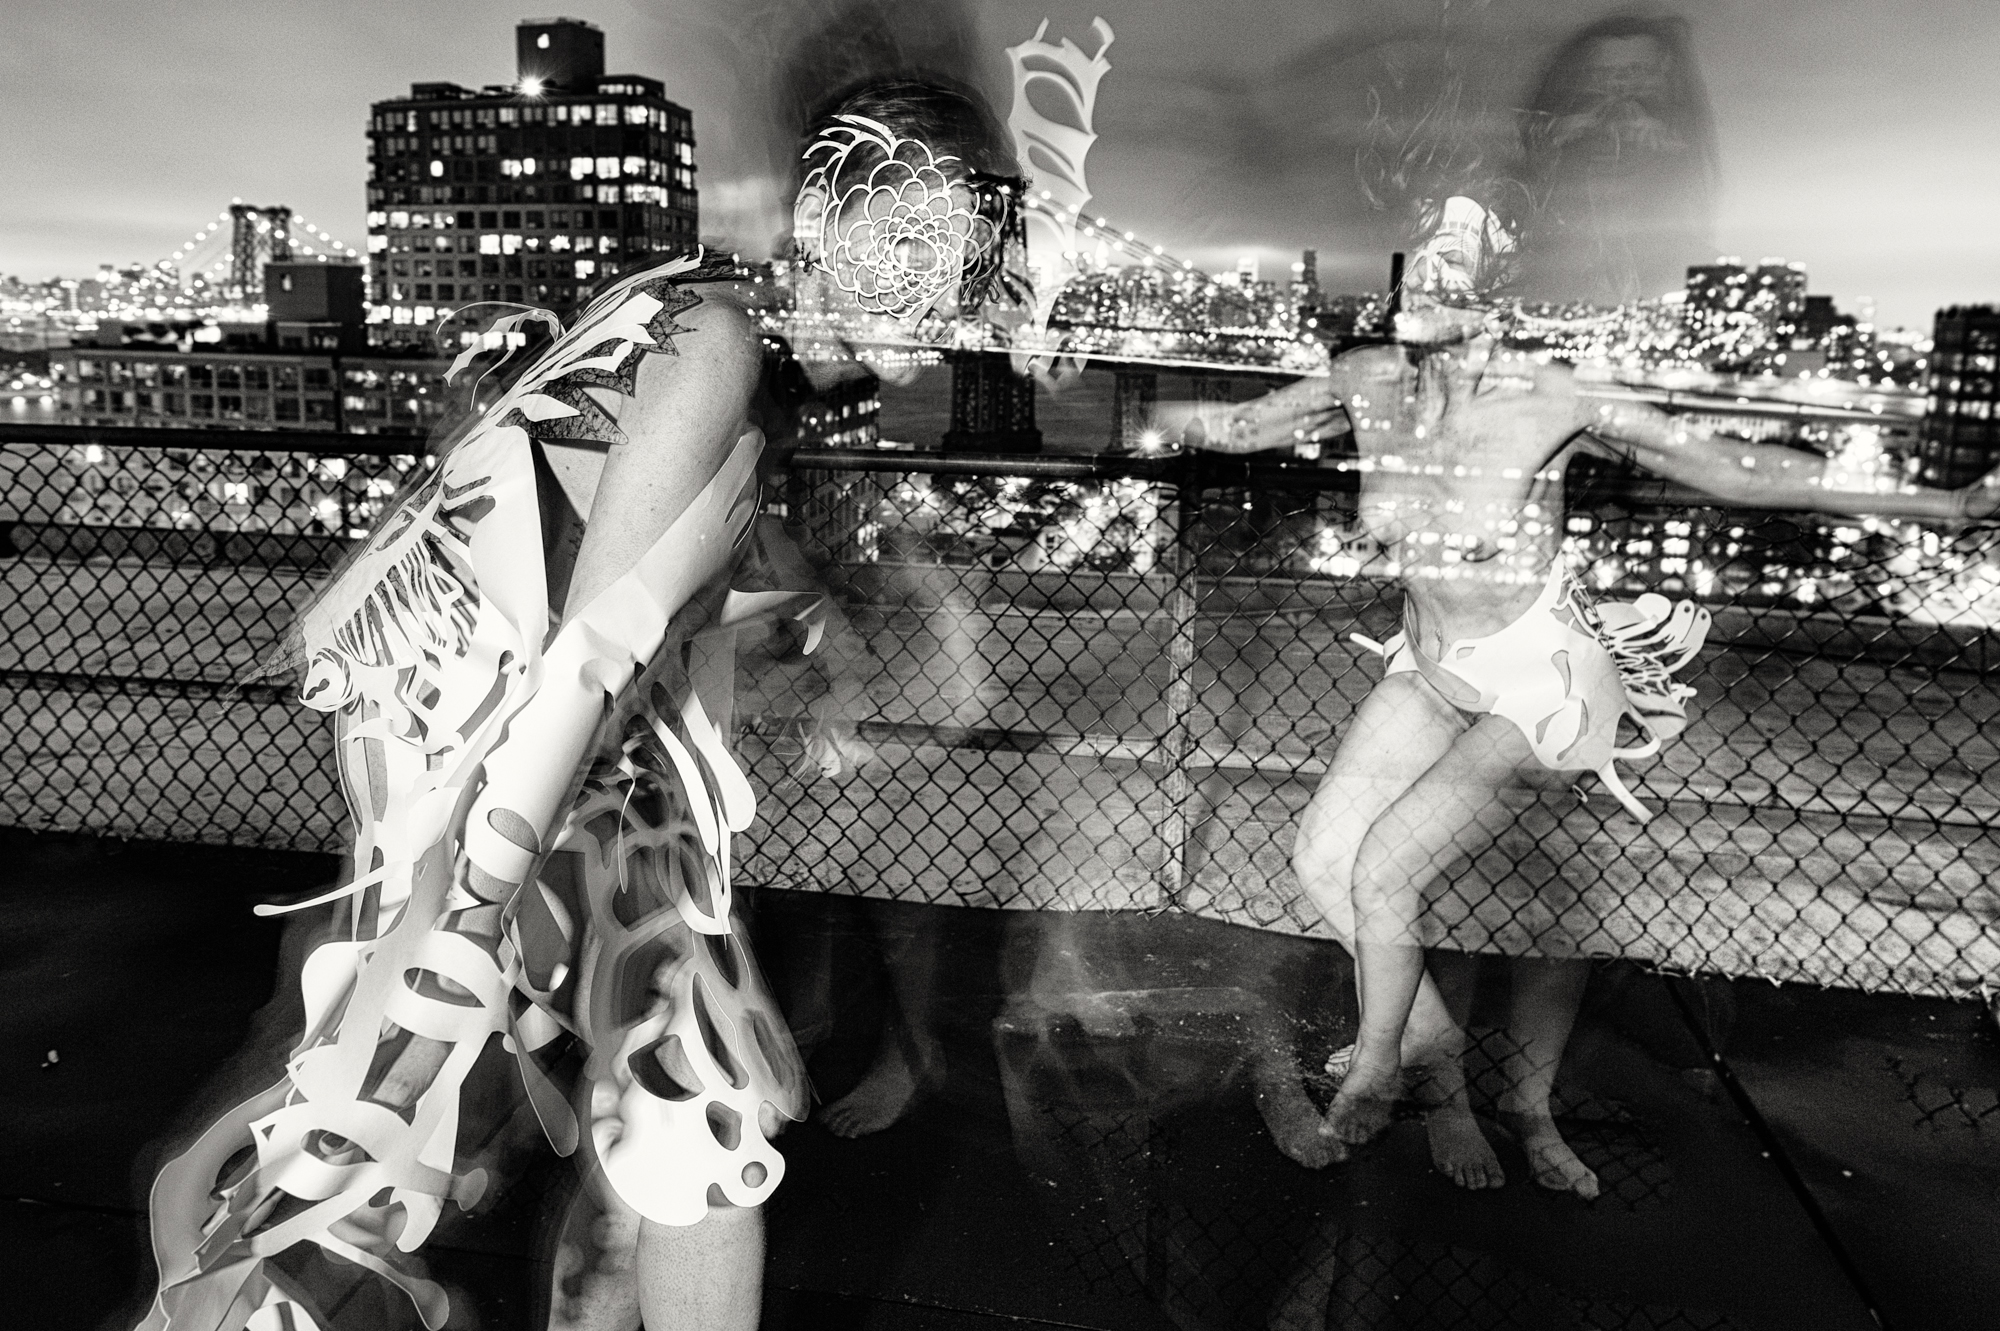
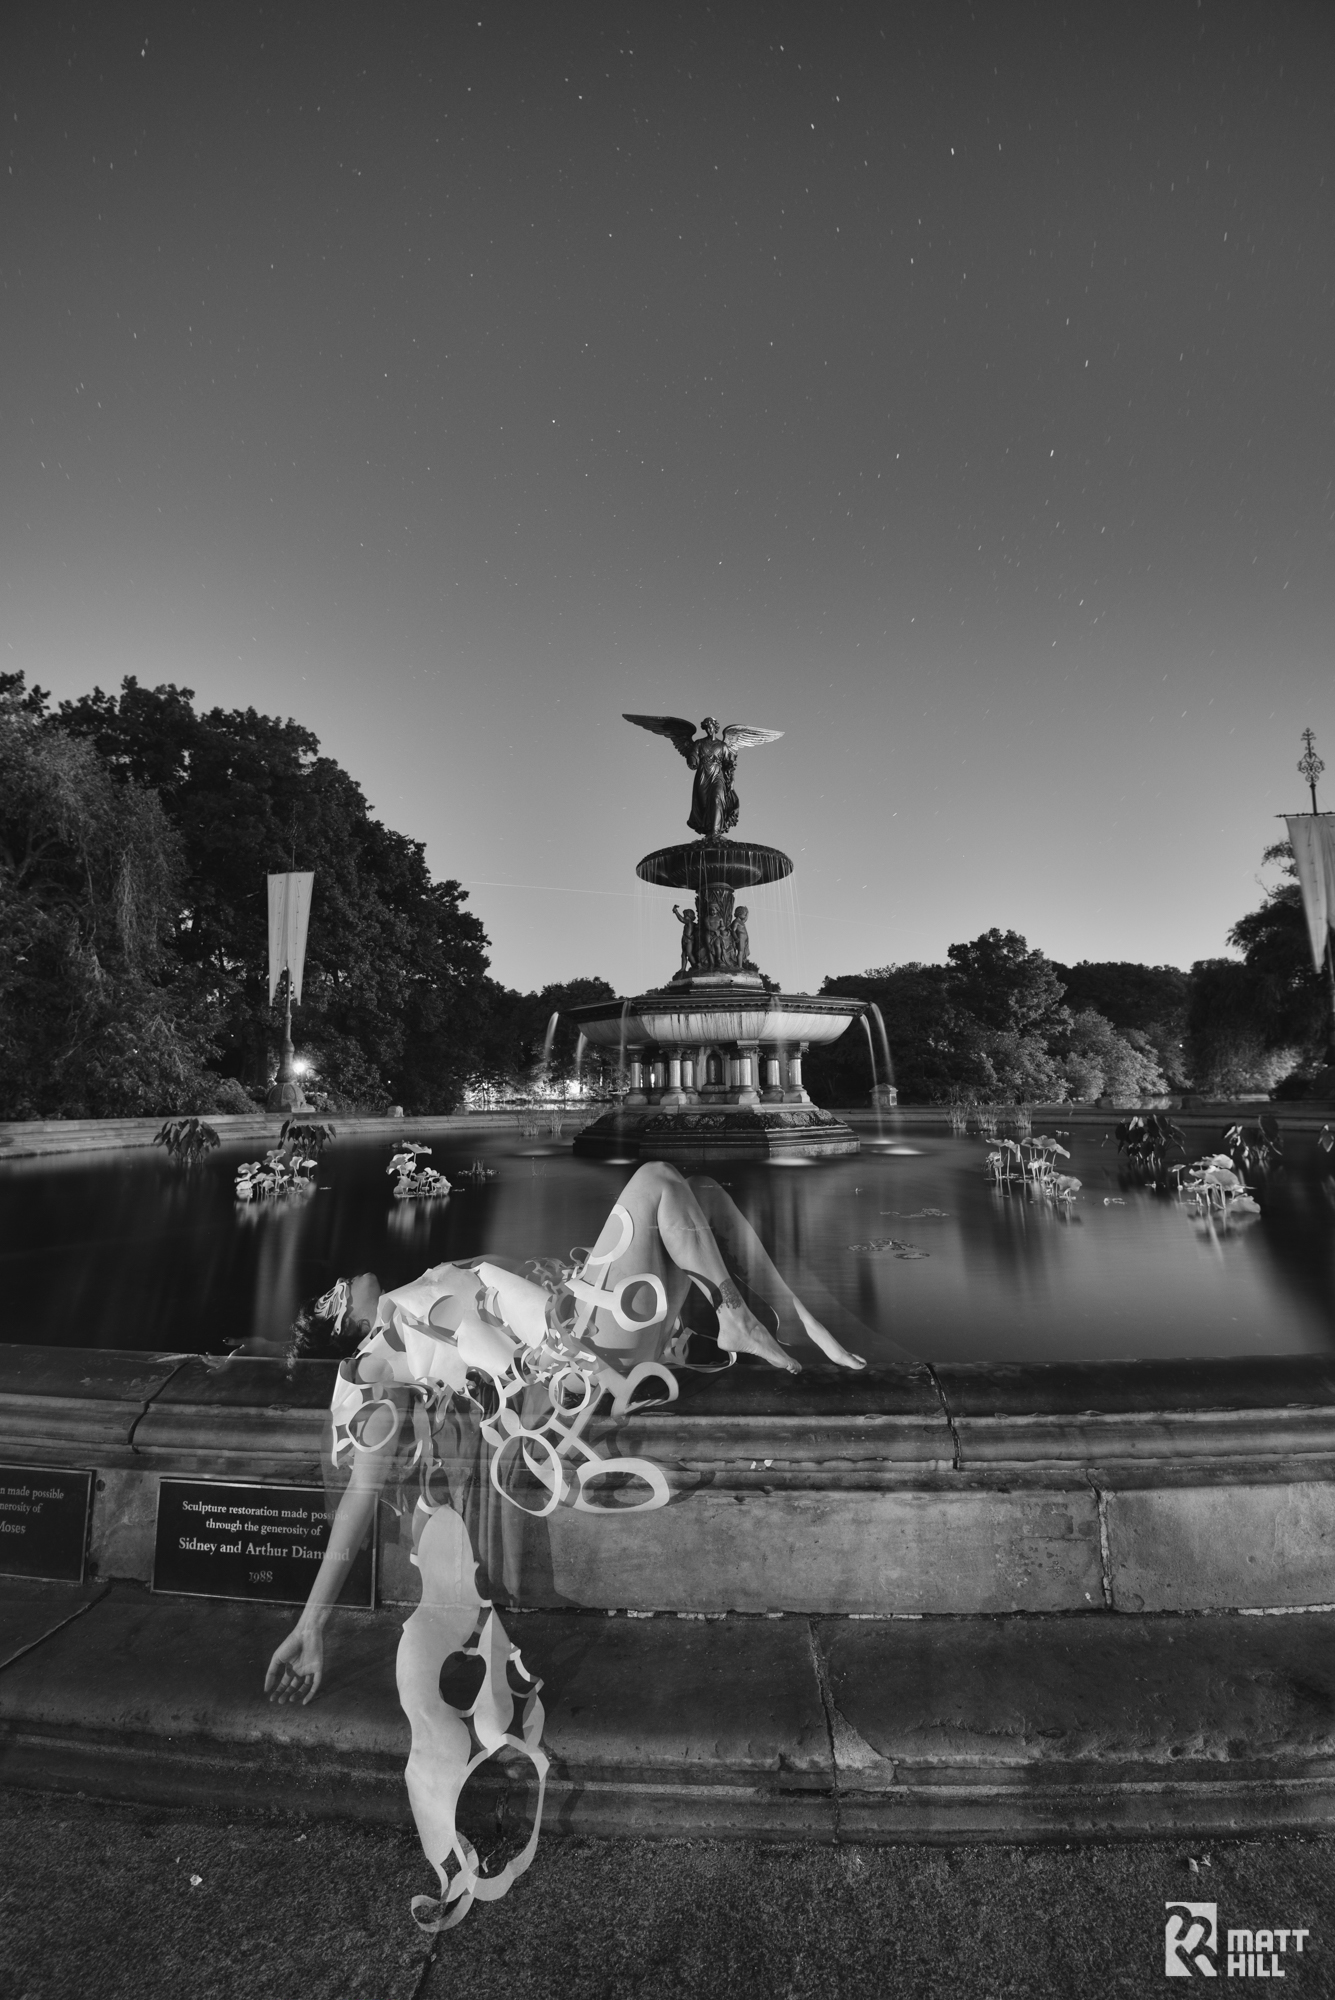
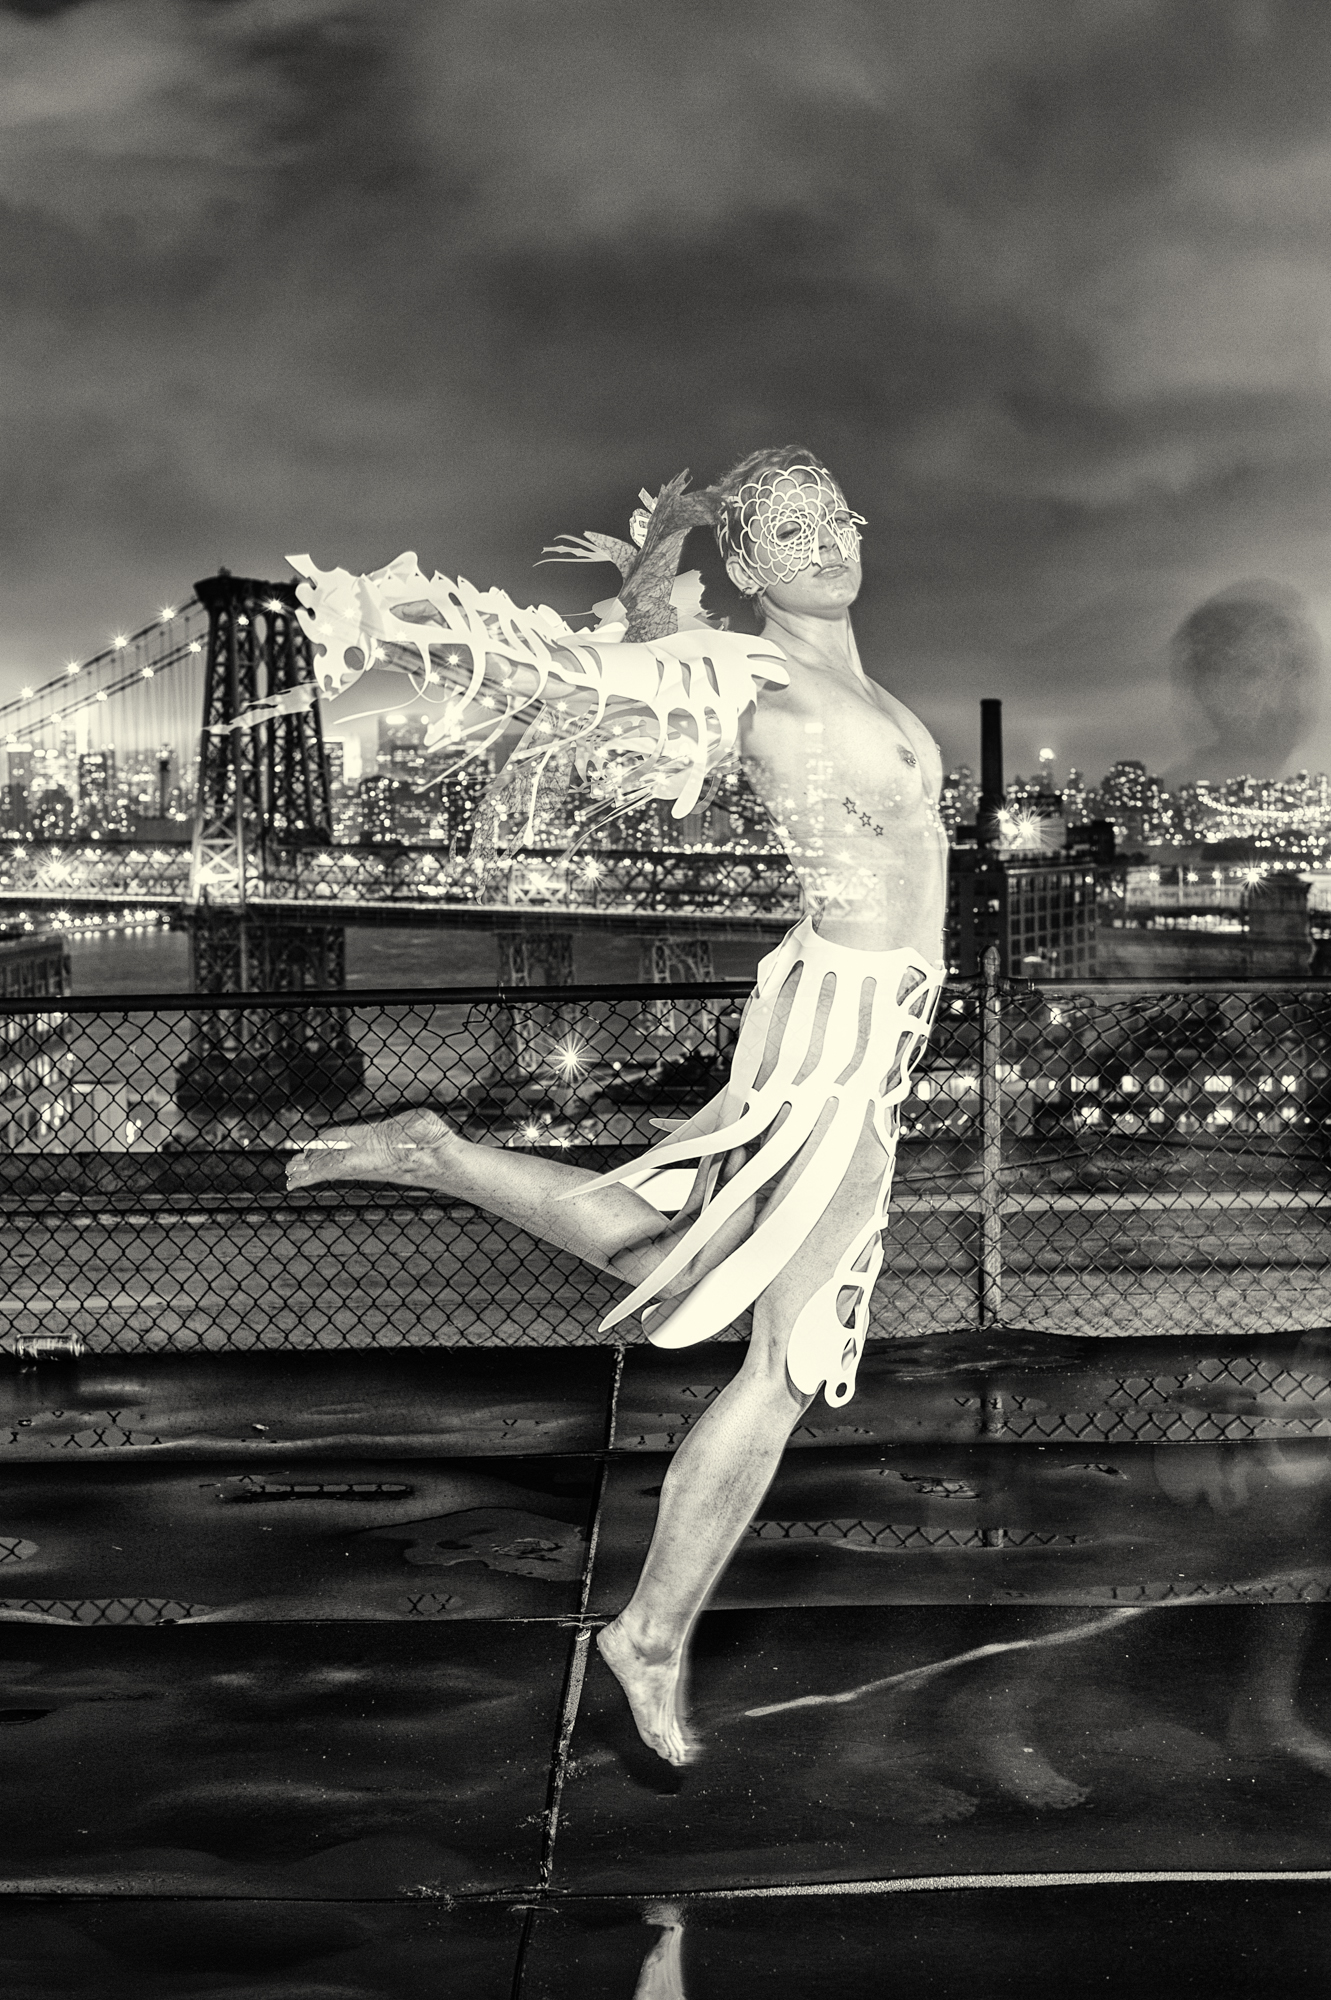
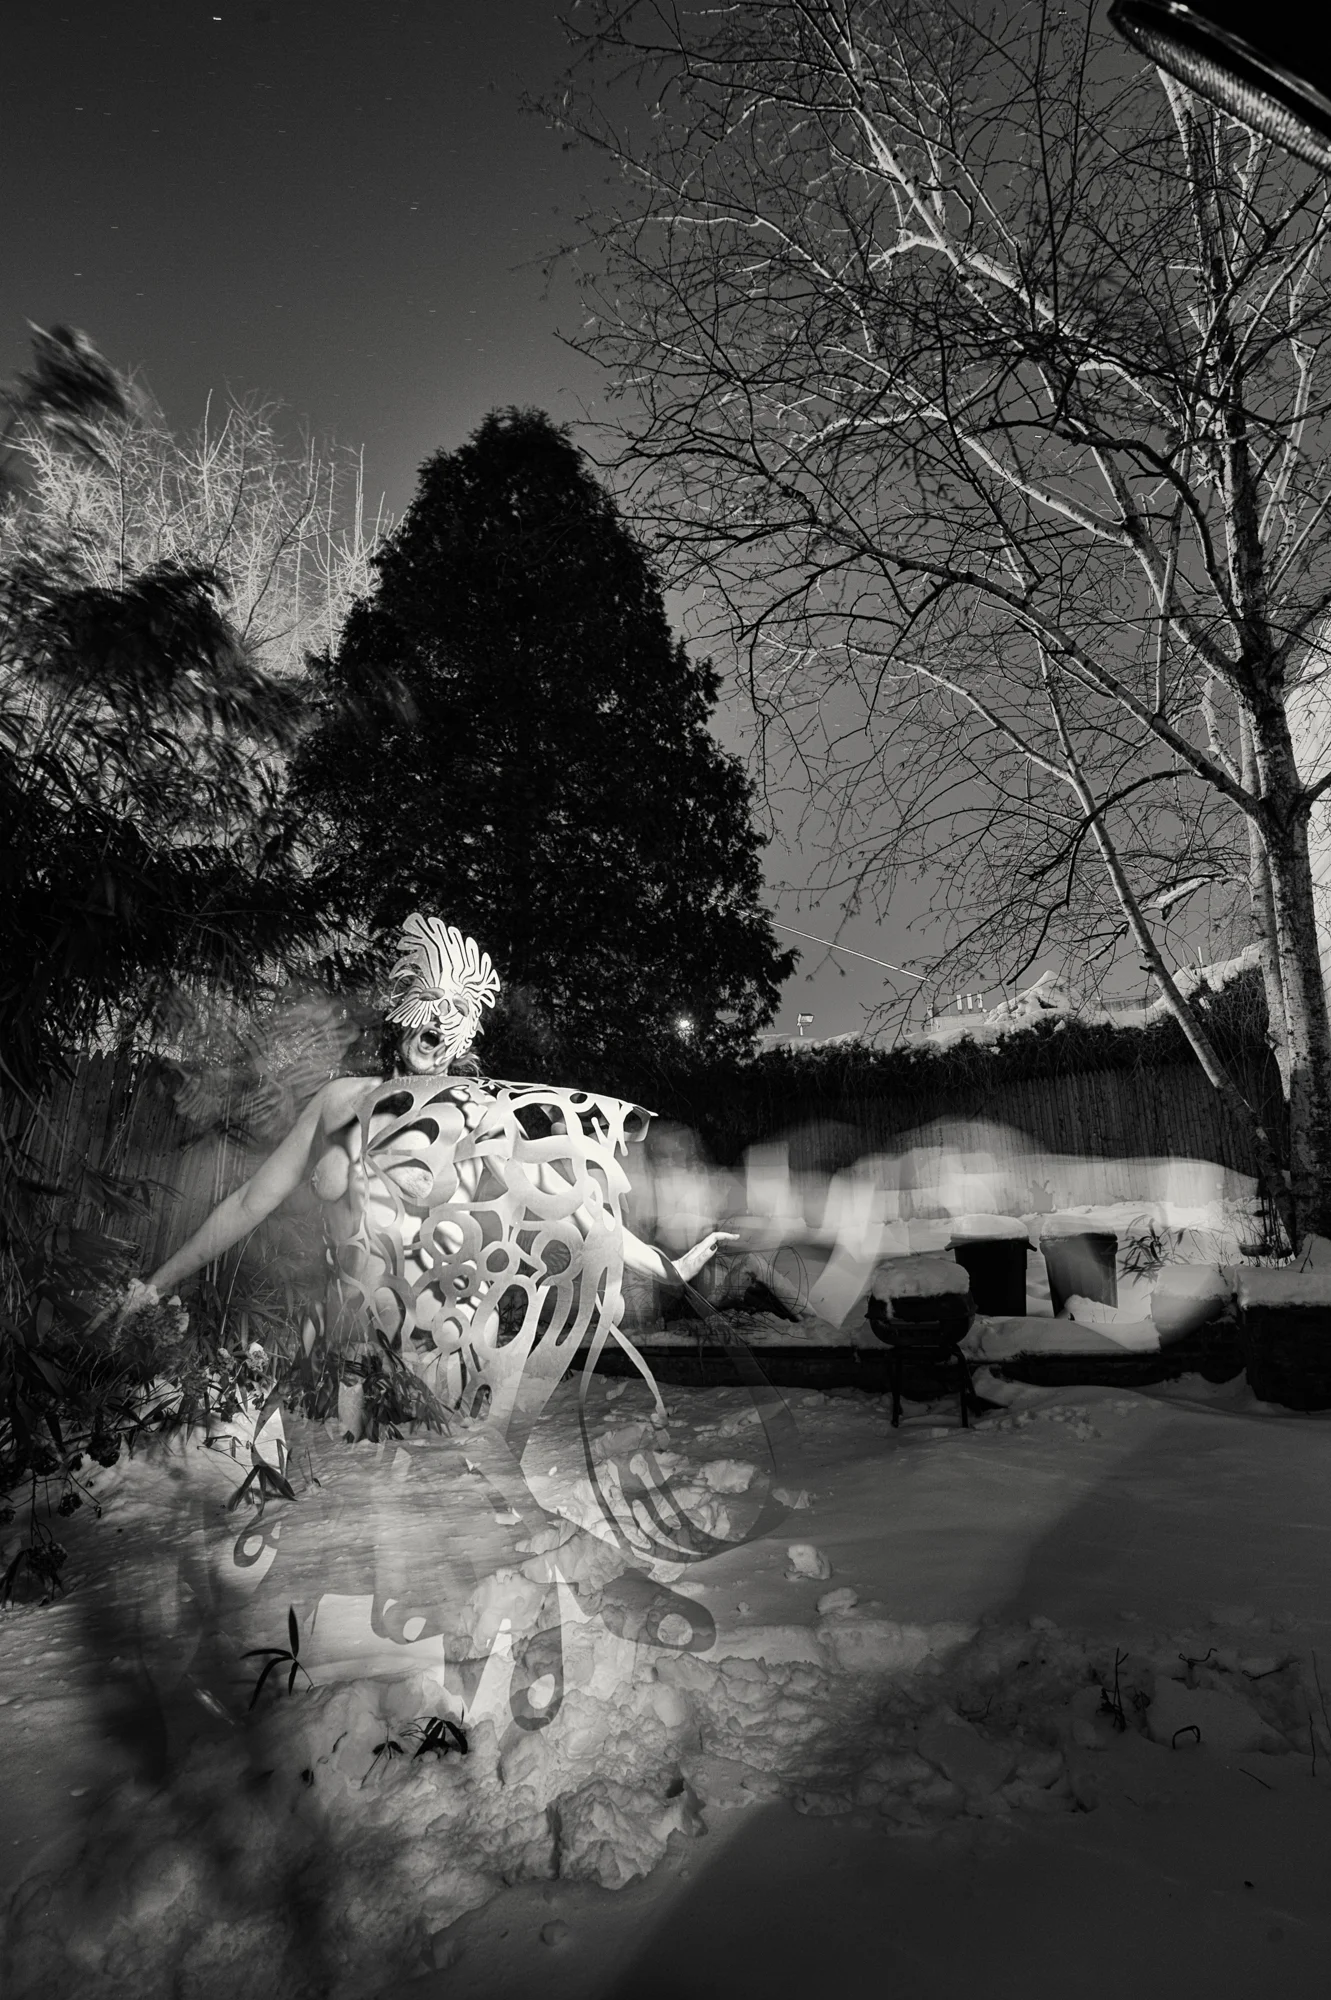
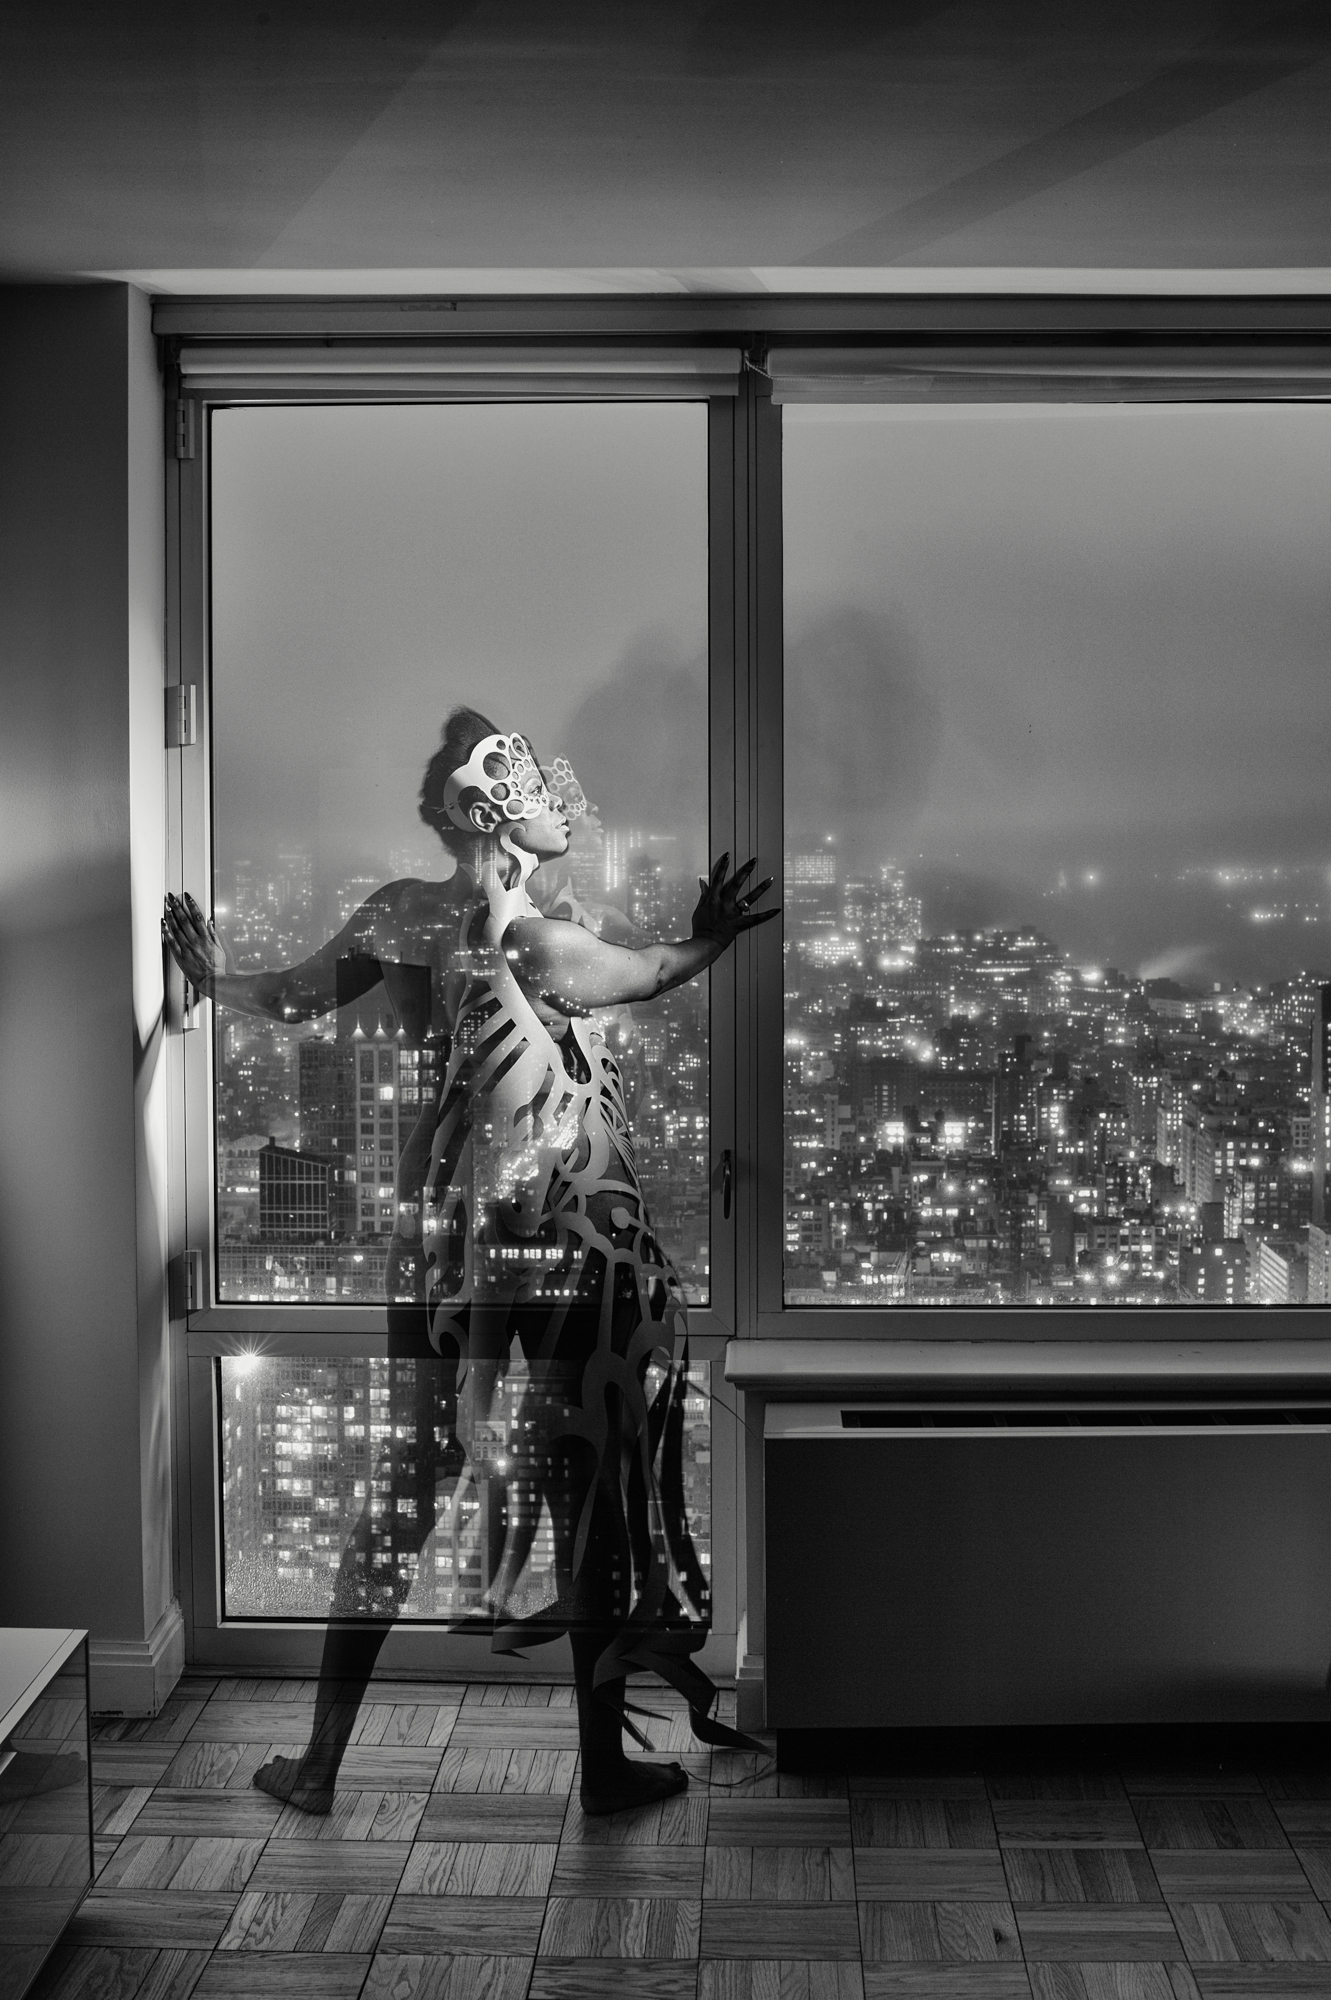
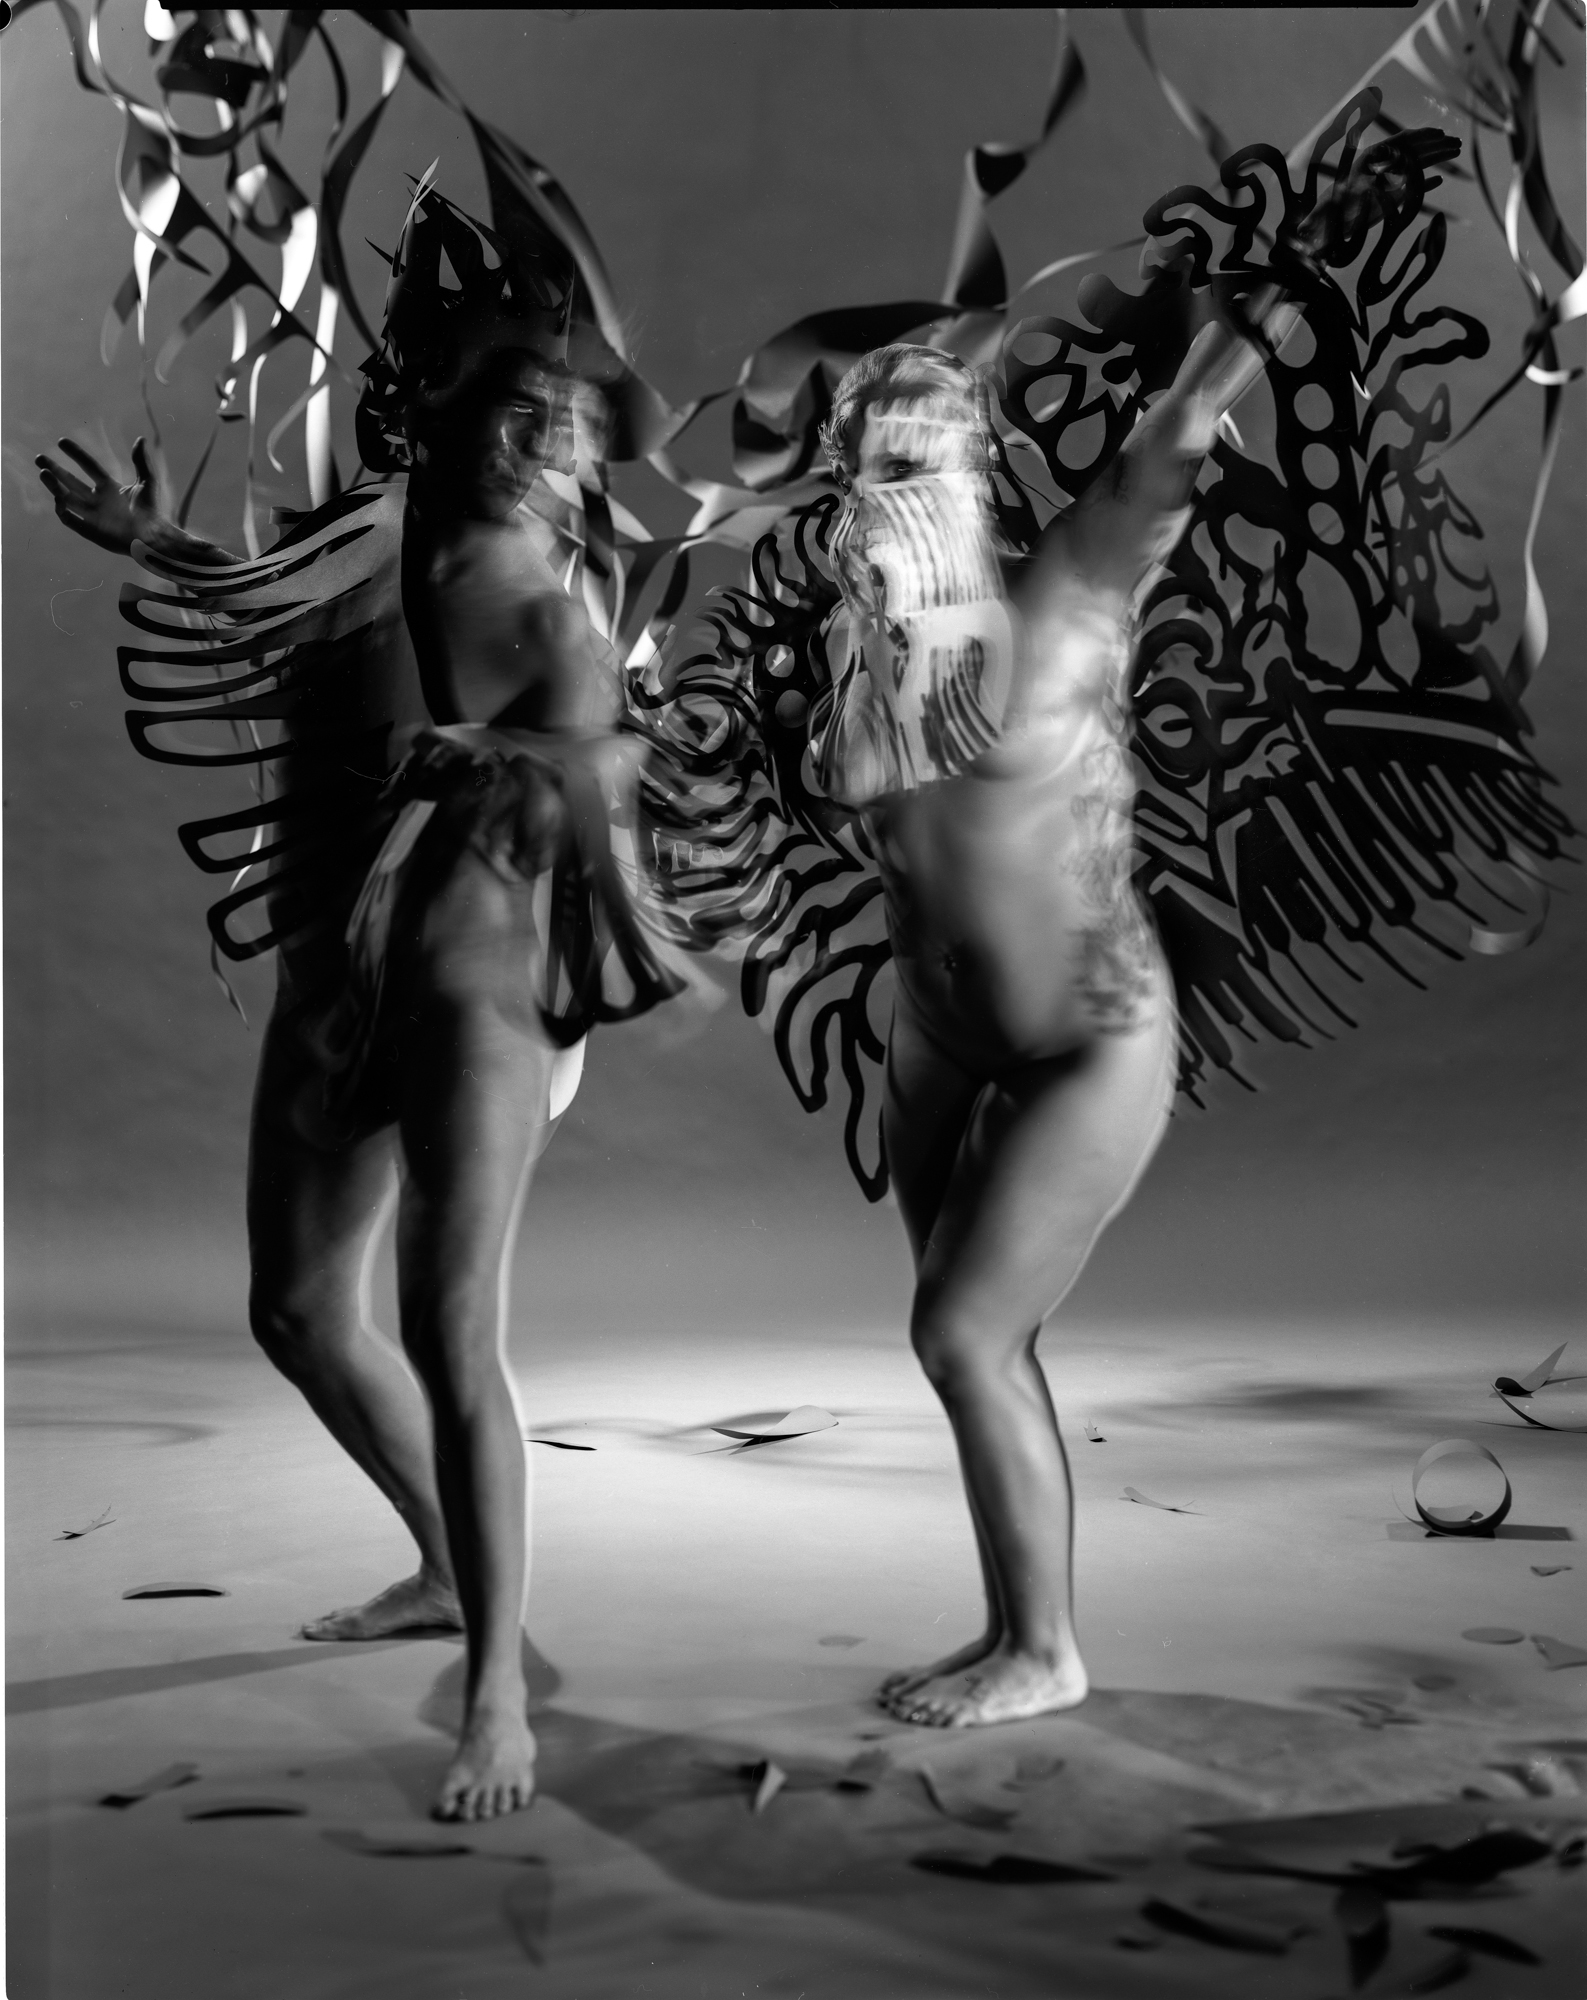
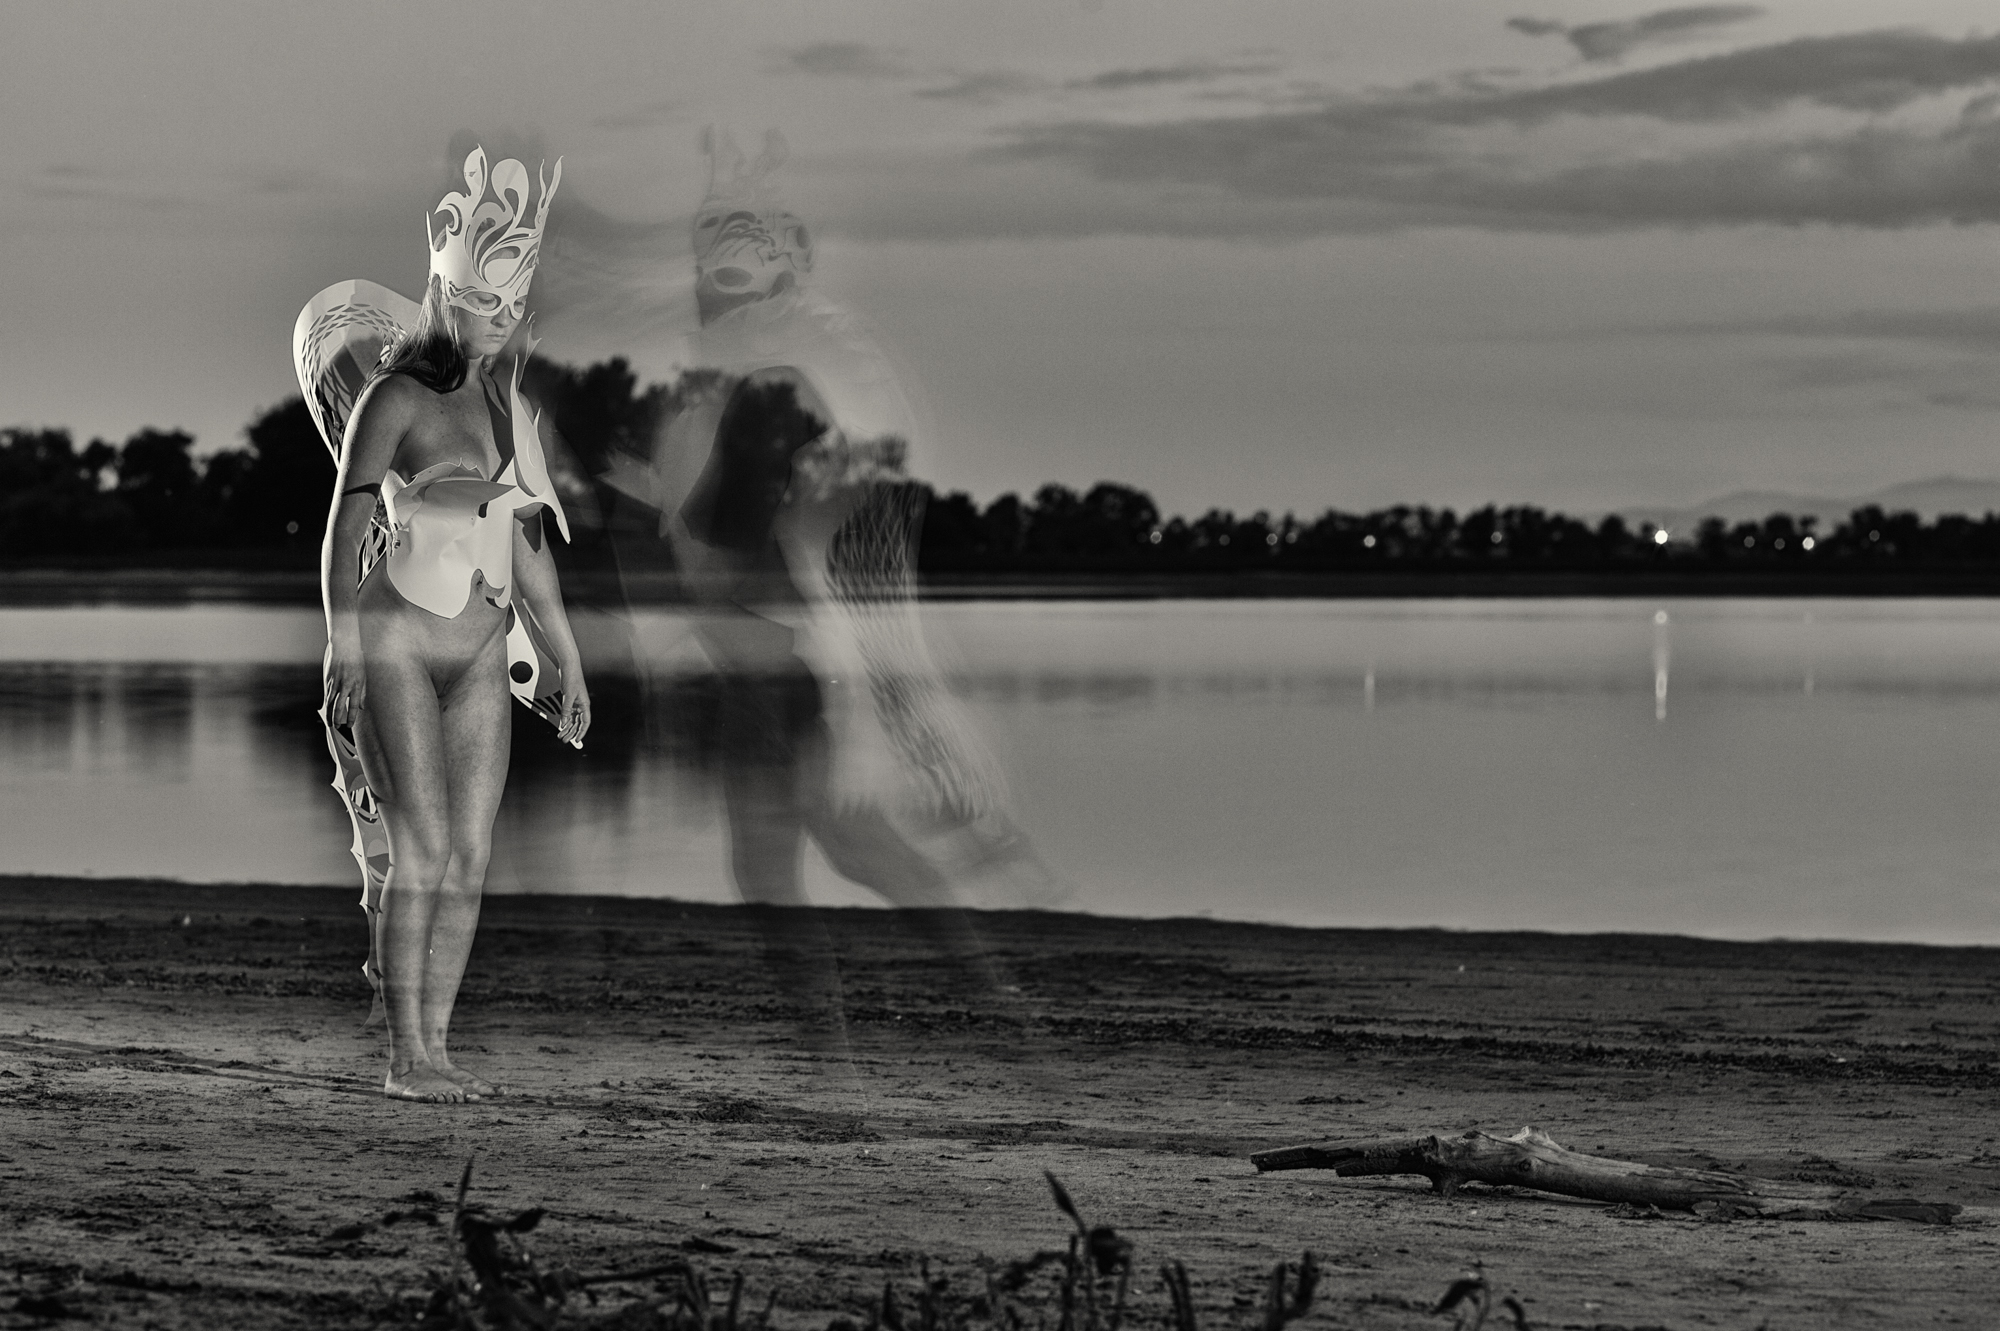
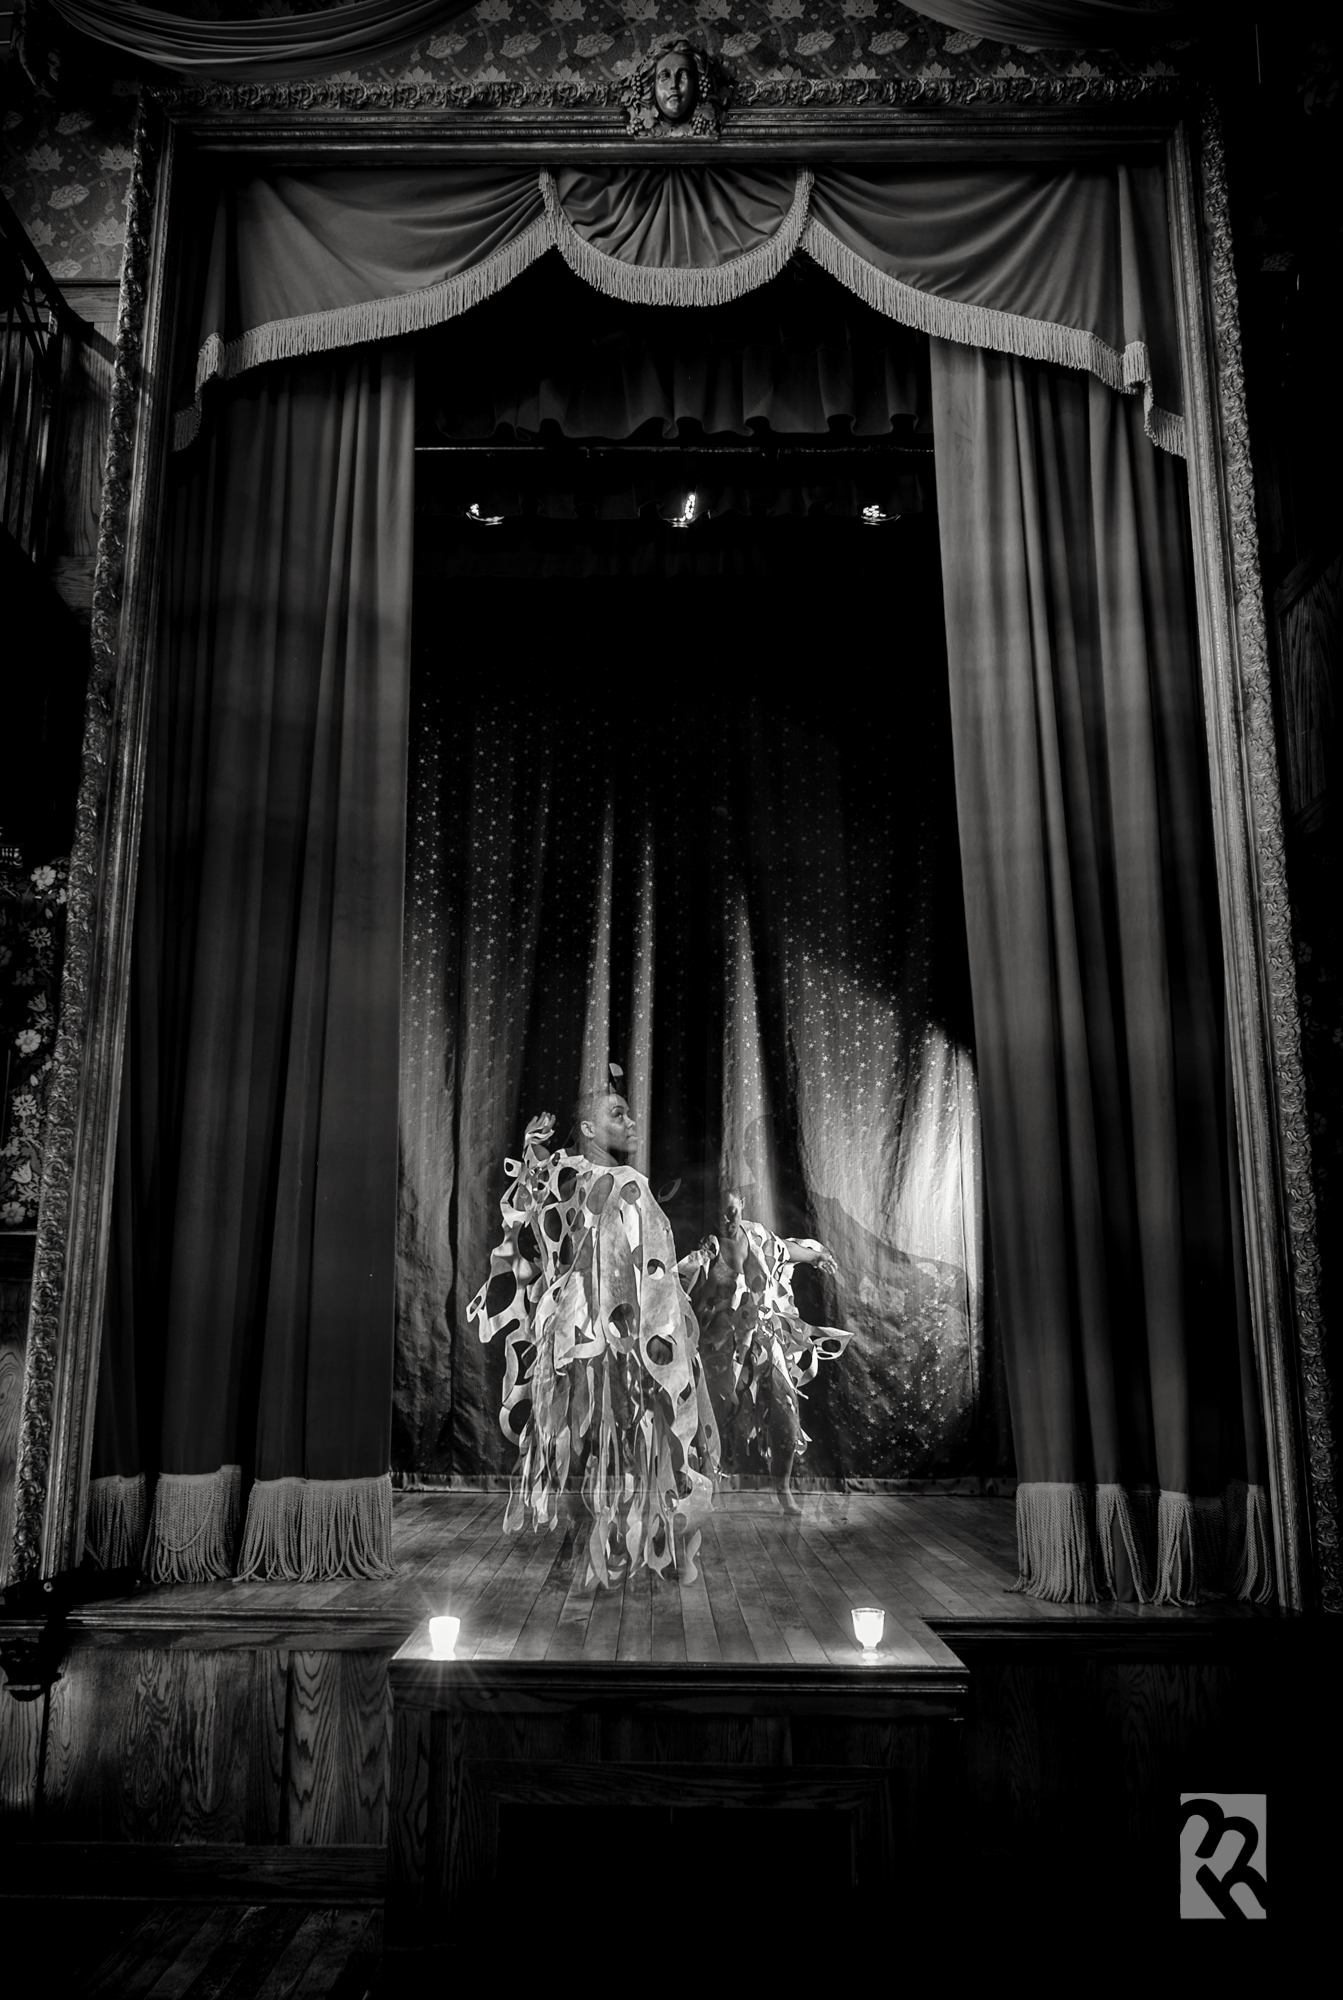
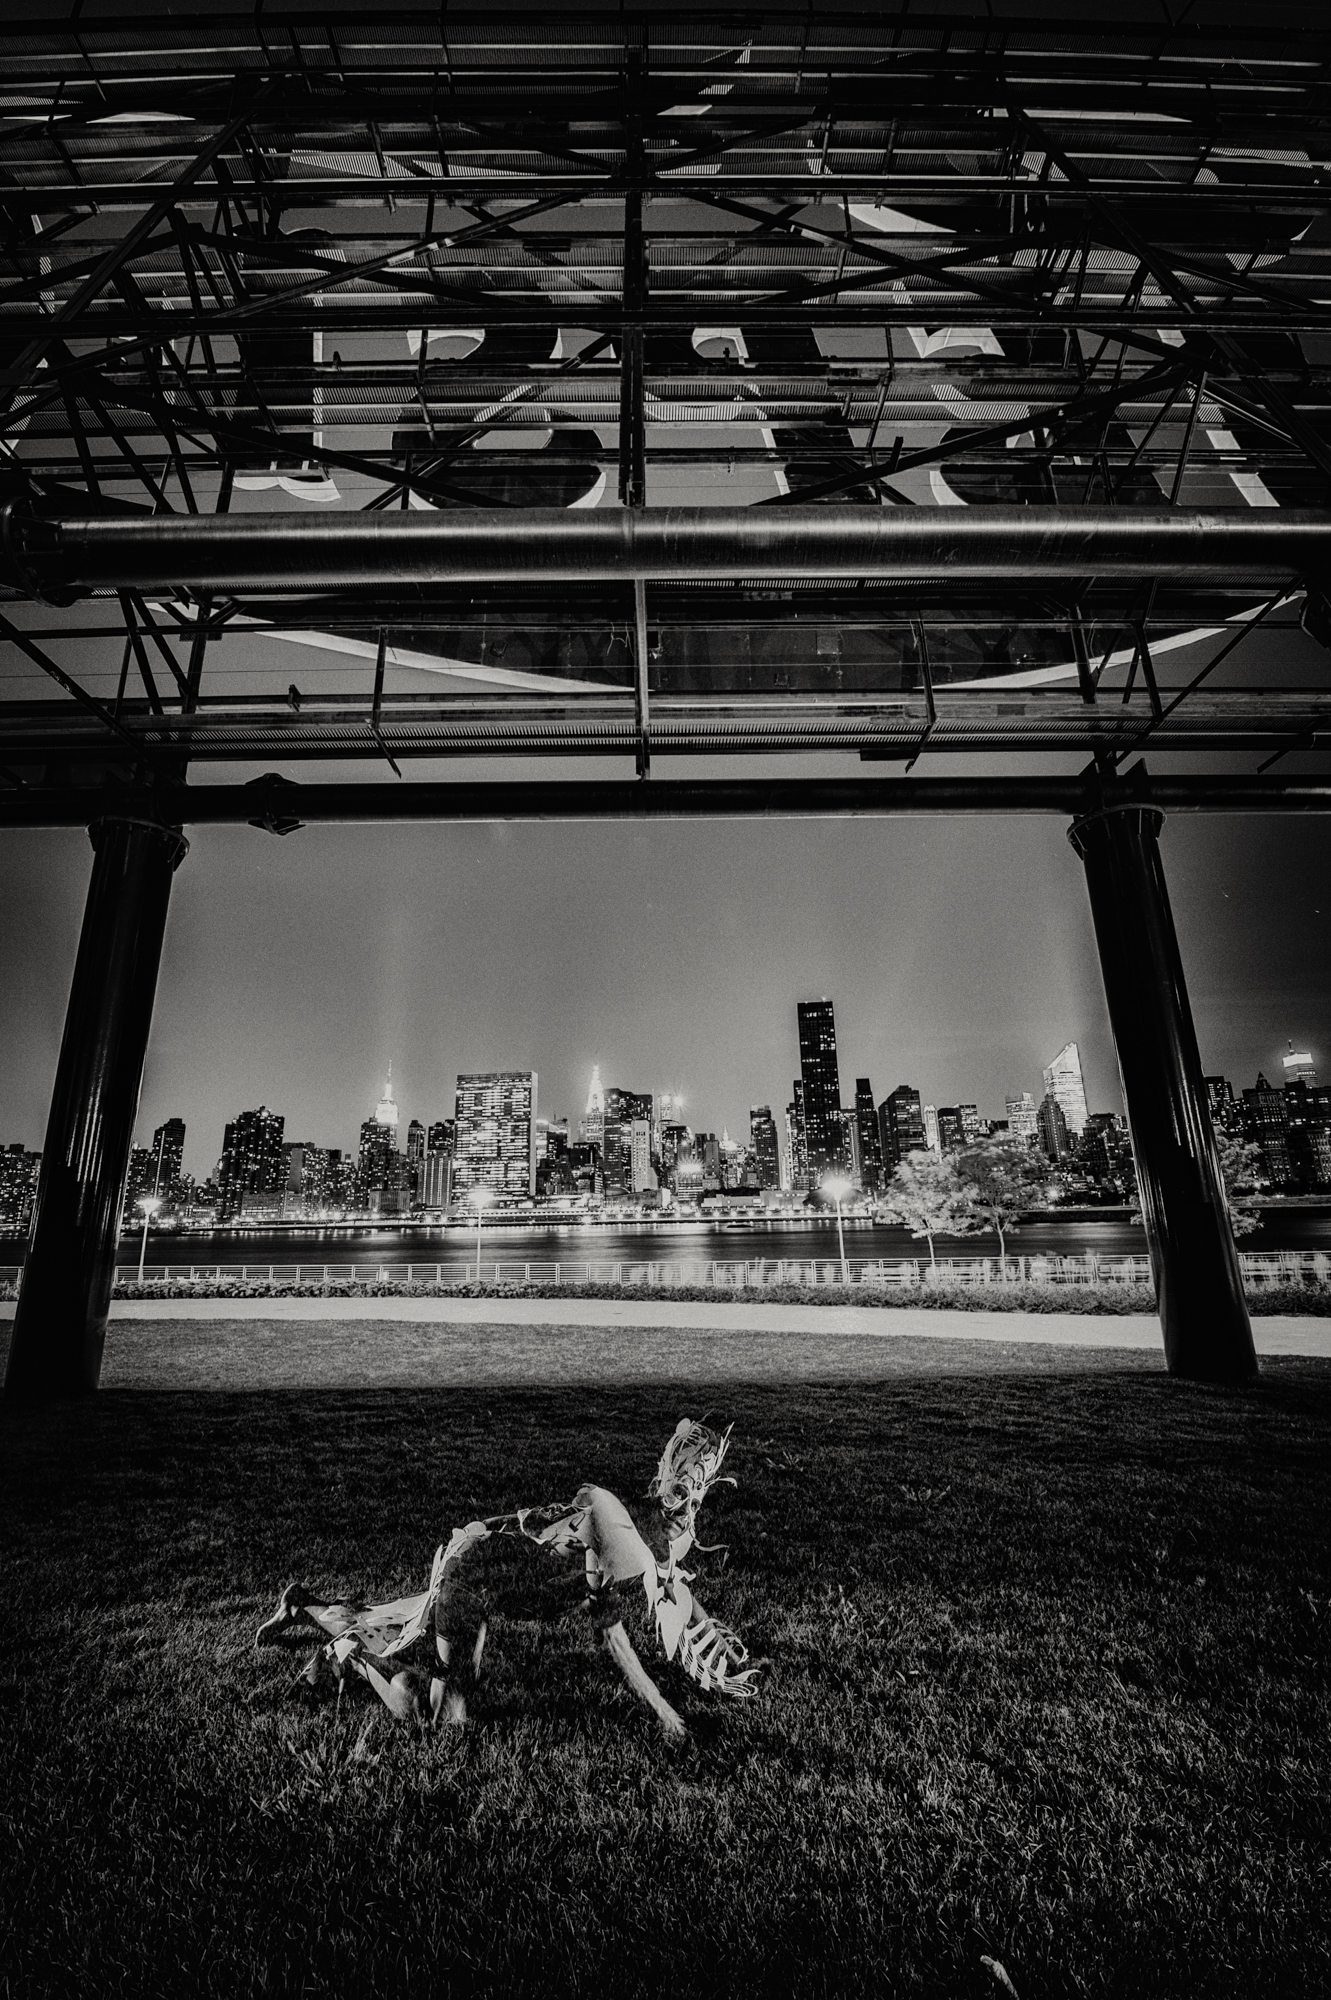
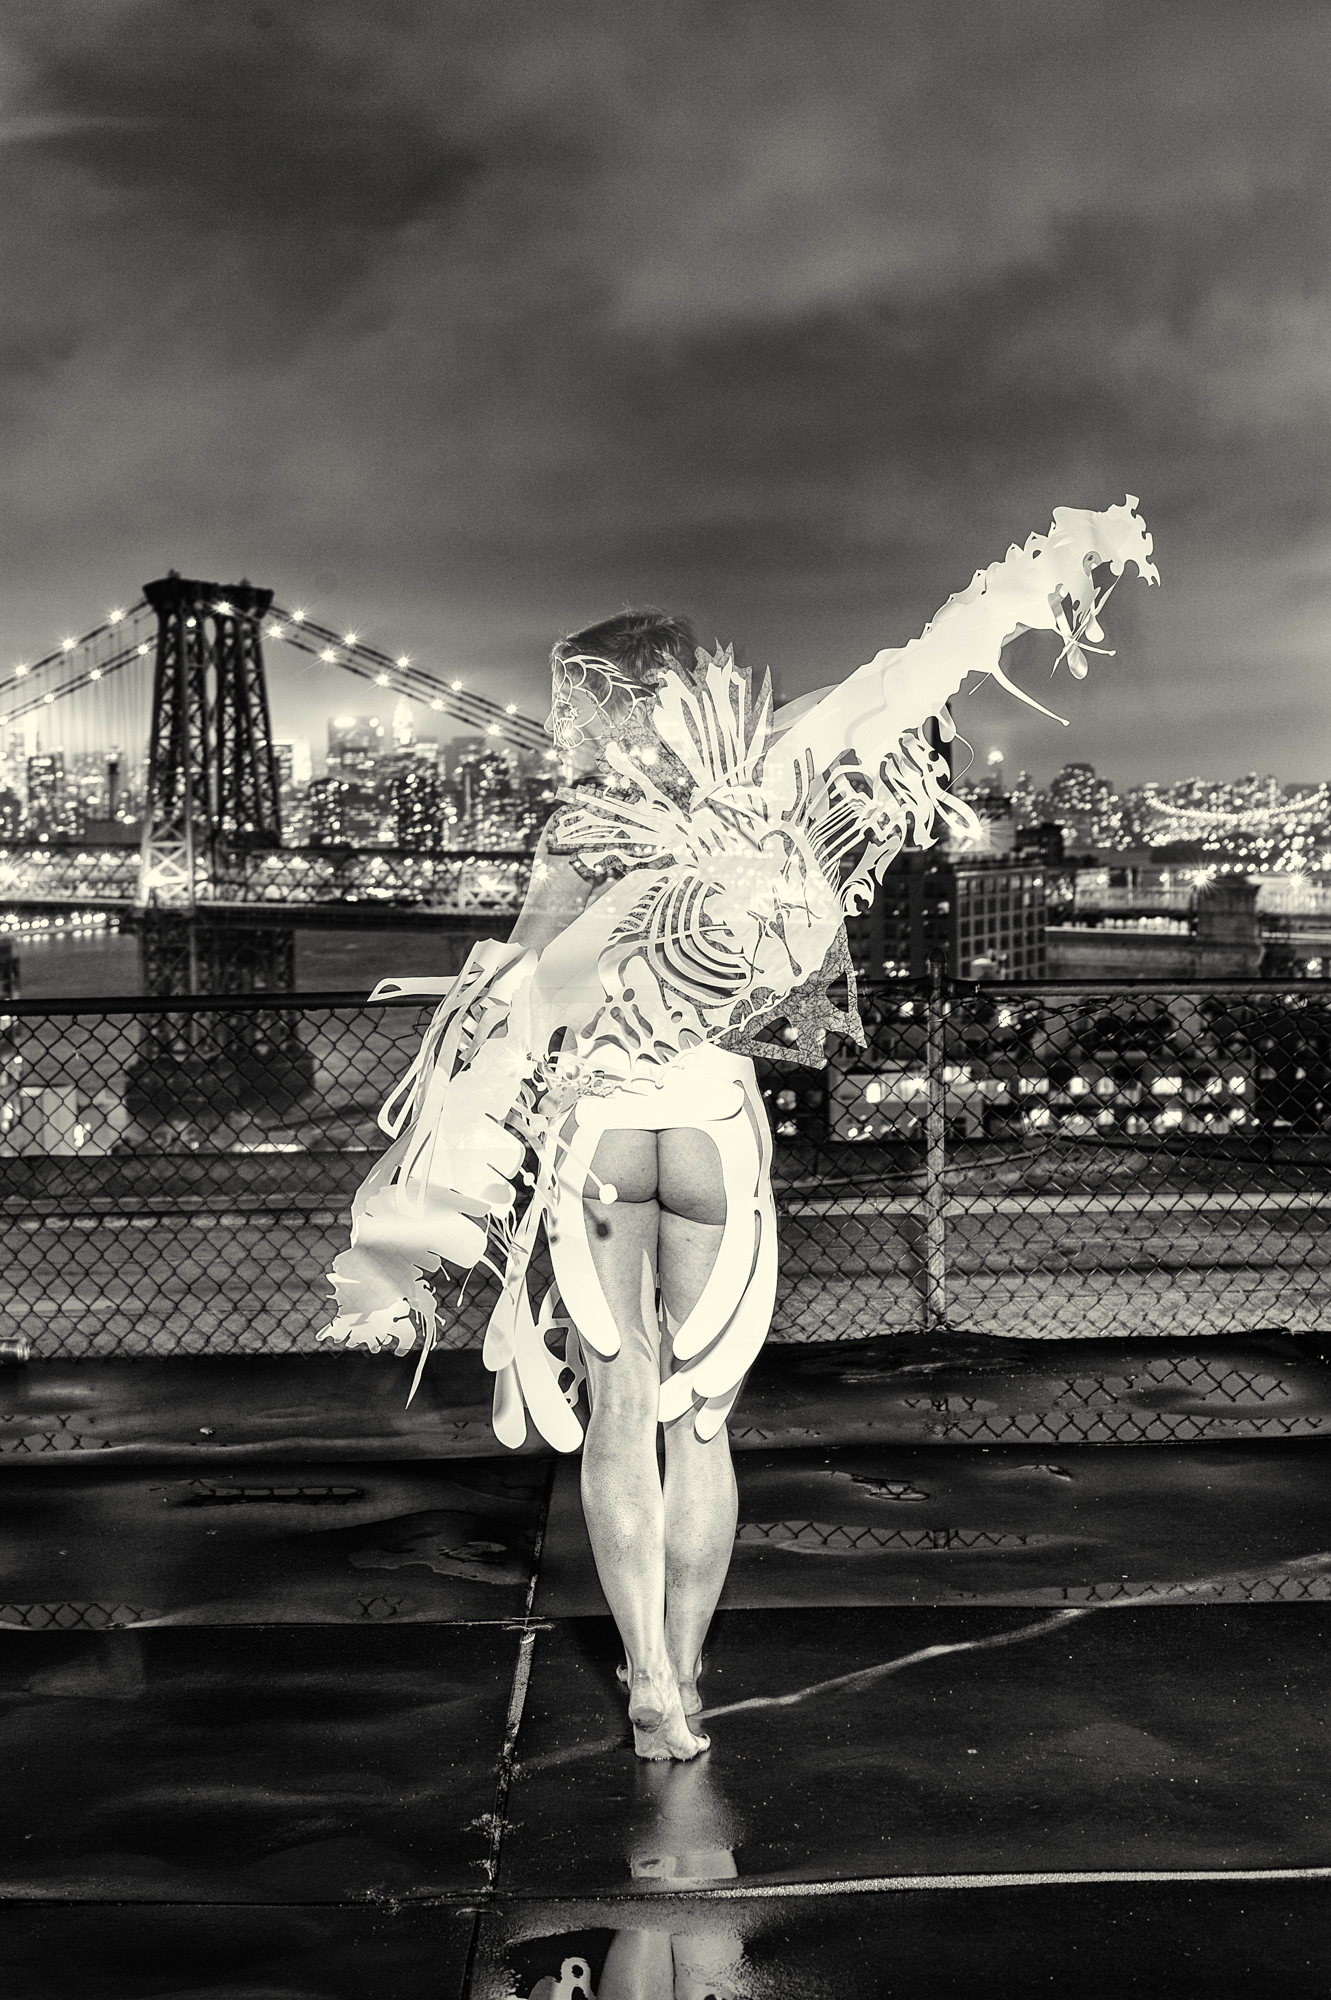
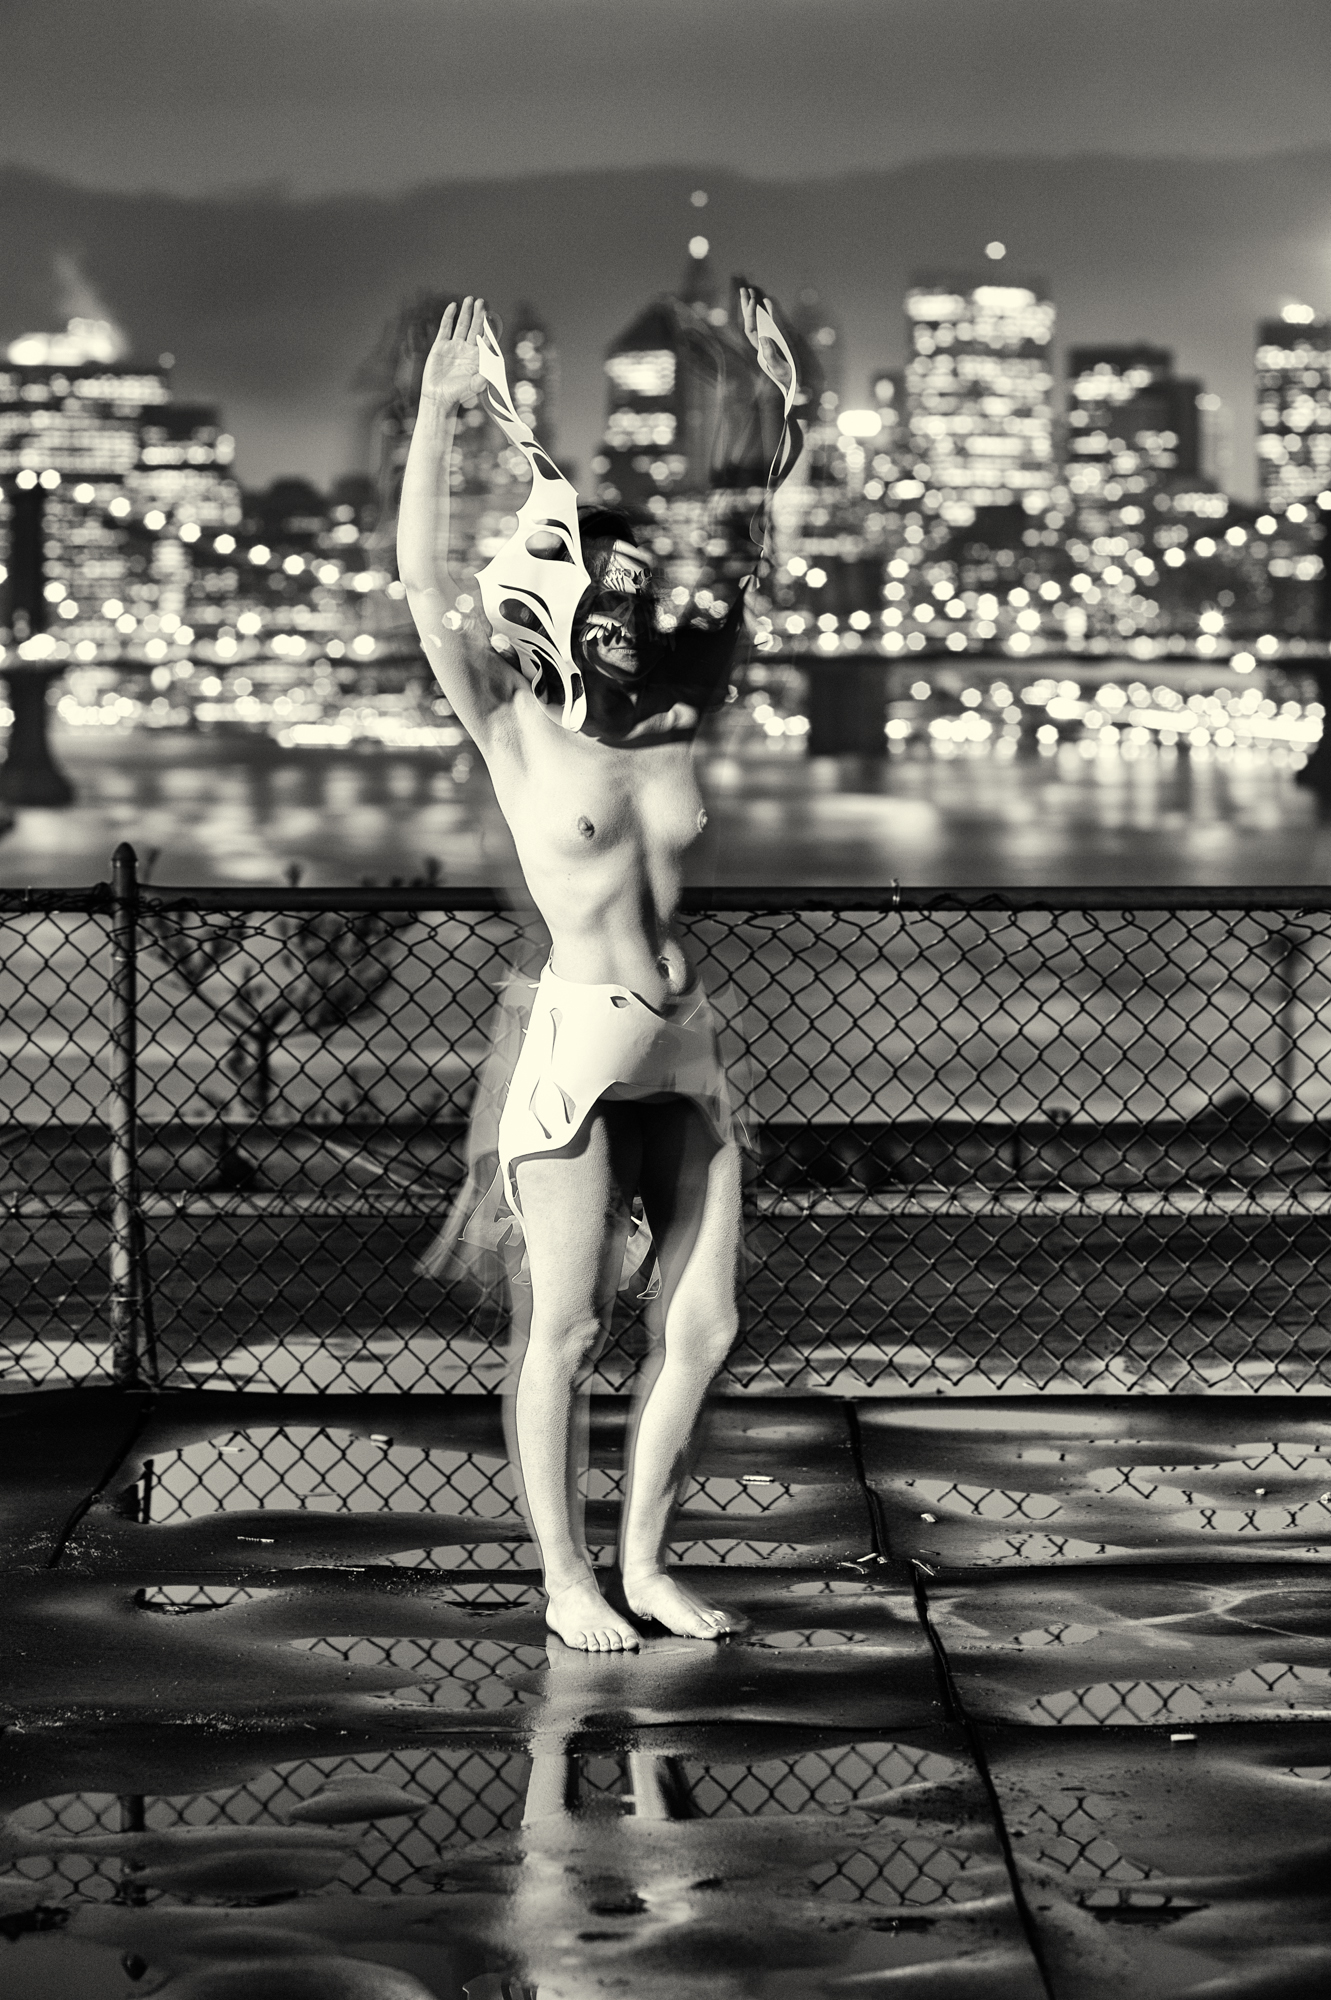
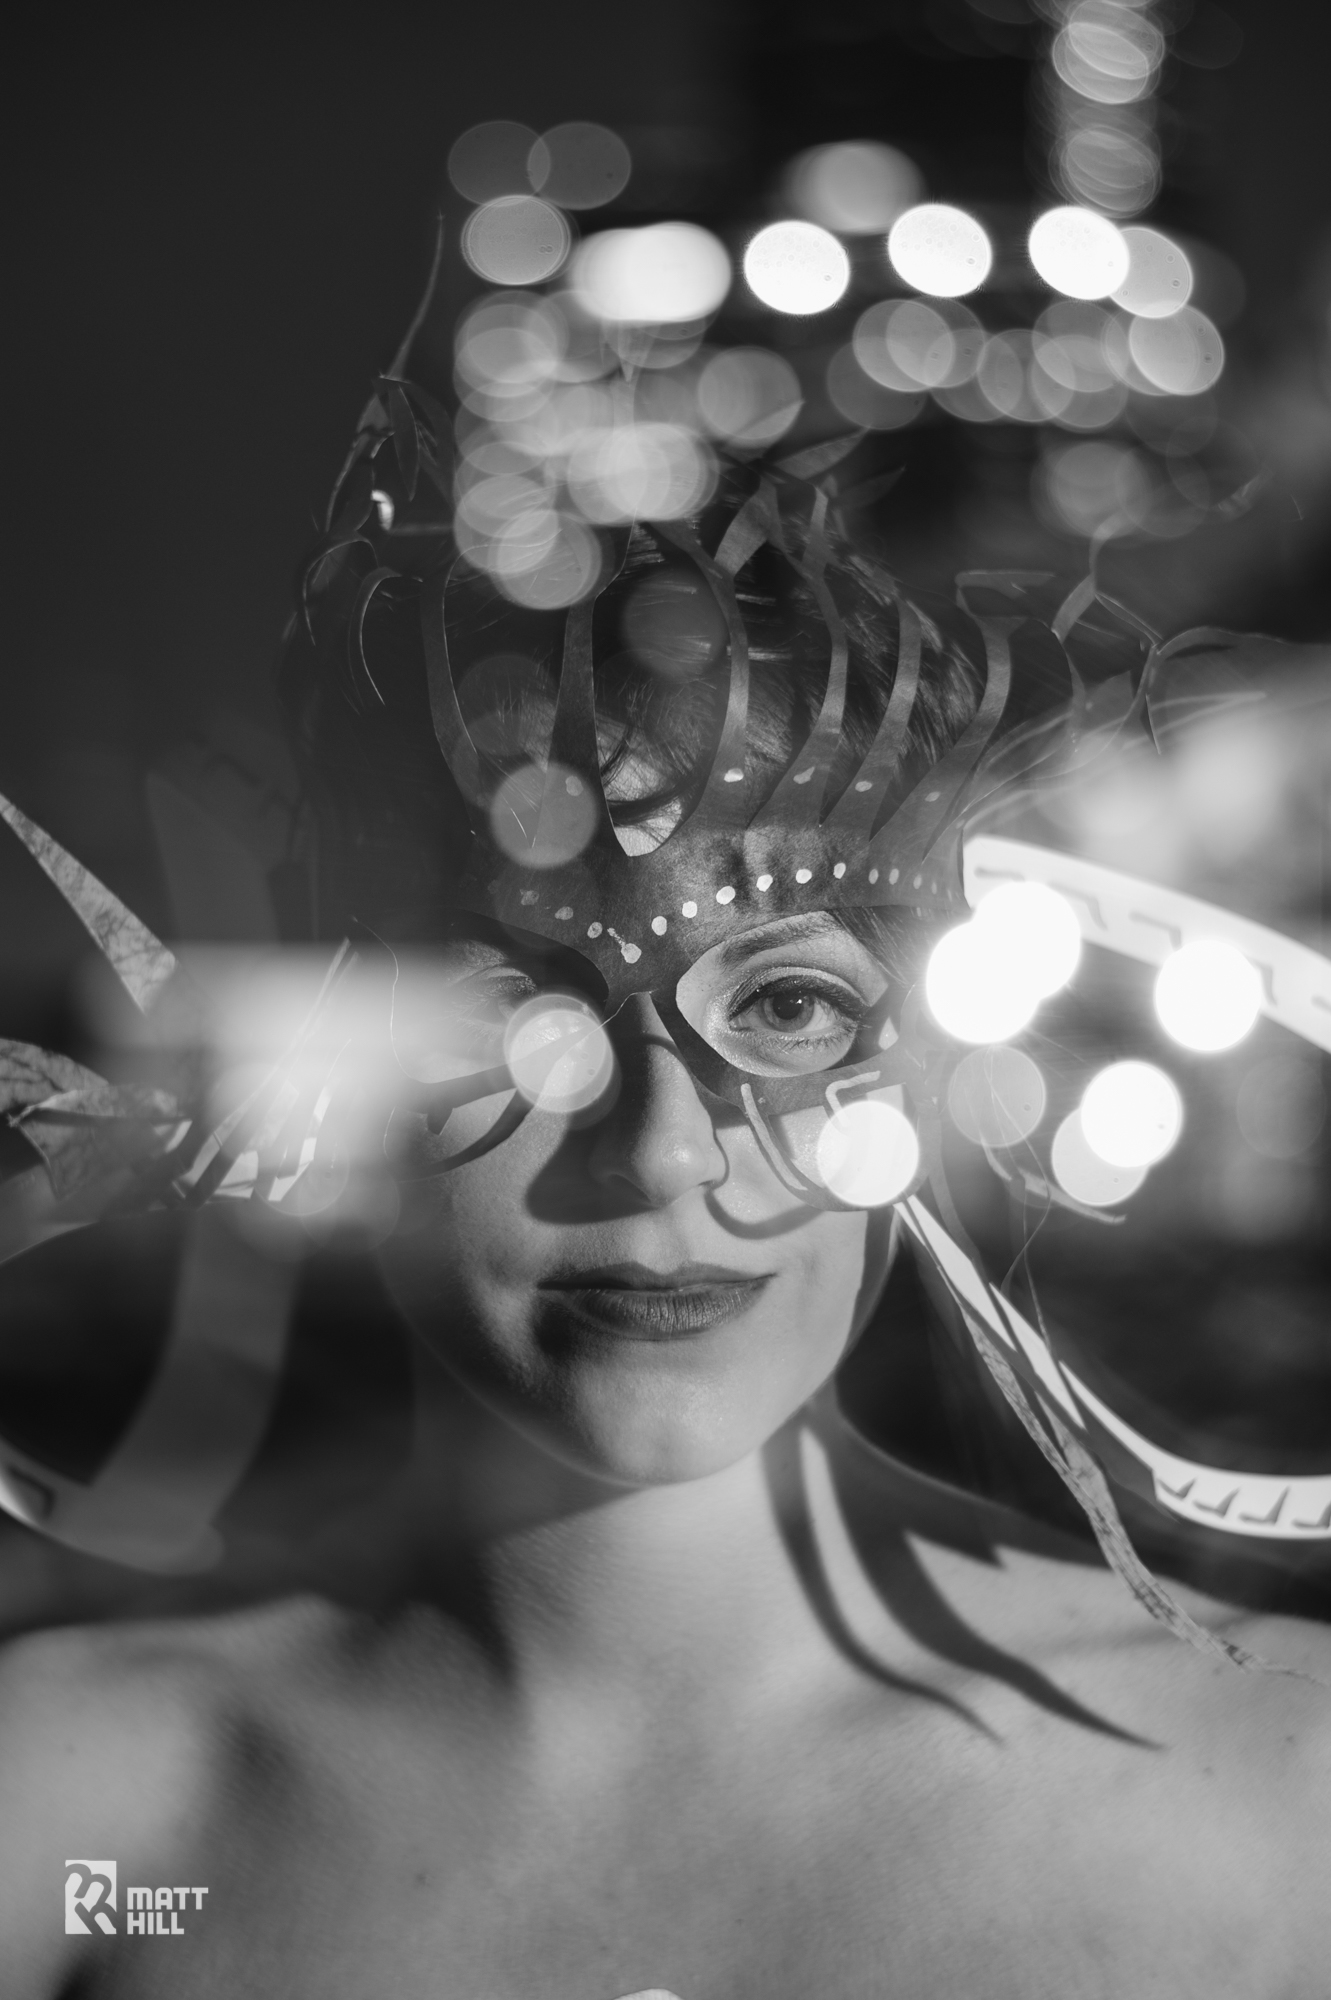
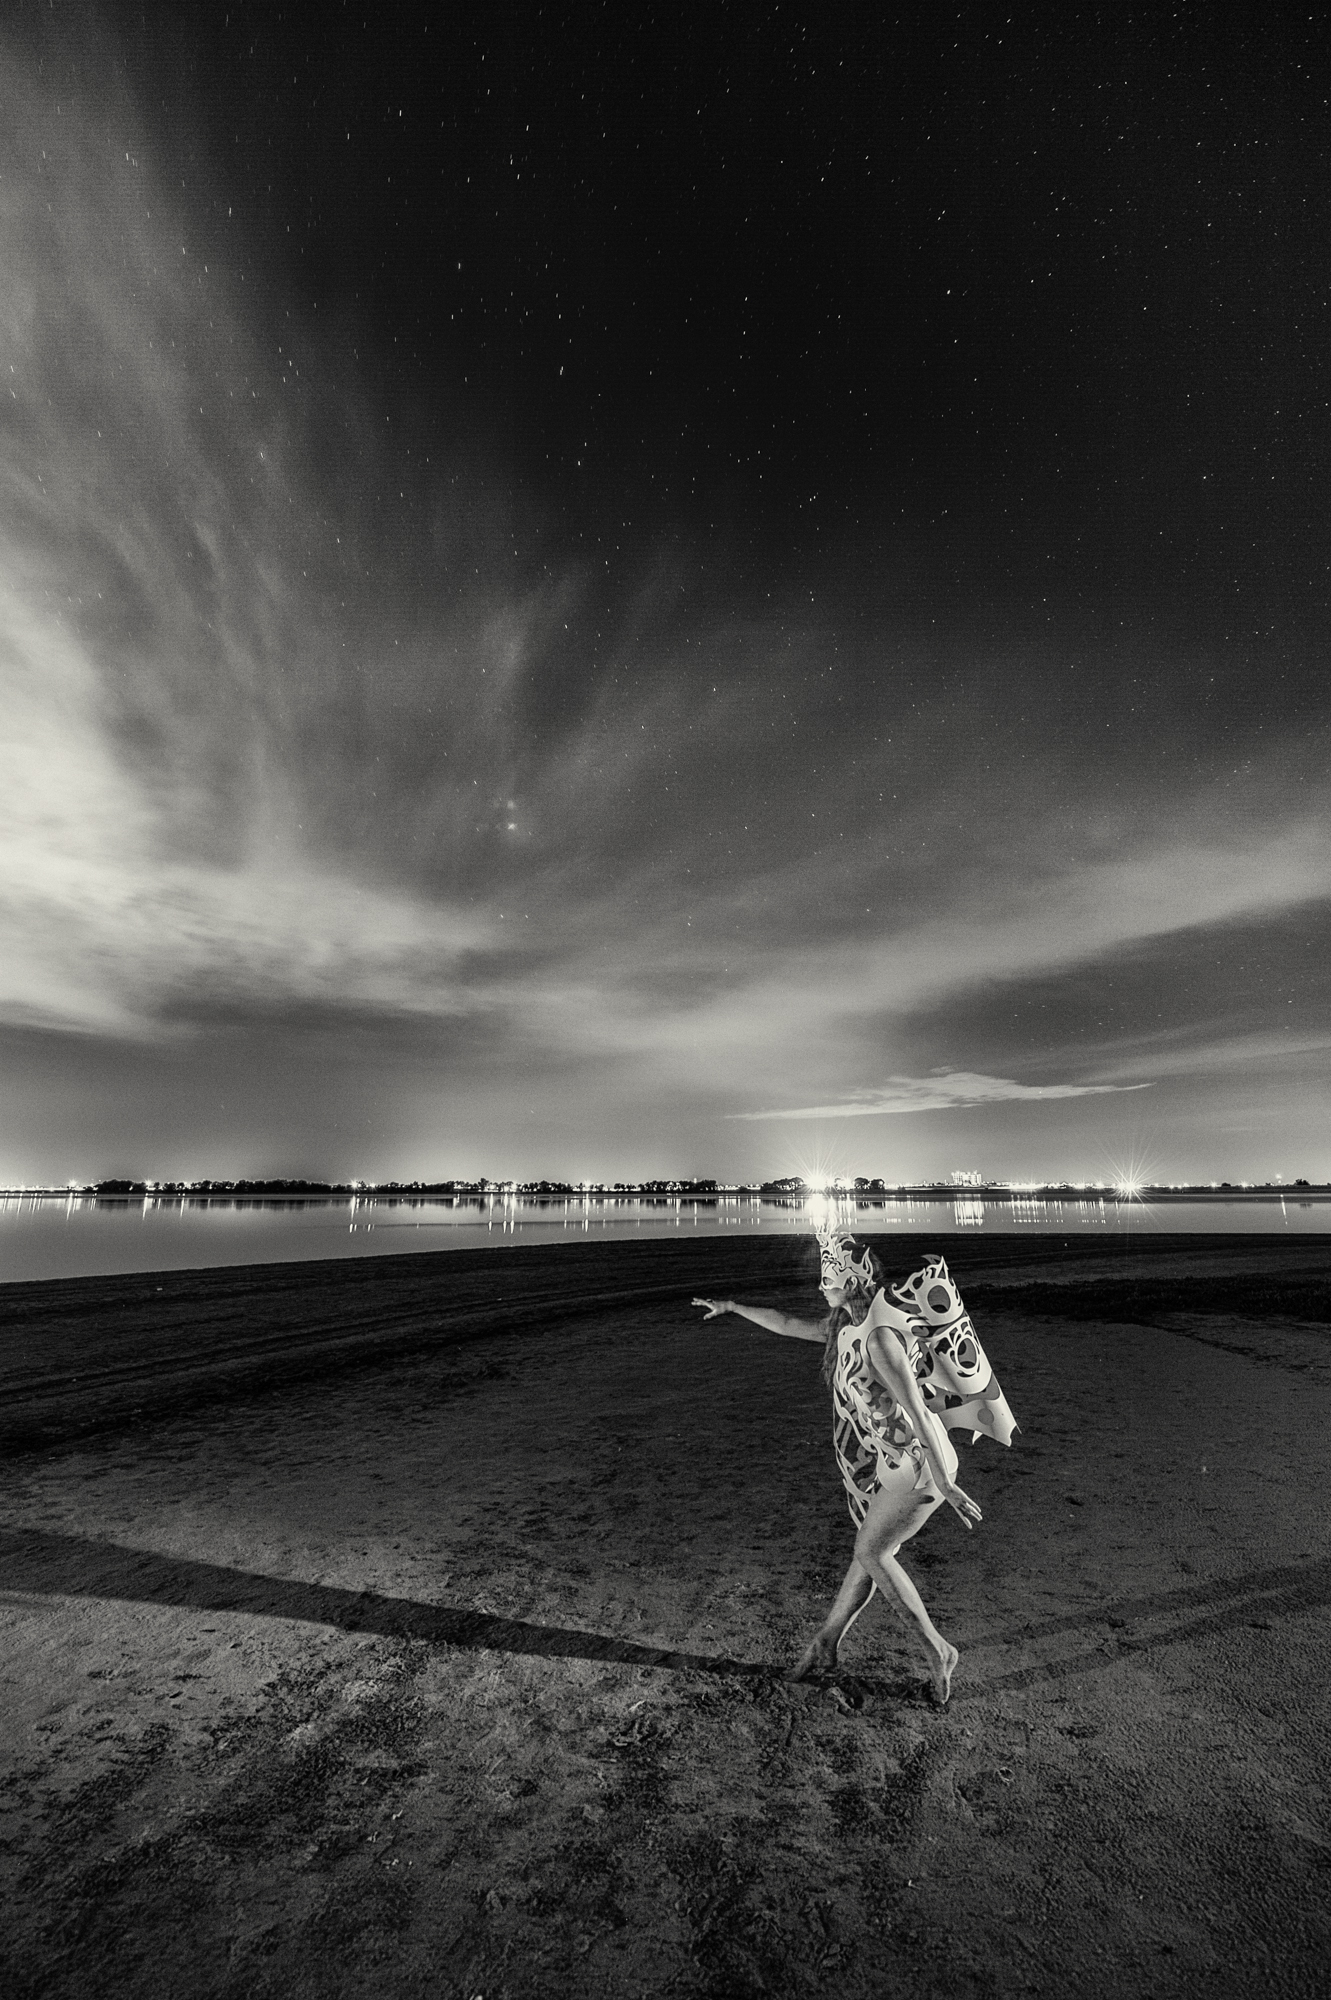
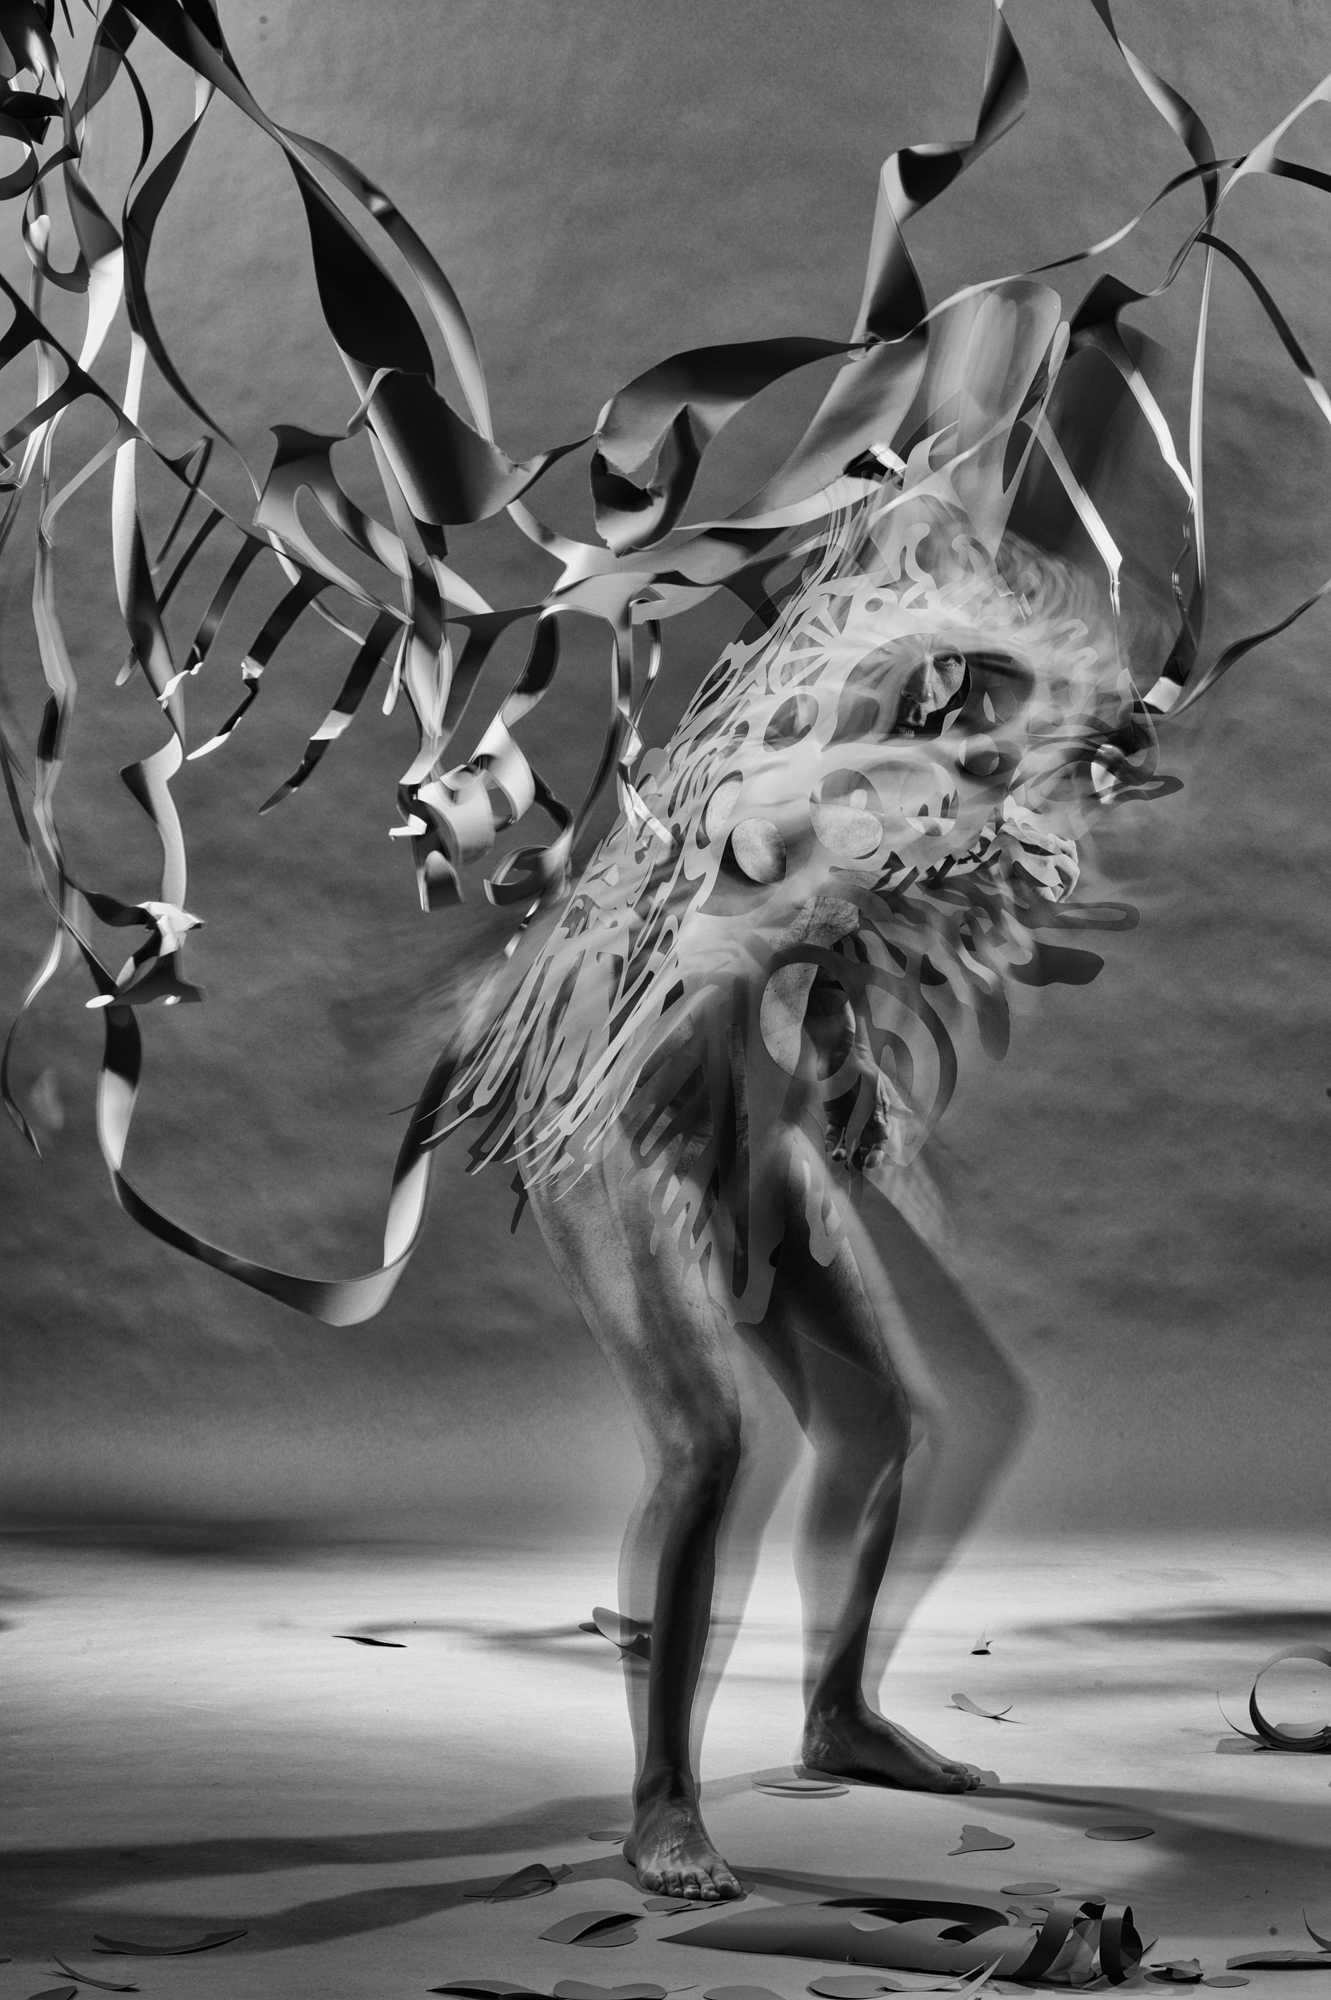
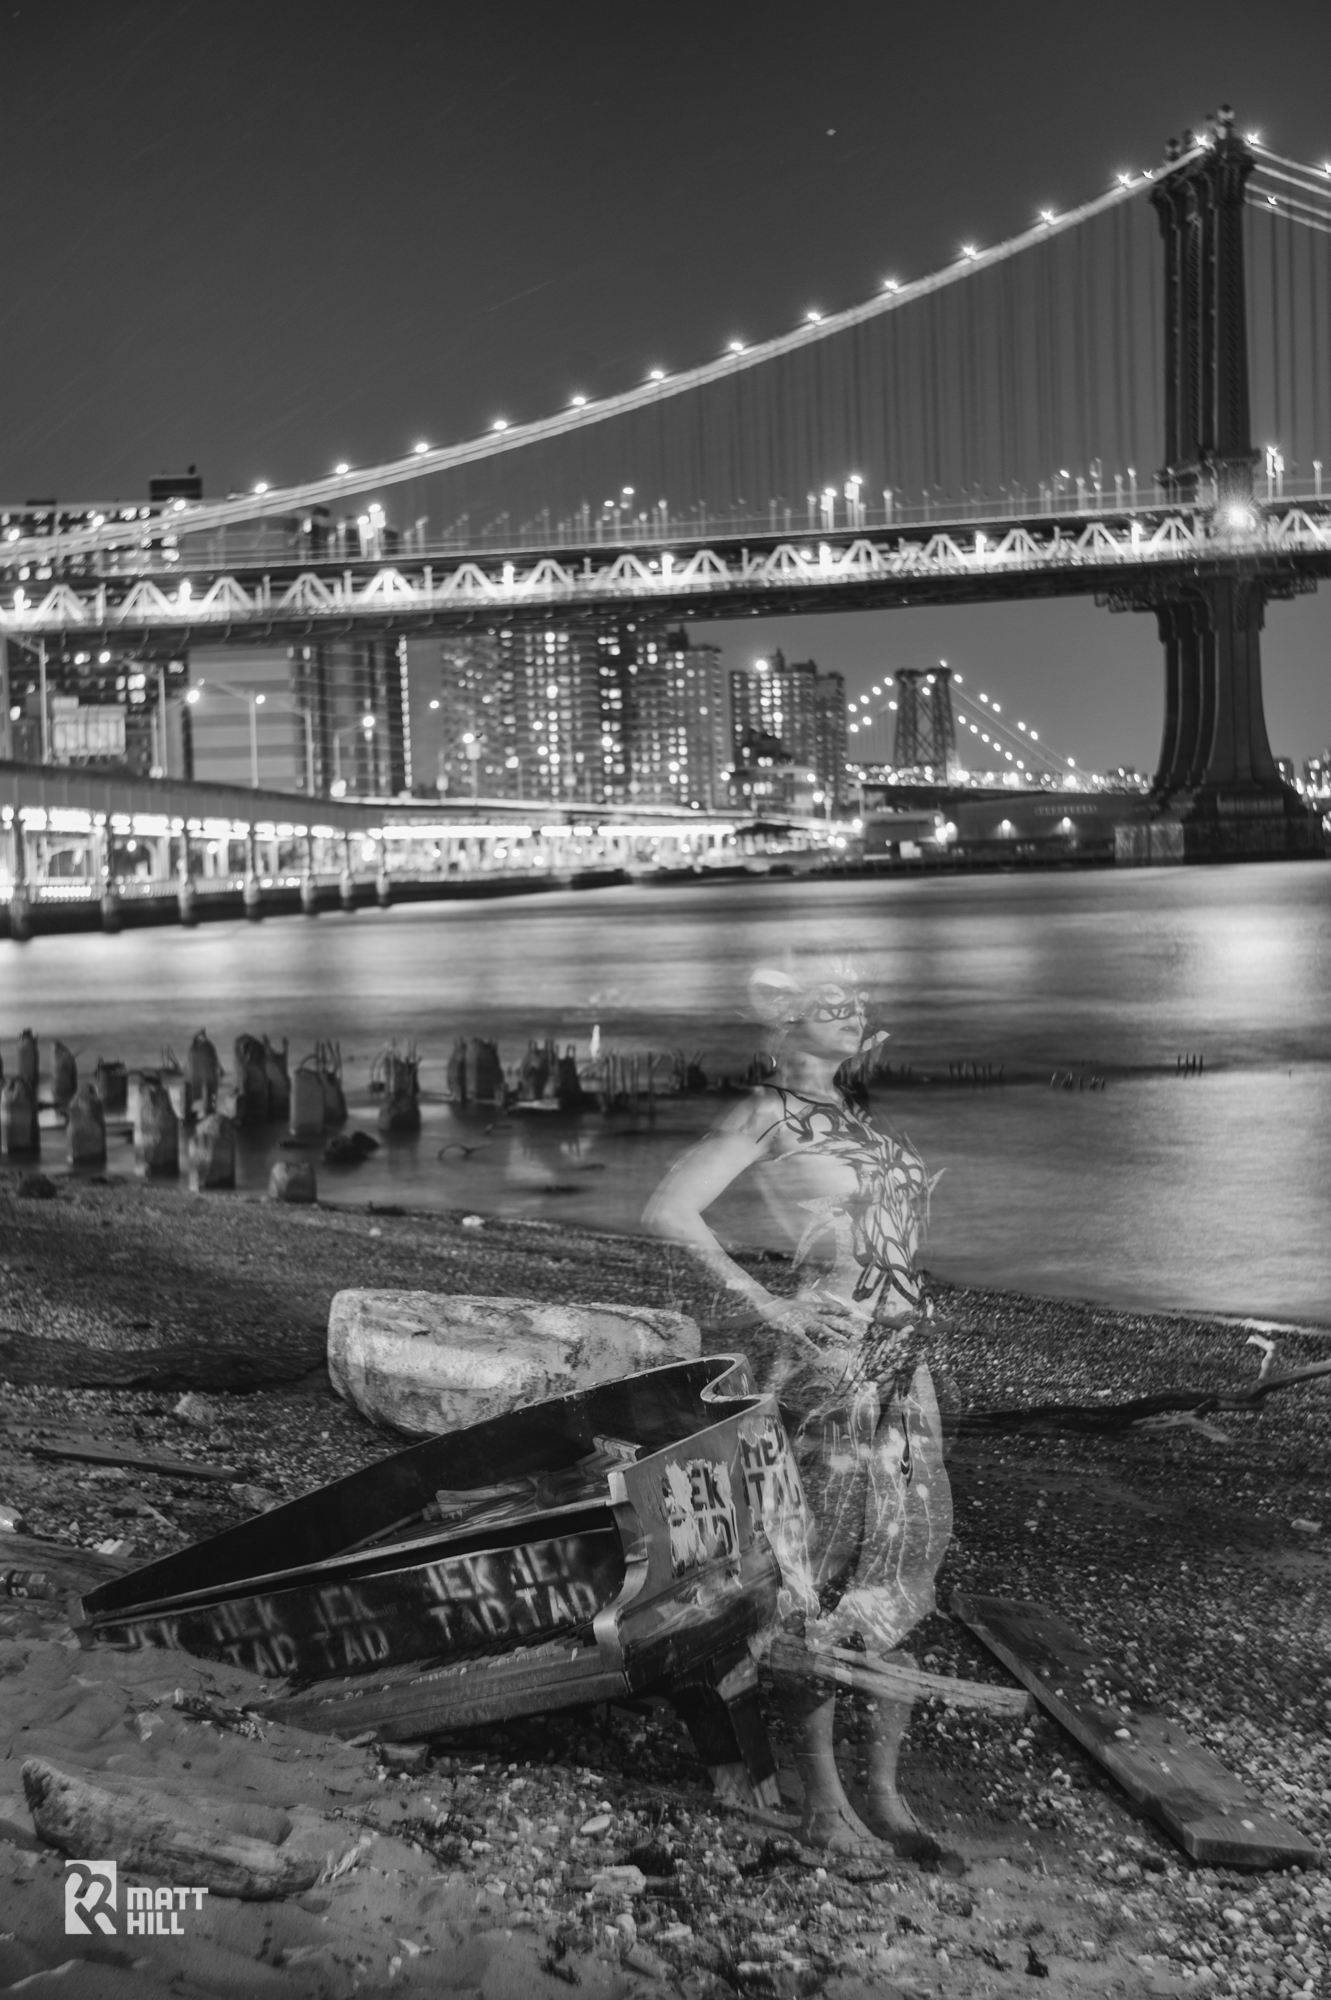
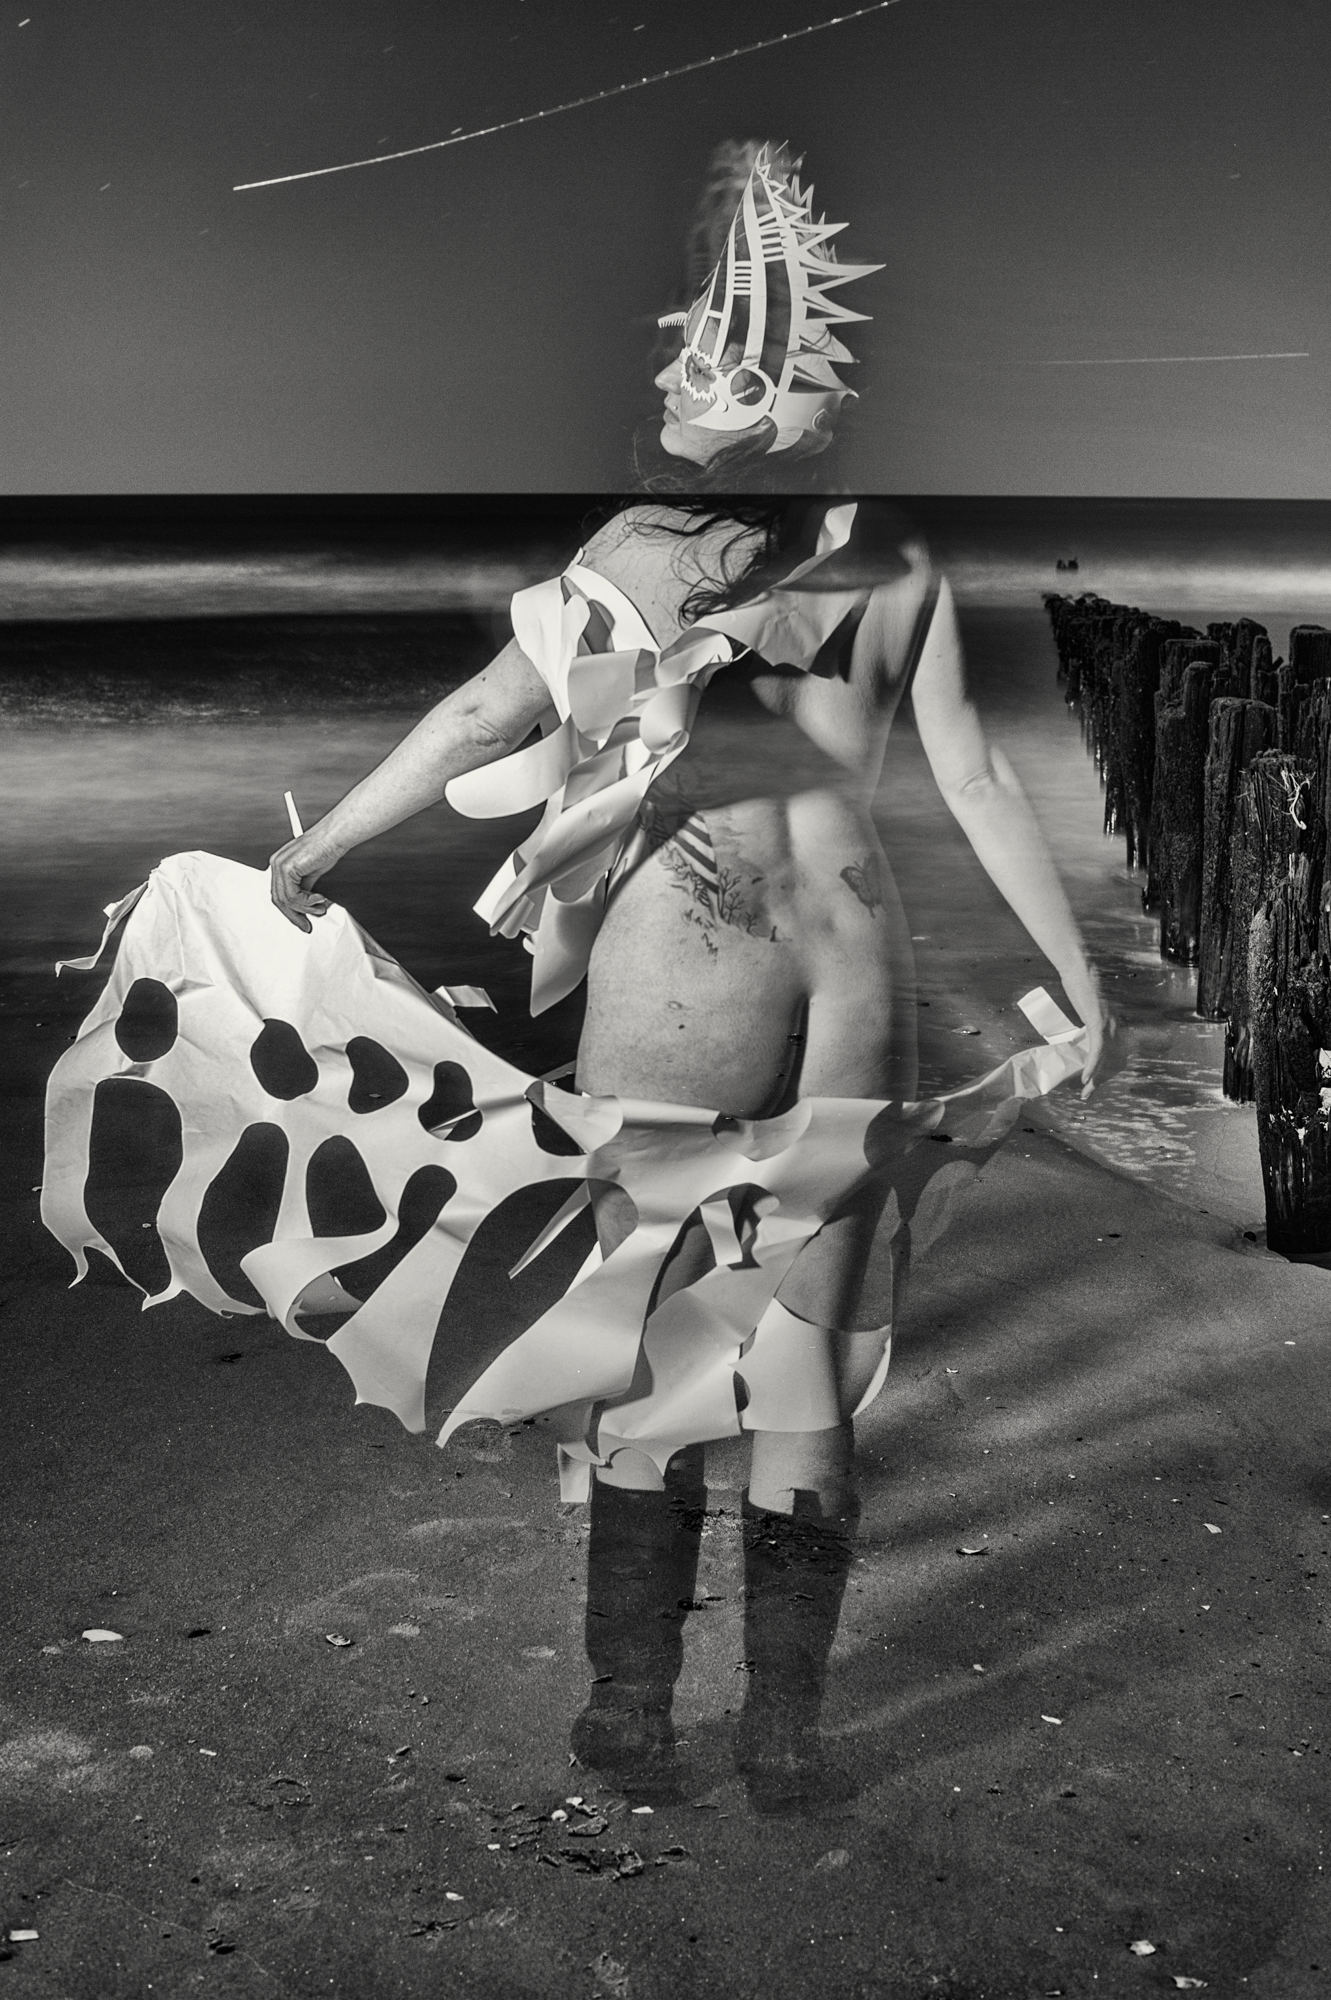
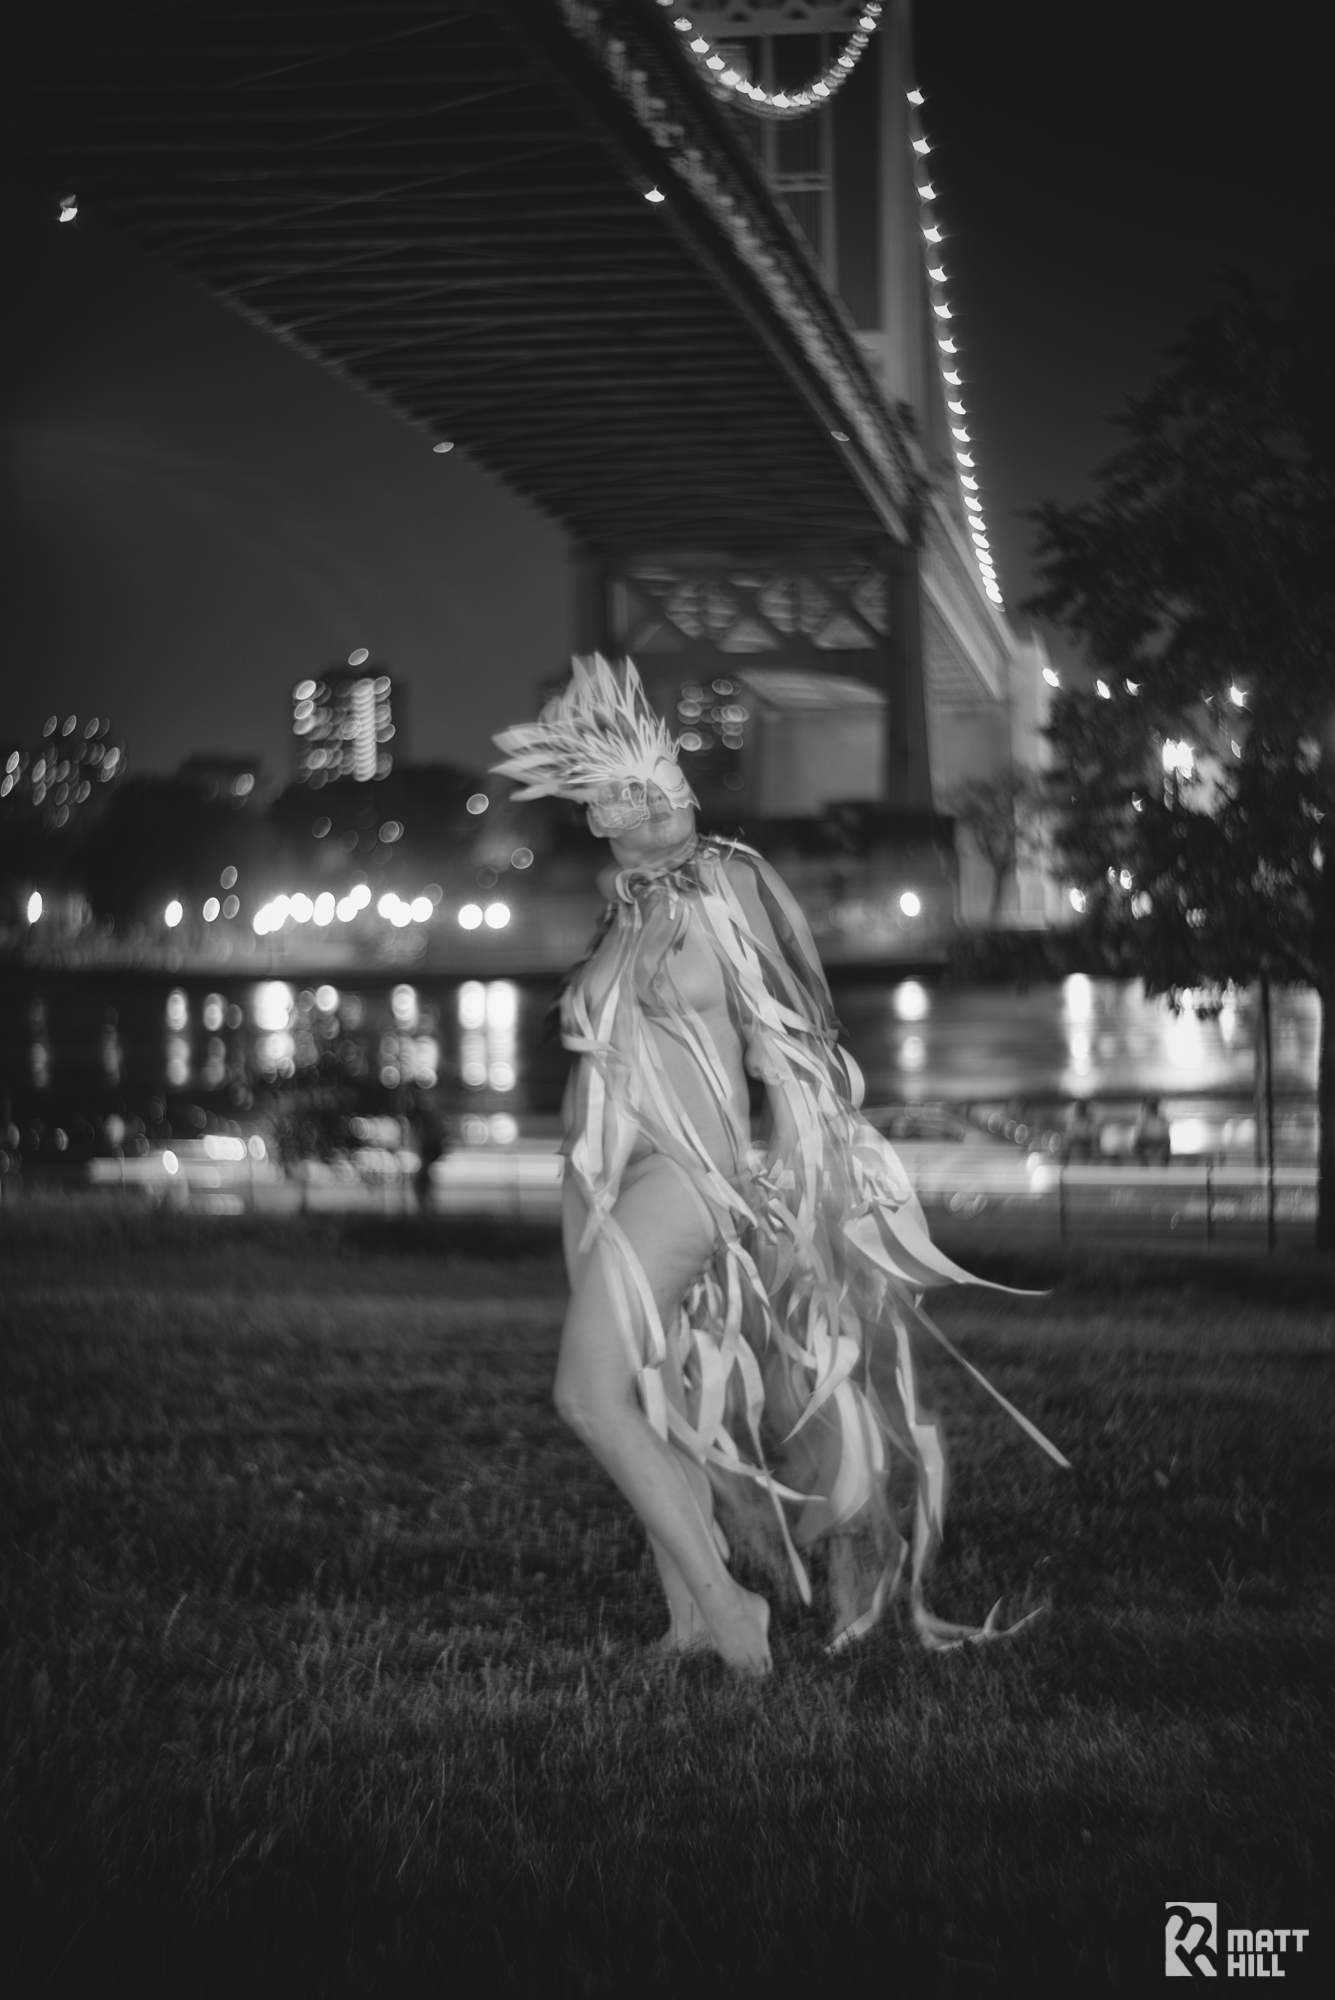
Fine-art photographer and Pro Photo Daily reader Matt Hill’s “Night Paper” project combines cut paper and night photography to create exquisitely mysterious imagery: “The result is a surreal combination of the dilation of time and the beauty of people from all walks of life and all ages dressed in only paper art fashions,” writes Hill of the work. Hill began the project five years ago, shooting with one volunteer model. Many others followed (and he is looking for more). He custom-creates his paper fashions for each model … on the spot. Brilliant.
Note: I wish I were so talented to make the paper fashion on the spot :-) Maybe I'll work my way up to it. Very grateful for the write-up, nonetheless. Thanks!
Check out AI-AP.com and their Facebook page for more awesome photographers. Highly suggest signing up for their newsletter.
How-to: Taking a Portrait at Night
Mandy, circa 1993
Zeiss Ikoflex TLR + Kodak TMAX 100
Oriental Seagull paper (badly fixed)
I've spent a fair amount of time teaching myself how to take a creative portrait of someone at night. I'd like to share with you some of my successes (and failures!) so that you may also enjoy making creative portraits during your night photography expeditions.
The above portrait I shot in high school (to the best of my memory...) while exploring how to take portraits in little to no light. I got lucky with this one since we chose to go to the school nearby and stand under a lamp on the wall.
More early history: My first attempts to render a human at night involved what I call "lighting with a hammer" – i.e. me setting my Vivitar 283 speedlite to a thyristor automatic setting and hoping it wasn't either too much or too little. Mind you, I was also shooting film and could not yet afford Polaroid at that time.
This is my first recollection of a successful photograph at night - which also happens to be a portrait:
Bryan, circa 1992
Yashica FX-3, Tamron 24-70mm zoom + fisheye adapter
Vivitar 283 + Velbon Tripod
I remember it being like this, "Bryan - stand here." Open shutter on bulb. Pop flash. Bryan walks out.
"Why did you walk away?"
Bryan replied, "the flash went off and you didn't say to stay."
That was the best piece of non-dorection I ever gave. This print, when it came up in the developer, gave me shivers and possibilities exploded in my head. TIME + LIGHT = FUN.
I've been chasing time dilation methods ever since.
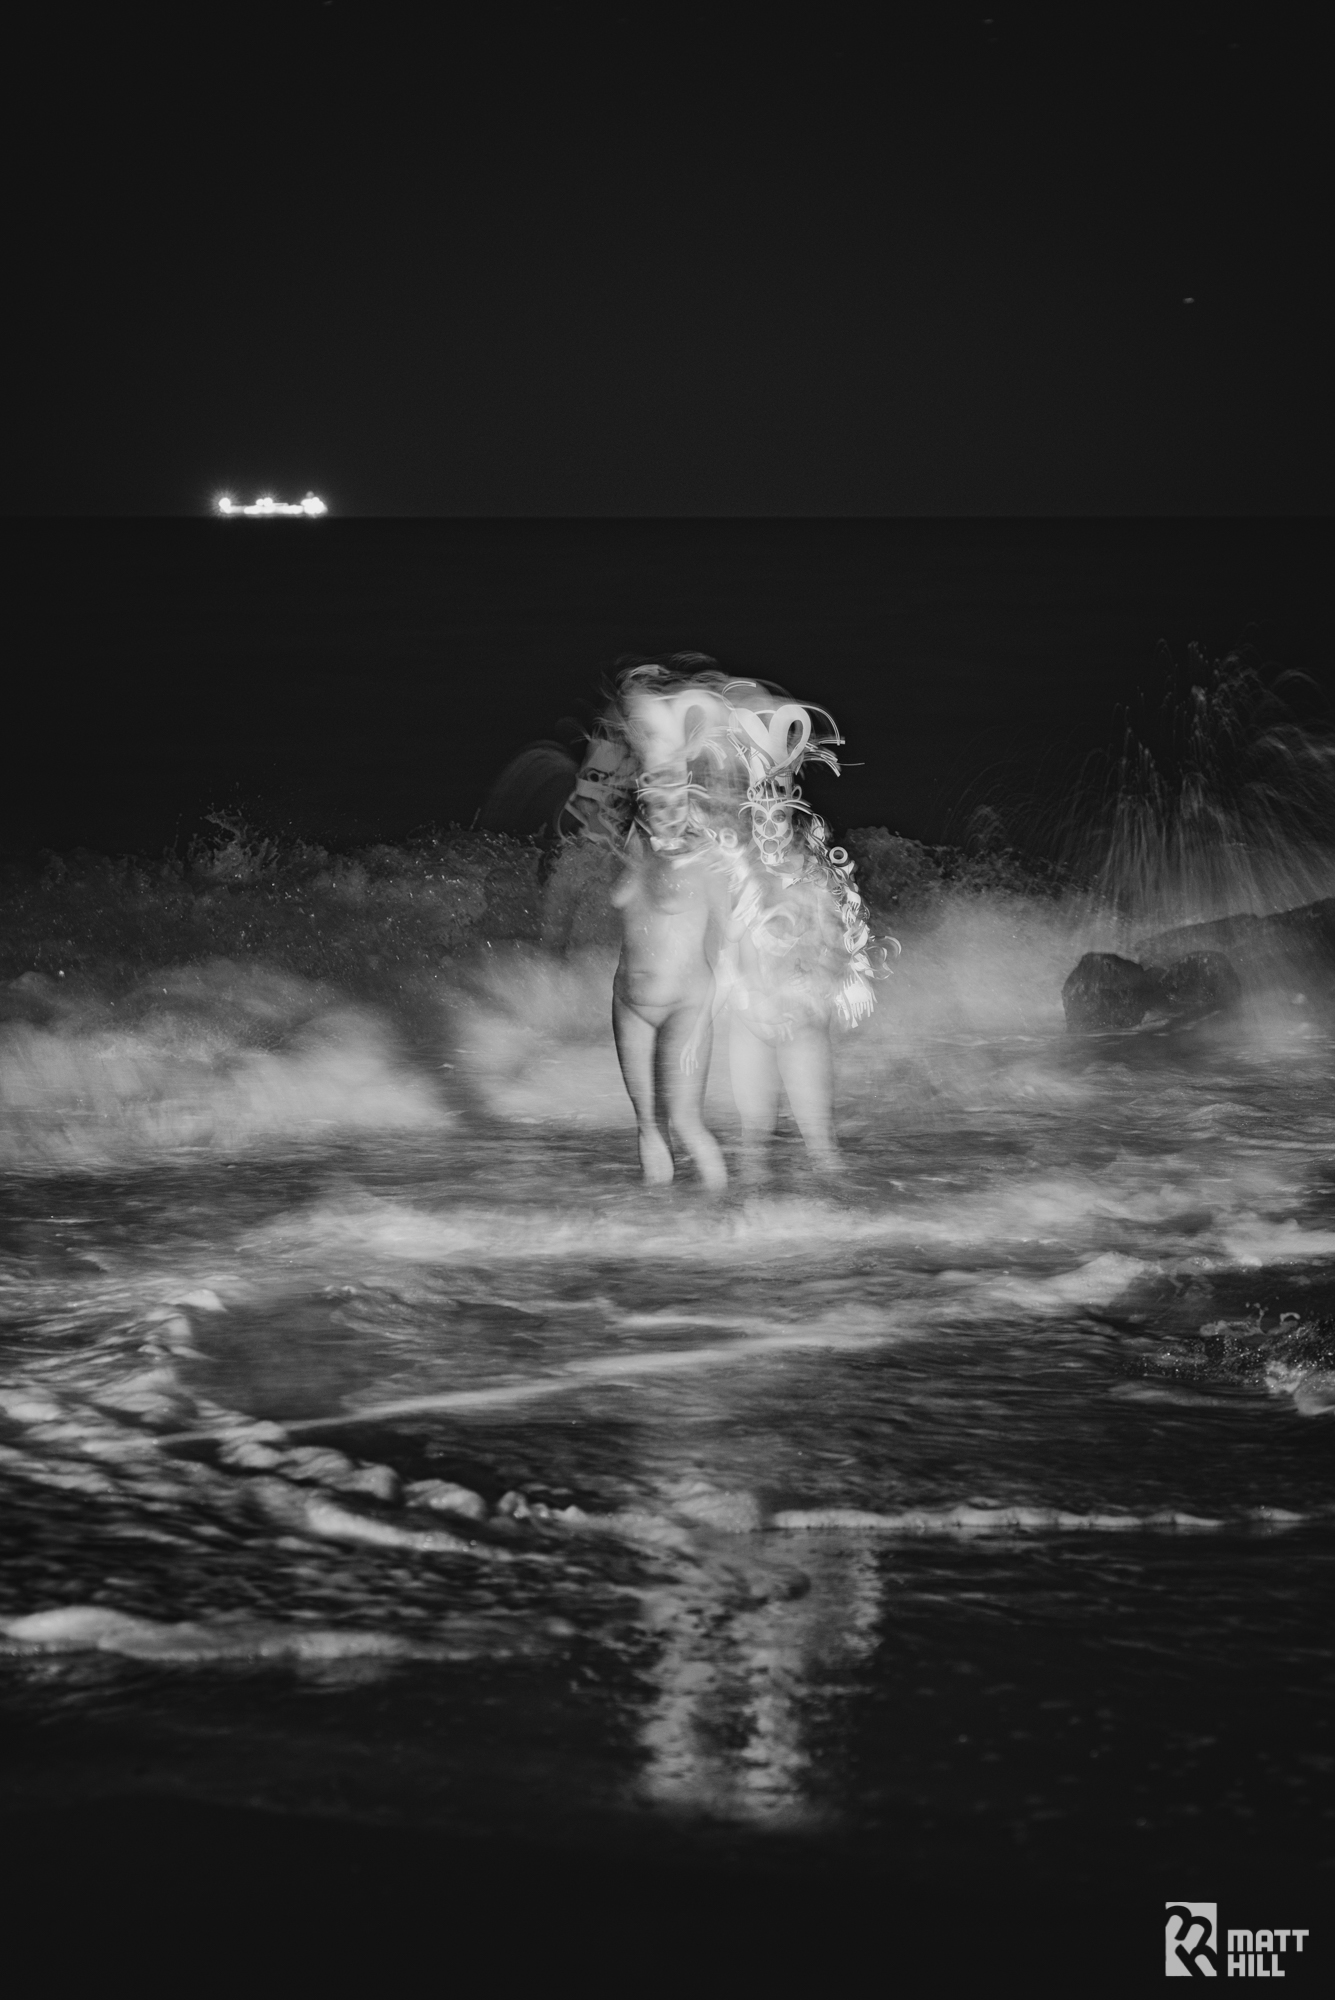
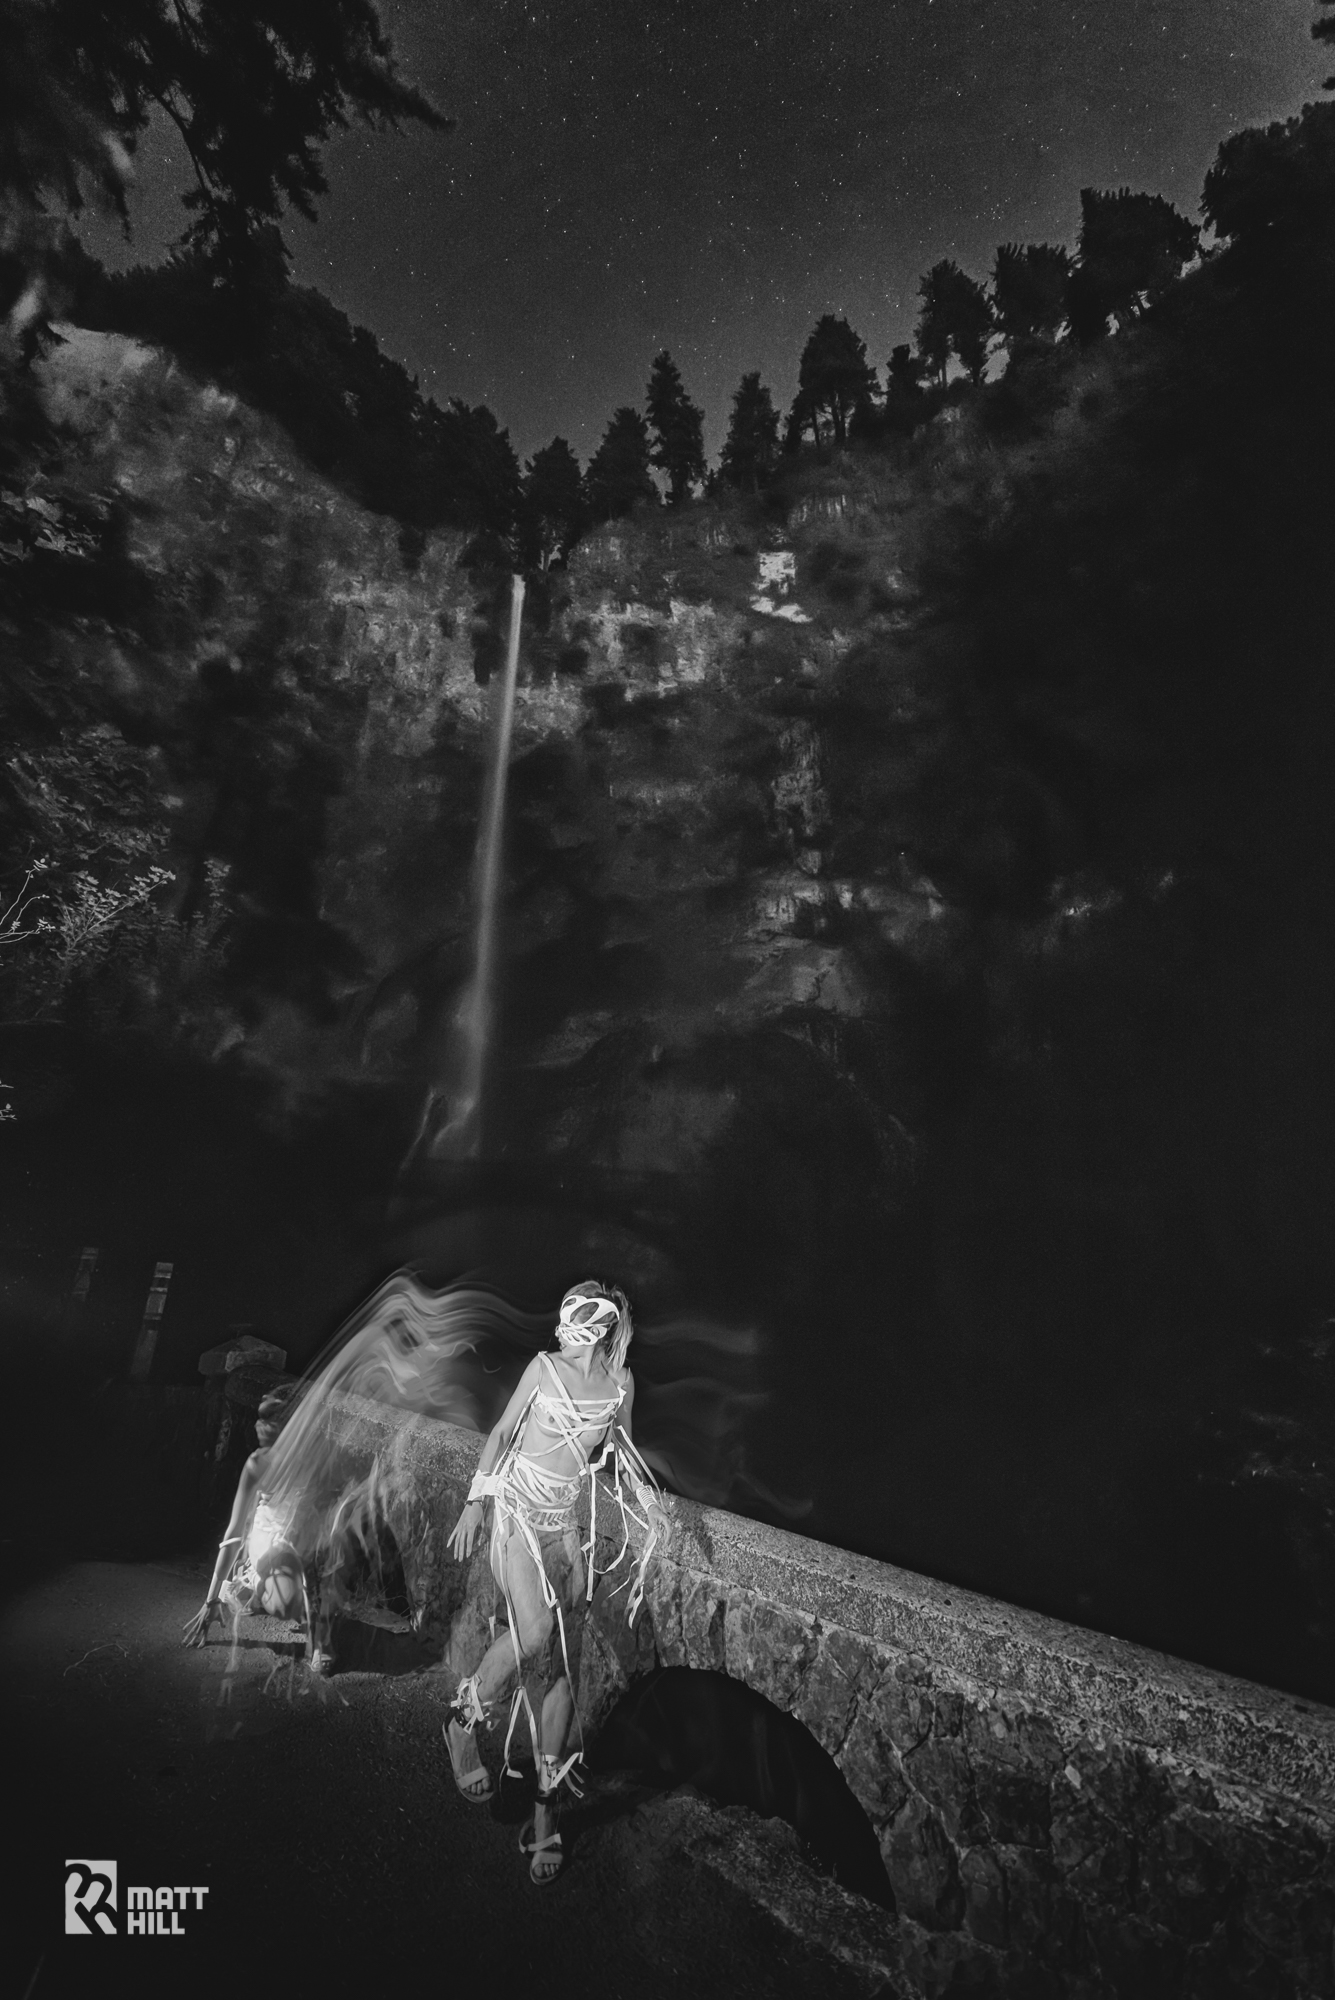
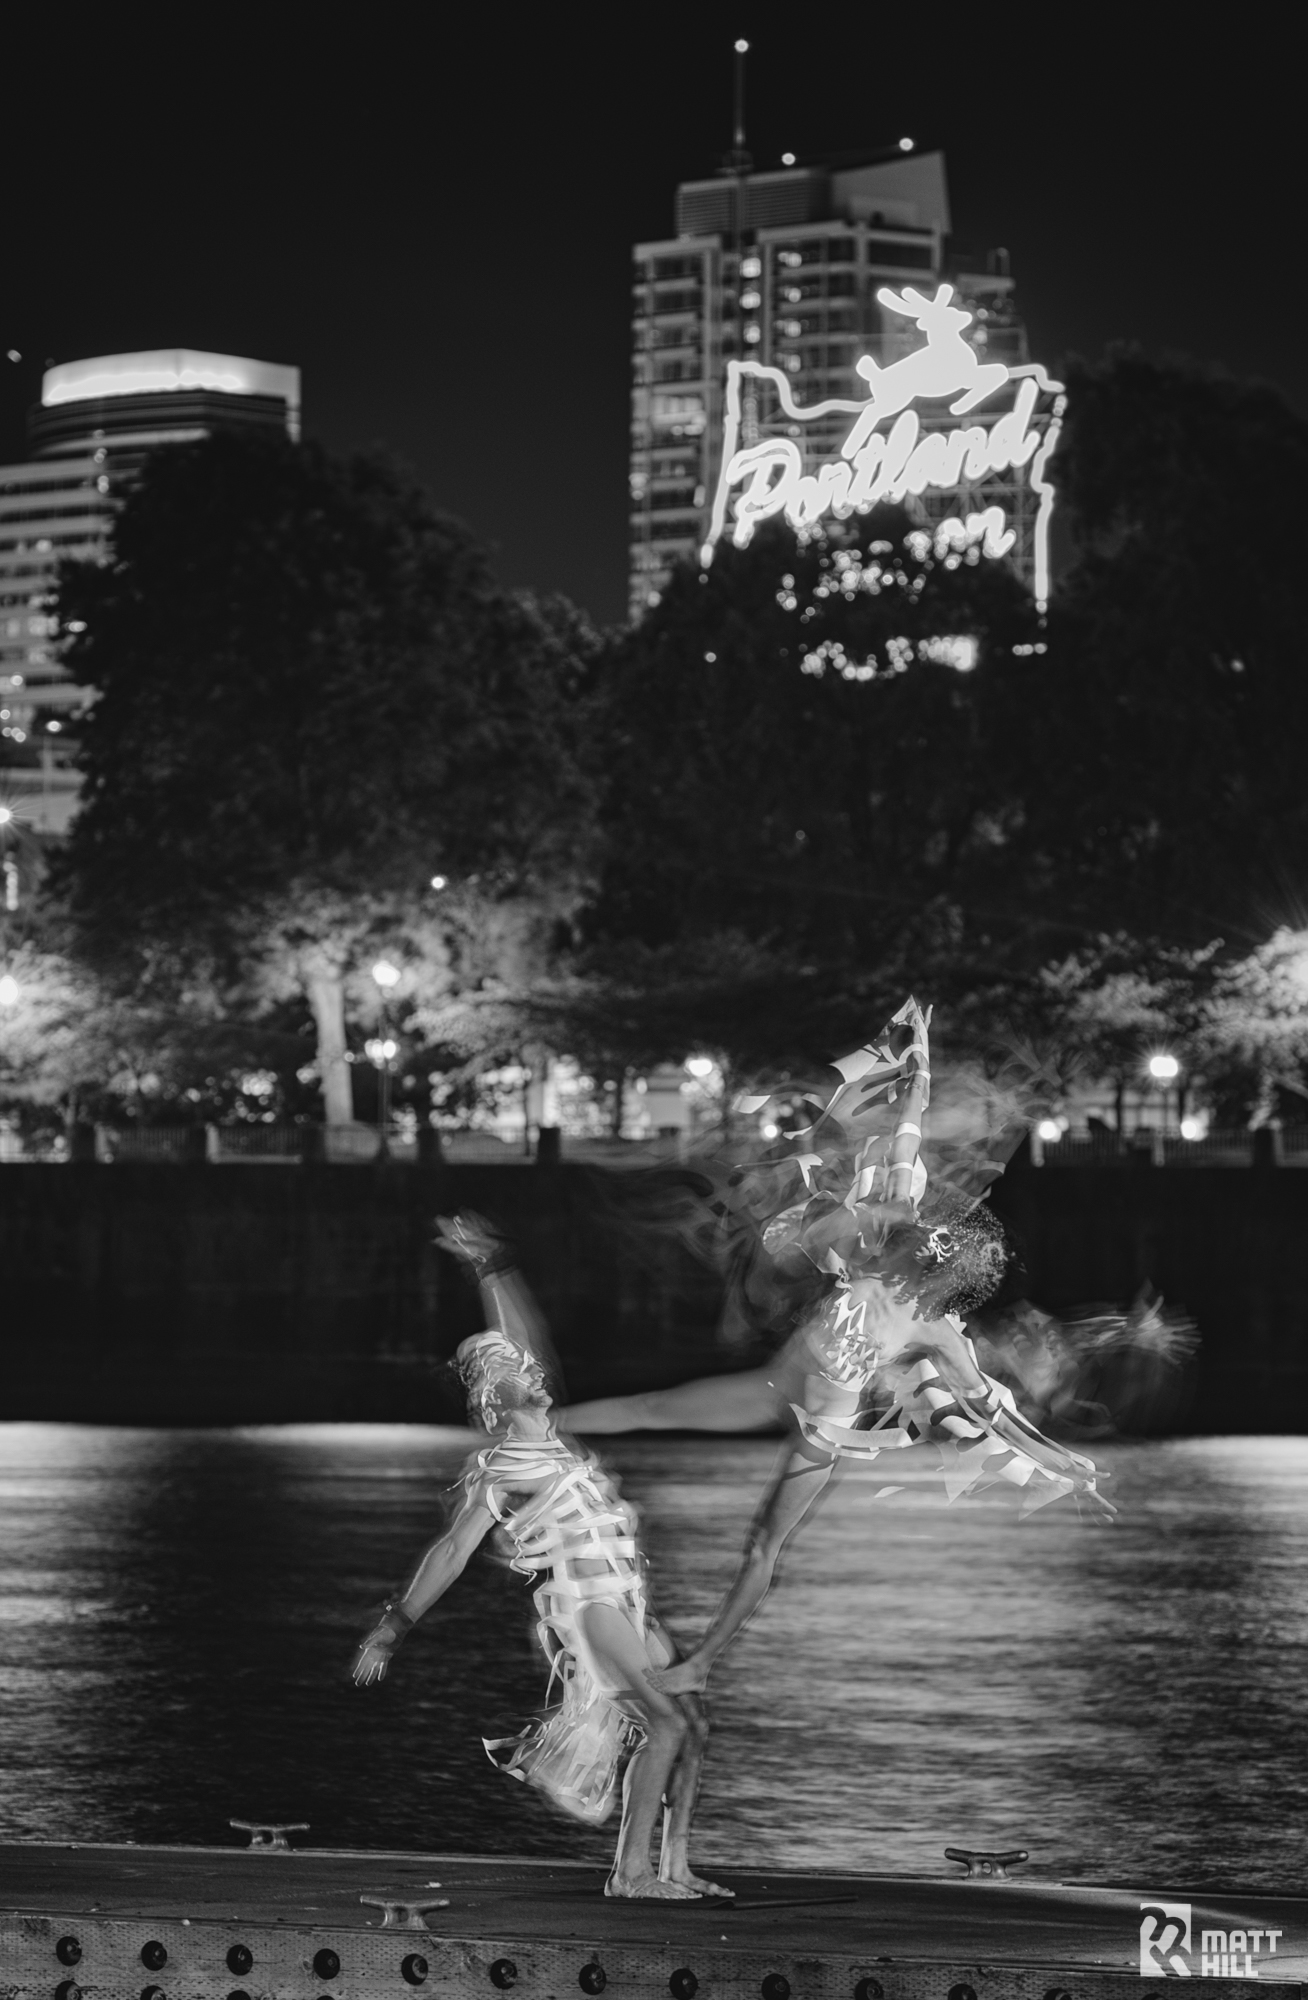
Fast-forward to today, where my NIGHT PAPER project has made me very serious about portraiture in the absence of ambient light. I am constantly evolving how I approach each portrait, but here are the basics I'd like to share today:
- Do the High ISO Test and make one perfect ambient exposure. Do not photograph a person until you have mastered your scene - too many variables out of control to then throw in a live human being.What's this? Read Lance Keimig's PDF.
- Use a flash meter. Batteries are your friend at night and every opportunity to do something once instead of chimping your way through your batteries and missing shots at the end is a benefit. I use a Sekonic L-758DR, and it has a PocketWizard trigger in it that works with my Plus III Transceivers and Profoto AcuteB battery flash pack. Additionally, I have to add that if you are able to master doing it all in-camera in one frame, your depth of knowledge and personal satisfaction will be very high.
Meter your main portrait light for so that it equals the aperture & ISO you set for your long exposure. Not enough? Turn up the power or move it closer. I'll post about quality of light in a separate blog post. To much? Do the opposite.
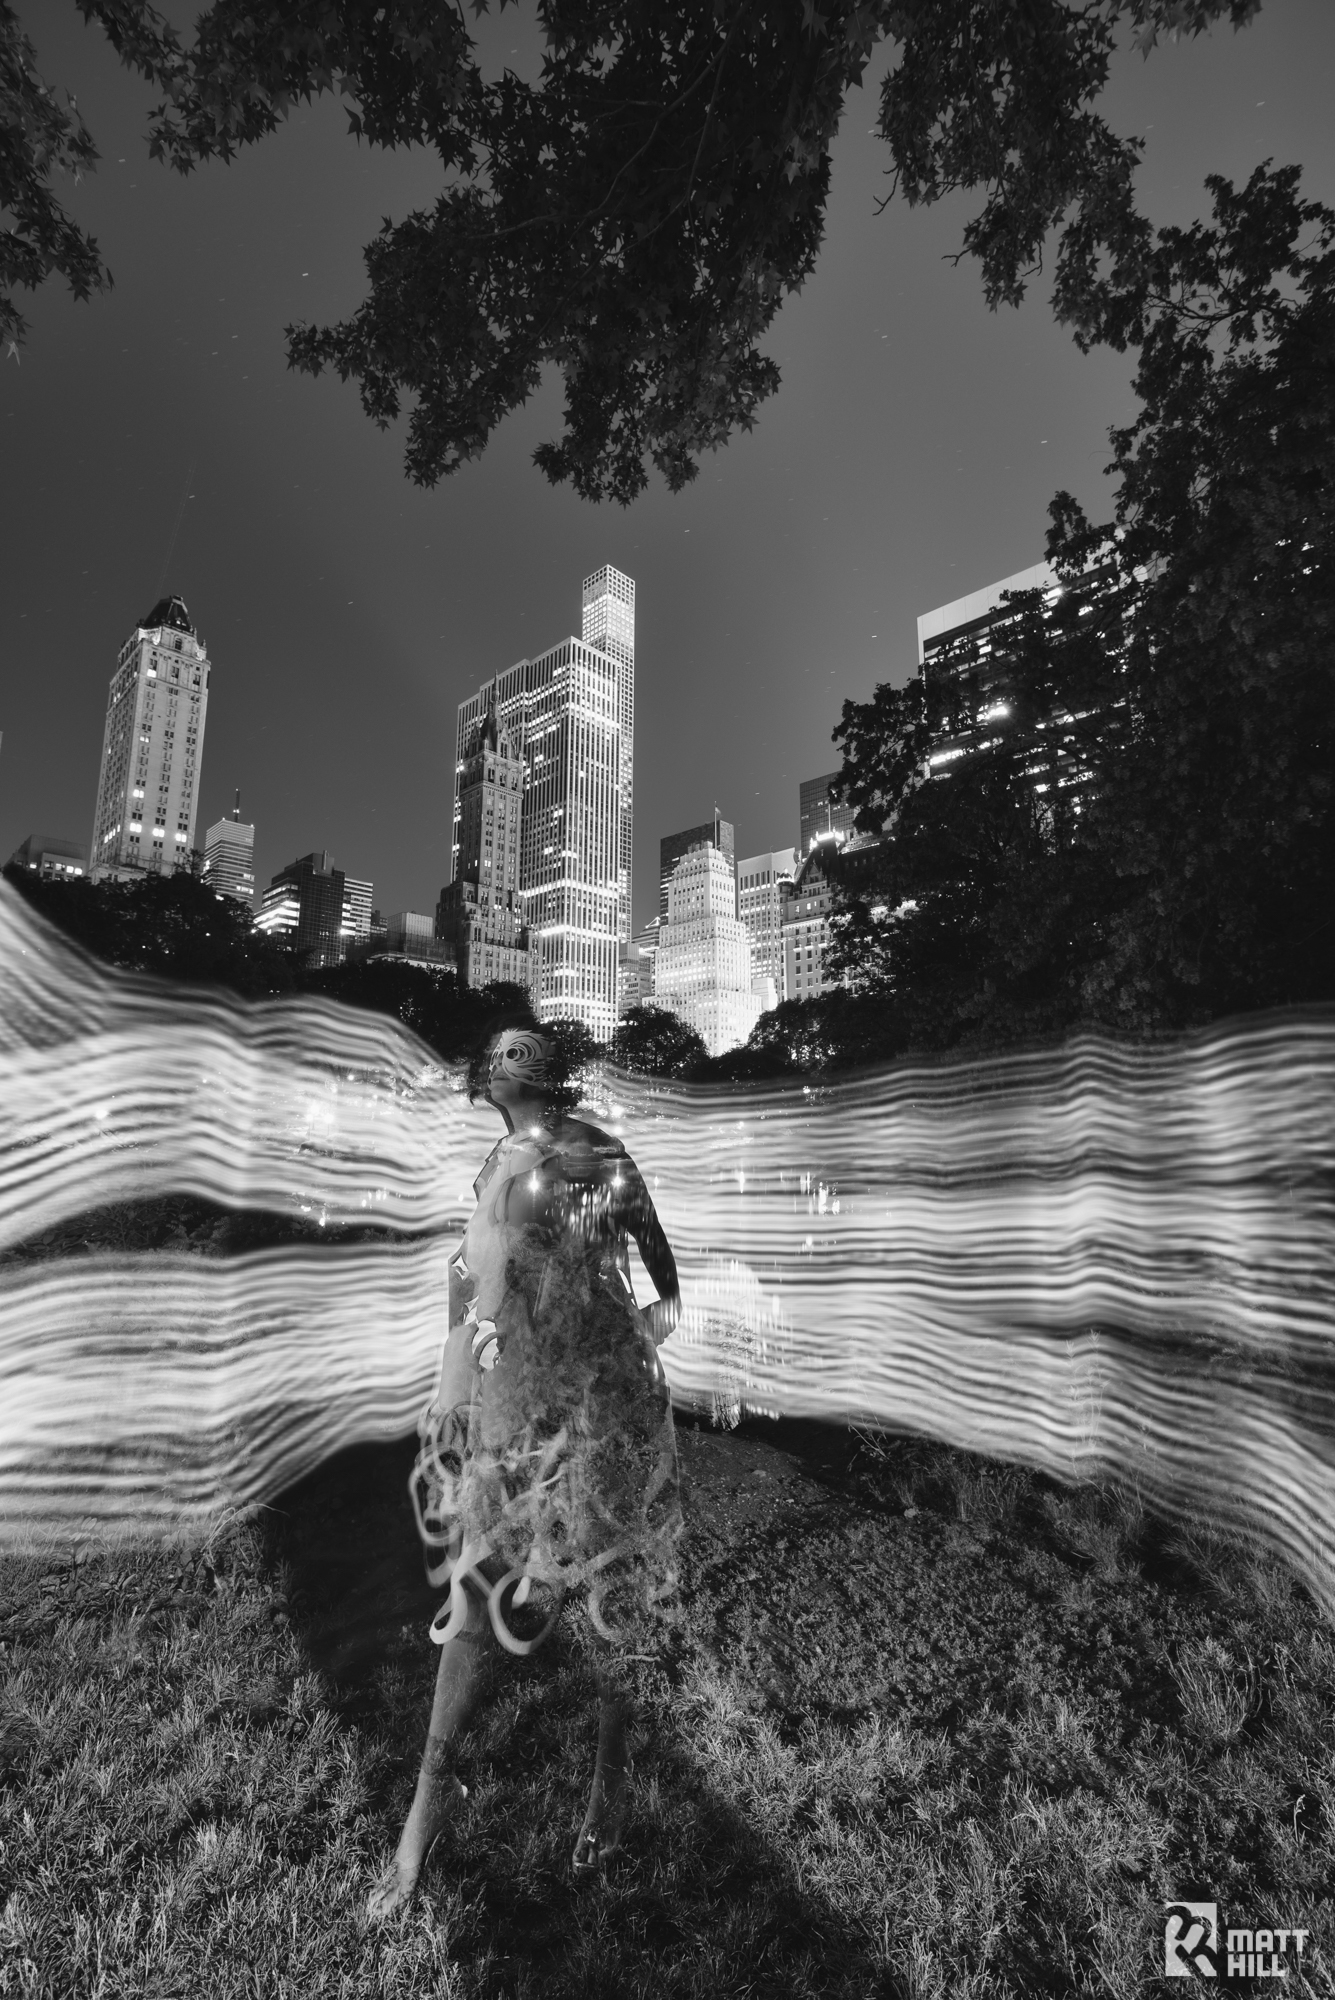
Also meter your 2nd and third flashes (set to manual) if you are using additional flashes for your initial burst. Make a good ratio if these lights are providing edge or texture definition for your model. - Be very aware of where the model's head is! Reason: If you have them move out of the frame after the first flash burst, which I often do, then whatever is behind their head is going to be added to the photograph. If it's a dark background, then almost nothing will happen. If it is a light source, then this will now become part of their head. Same goes for bodies - either intentionally let something burn through and "ghost" them or deliberately do not!
- Have the model always come back to the same spot. Sounds simple, but just to be clear - the flash power you metered was an exact distance form the flash. Keep your exposures consistent by keeping them in the same place.
- Try simple poses first. I am a fan of the face pointing towards the main light - it is flattering. Start there, then do variations of face placement for different shadow structure. Whatever is good in the daytime is also good at night!
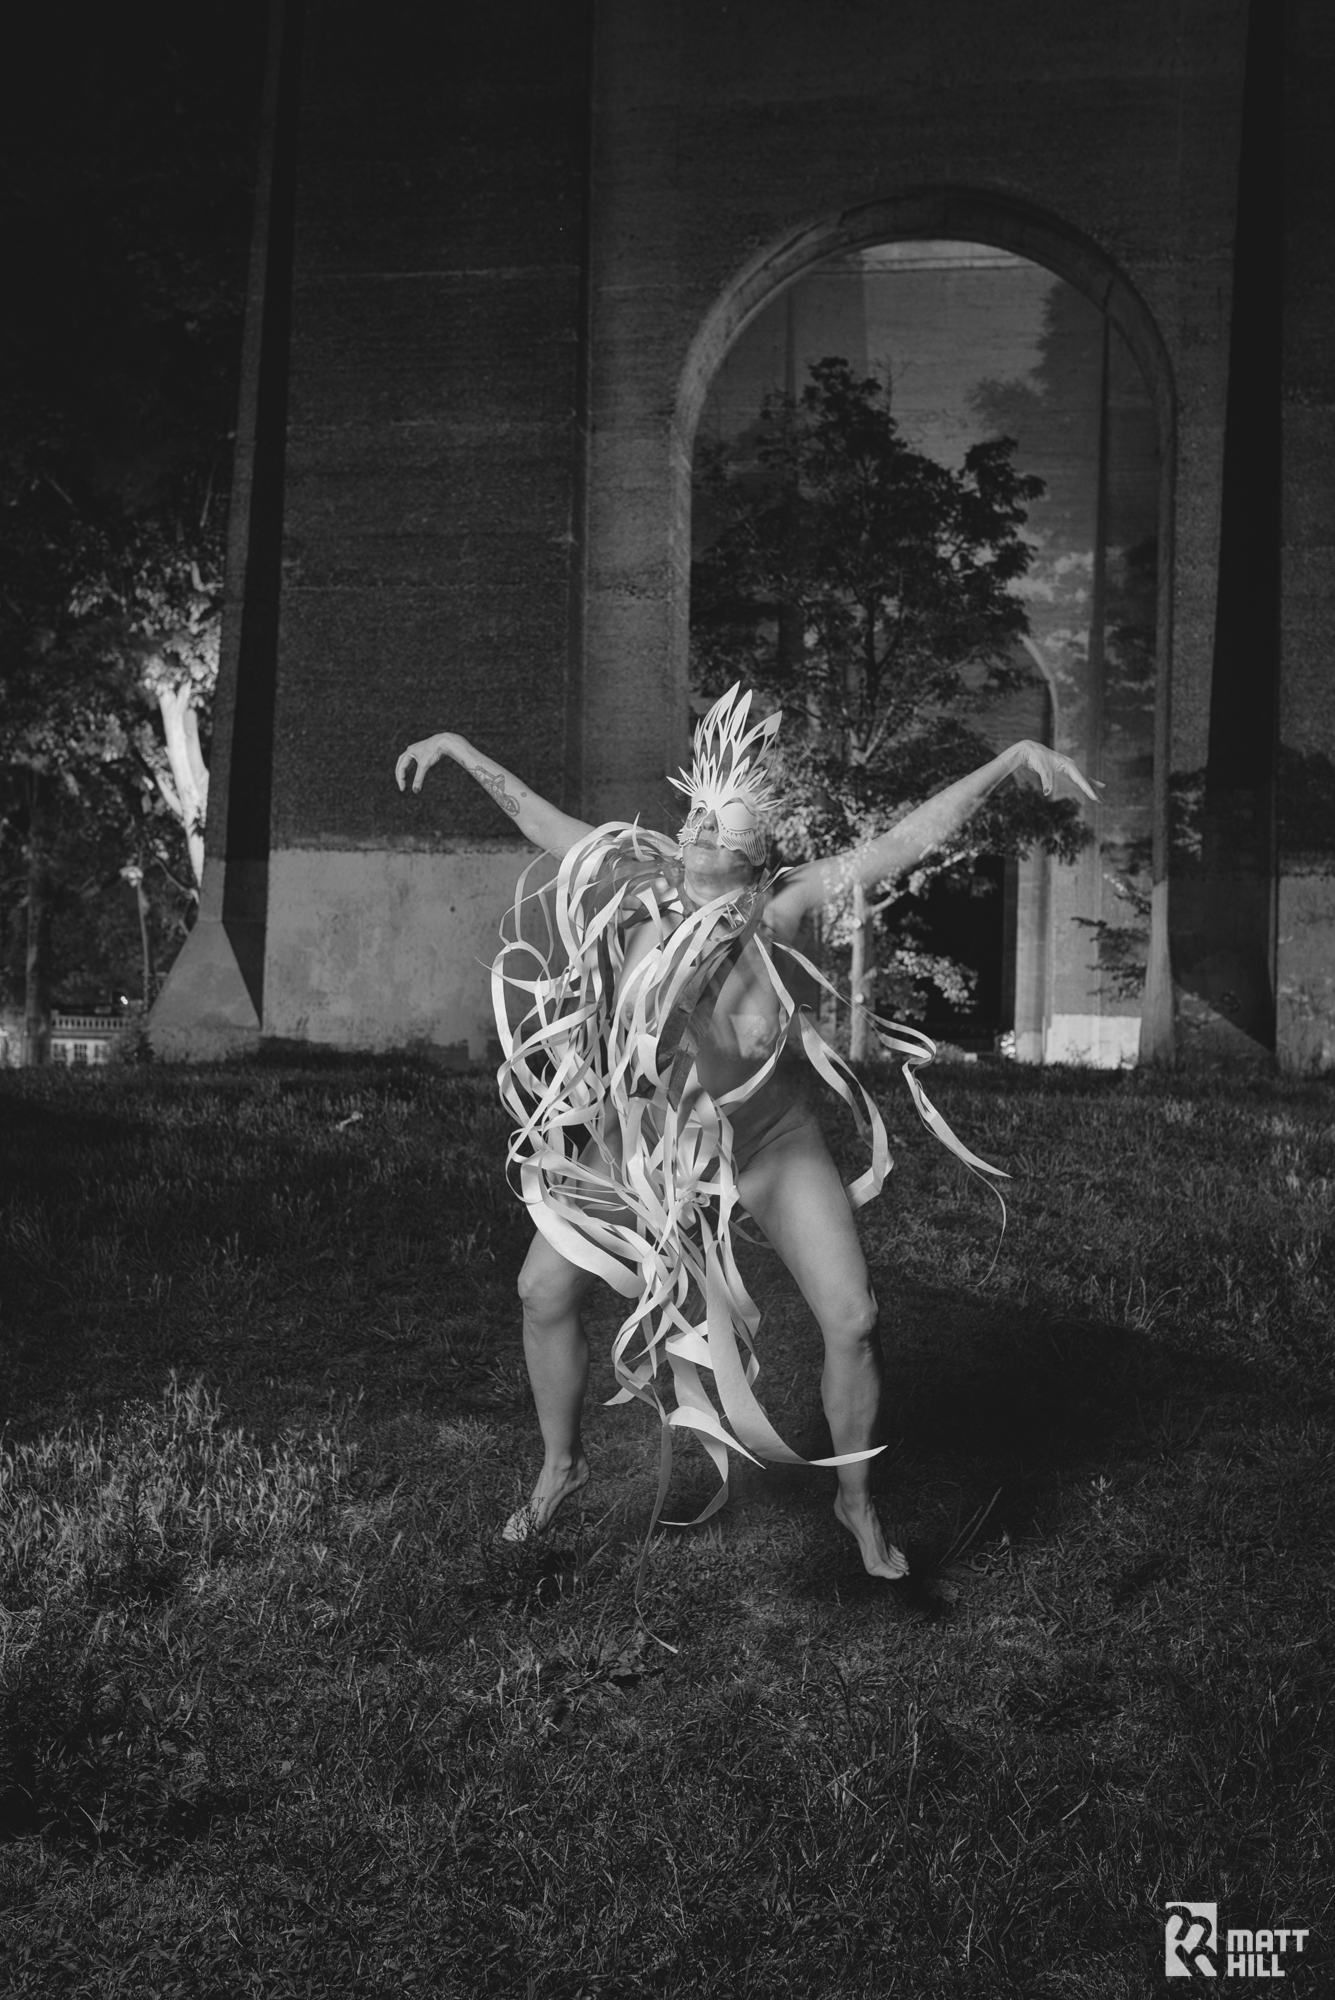
- Try jumps. These are not only fun on film, but also great to stimulate a model who may have to wait minutes between exposures. A good trick is to have them bend their knees when jumping - it give the illusion of a higher jump.
- Mix continuous and flash sources. This is my favorite benefit of doing night portraits (as opposed to daytime). Use a tungsten flashlight, and LED flashlight, your speedlites (snooted off or with grids), your iPad/iPhone, flames (carefully!), video light, LED penlight, anything with which you can isolate parts of your model's body and then have them move after the flash goes off at the beginning of the exposure. Experiment. Get crazy - you may love those "happy accidents."
- Safety first! Make sure your model is comfortable and in a place that is safe.
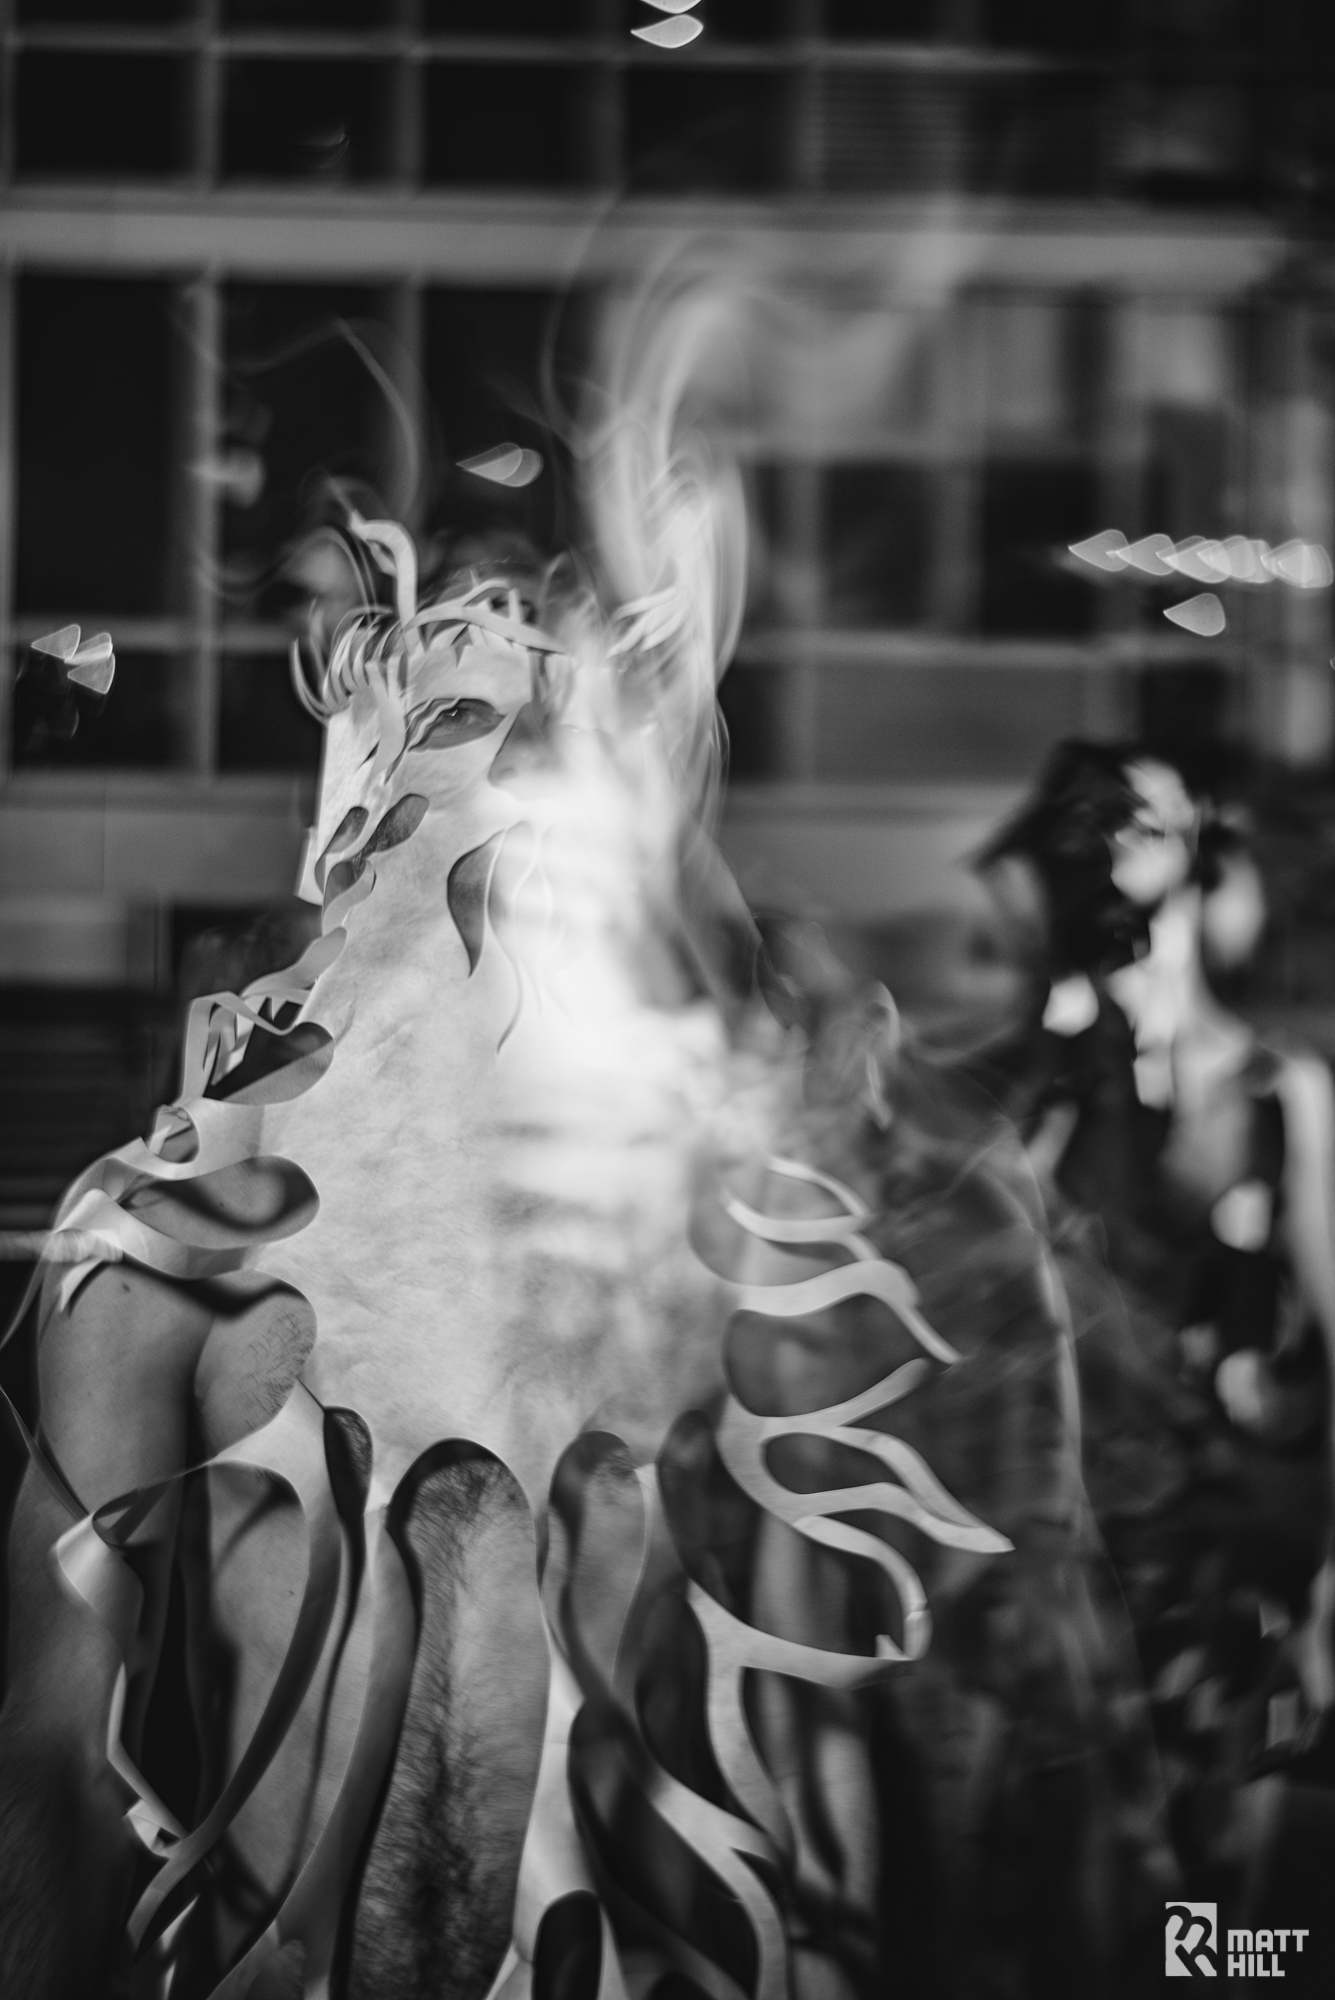
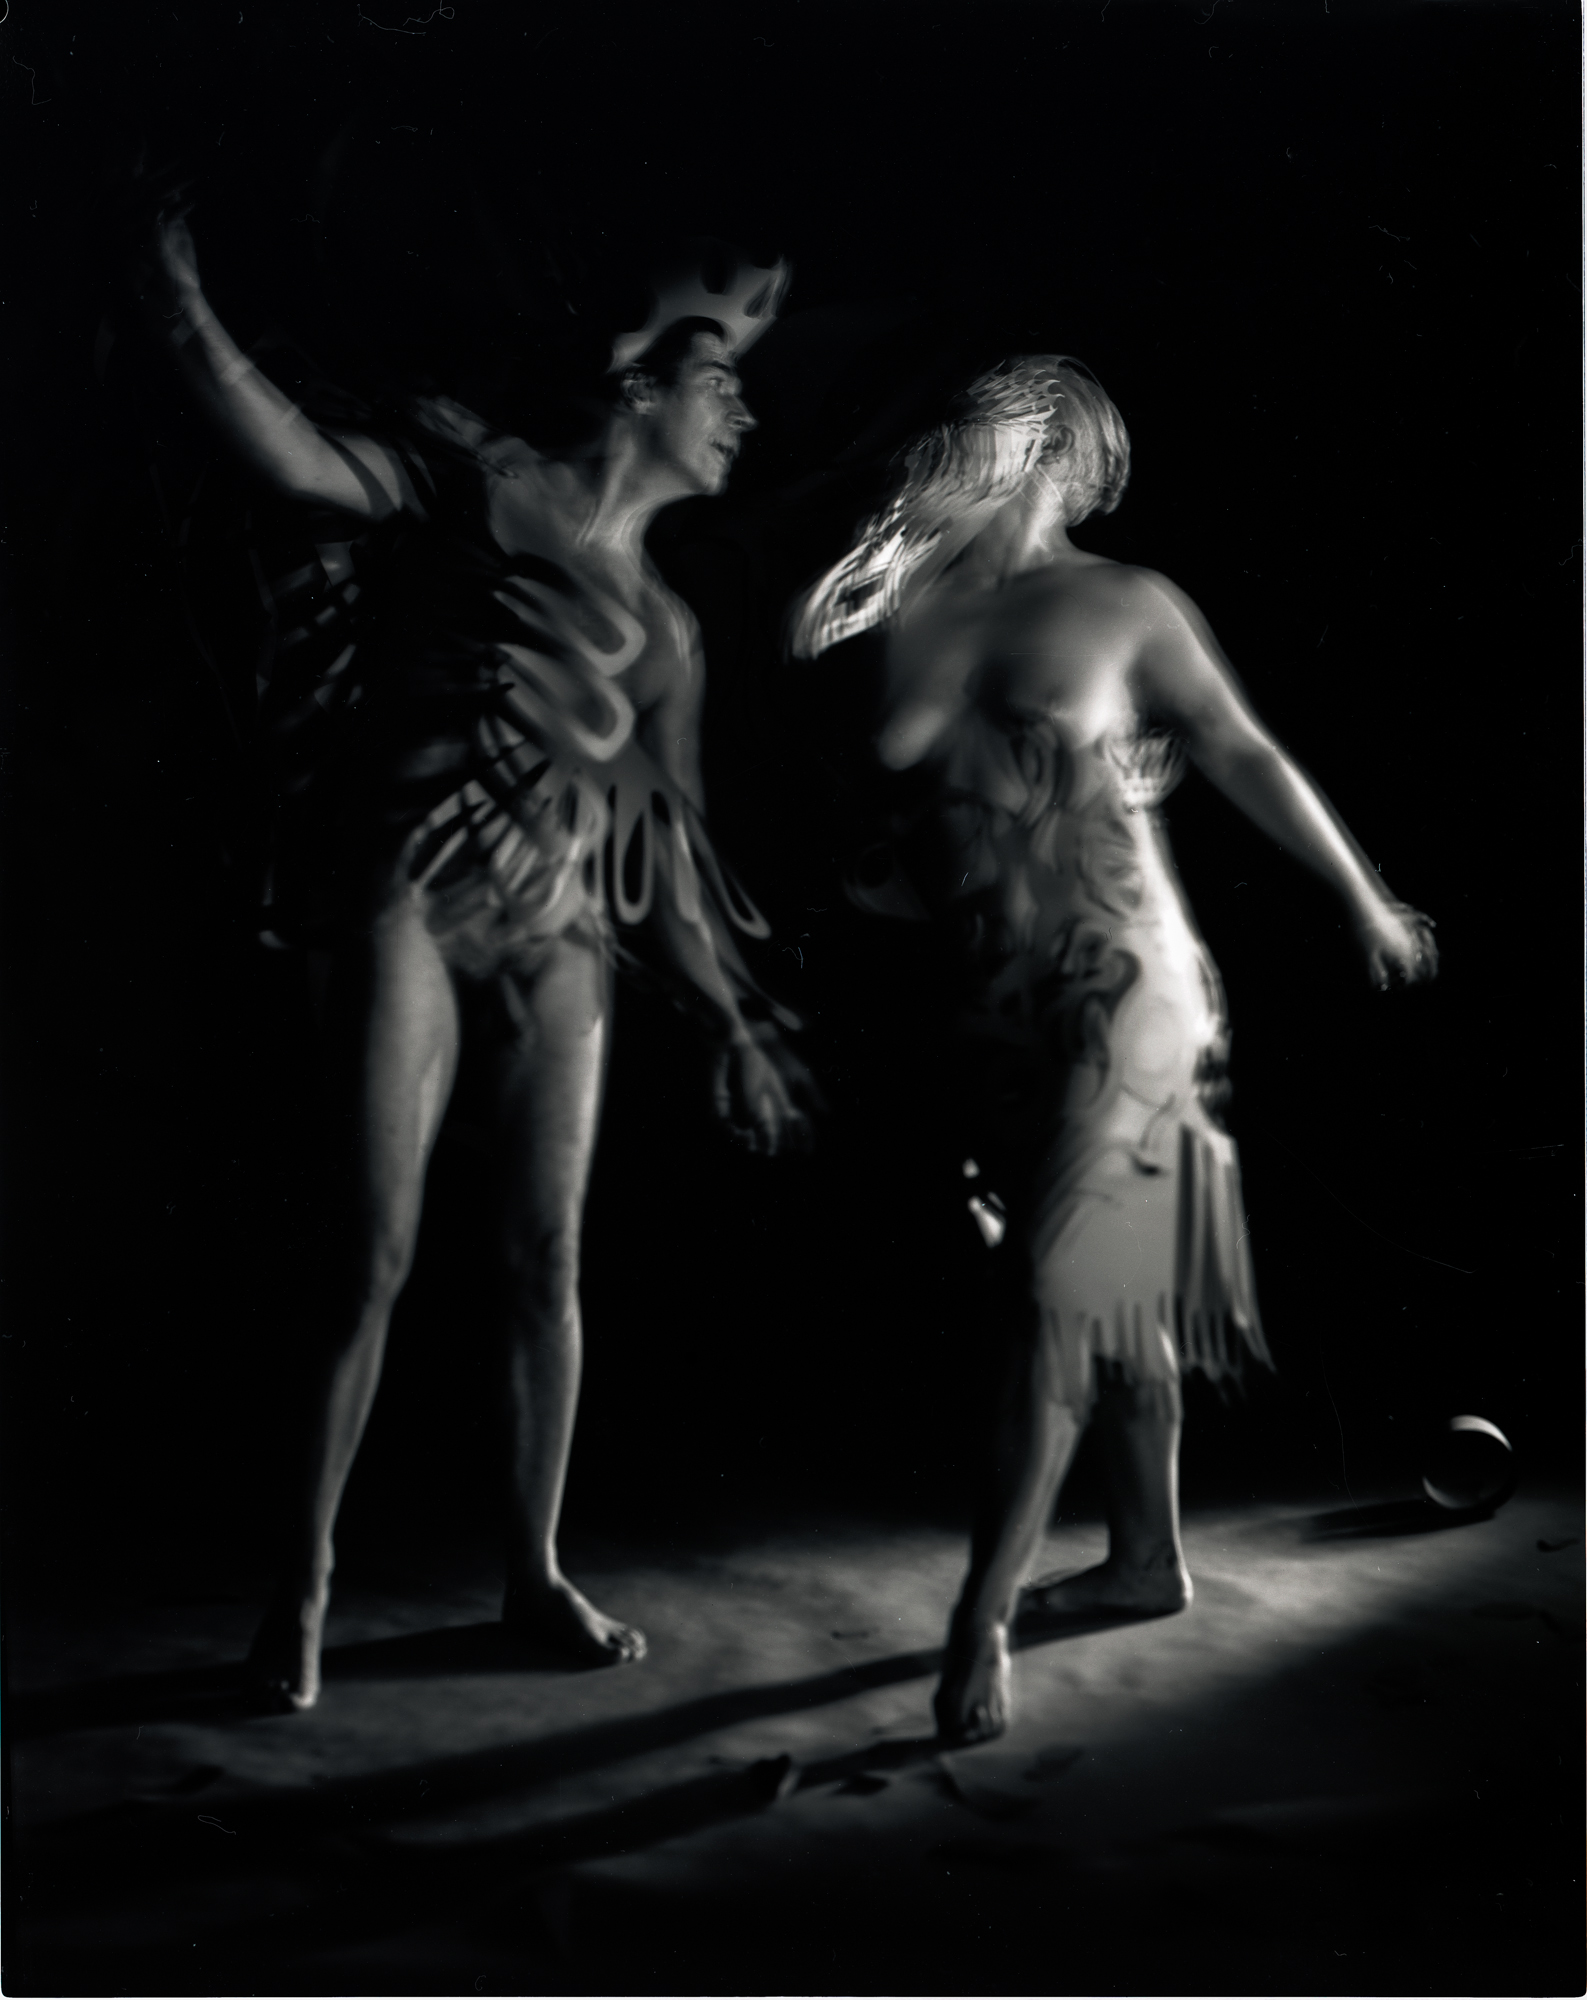
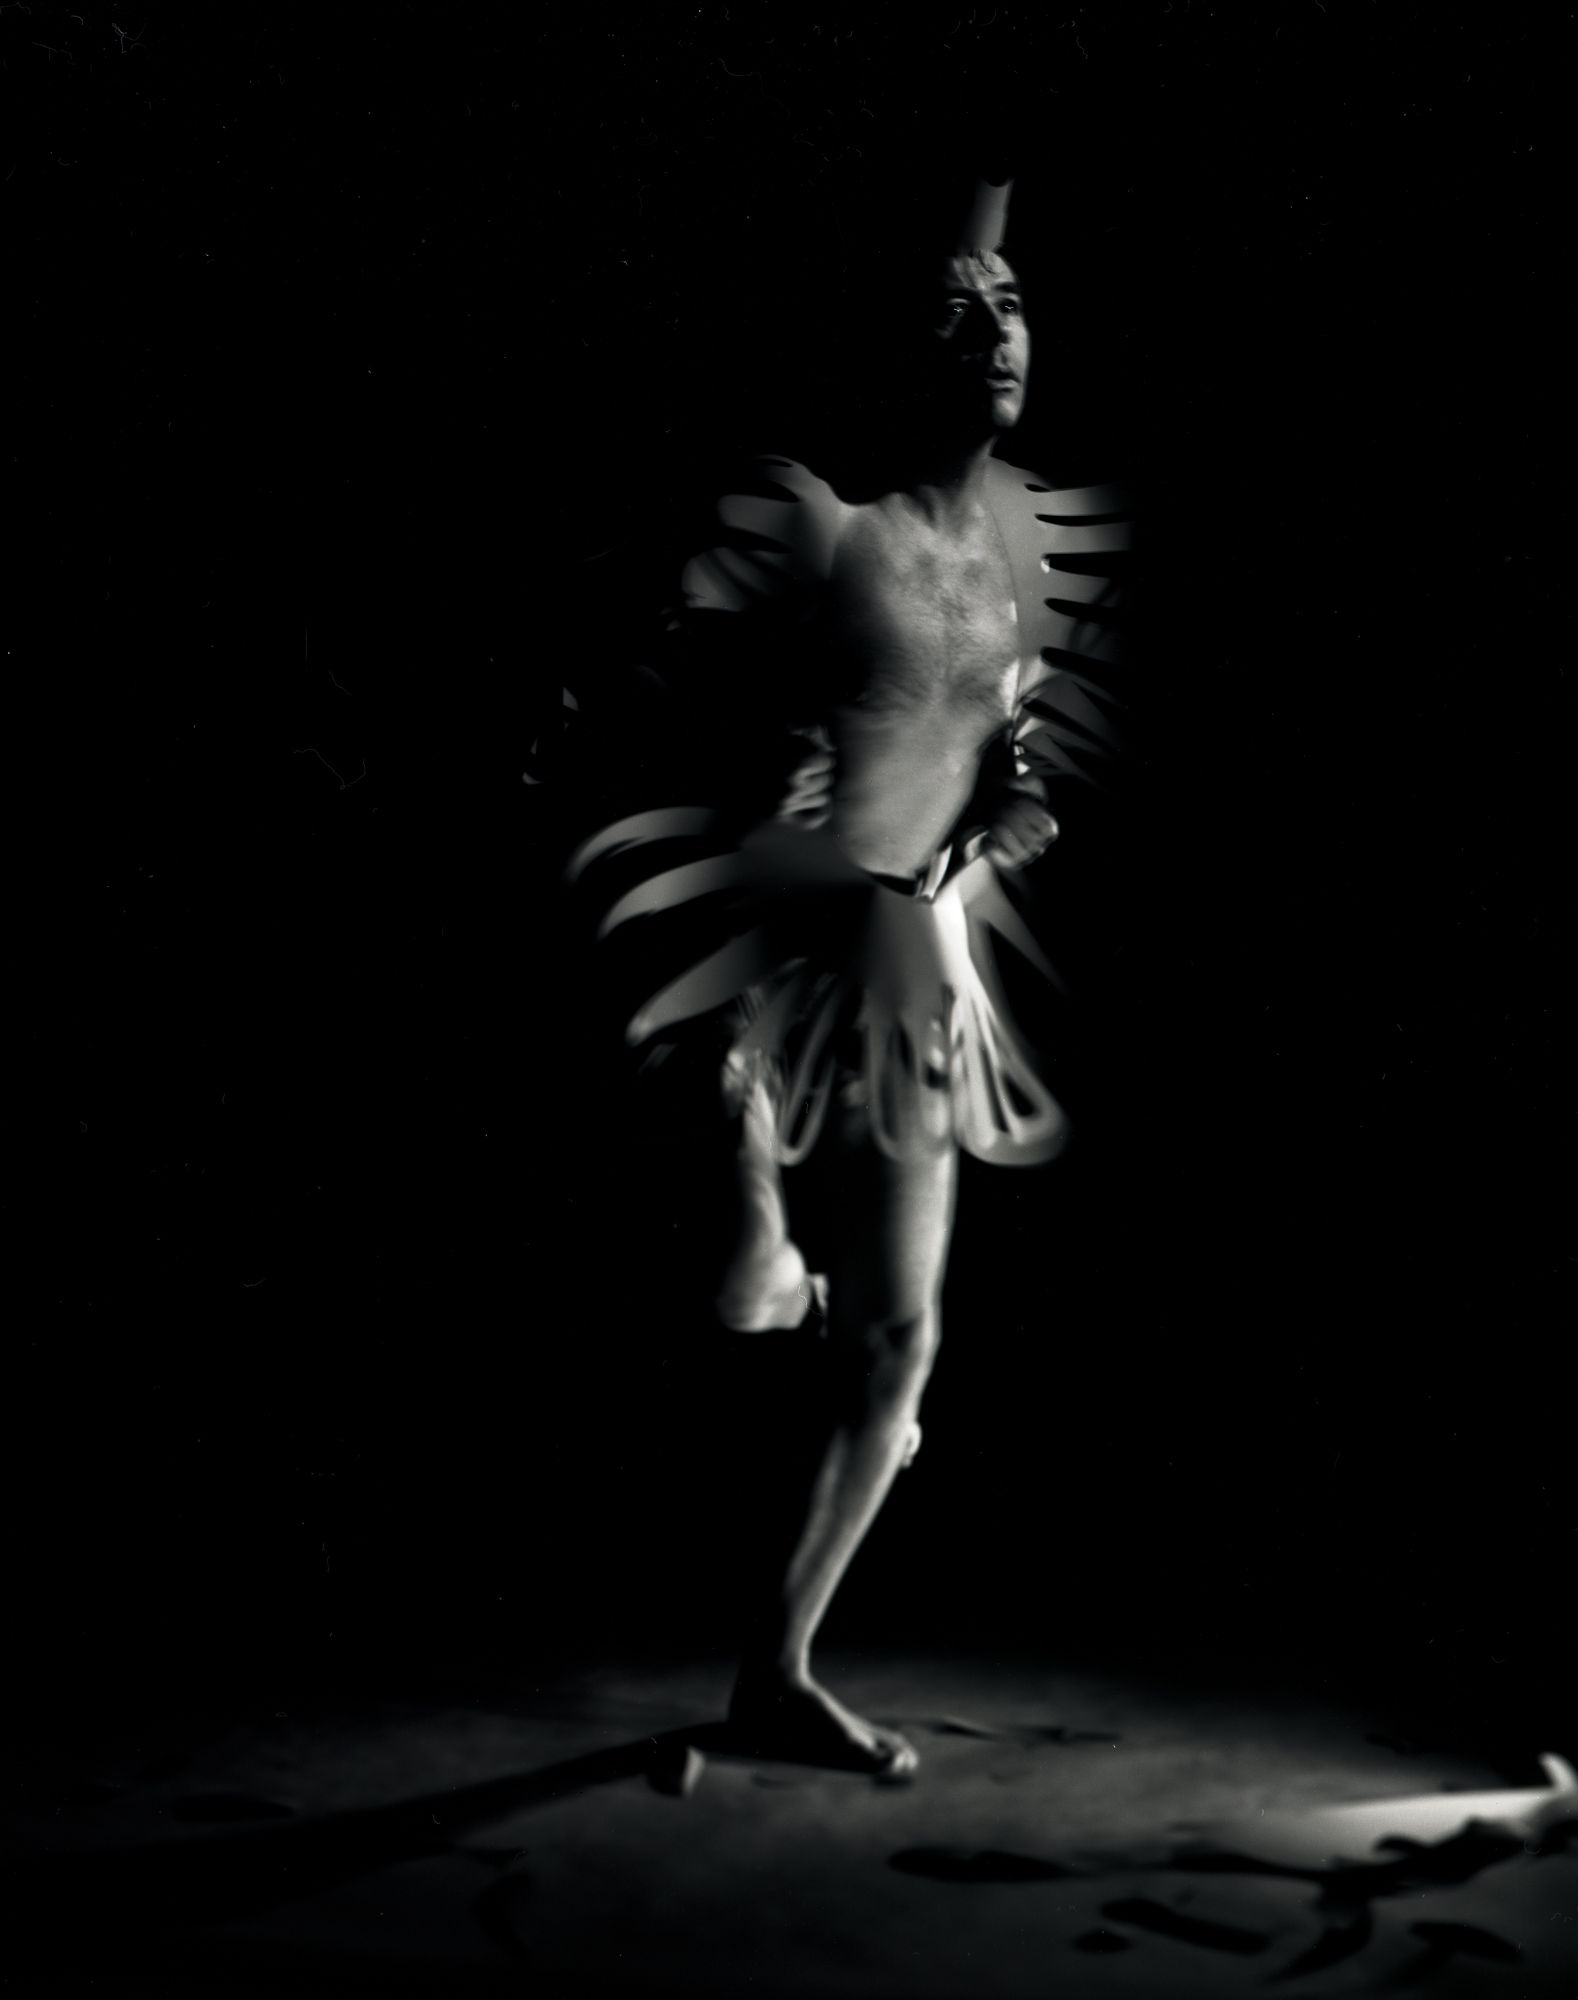
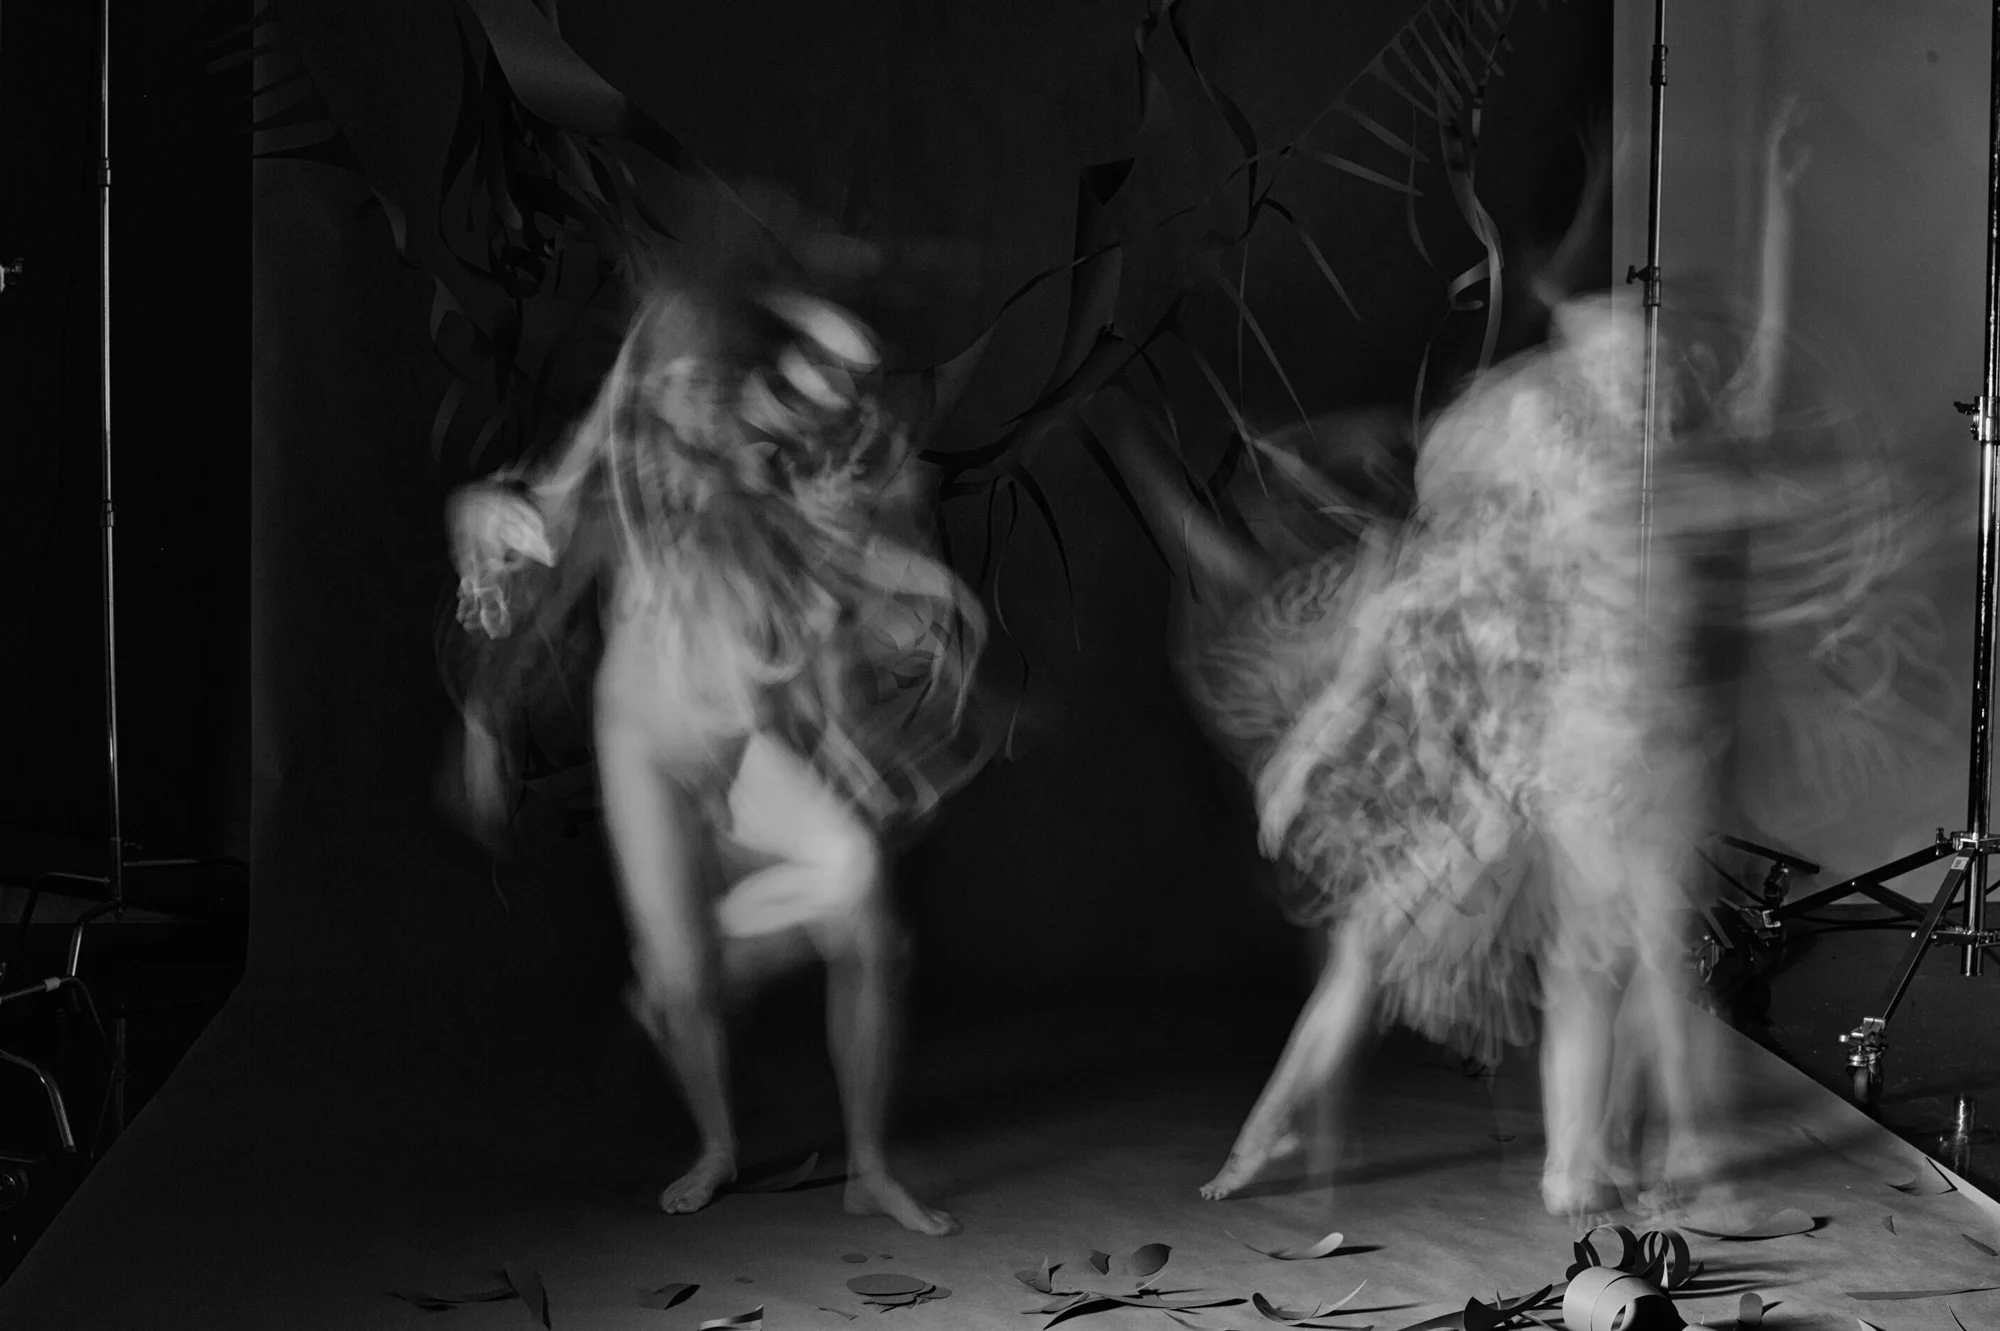
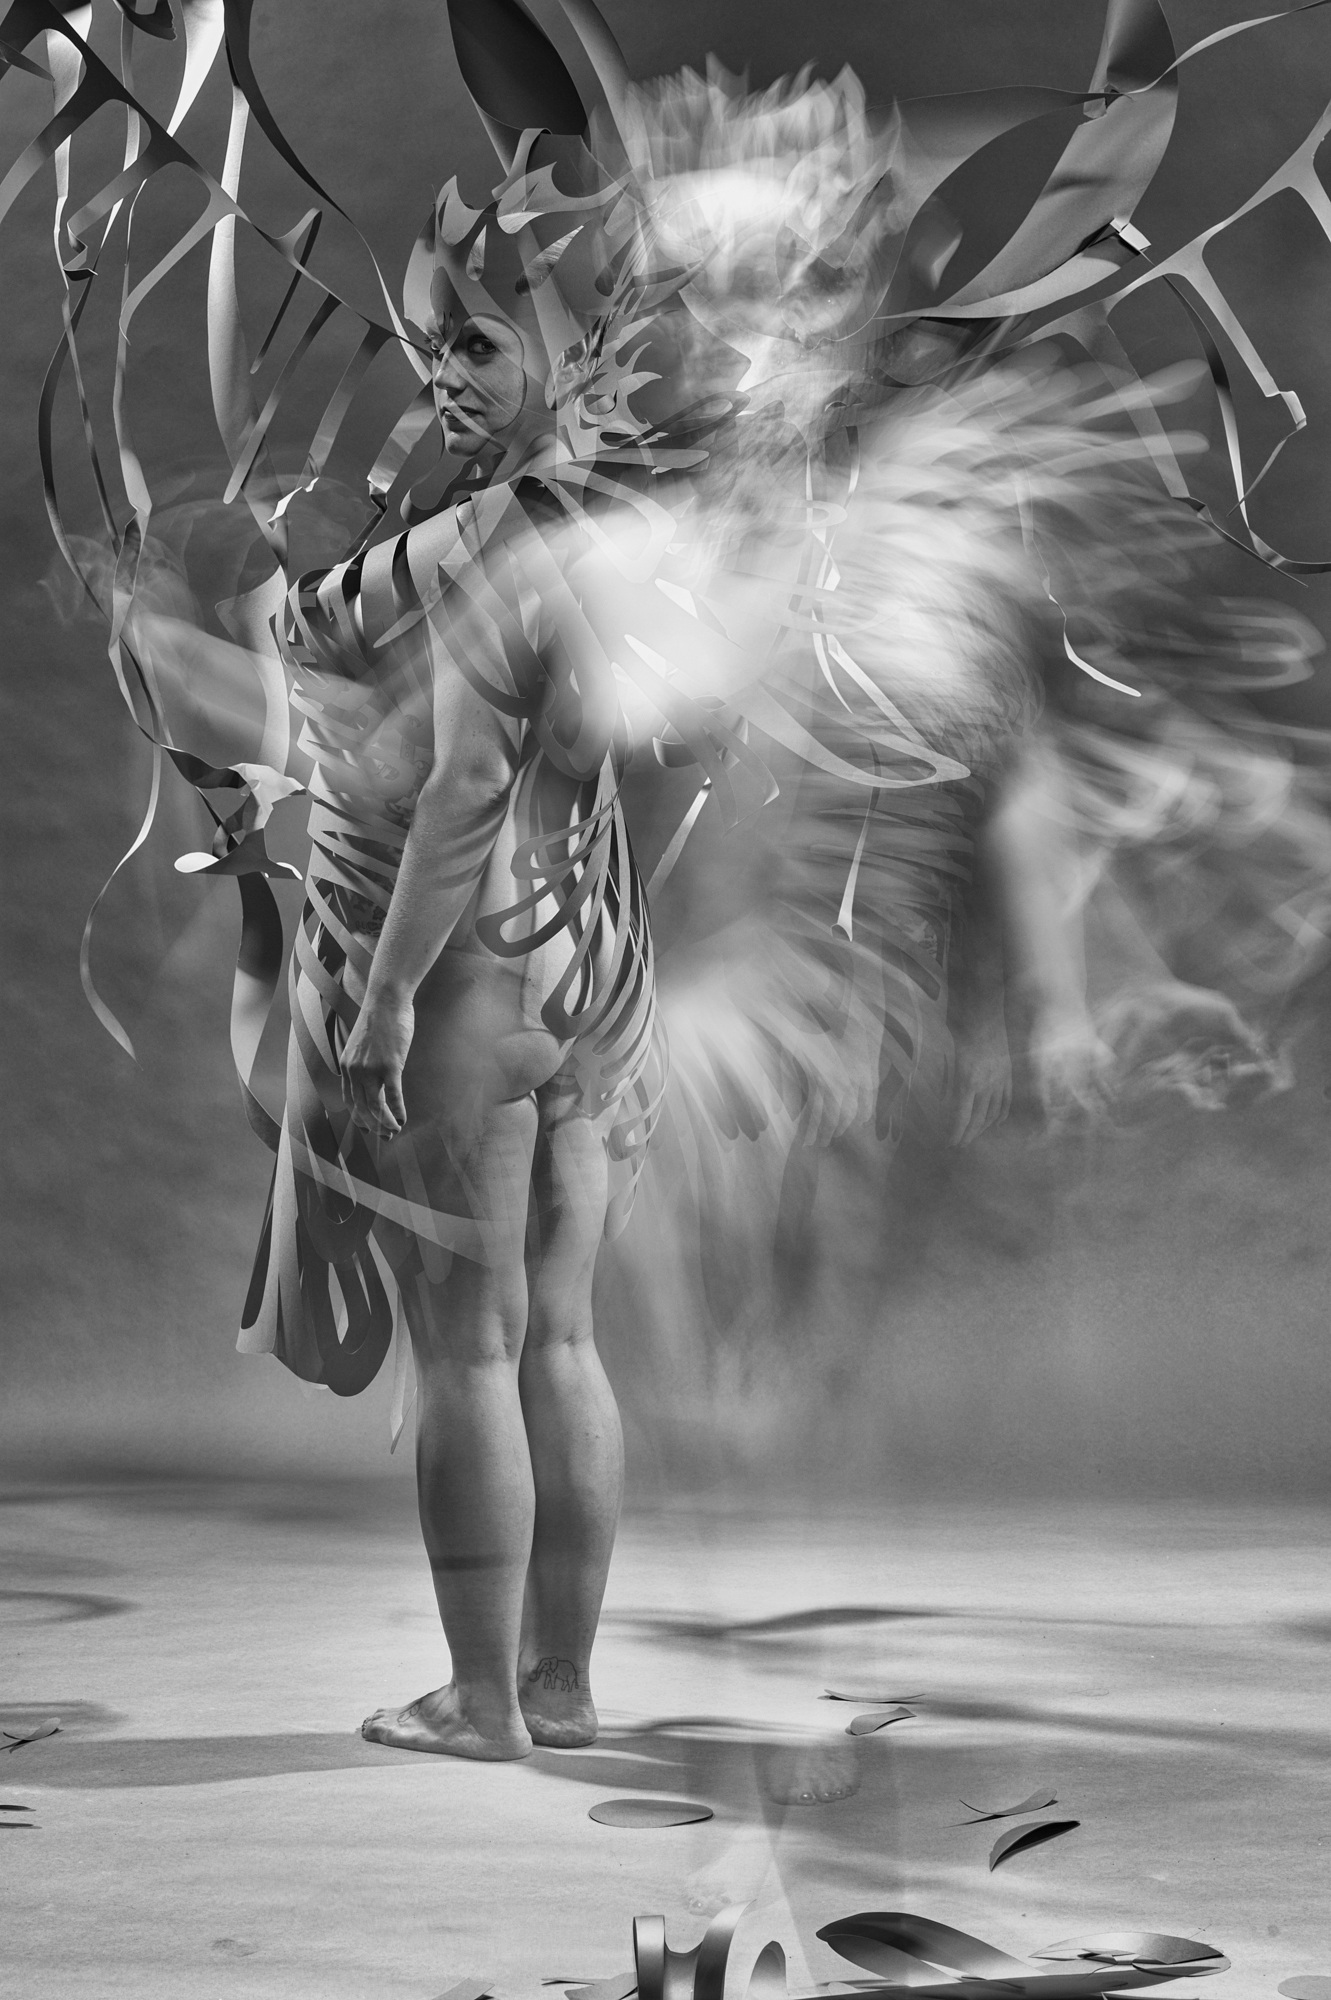
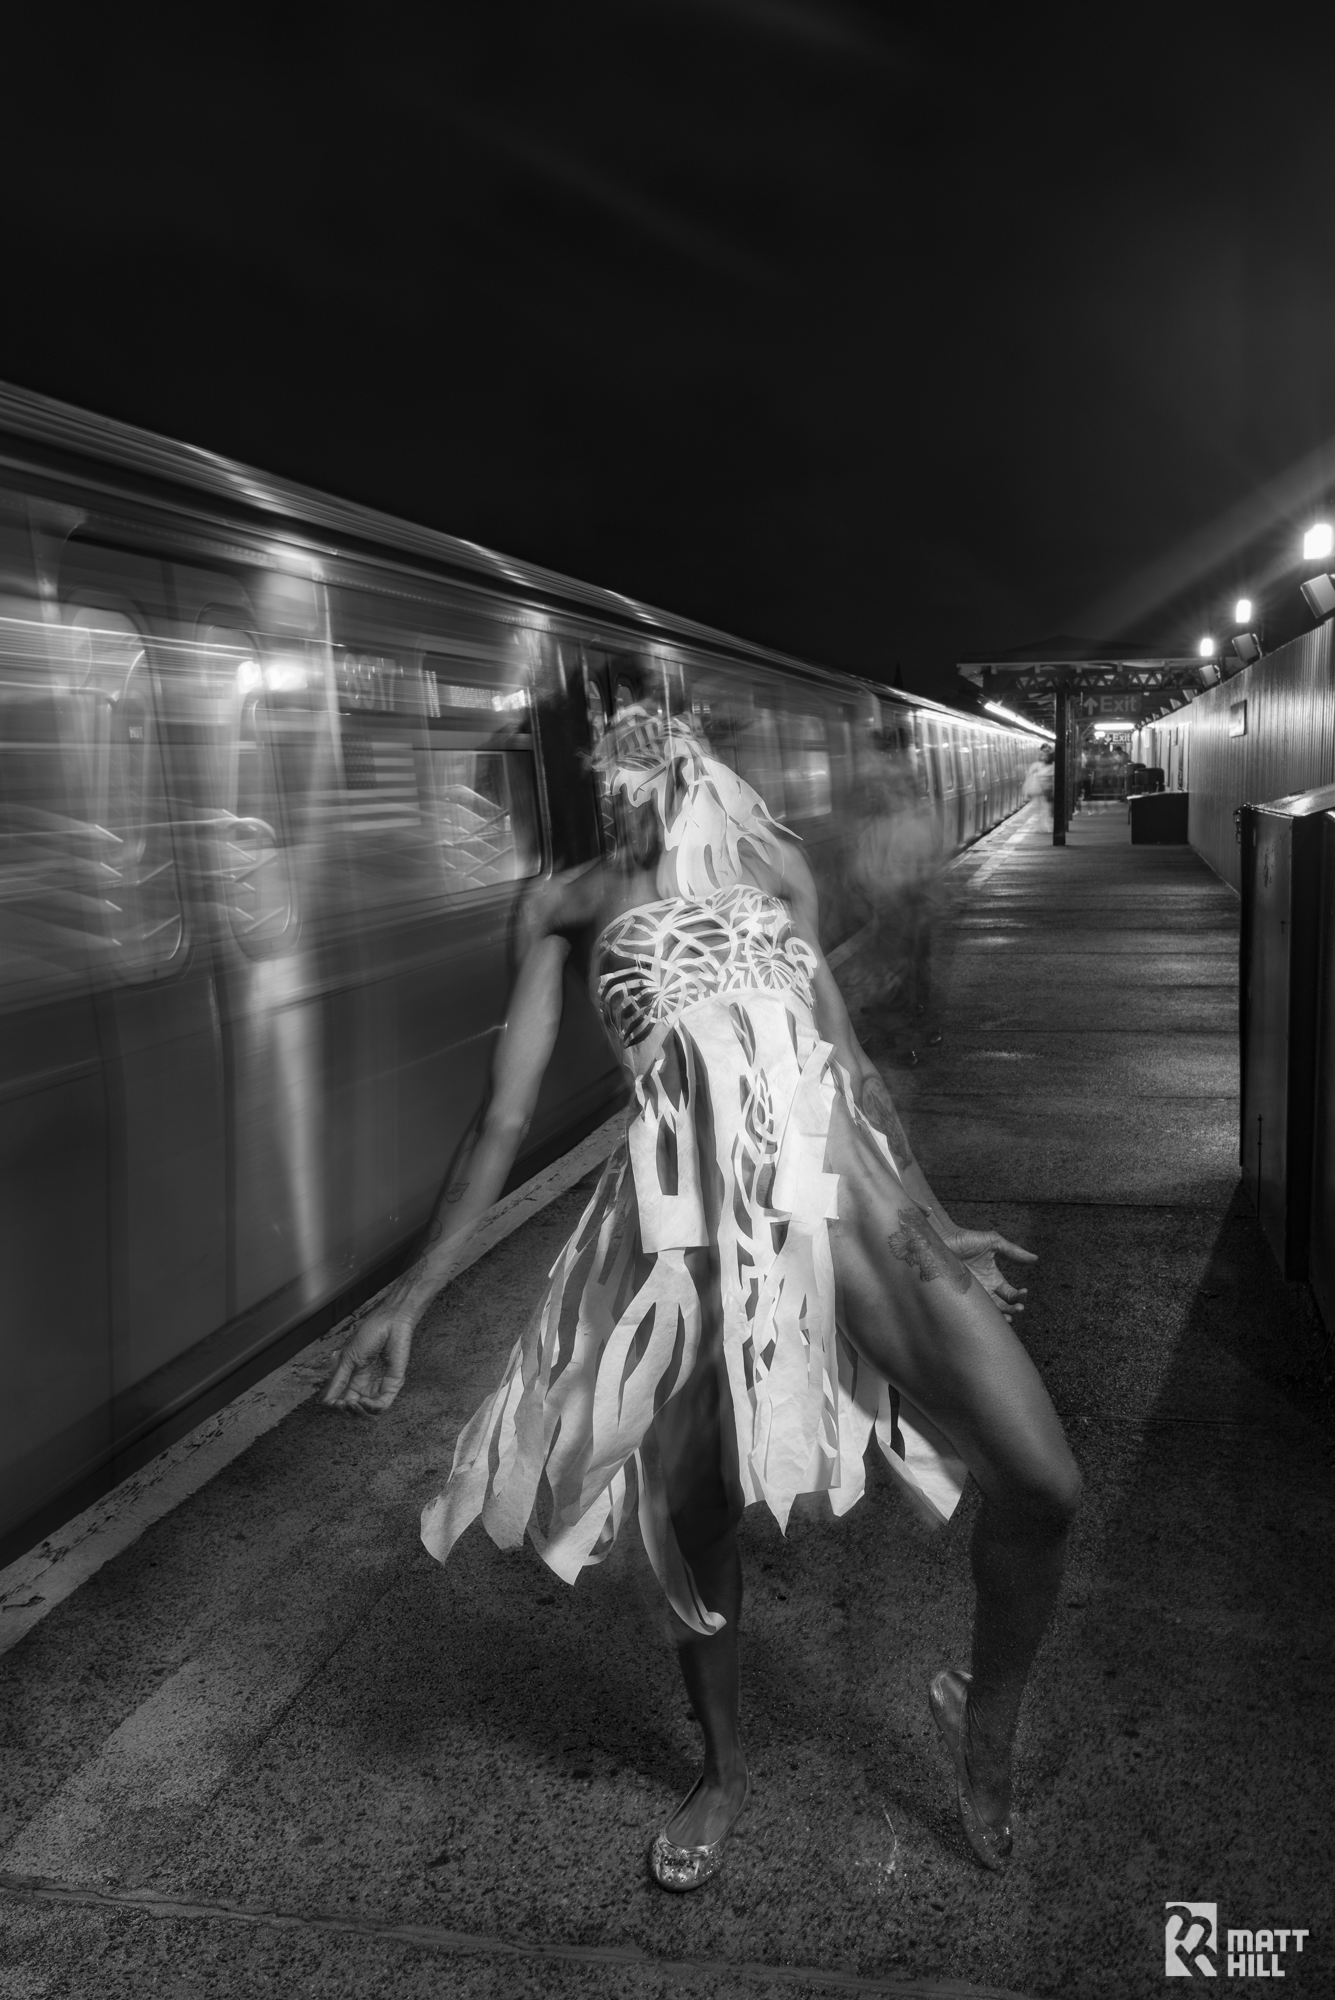
Take a fresh look at NIGHT PAPER (below) and see if you see anything different after reading what I have learned along the way. Comments welcome!


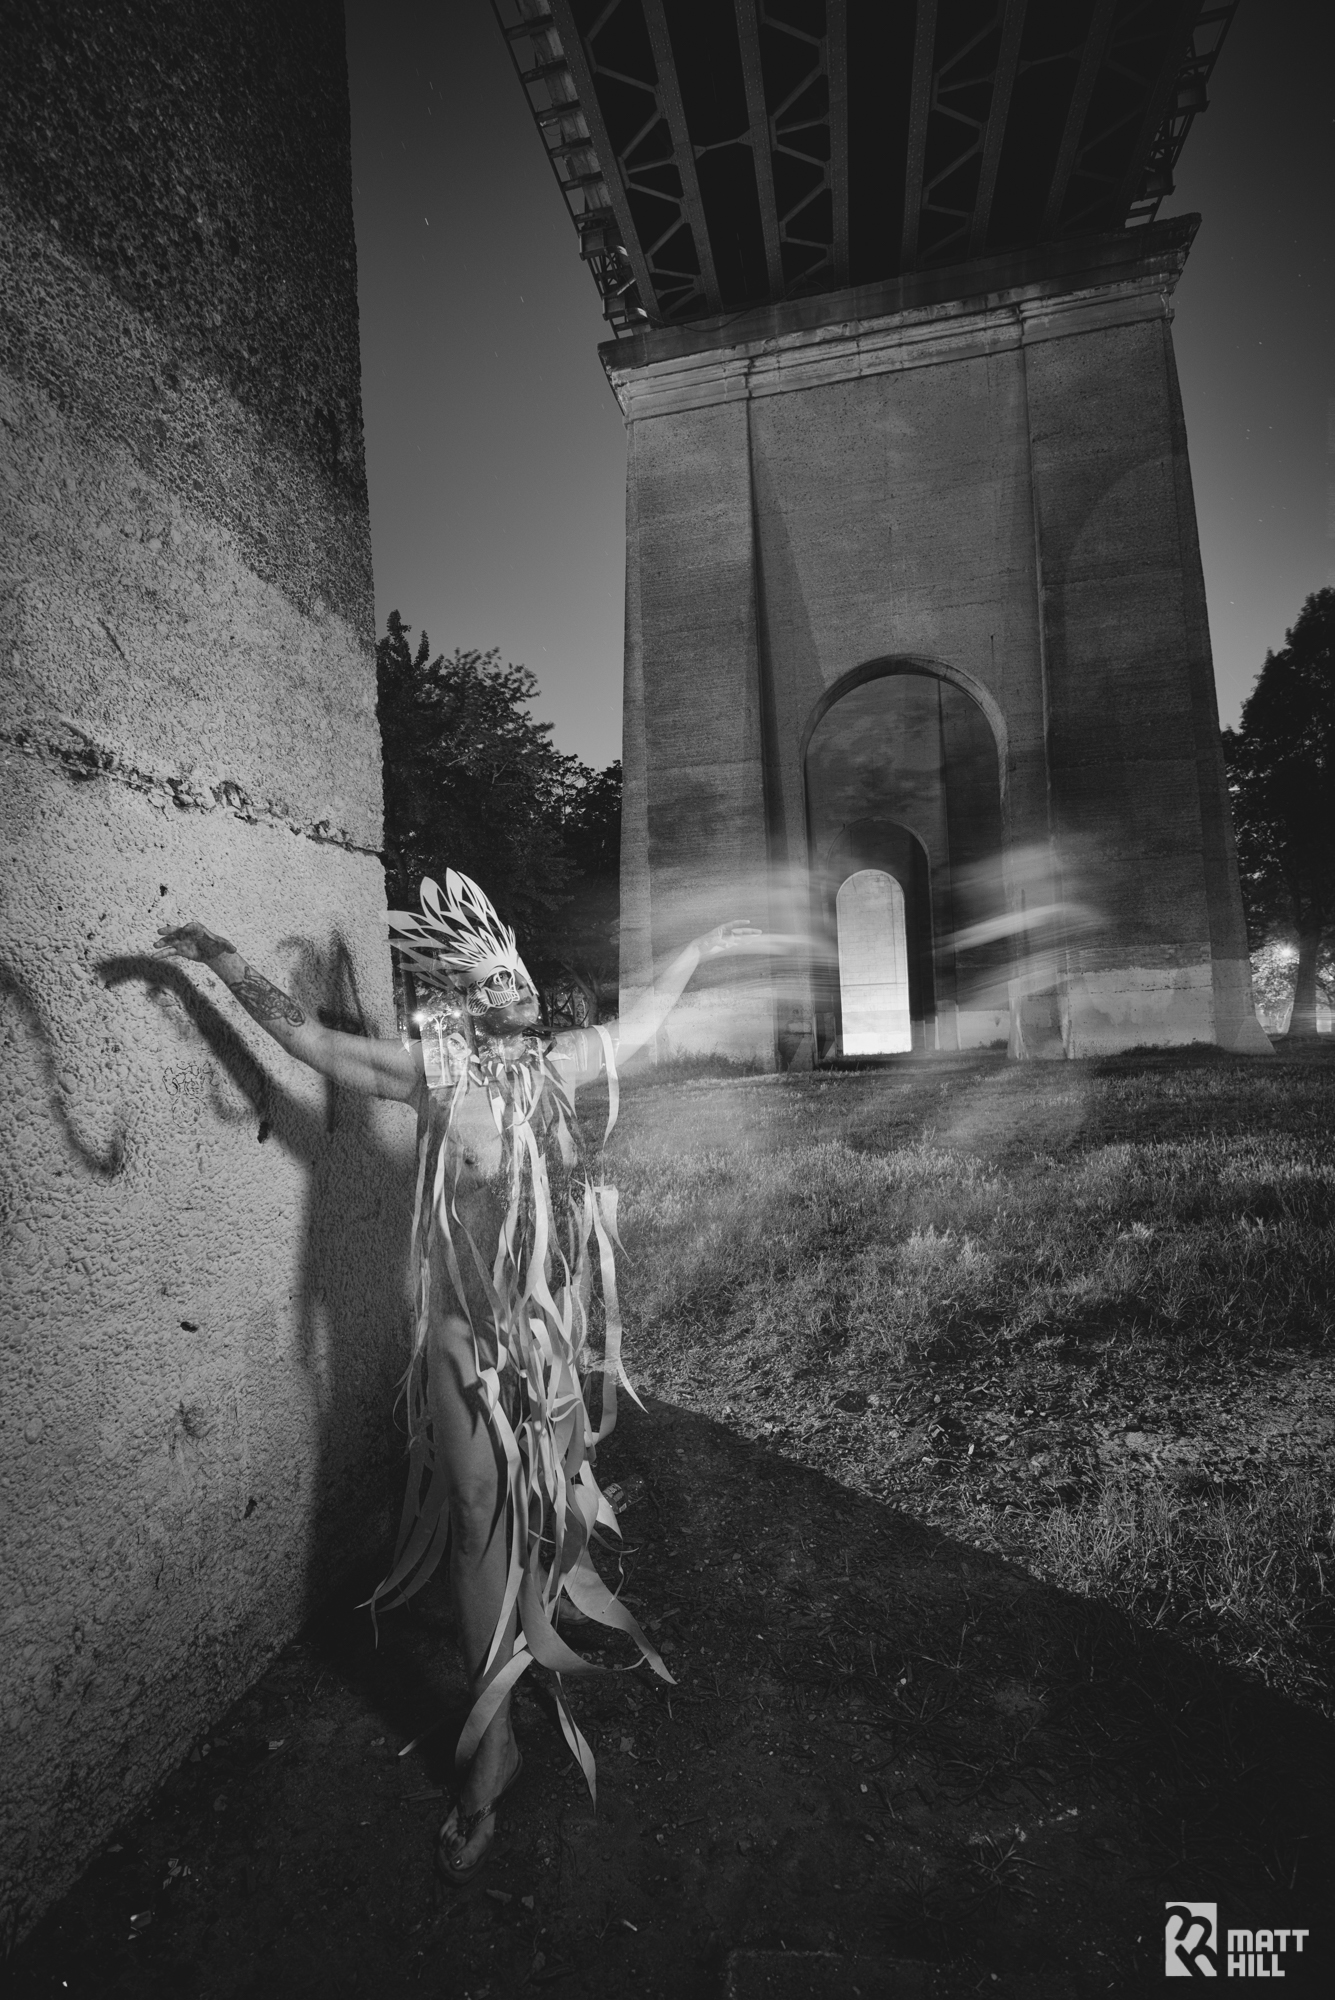


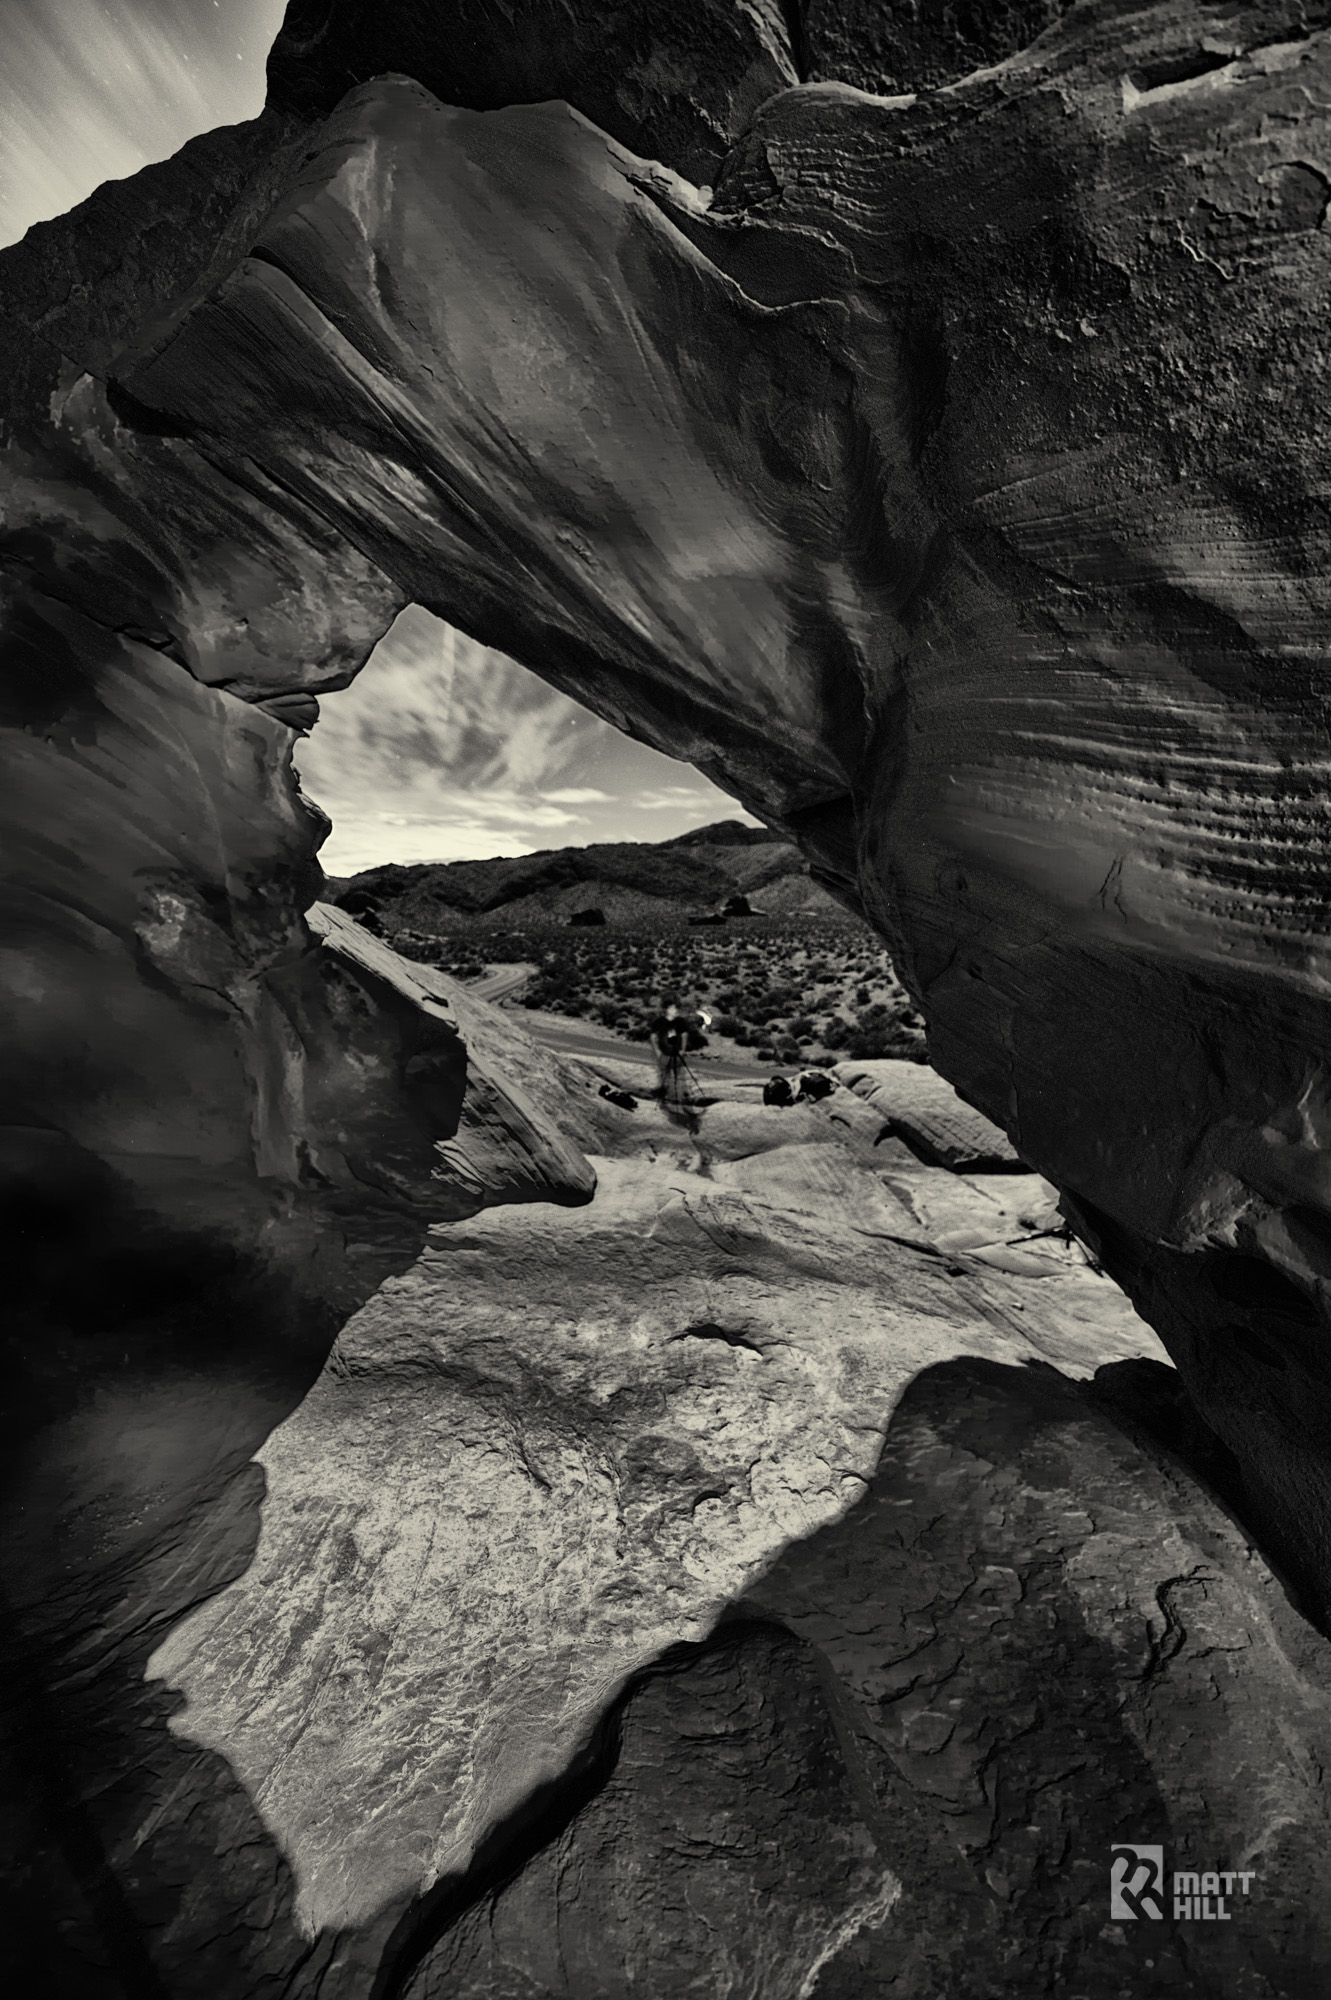
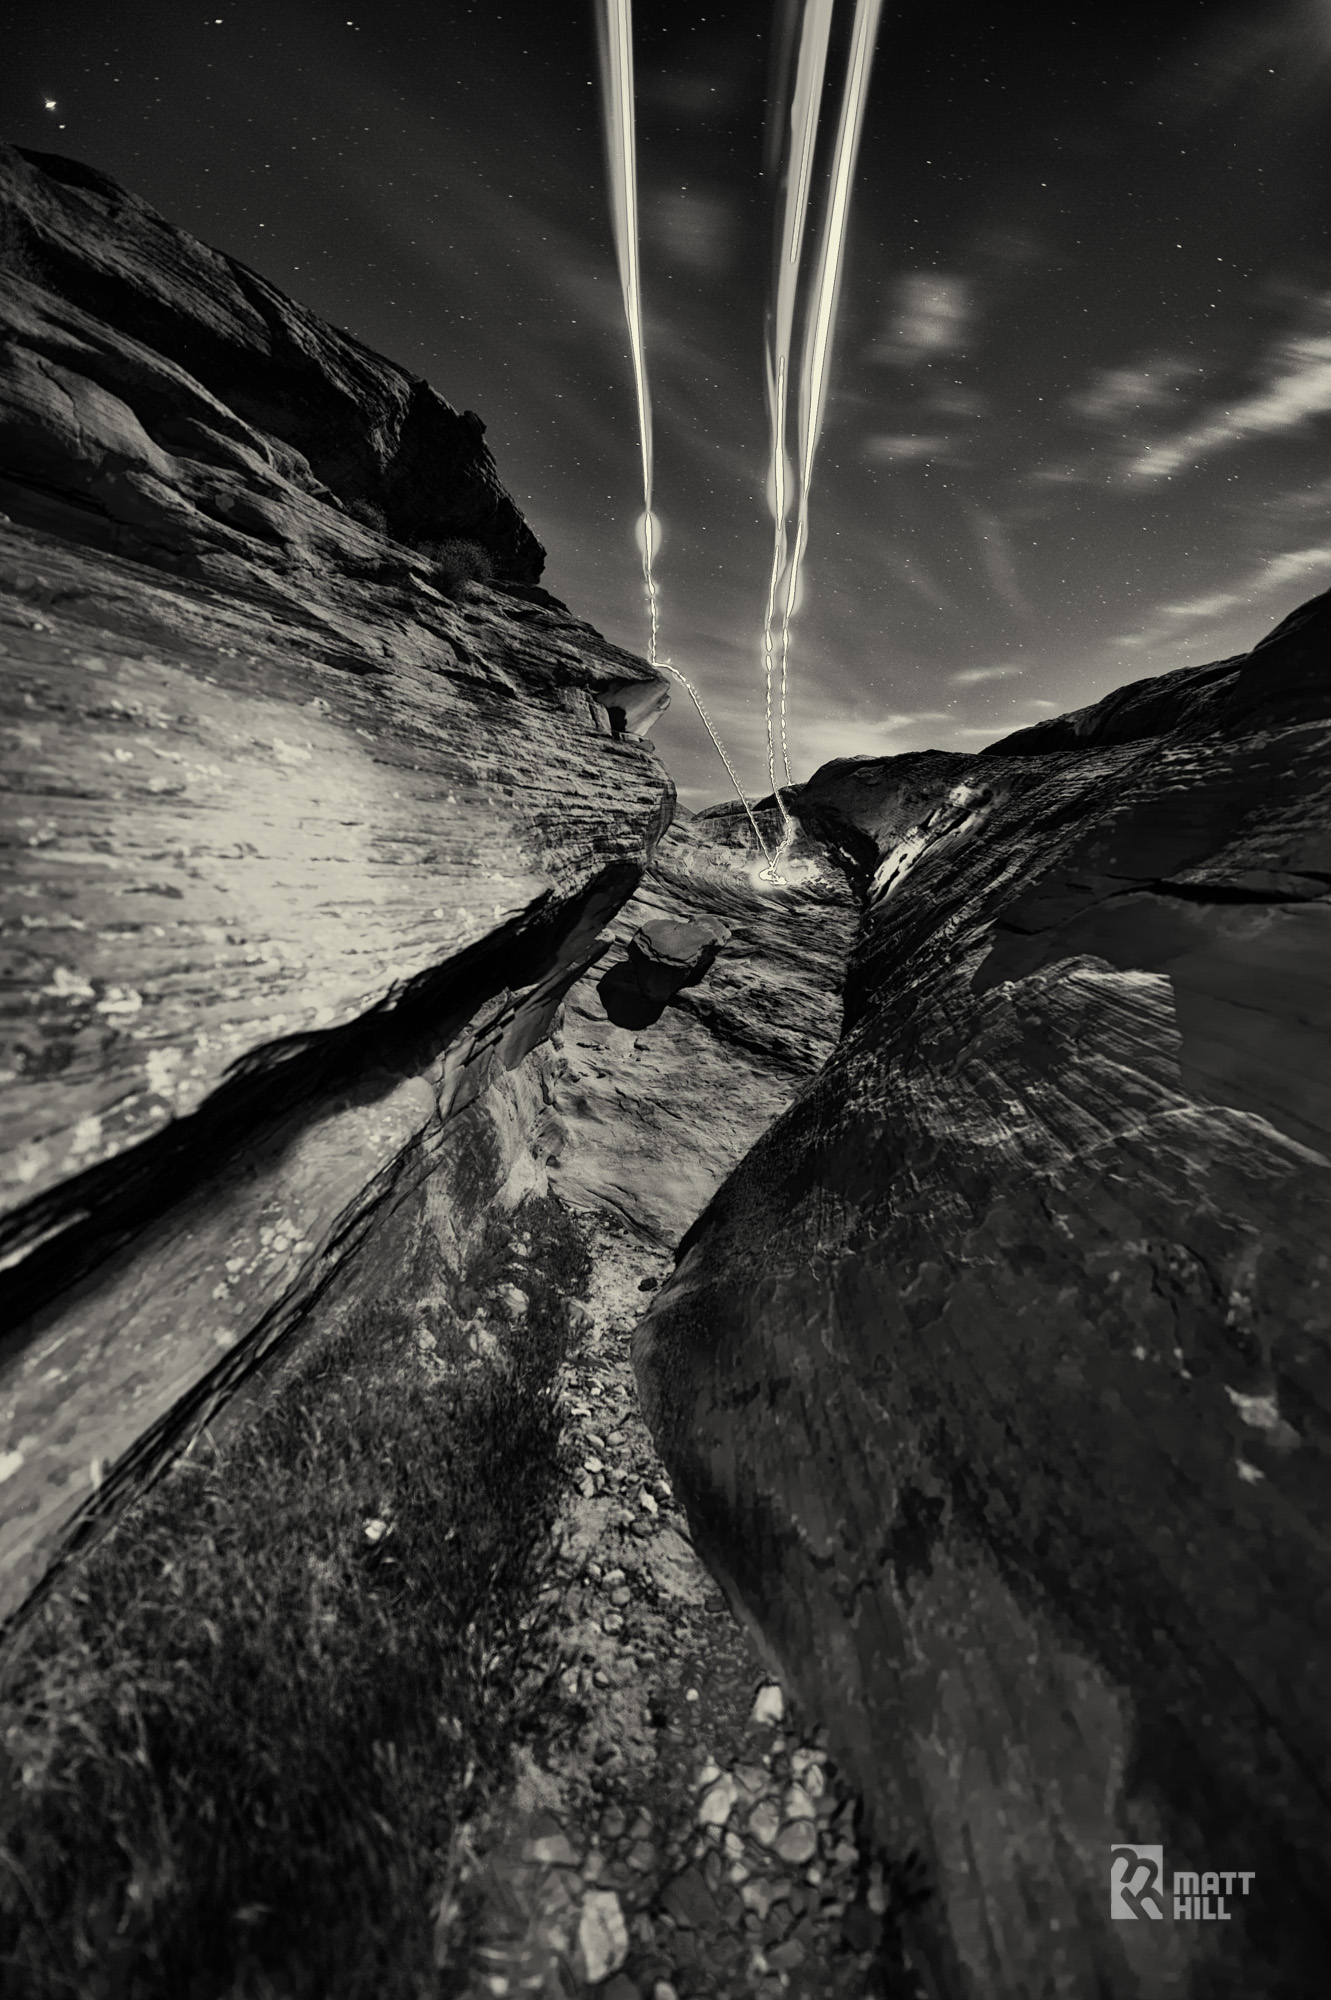
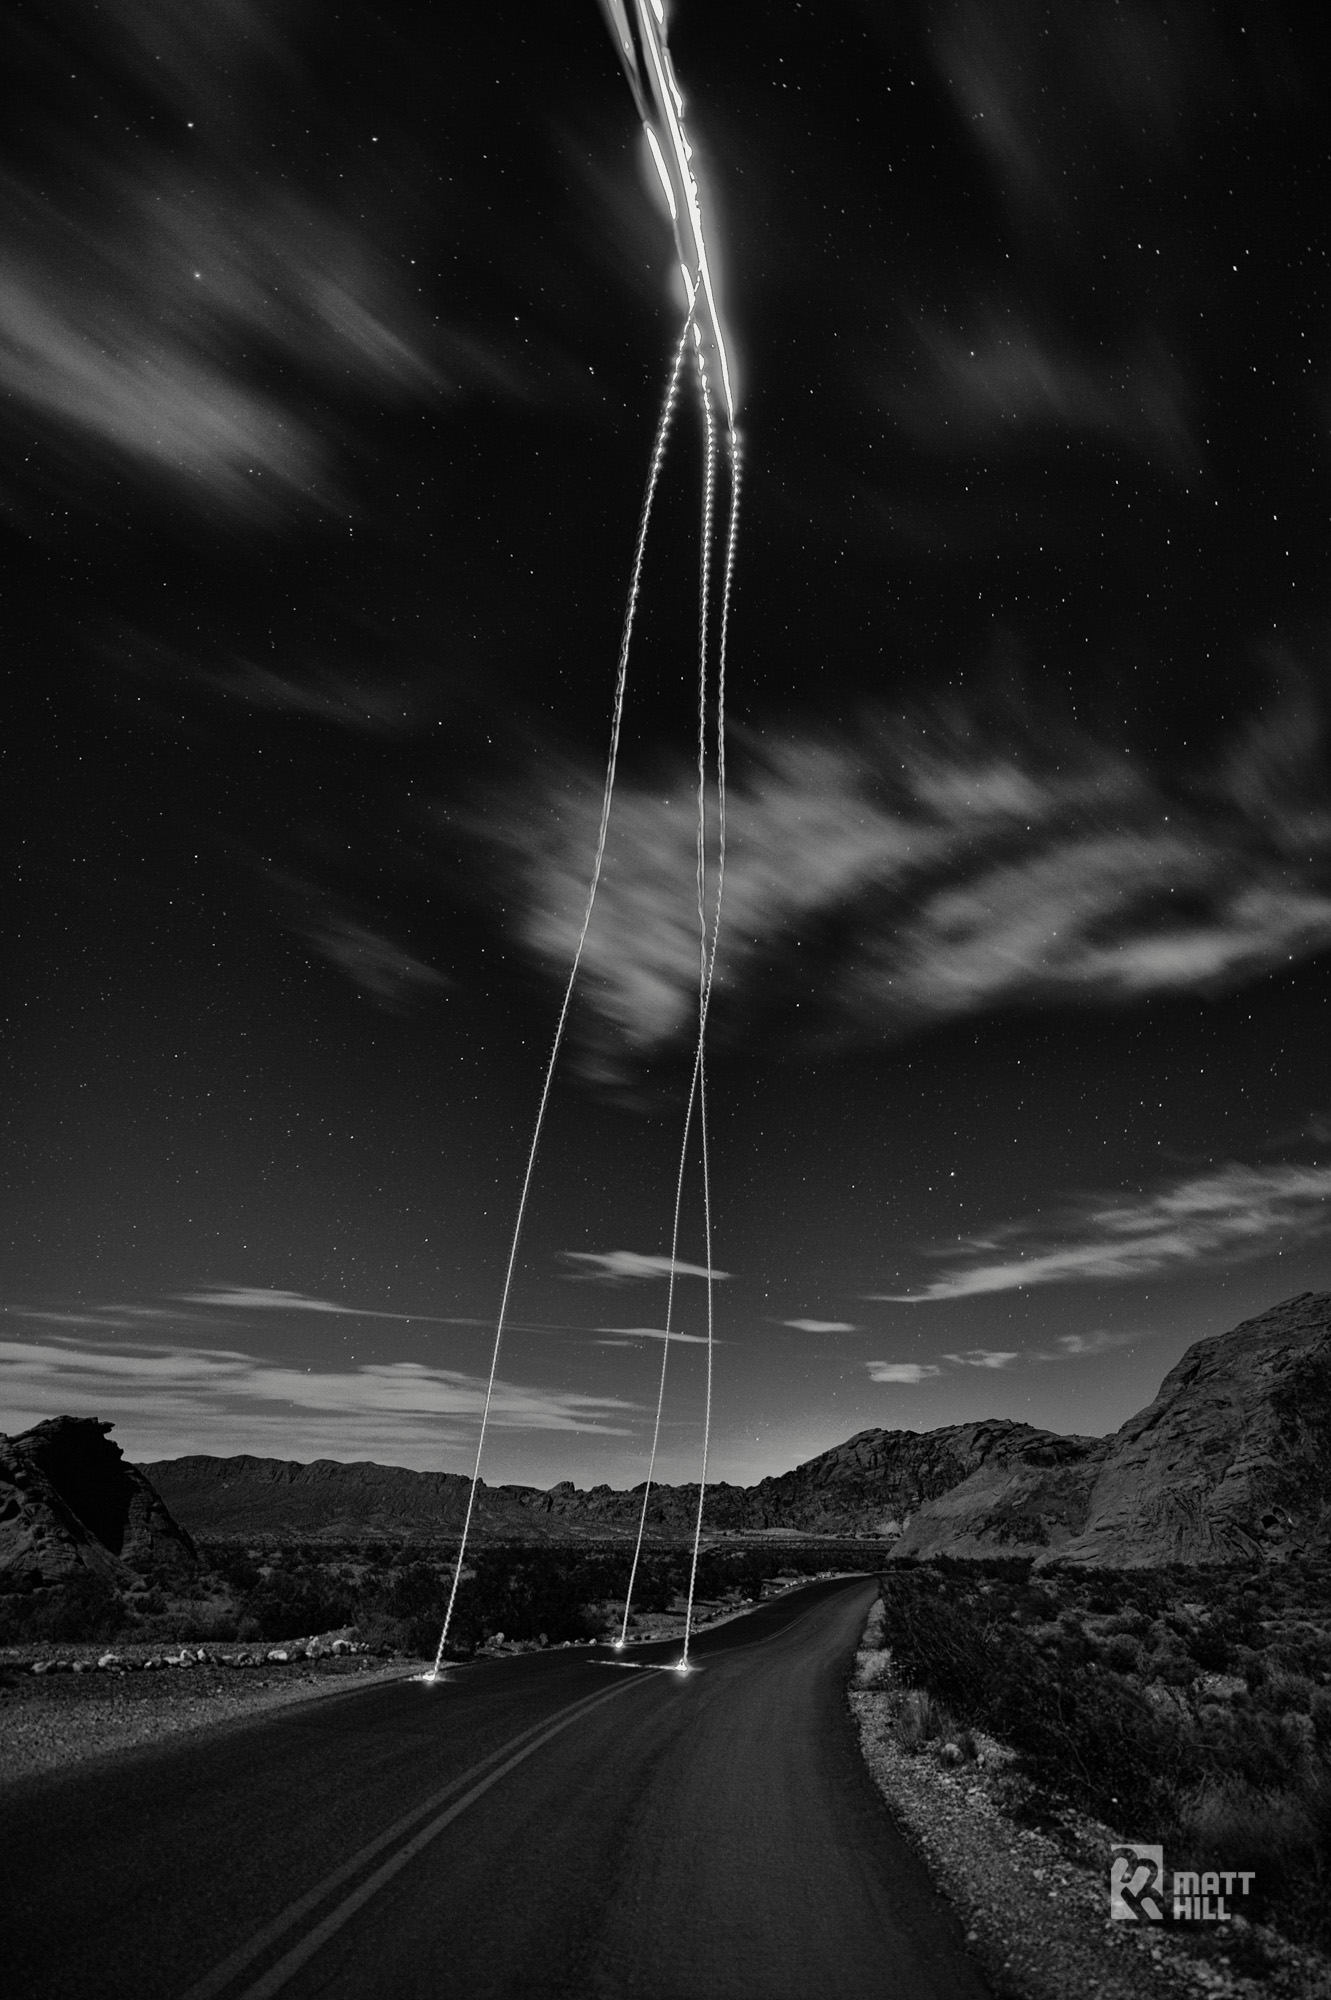
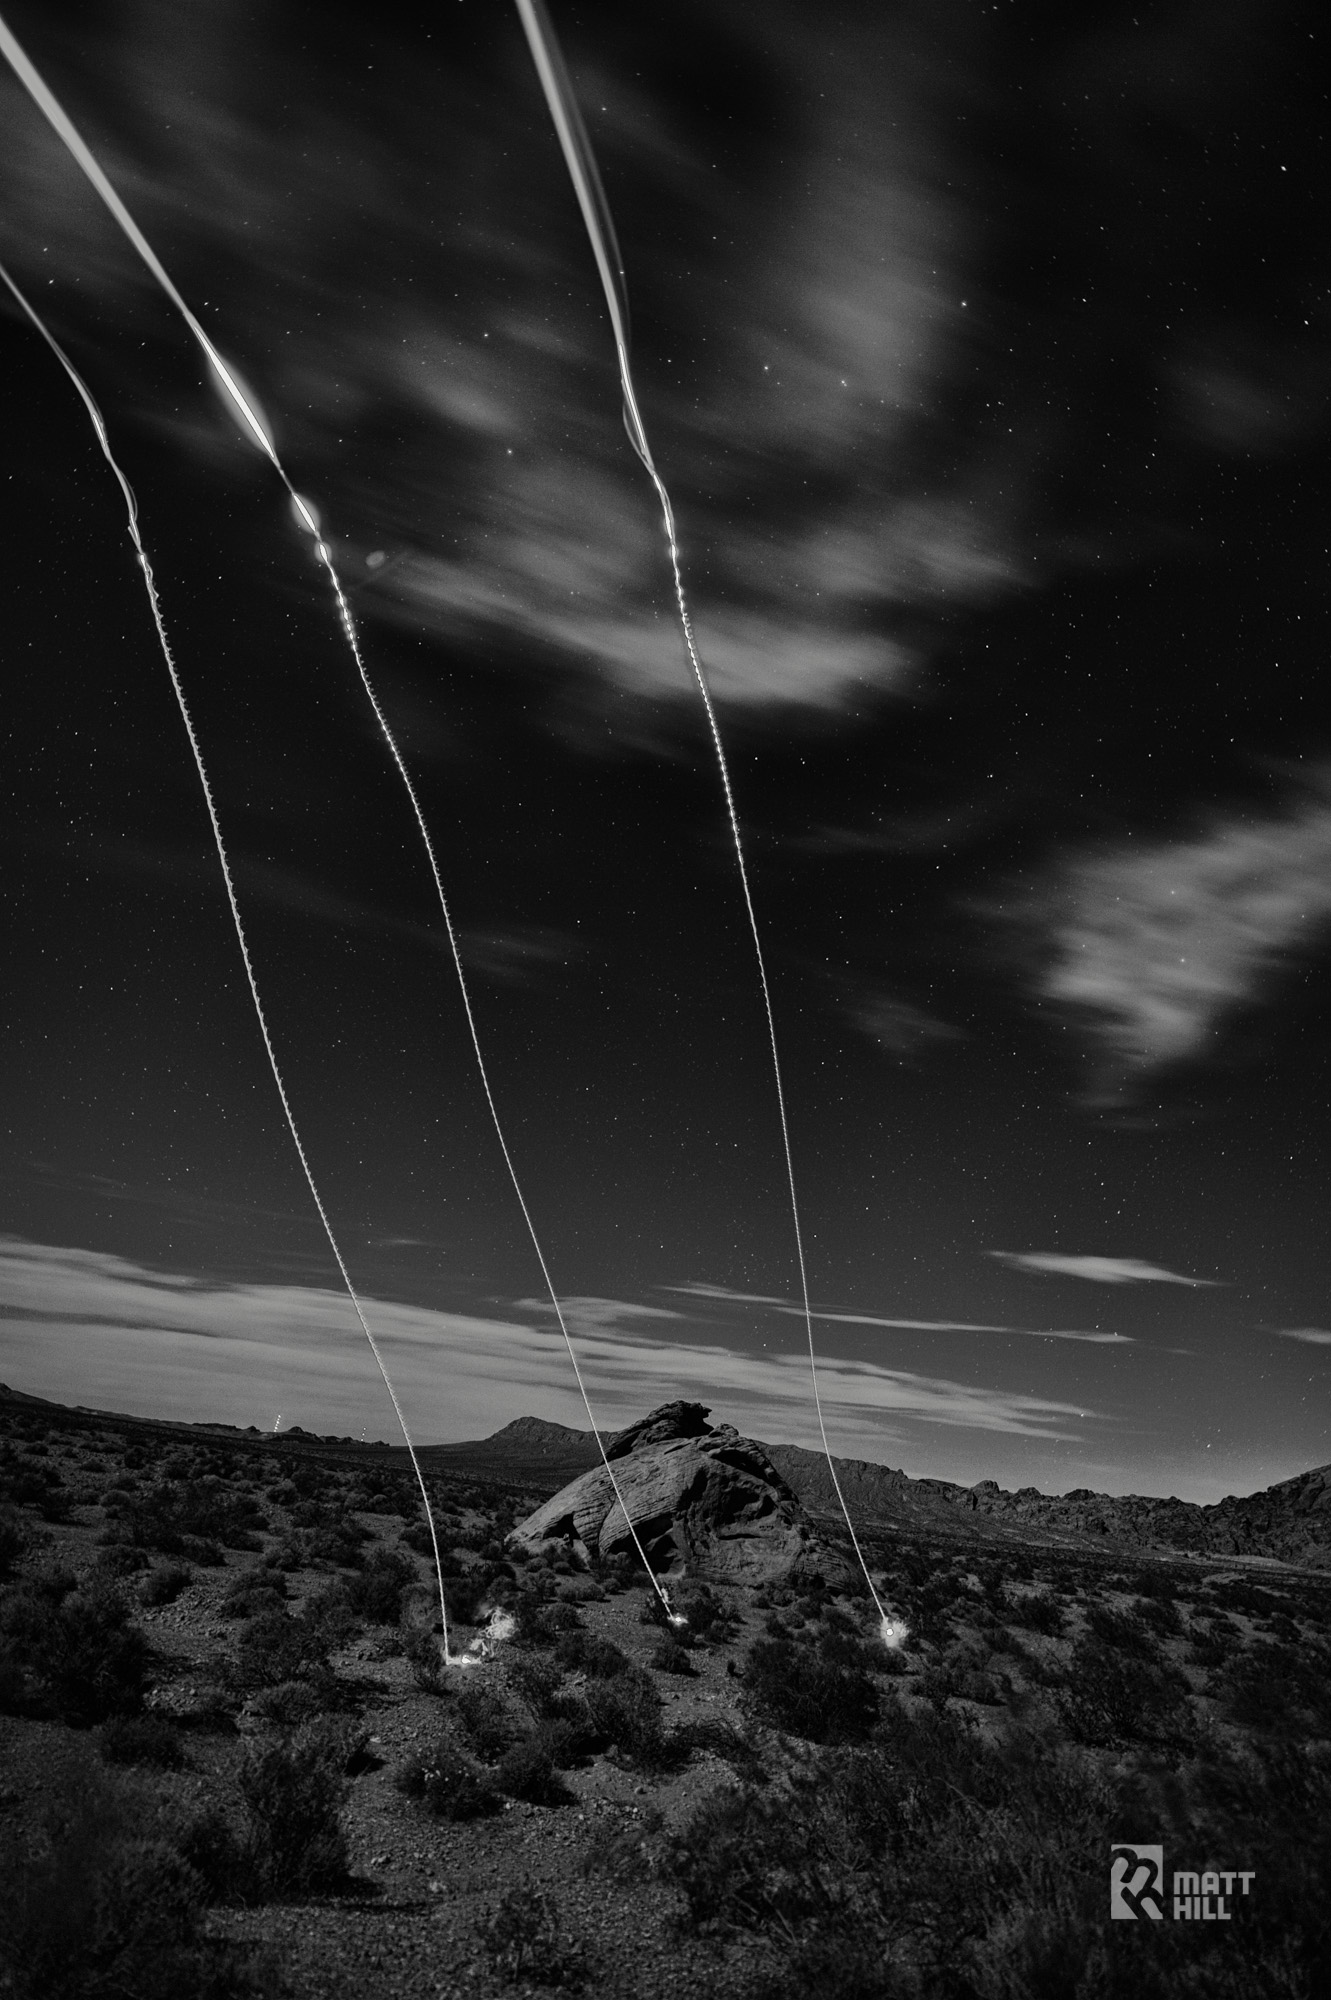
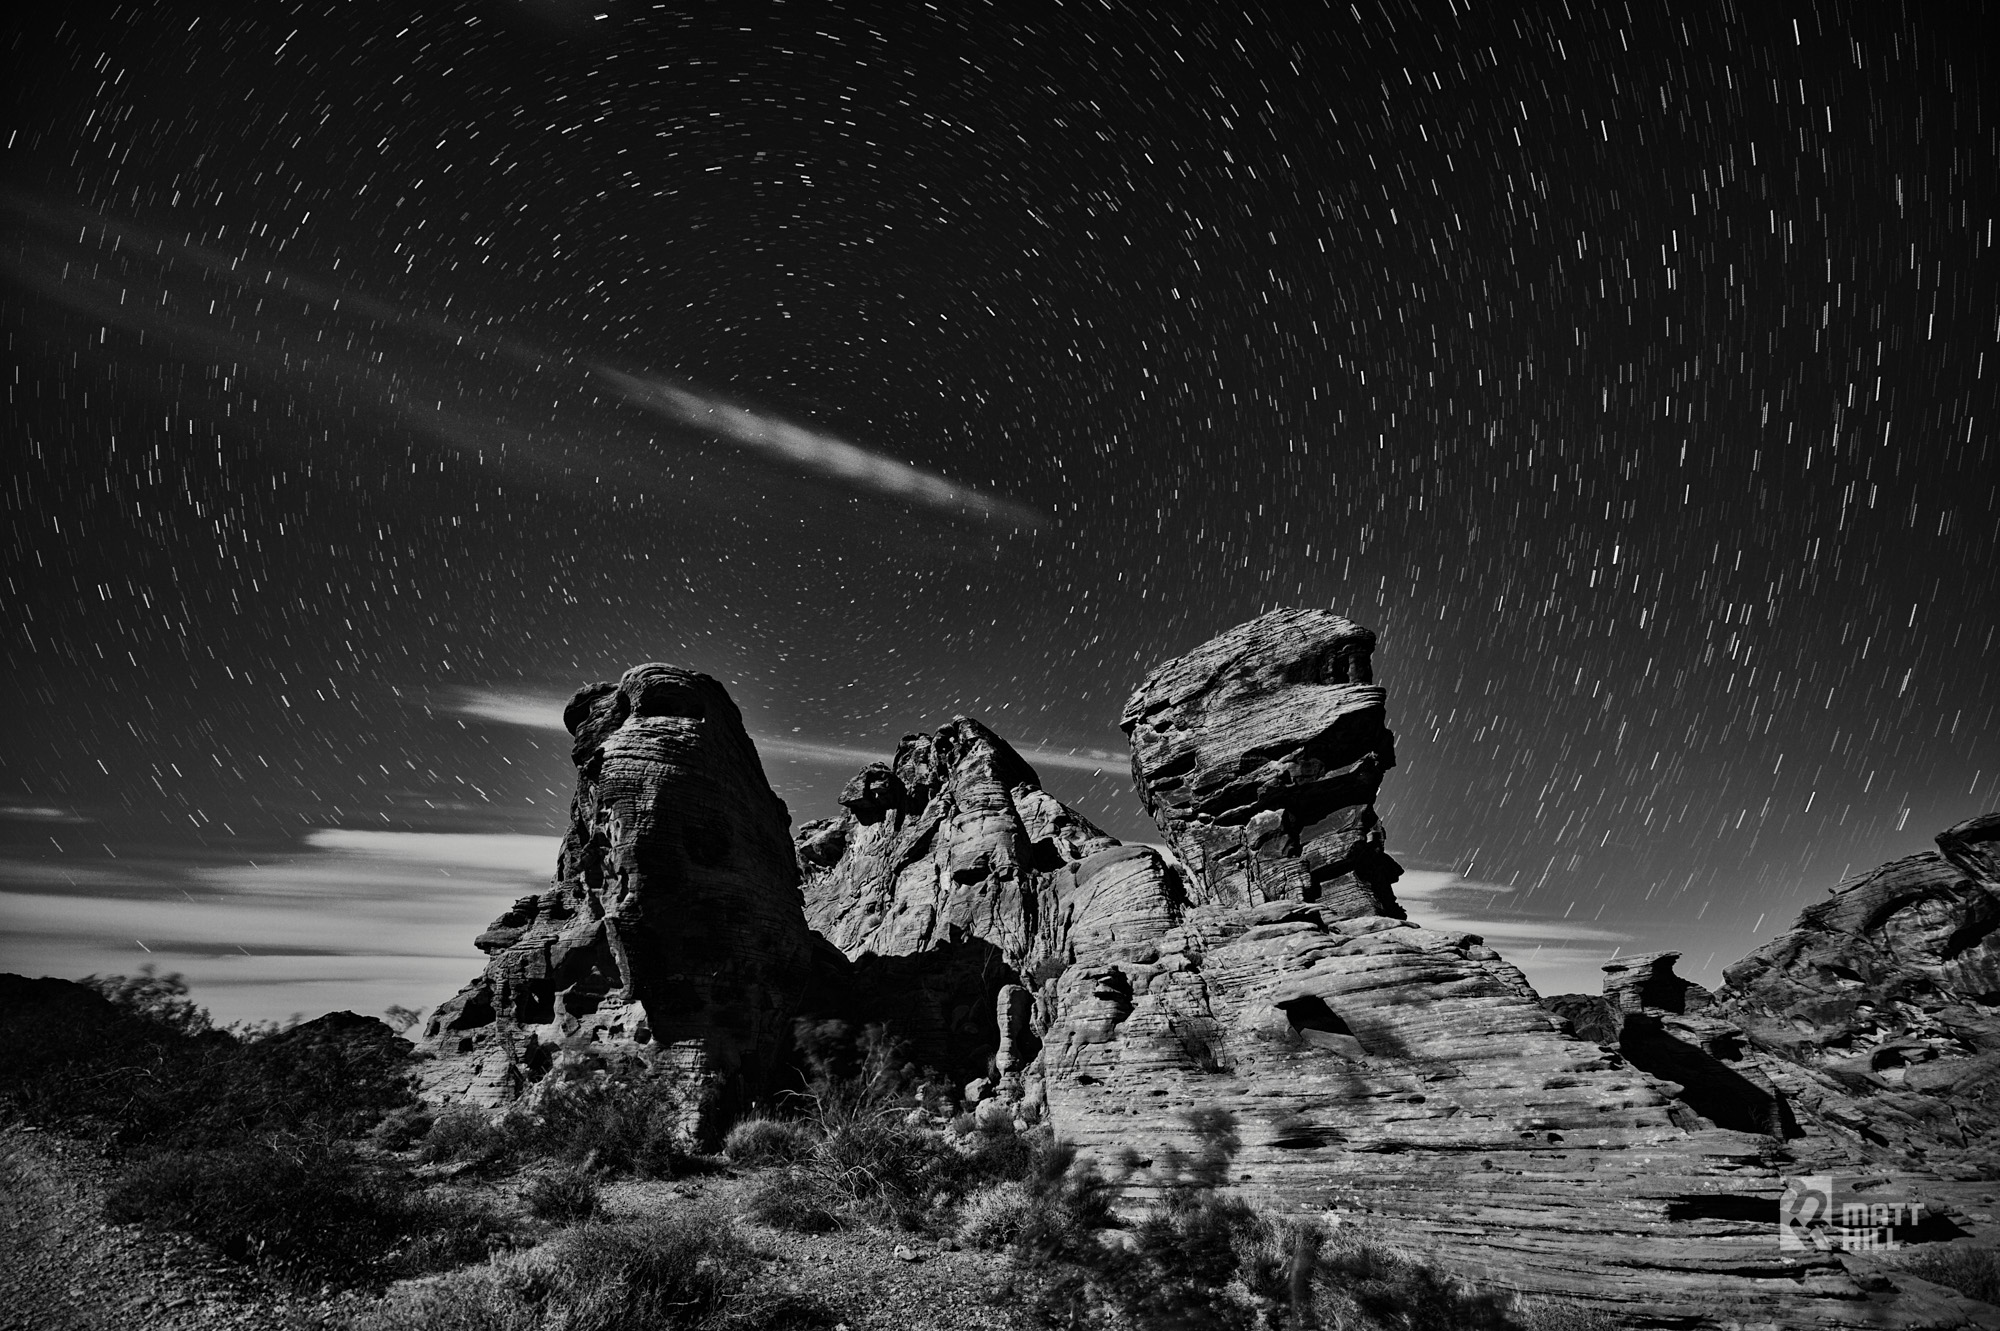
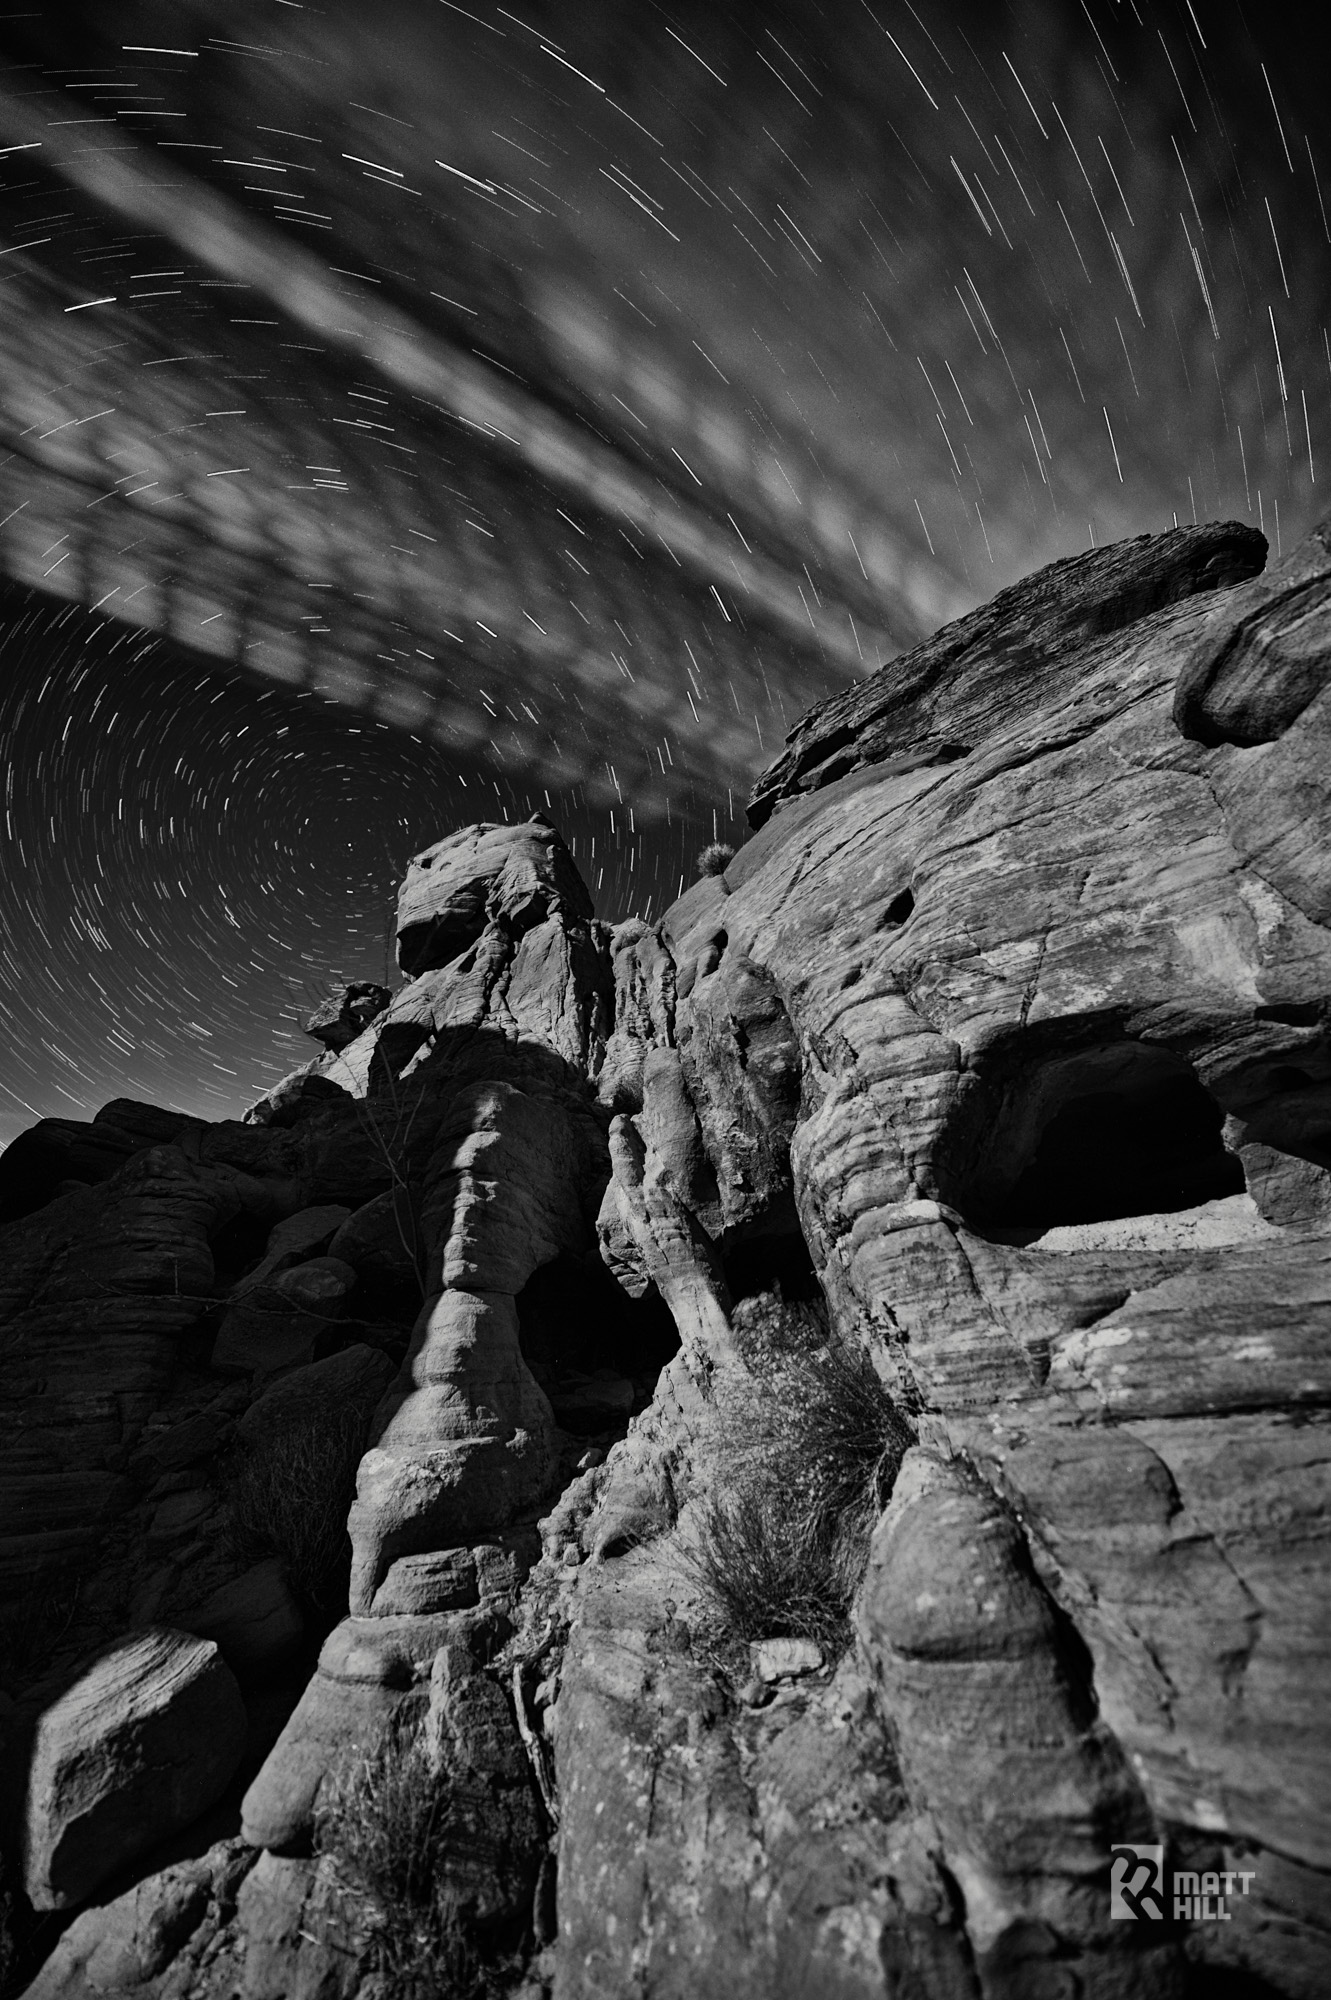
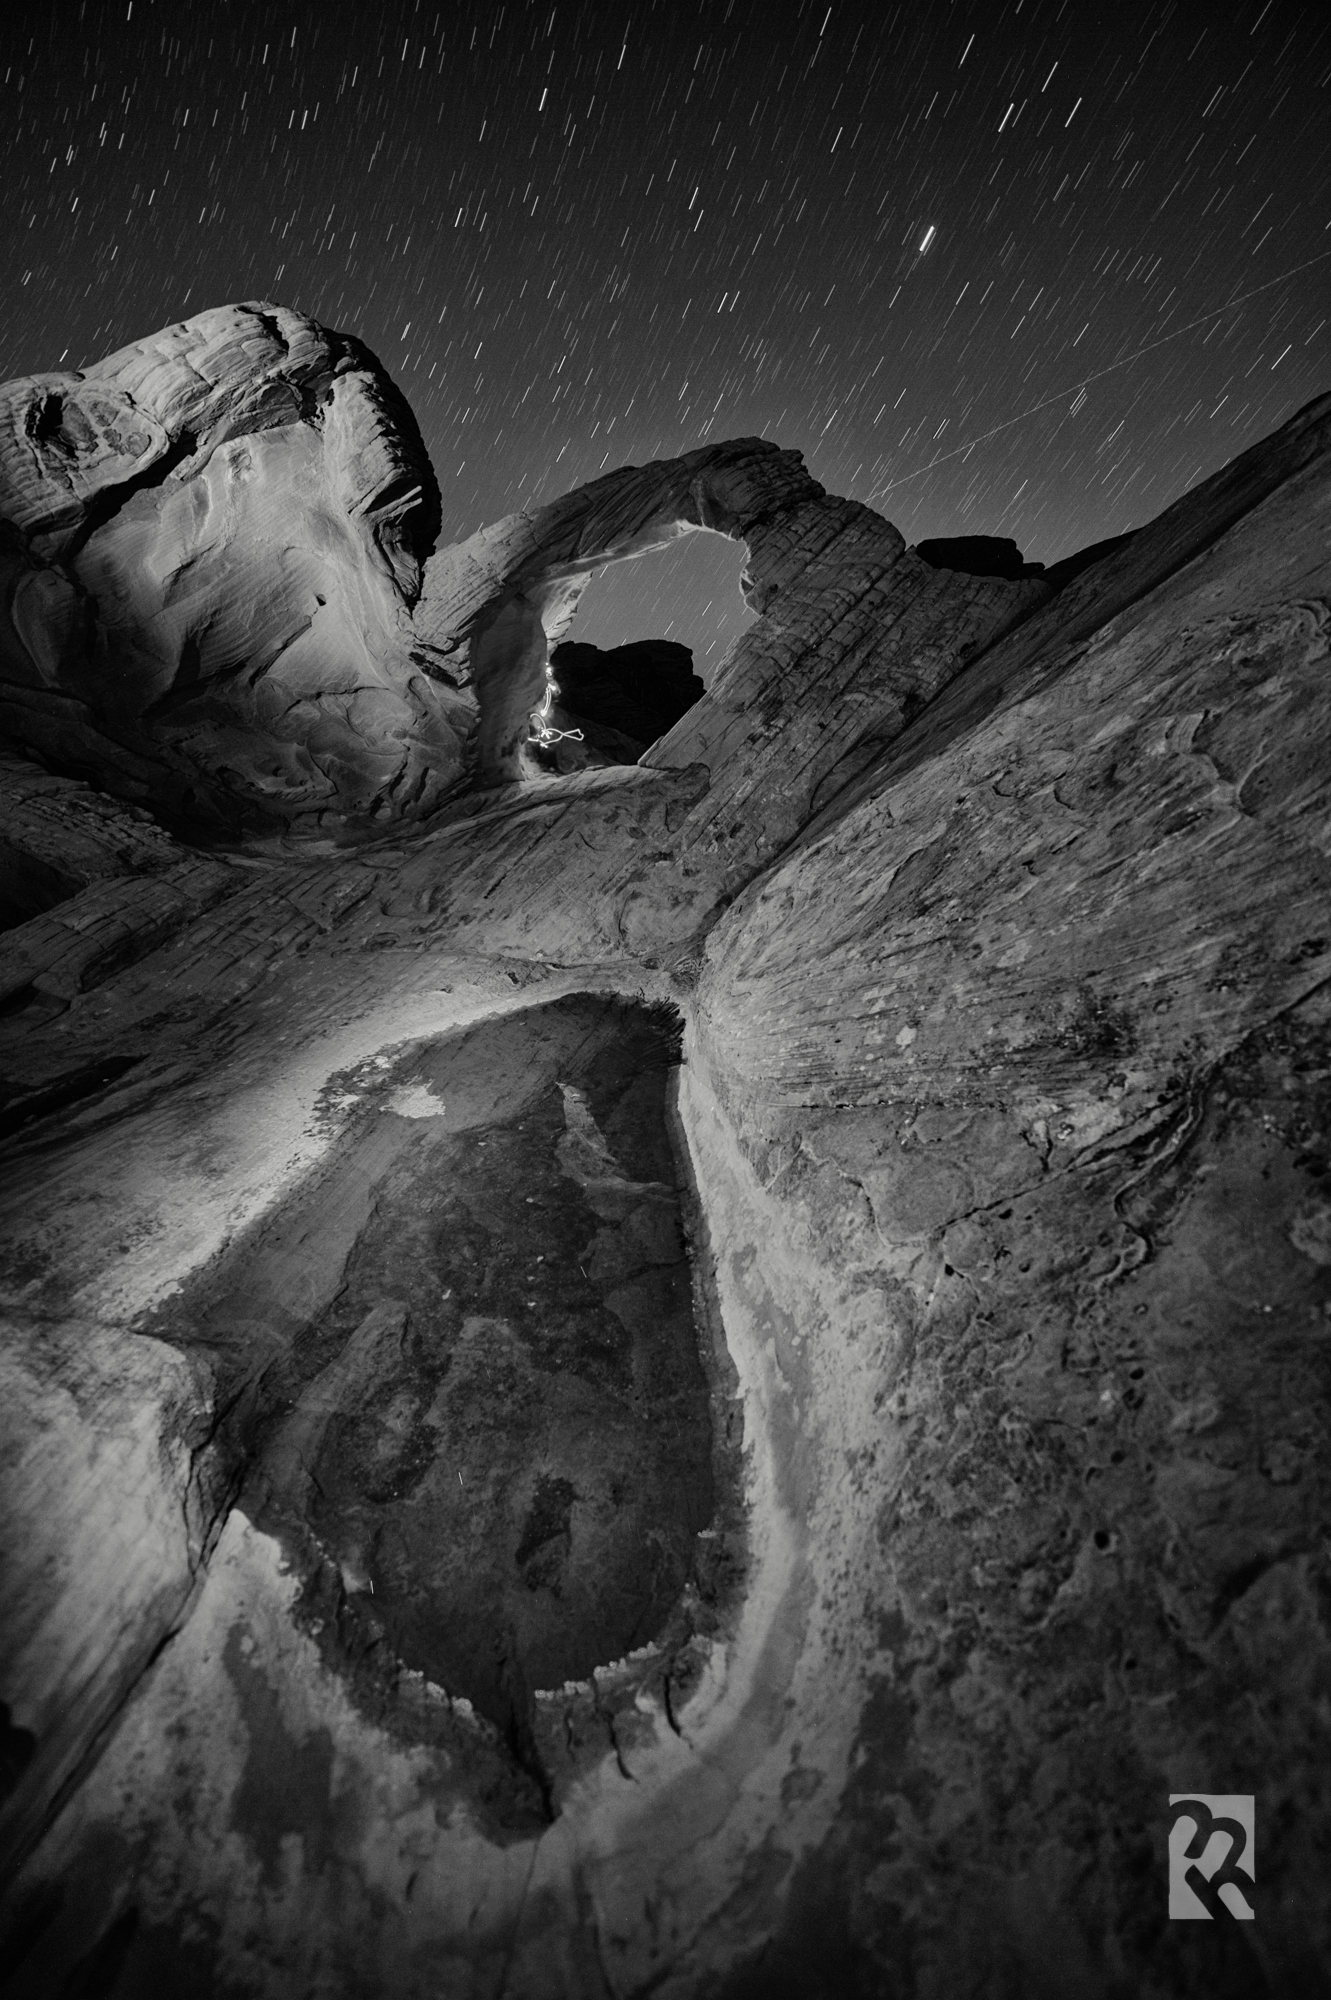
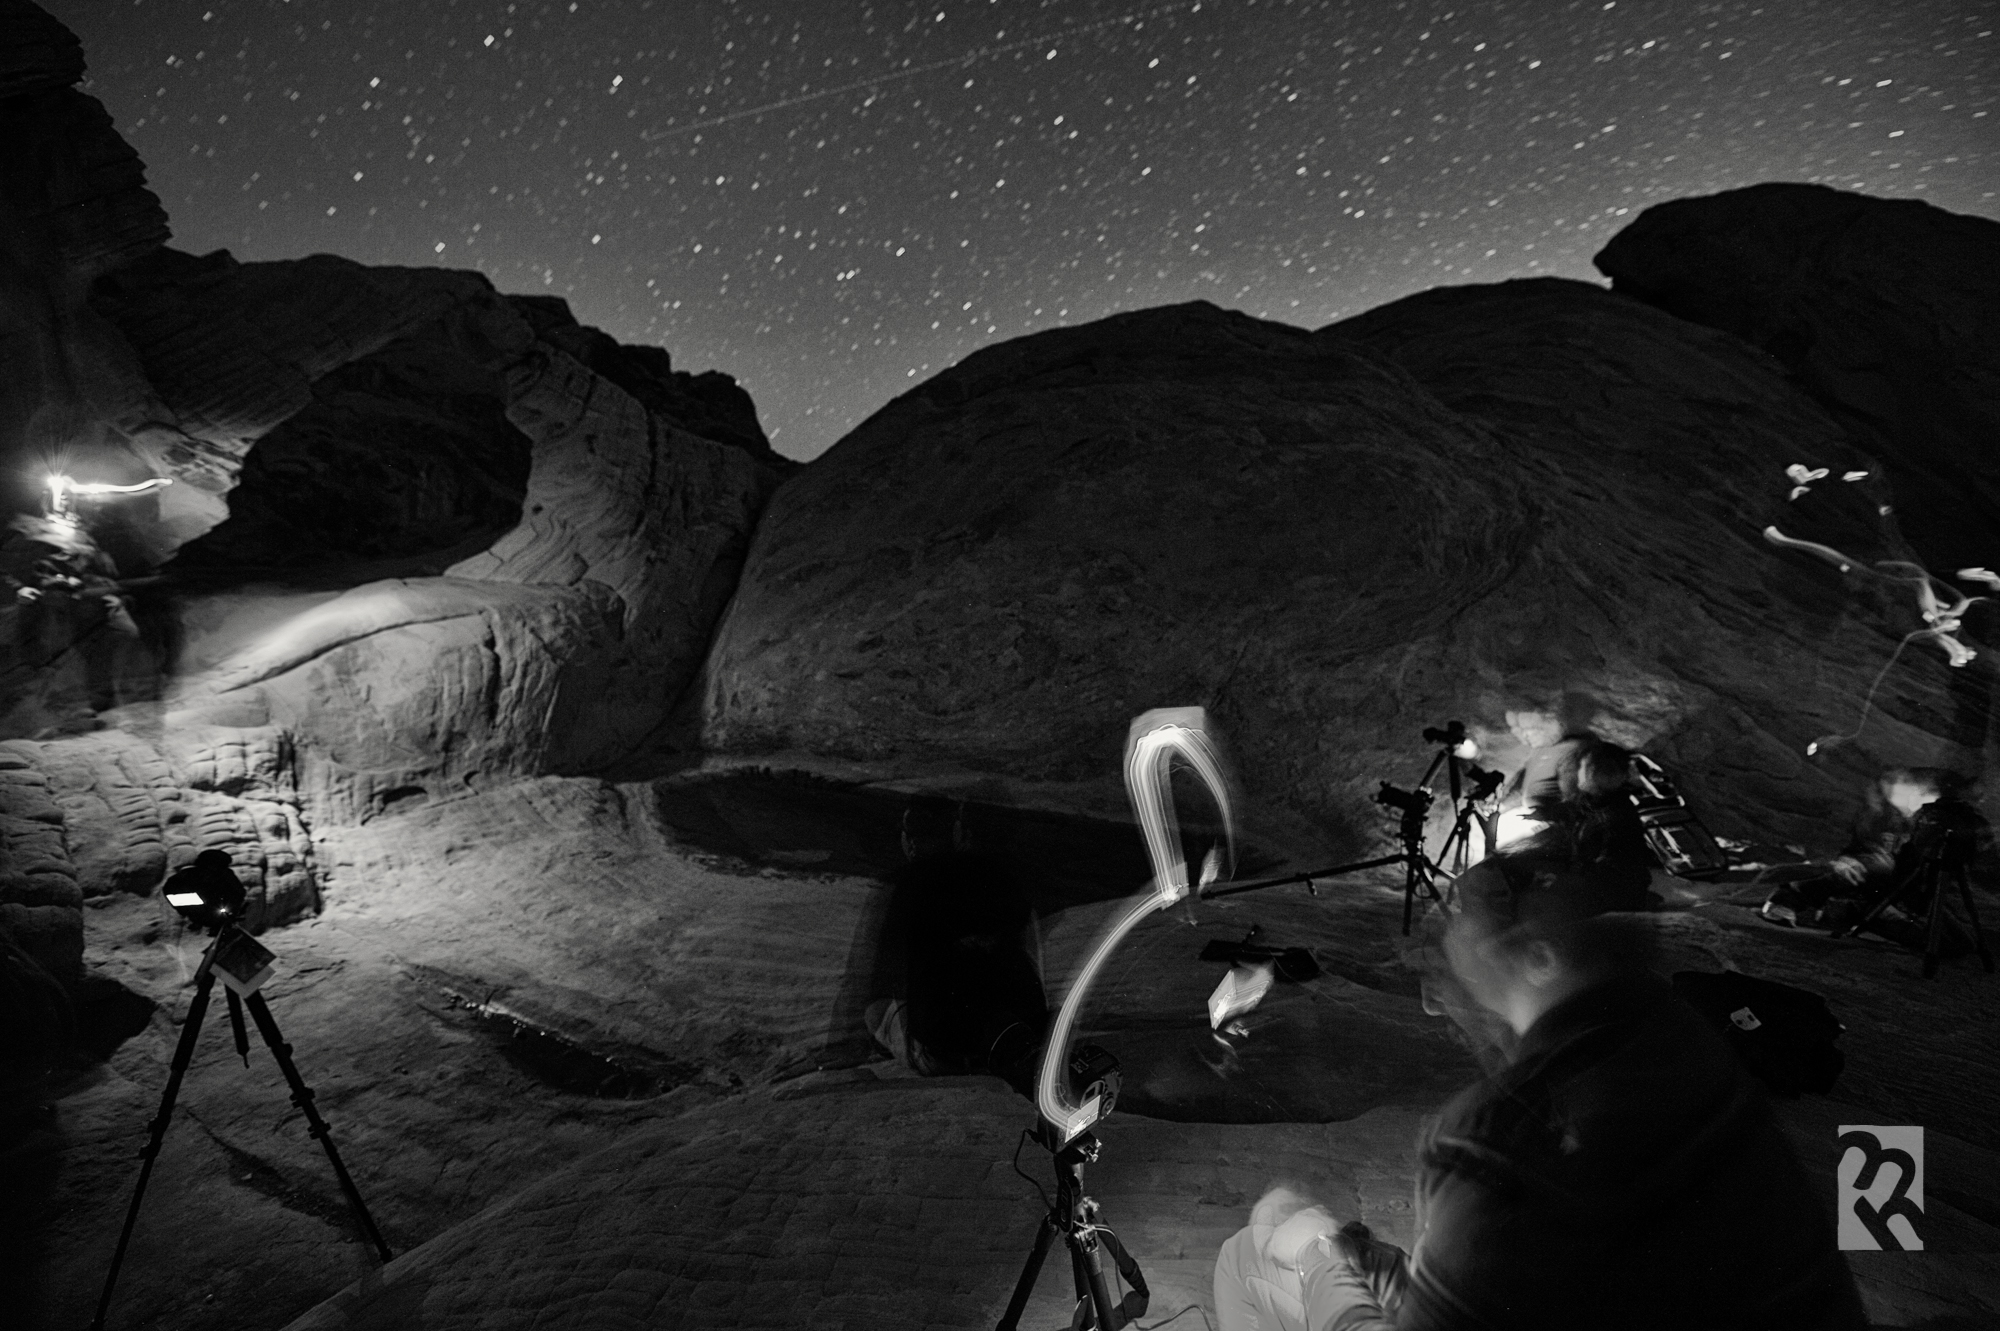
Valley of Fire Revisited
Back in 2010, I went out to the Valley of Fire for the first time (Read more: Part 1 Part 2 Part 3 and Part 4).
Last night I went back with a different group of friends - Joseph Carey and John Faison. It was legendary. Ask me about stories when you see/meet me.
I was testing out my new Trigger Trap dongle and iPhone App on the way out and back, using the DistanceLapse feature - set to trip my D700 shutter every 130m or such. I forget what the setting was since I was playing with it... Anyway, I made that into a nice timelapse for your viewing enjoyment with images from the shoot in the video! (If you are curious, I assemble the timelapse in iStopMotion. This time I edited the movie in iMovie - i normally use FCP Studio.)

I like the results! Great feature. I have reservations about using Trigger Trap on a night shoot, so I used my other external trigger. Here are some final photos!


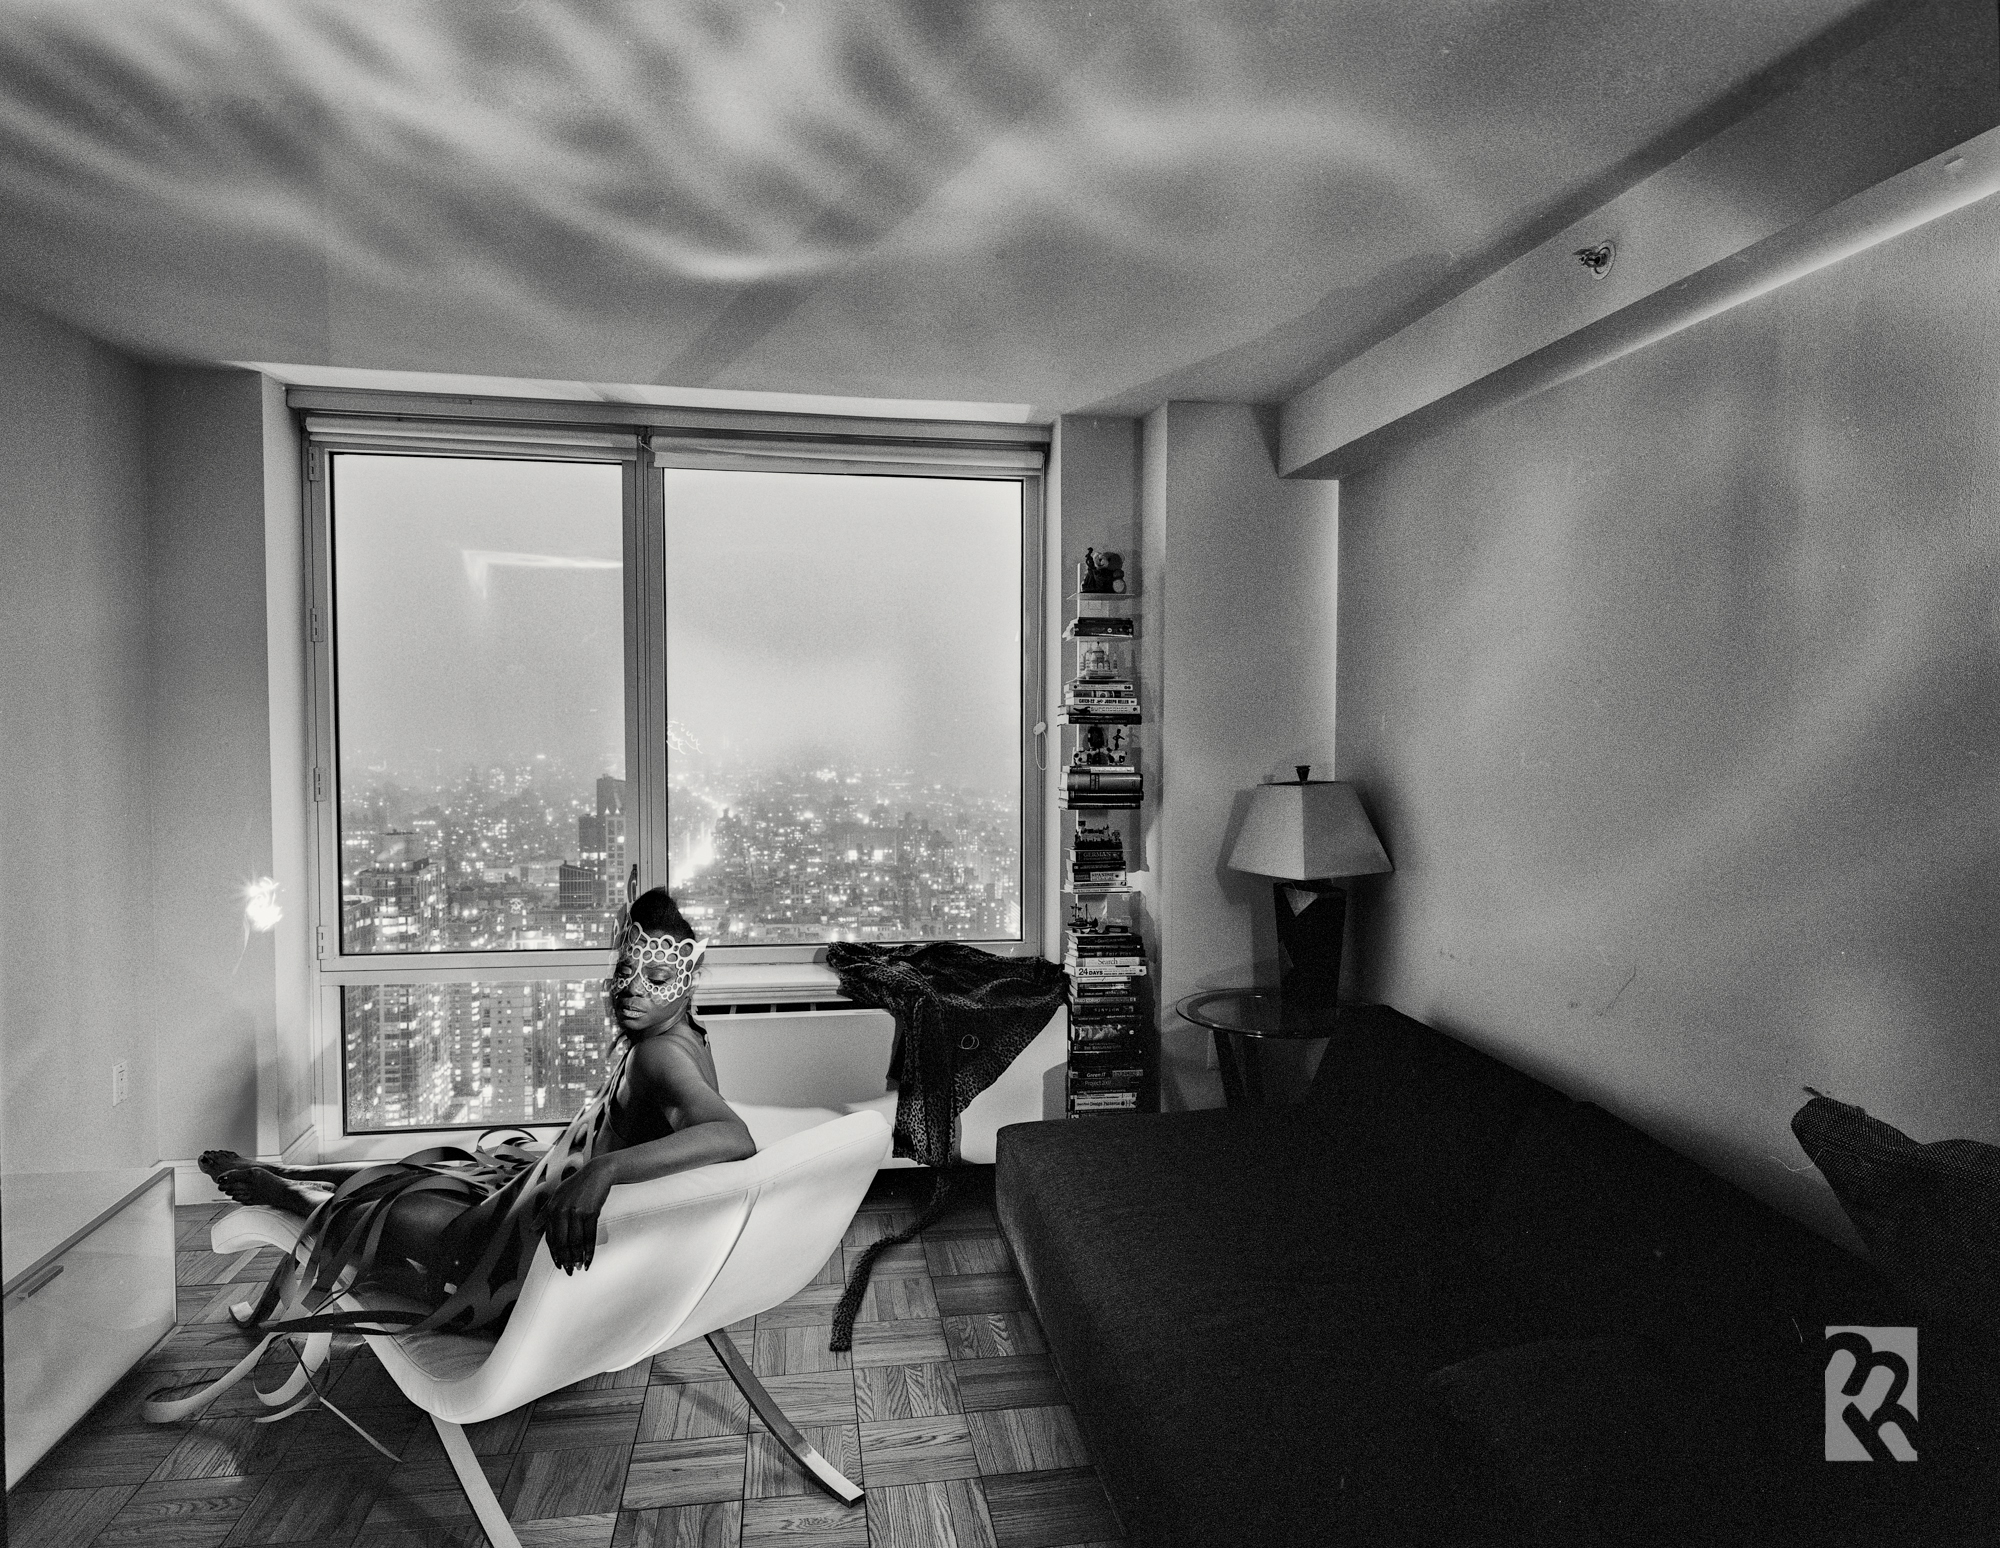
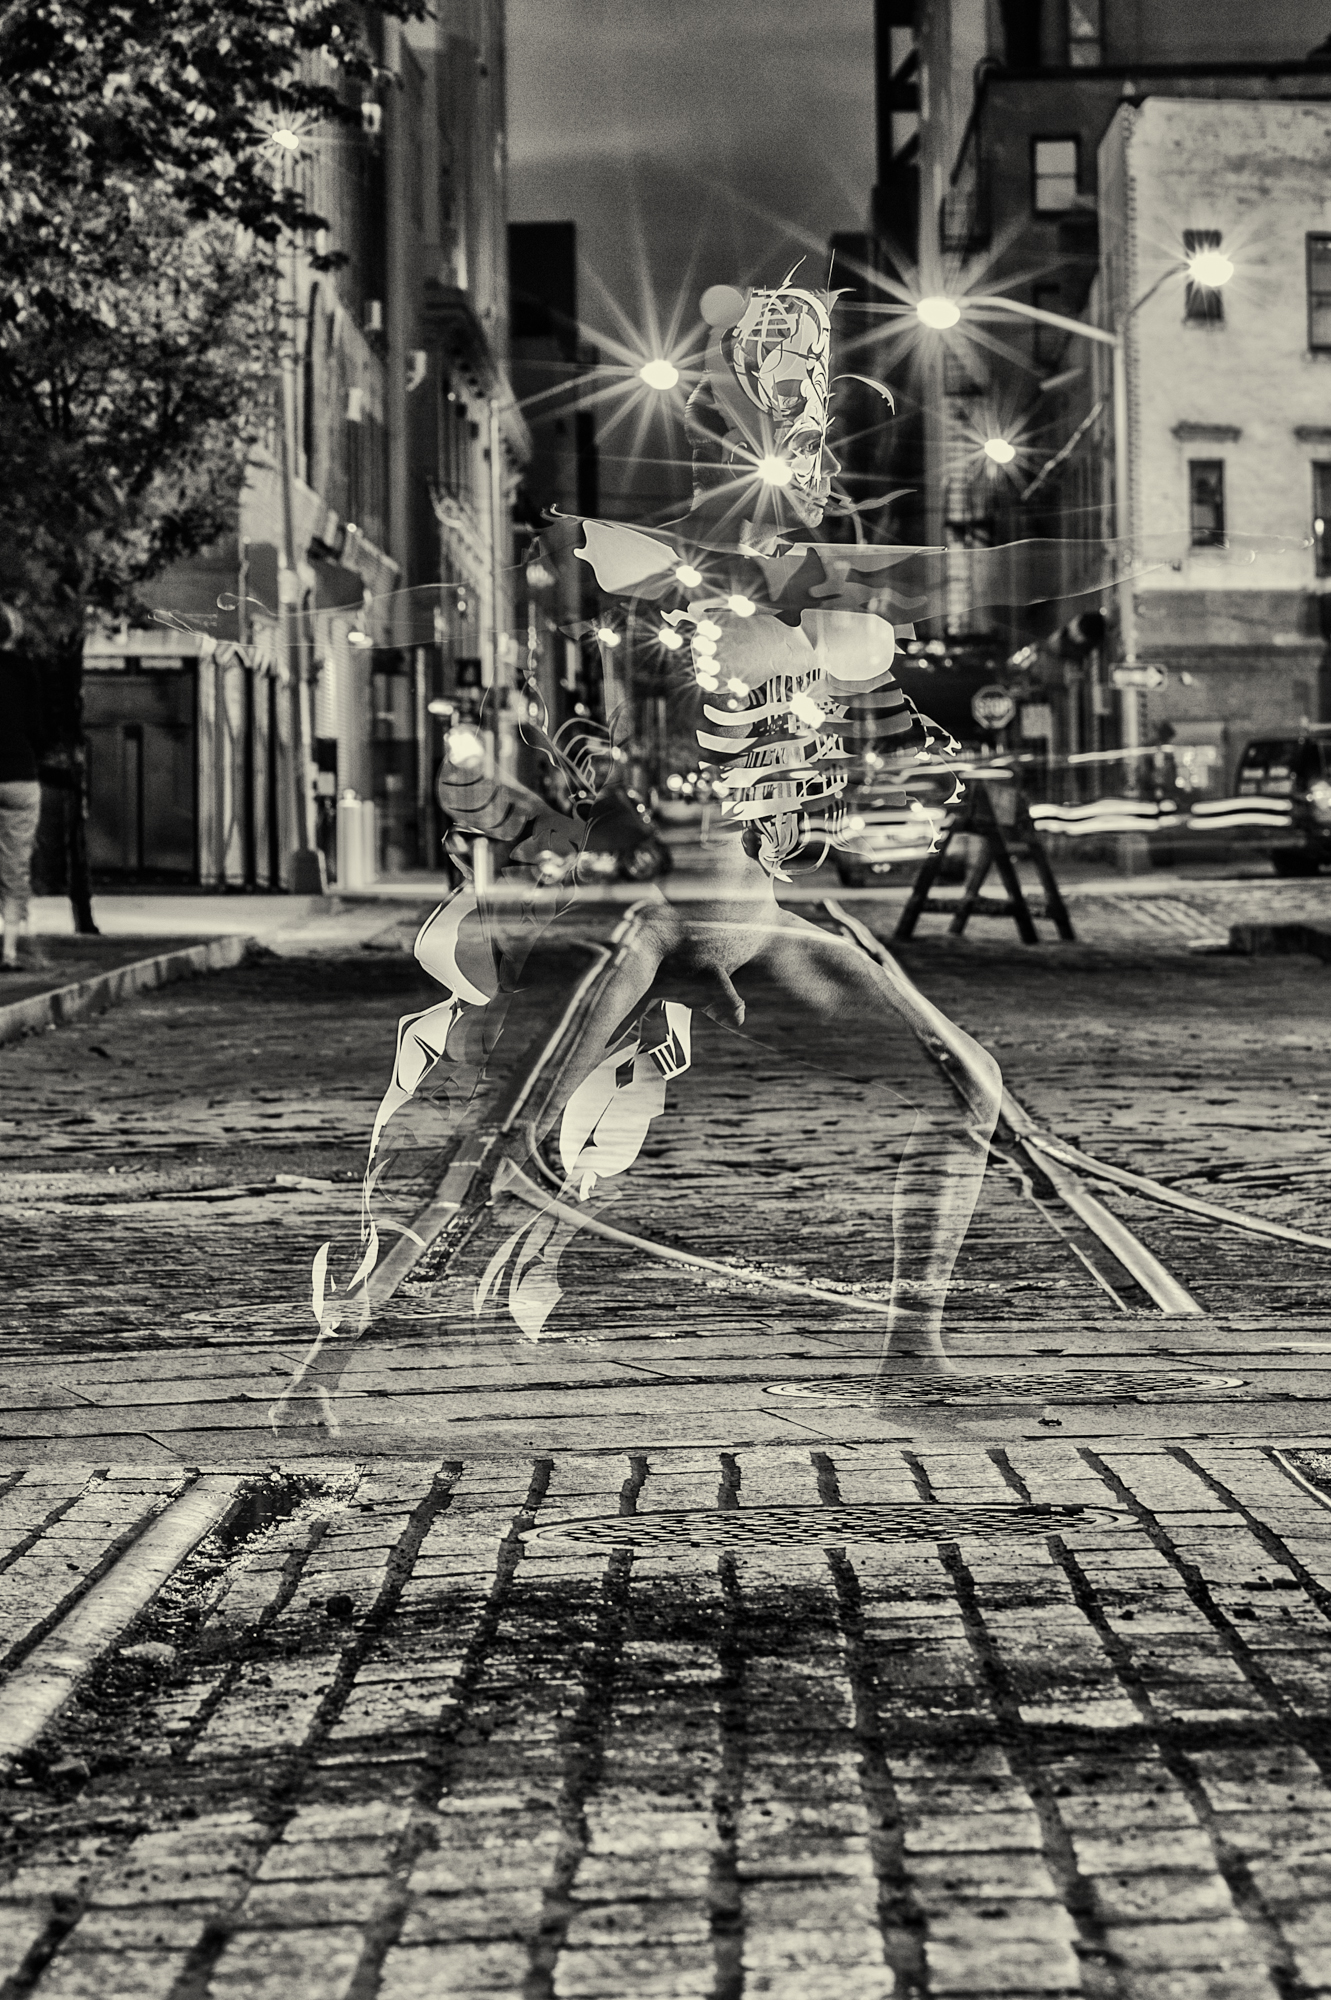
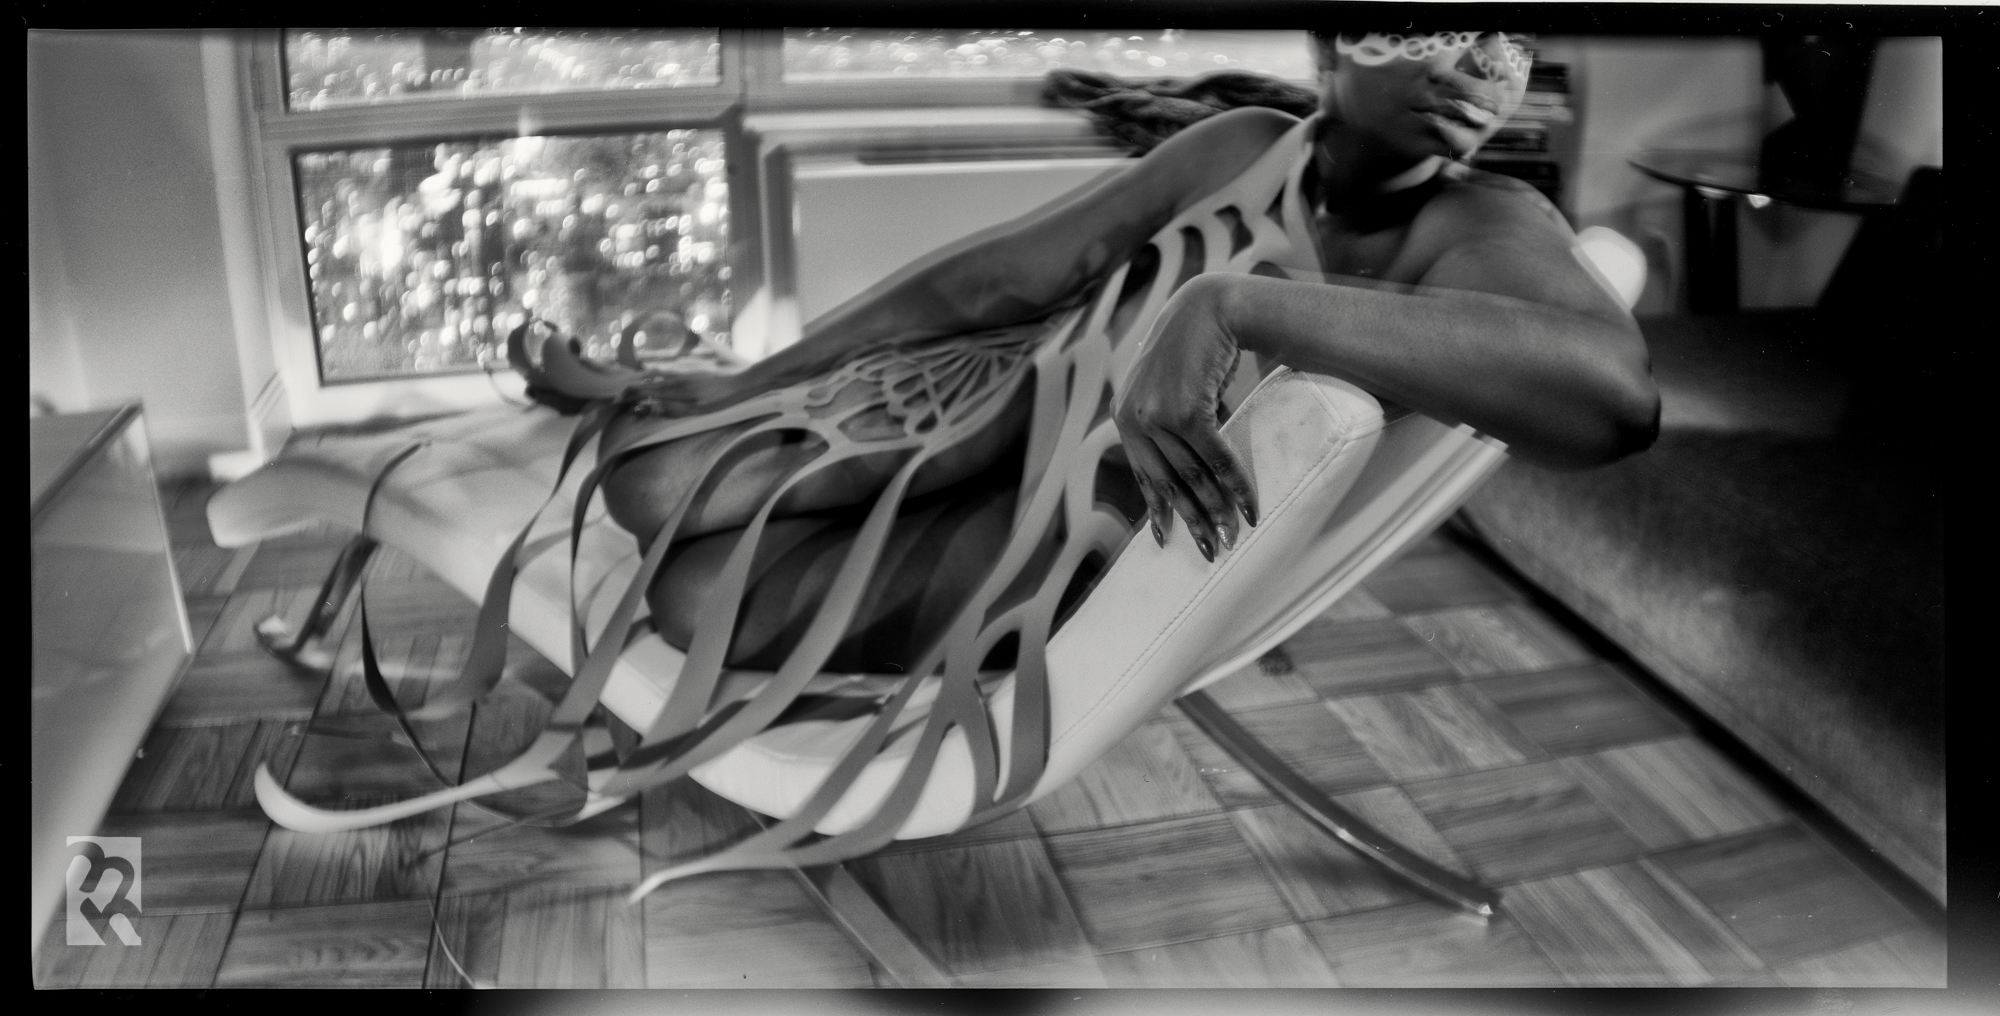
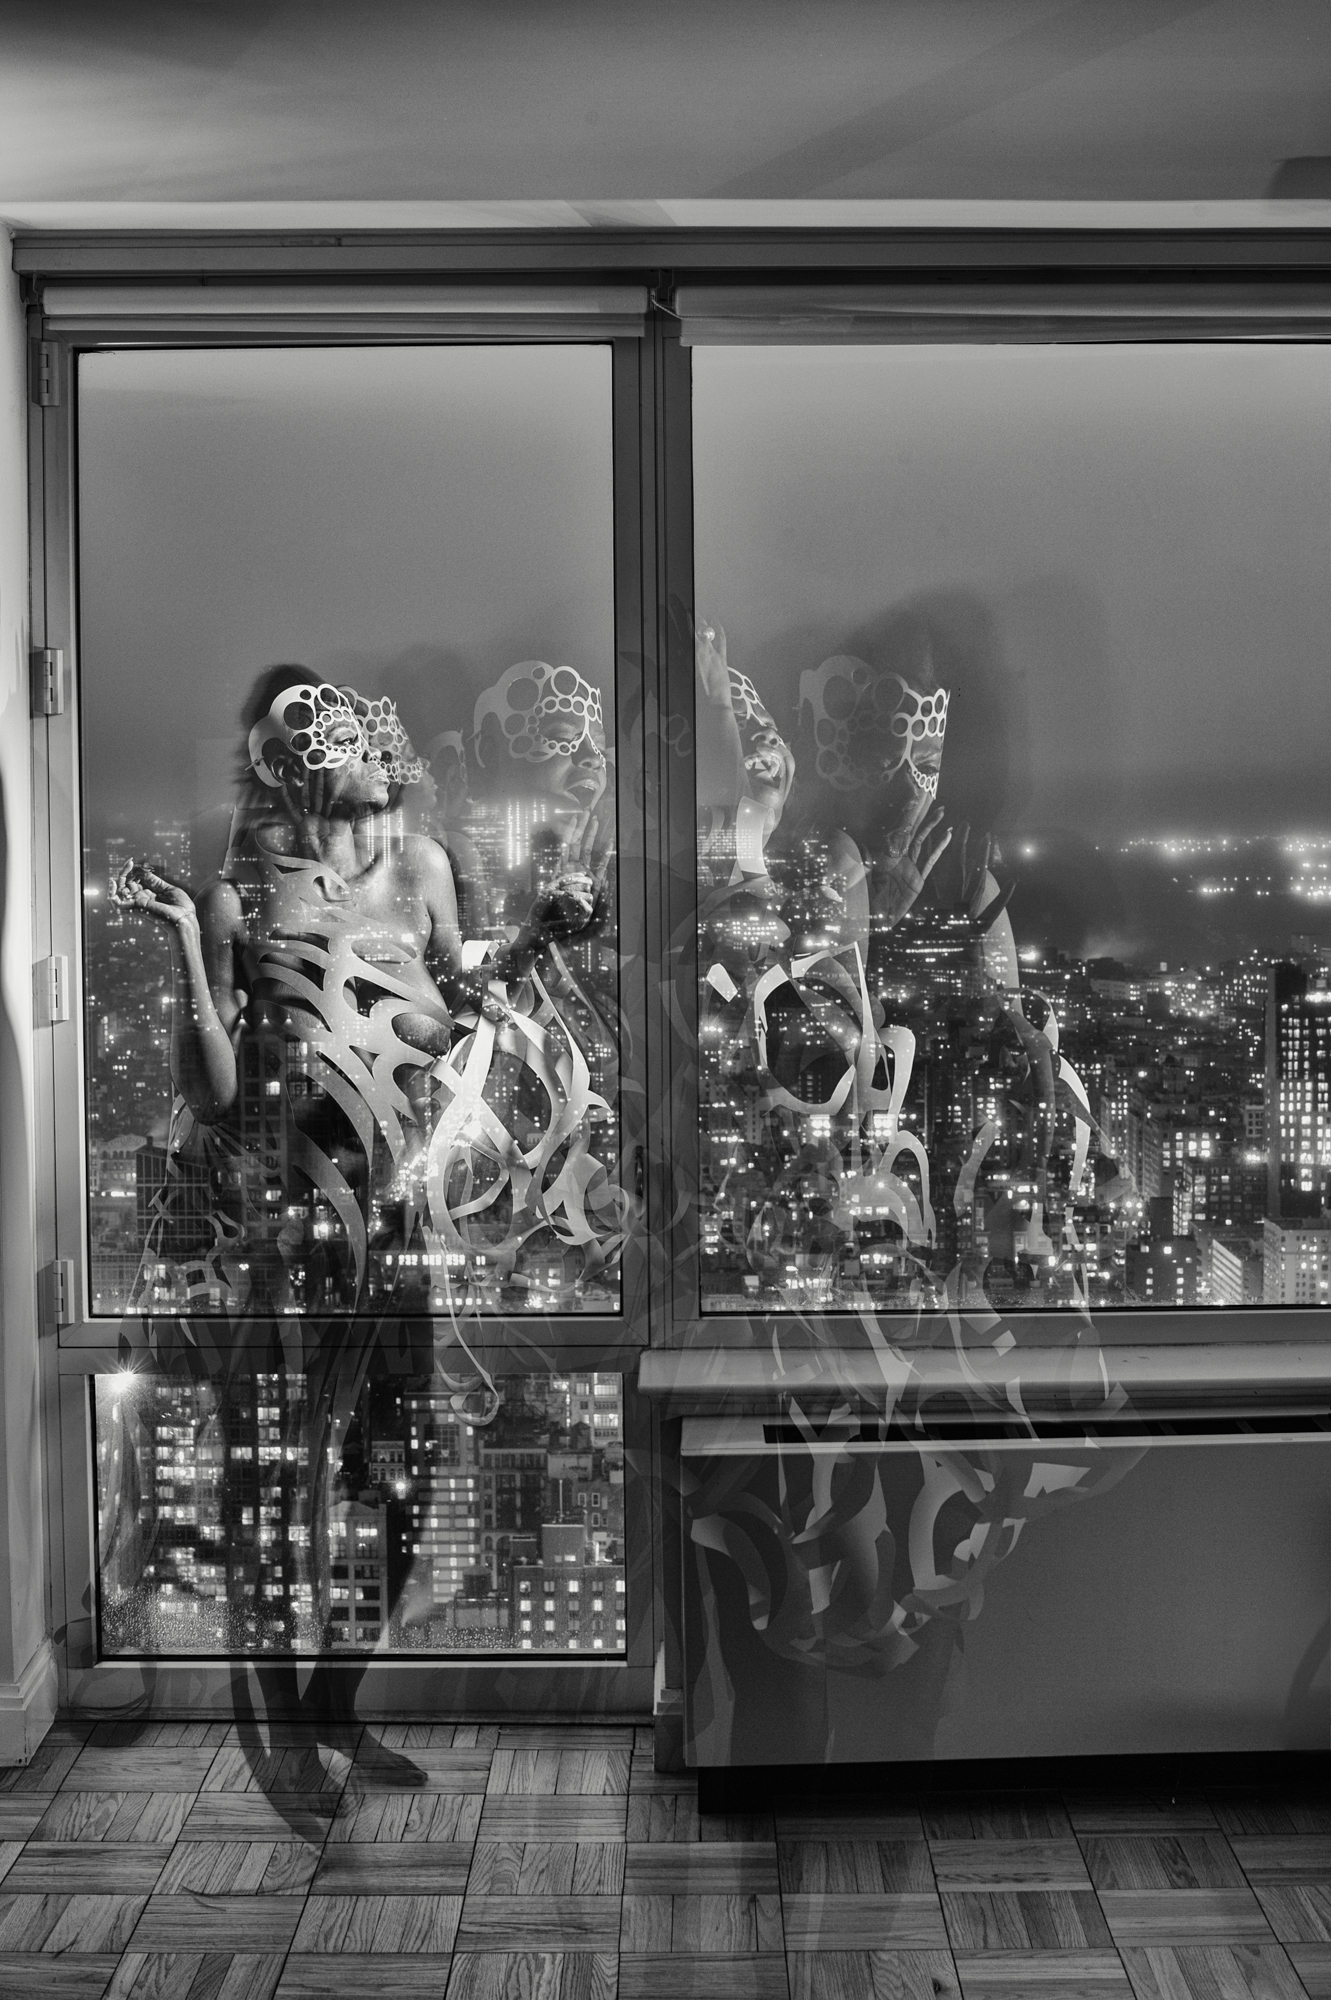
Night Paper #8 FILM: Falana Fox on the 56th Floor in Manhattan
Just got back some processed film! Here are two shots from Falana's shoot back in February.
I love them both for different reasons.
Mamiya 7, 43mm lens
2 mins @ f/8 + light painting
ILFORD XP2 Super
LOMO Belair X 6-12, 58mm lens
2 minutes @ f/11
Fuji Acros 100
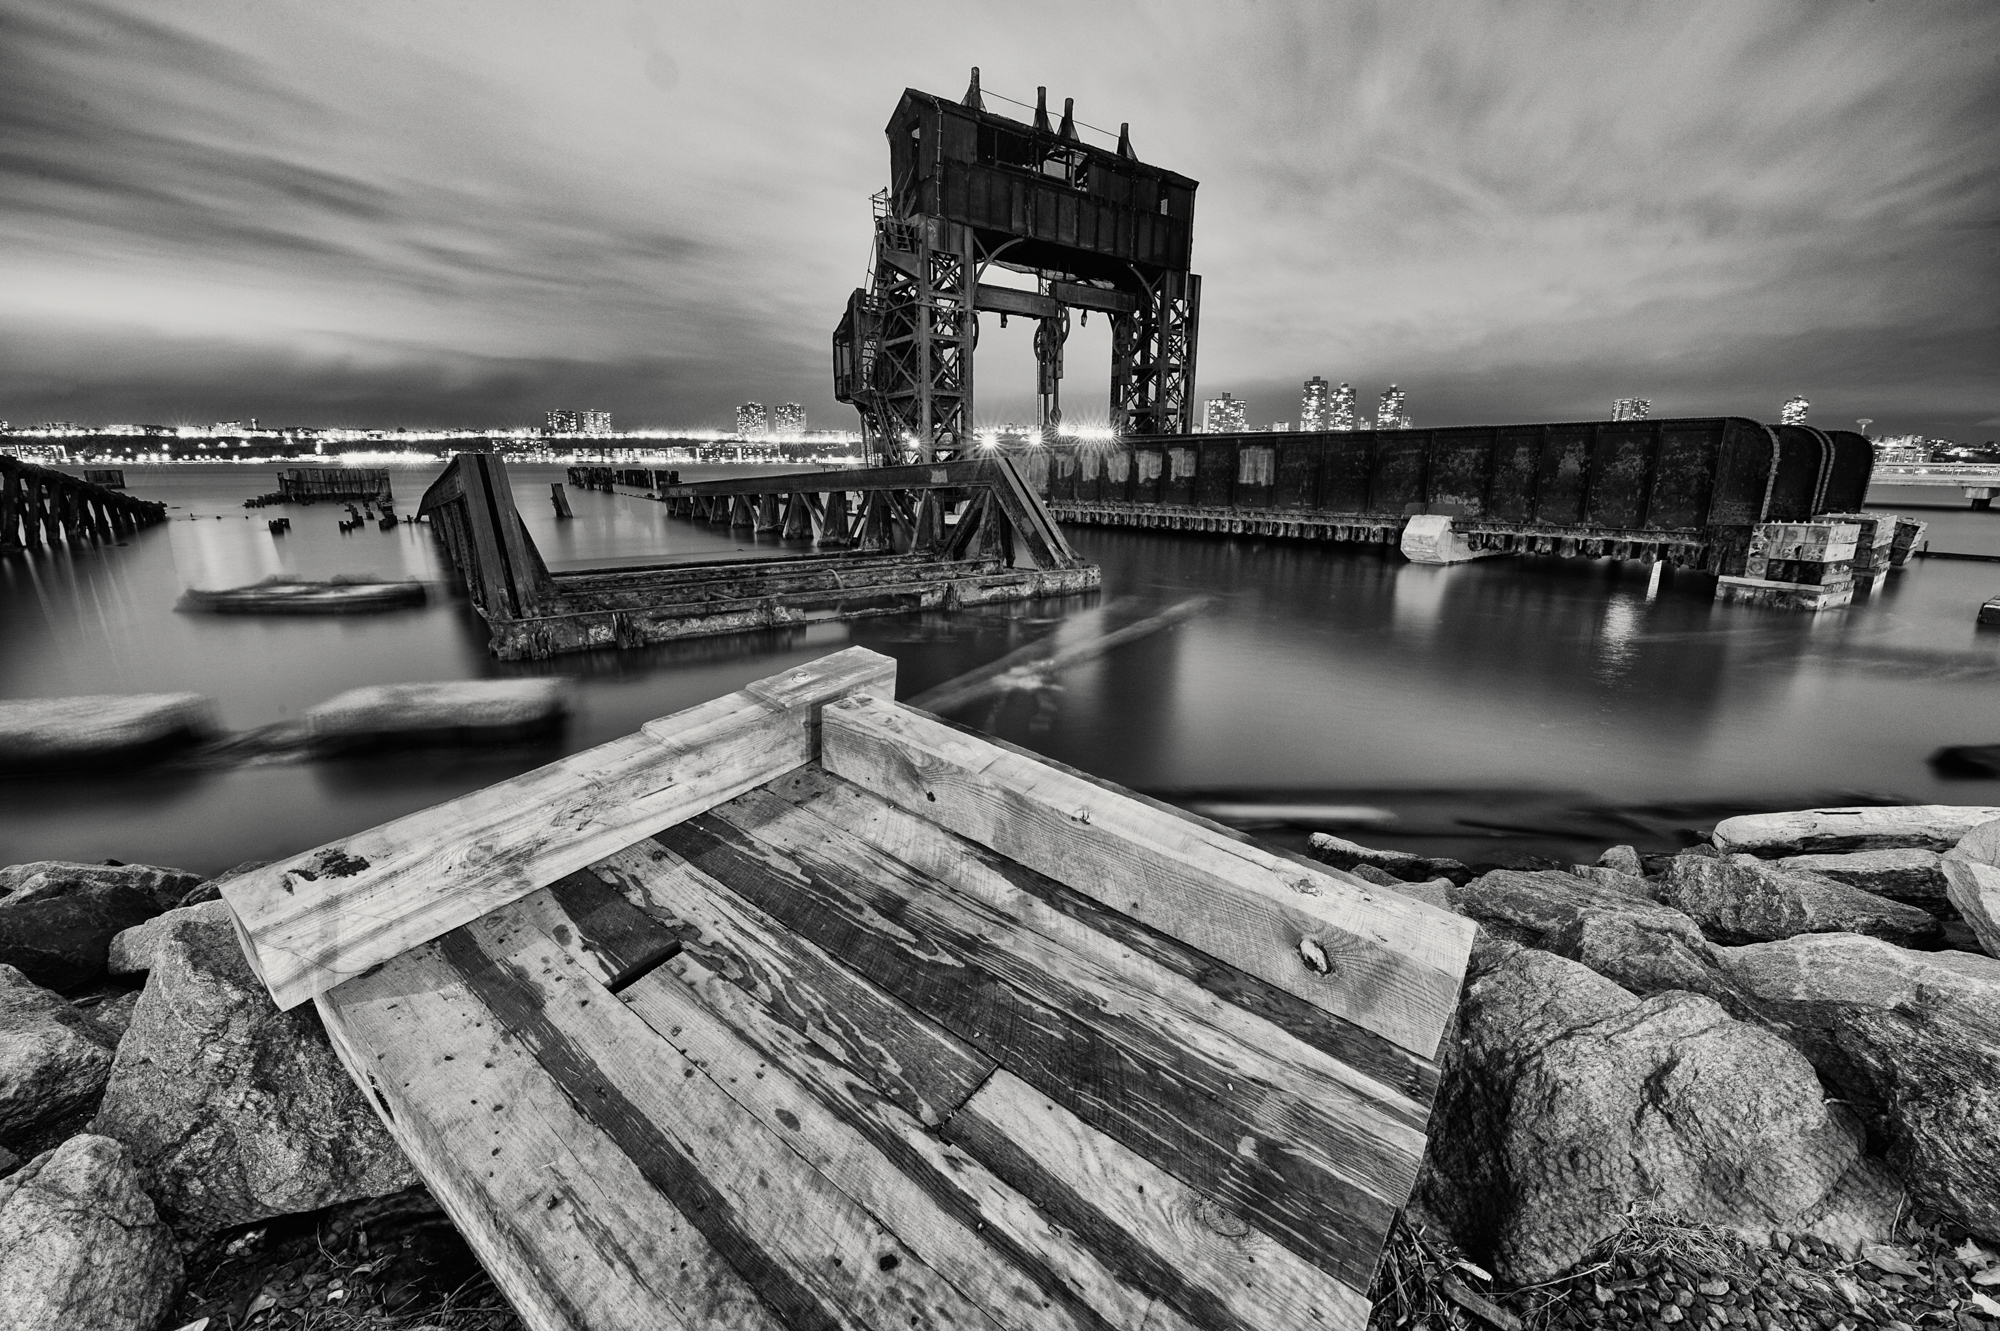
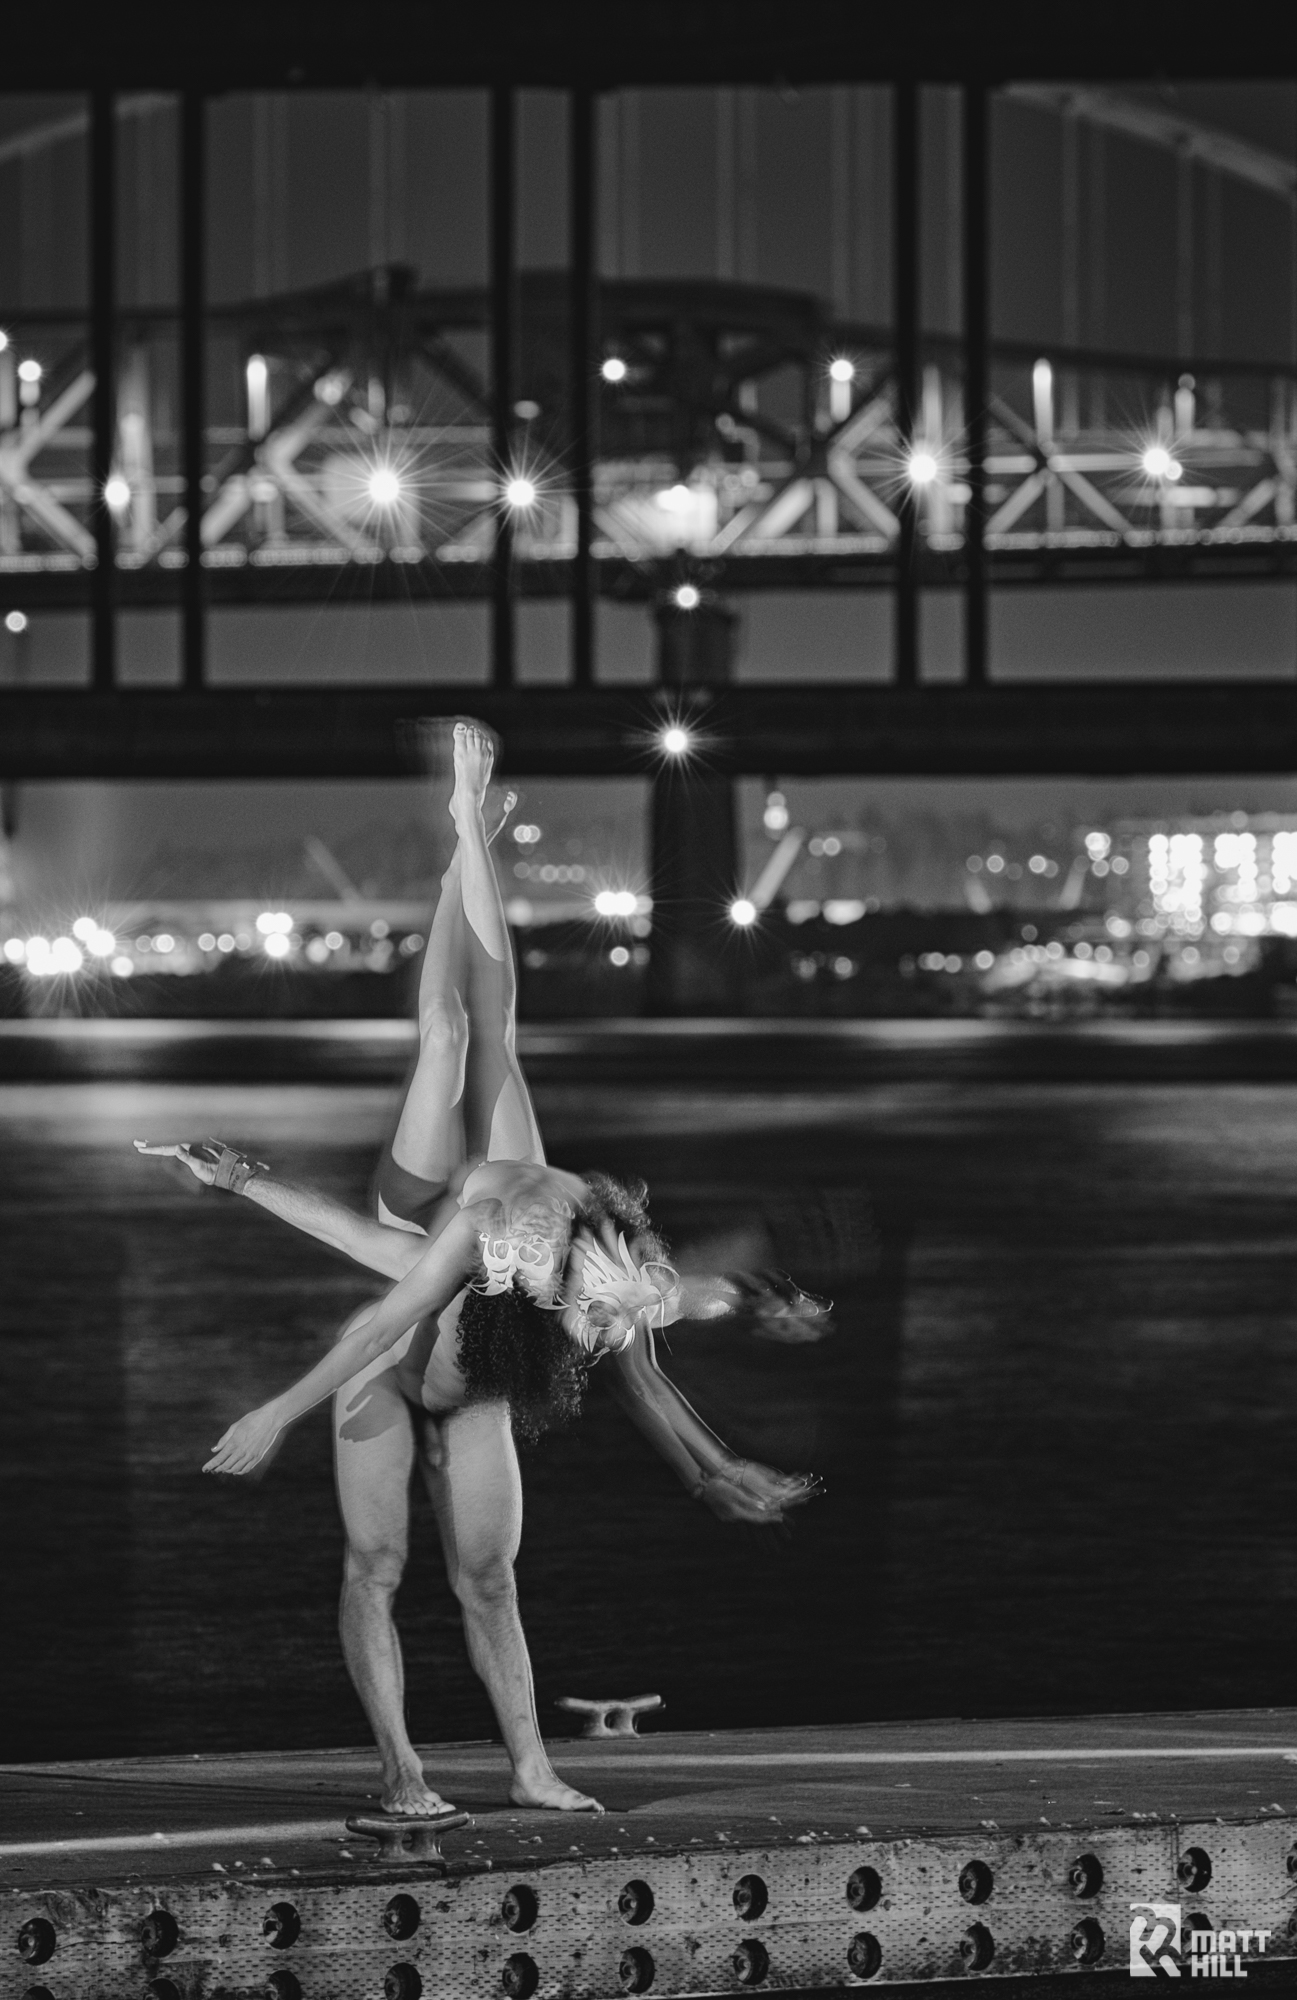
69th St Transfer Bridge Revisited
Five years ago, Gabe and I had our first night out shooting NPy together at this location.
Two nights ago, I had the pleasure of revisiting this place with Erik Ward and Dan O'Neil, two guys who also met around five years ago and have been doing Urbex together ever since. Cool guys, very fun with which to shoot.
I must admit, one of my favorite NPy photographs I have ever shot was at this location and I was loathe to encroach on my personal enjoyment on its happy memory. But I approached it with an open mind to experiment and apply all that I have learned in the last five years. Great decision :)
Here is the image I hold dear from back then:
May, 2008
Mamiya 7, 43mm, f/16 @ 12 min
Ilford XP2 Super, 120
I remember Gabe shooting for much shorter times and wondering why I was exposing so long. I am not sure I knew what I was doing, but instinct told me to expose for 12 minutes. In hindsight, I knew I wanted the transfer bridge to stand out and since it was at least 3 stops darker than the correct exposure for the rest of the City, I let it burn...
This lesson has stuck with me over the years. Upon returning, I wanted to test the theory again and shot two different exposures just to see what happened:
March, 2013
D700, 14mm, f/13 @ 2 minutes
March, 2013
D700, 14mm, f/8 @ 2 minutes
I think they are both successful for different reasons. The former has the qualities of all the light sources and shadows. The latter is more of an artistic statement about the relationship between the foreground and the background.
Moving on... here are some more shots & experiments from the evening: